Love this? Save it for later!
Share the inspiration with your friends
This was supposed to be a batch of simple round sugar cookies for a last-minute back-to-school treat. I grabbed the wrong cookie cutter—honestly, I was already juggling a buzzing phone, a curious toddler, and the ticking clock of a looming afternoon snack time. The oven was running hotter than usual, and I was halfway through mixing when I realized my mistake. Instead of the usual circles, those dough shapes came out looking like pencils—perfectly imperfect and oddly charming.
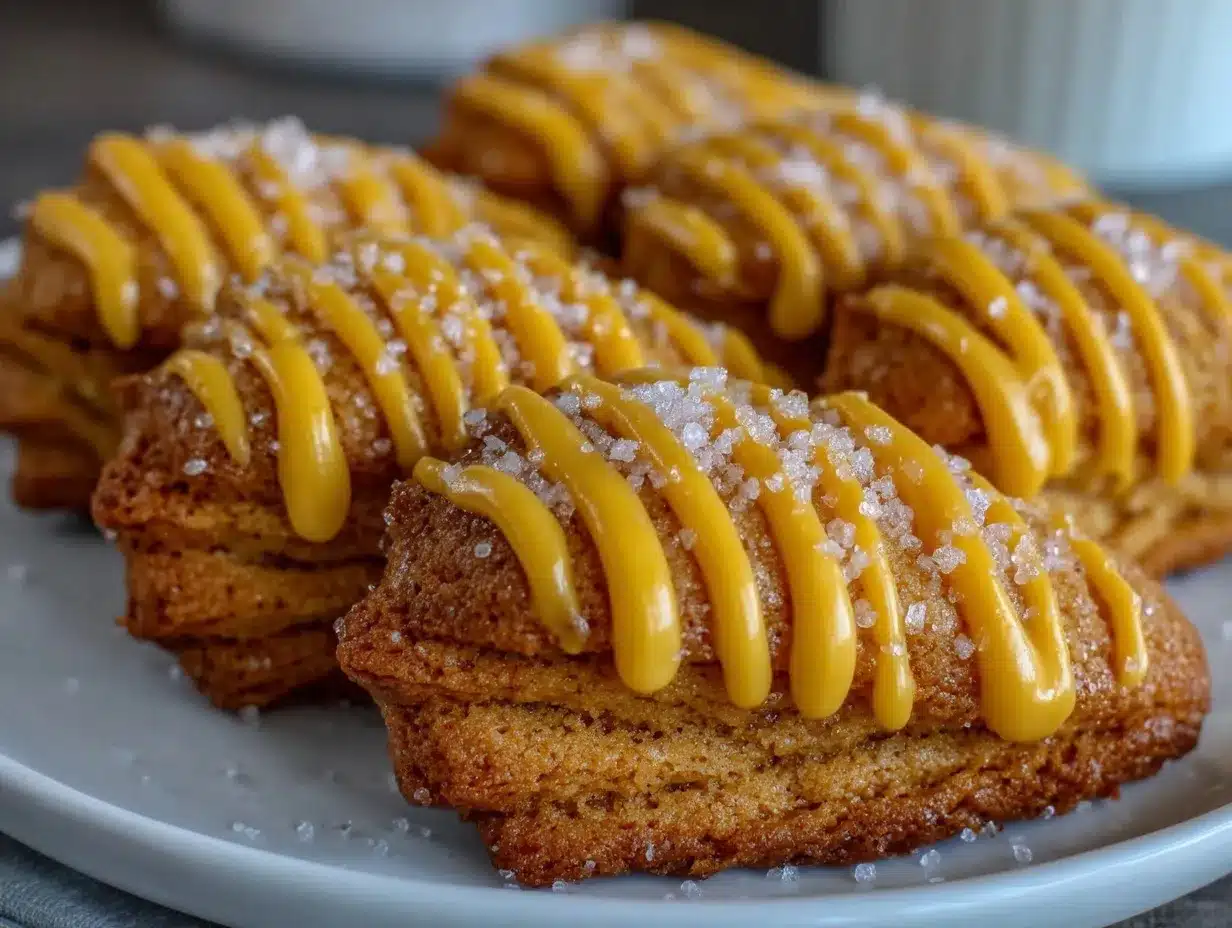
At first, I panicked. I thought, “Who even makes pencil-shaped sugar cookies?” But then I decided to roll with it, added a quick swipe of bright yellow icing (because, well, pencils are yellow, right?), and the whole thing turned into something surprisingly fun and festive. The texture was soft, the sweetness just right, and the look? Absolutely perfect for a school-themed snack or a cheerful afternoon pick-me-up.
Maybe you’ve been there—when a kitchen mishap turns into a new favorite. These pencil-shaped sugar cookies with their sunny icing stuck around in my recipe box because they bring a little whimsy and a lot of smiles. And honestly, once you start making them, you’ll see why they’ve won over so many cookie skeptics in our house.
Why You’ll Love This Recipe
Let me just say, this recipe isn’t your average sugar cookie routine. I’ve tested dozens of variations (because I’m a bit of a sugar cookie nerd), and these pencil-shaped sugar cookies stand out for all the right reasons:
- Quick & Easy: These cookies come together in about 30 minutes, making them perfect for busy afternoons or last-minute celebrations.
- Simple Ingredients: No fancy or hard-to-find stuff here—just pantry staples like butter, sugar, and flour.
- Perfect for School Events: The pencil shape and bright yellow icing make them an instant hit for teacher gifts, classroom parties, or back-to-school fun.
- Crowd-Pleaser: Kids love ‘em, adults adore ‘em, and they’re great for sharing at any gathering.
- Unbelievably Delicious: The cookies have a tender crumb, buttery flavor, and that soft, melt-in-your-mouth texture you want from a sugar cookie.
What sets this recipe apart? It’s the way the dough holds its shape without spreading too much, so your pencil outlines stay crisp and clear. Plus, the yellow icing isn’t just for looks—it’s perfectly sweet with a hint of vanilla, making each bite a balanced treat. This isn’t just a cookie you make because you have to; it’s one you want to make again and again. The kind that makes you pause, smile, and maybe even sneak a second one before anyone notices.
What Ingredients You Will Need
This recipe uses simple, wholesome ingredients to create a buttery, flavorful cookie base that’s easy to work with. The icing adds a cheerful pop of color and a smooth, sweet finish. Most of these ingredients are pantry staples, and substitutions are straightforward if needed.
- For the Sugar Cookie Dough:
- 2 ¾ cups (350g) all-purpose flour (I prefer King Arthur for consistency)
- 1 teaspoon baking powder
- ½ teaspoon salt
- 1 cup (226g) unsalted butter, softened (room temperature is key!)
- 1 ½ cups (300g) granulated sugar
- 1 large egg (room temperature)
- 1 teaspoon pure vanilla extract
- 2 tablespoons whole milk (or any milk of choice)
- For the Bright Yellow Icing:
- 2 cups (240g) powdered sugar, sifted
- 3-4 tablespoons milk or water (adjust for consistency)
- 1 teaspoon pure vanilla extract
- Yellow gel food coloring (AmeriColor or Wilton brands work great for vibrant hues)
- Optional Decoration:
- Edible black food coloring pen or melted chocolate for the “pencil tip” details
If you want to make these cookies gluten-free, swapping in a 1-to-1 gluten-free baking flour blend works nicely. For a dairy-free option, use vegan butter and plant-based milk, and the icing still turns out smooth and delightful.
Equipment Needed
- Mixing bowls – I like to have a couple on hand for dough and icing
- Electric hand mixer or stand mixer – makes creaming butter and sugar a breeze
- Measuring cups and spoons – accuracy matters with baking
- Pencil-shaped cookie cutter – if you don’t have one, a small knife and a little patience can do the trick
- Baking sheets lined with parchment paper or silicone mats – prevents sticking and makes cleanup easier
- Cooling rack – helps cookies cool evenly without sogginess
- Small spatula or butter knife – for spreading icing
- Spoons or piping bags for icing application
For budget-friendly alternatives, a plastic knife can substitute for a cookie cutter if you shape cookies by hand. I’ve used a butter knife before and, honestly, it worked just fine when pressed for time. Maintaining your baking sheets by wiping them clean after each use keeps them non-stick longer, and investing in a silicone mat is a game-changer if you bake cookies often.
Preparation Method
- Mix Dry Ingredients: In a medium bowl, whisk together 2 ¾ cups (350g) all-purpose flour, 1 teaspoon baking powder, and ½ teaspoon salt. Set aside. This keeps the leavening and salt evenly distributed.
- Cream Butter and Sugar: In a large bowl, beat 1 cup (226g) softened unsalted butter with 1 ½ cups (300g) granulated sugar using an electric mixer on medium speed until light and fluffy, about 3-4 minutes. This aeration is what gives the cookies their tender texture.
- Add Egg and Vanilla: Beat in 1 large room-temperature egg and 1 teaspoon pure vanilla extract until fully combined. Scrape down sides as needed to keep things even.
- Combine Wet and Dry Ingredients: Gradually add the flour mixture in three parts, alternating with 2 tablespoons of milk. Start and end with the flour. Mix on low speed just until combined—overmixing can make cookies tough.
- Chill the Dough: Form the dough into a disk, wrap it tightly with plastic wrap, and chill for at least 1 hour. This step is crucial; chilled dough holds shape better and prevents spreading in the oven.
- Preheat Oven and Prepare Baking Sheets: Preheat your oven to 350°F (175°C). Line baking sheets with parchment paper or silicone mats.
- Roll Out Dough: On a lightly floured surface, roll the dough to about ¼ inch (6mm) thickness. If the dough feels too soft, pop it back in the fridge for 10 minutes before rolling.
- Cut Shapes: Use your pencil-shaped cookie cutter to cut out shapes. Transfer them carefully to the prepared baking sheets, spacing cookies about 1 inch (2.5 cm) apart.
- Bake: Bake cookies for 9-11 minutes or until edges just start to turn golden. Watch closely—the difference between perfect and overdone is just a minute here.
- Cool: Let the cookies cool on the baking sheet for 5 minutes before transferring them to a wire rack to cool completely.
- Prepare Icing: While cookies cool, whisk 2 cups (240g) powdered sugar with 3 tablespoons milk, 1 teaspoon vanilla extract, and a few drops of yellow gel food coloring until smooth. Adjust with more milk or sugar to reach a spreadable but thick consistency.
- Decorate: Spread or pipe bright yellow icing over cooled cookies. Use a black food coloring pen or melted chocolate to add pencil tip details once icing sets.
- Let Set: Allow icing to firm up at room temperature for at least 30 minutes before stacking or serving.
Pro tip: If your icing looks too runny, add more powdered sugar; too thick, add a splash more milk. Also, keeping your hands cool when handling dough helps maintain that ideal texture. I’ve ruined batches before by rushing this part!
Cooking Tips & Techniques
There are a few tricks I’ve learned to keep these pencil-shaped sugar cookies looking sharp and tasting fantastic. First, chilling the dough is non-negotiable. I once skipped this step, and the cookies spread into sad little blobs instead of crisp pencils—lesson learned the hard way.
When rolling out the dough, dust your surface lightly with flour, but not too much—too much flour can dry out the dough and make cookies crumbly. Using a silicone baking mat helps with rolling and cleanup.
Timing your bake is crucial. The edges should only just start to turn golden. Baking longer might make the cookies too hard for that melt-in-your-mouth feel. Keep an eye on them, especially if your oven runs hot or unevenly.
For icing, using gel food coloring rather than liquid keeps your icing from becoming too watery. And when decorating, let the base yellow icing set before adding details so colors don’t run together. I find letting cookies rest overnight after decorating really helps the icing harden nicely.
Lastly, multitasking is your friend here. While the dough chills, prep the icing ingredients and clean up your workspace. This way, you’re ready to decorate as soon as cookies cool.
Variations & Adaptations
These pencil-shaped sugar cookies are versatile, and you can easily make adjustments to suit your preferences or dietary needs.
- Flavor Twists: Add a teaspoon of almond extract or lemon zest to the dough for a different aroma and flavor.
- Colorful Icing: Instead of yellow, try pastel shades for springtime or use school colors for themed parties.
- Gluten-Free Option: Use a gluten-free flour blend suitable for baking 1:1 in place of all-purpose flour.
- Vegan Adaptation: Swap butter for vegan margarine and use flaxseed “egg” or commercial egg replacer, plus plant-based milk for the icing.
- Different Shapes: If you don’t have a pencil cutter, try other school-related shapes like apples or books using cookie cutters or freehand.
One time, I swapped out some of the sugar for brown sugar to give the cookies a subtle caramel note. It was unexpectedly delicious, though the color was a bit darker. Feel free to experiment – these cookies are forgiving and fun.
Serving & Storage Suggestions
These sugar cookies are best served at room temperature, where the icing is set but still soft enough to bite through easily. They look fantastic arranged on a colorful platter or stacked in a clear jar for a gift.
Pair them with a cold glass of milk, a cup of tea, or a fruity lemonade for a perfect snack. They also make charming additions to back-to-school parties or teacher appreciation gifts.
Store leftover cookies in an airtight container at room temperature for up to 5 days. If you want to keep them longer, freeze the undecorated cookies in a single layer on a baking sheet, then transfer to a freezer-safe container for up to 3 months. Thaw completely before icing.
Reheat iced cookies by letting them sit at room temperature; avoid microwaving as it can melt the icing. Over time, the flavors mellow and the texture softens nicely, making them even more enjoyable the next day.
Nutritional Information & Benefits
Each cookie (depending on size) contains roughly 150-180 calories, with about 7 grams of fat, 25 grams of carbohydrates, and 1 gram of protein. While these are definitely a treat, the simple ingredients mean no preservatives or artificial additives.
The modest use of butter provides some vitamin A, and the egg contributes a bit of protein. Using real vanilla extract adds flavor without extra sugar or fat. For those mindful of allergens, this recipe contains gluten, dairy, and egg, but can be adapted as mentioned earlier.
From a wellness perspective, baking your own cookies means controlling ingredients and avoiding overly processed options. Plus, the joy of baking and sharing these cheerful pencil-shaped sugar cookies adds a little happiness boost that’s hard to measure but easy to feel.
Conclusion
Honestly, these perfect pencil-shaped sugar cookies with bright yellow icing have become a staple in my kitchen for more reasons than I expected. They’re simple, fun, and bring a little playful spirit to any day—whether it’s a school celebration or just a sweet treat to brighten a Tuesday.
Don’t hesitate to put your own spin on them, whether that’s switching up the icing colors or experimenting with flavors. Baking is all about joy and creativity, and these cookies are a perfect canvas for both.
If you give this recipe a try, I’d love to hear how your batch turned out or what variations you dreamed up. Share your stories and photos—I’m always here to celebrate your kitchen wins, big or small.
Happy baking, and may your cookies always come out just a little better than you expected!
Frequently Asked Questions
What if I don’t have a pencil-shaped cookie cutter?
You can use a small sharp knife to cut the dough into pencil shapes by hand or try other school-themed cutters like apples or stars for a fun twist.
Can I make these cookies ahead of time?
Yes! The dough can be made and refrigerated for up to 3 days before baking. Baked and decorated cookies keep well up to 5 days in an airtight container.
How do I prevent my cookies from spreading too much?
Chilling the dough for at least an hour before rolling and baking is key. Also, avoid overworking the dough when rolling it out.
Can I use powdered food coloring instead of gel?
Gel food coloring is best for vibrant colors without thinning the icing. Powdered color can work but may require adjusting the liquid in your icing carefully.
What’s the best way to store iced sugar cookies?
Store them in a single layer in an airtight container at room temperature. If stacking, place parchment paper between layers to protect the icing.
Pin This Recipe!
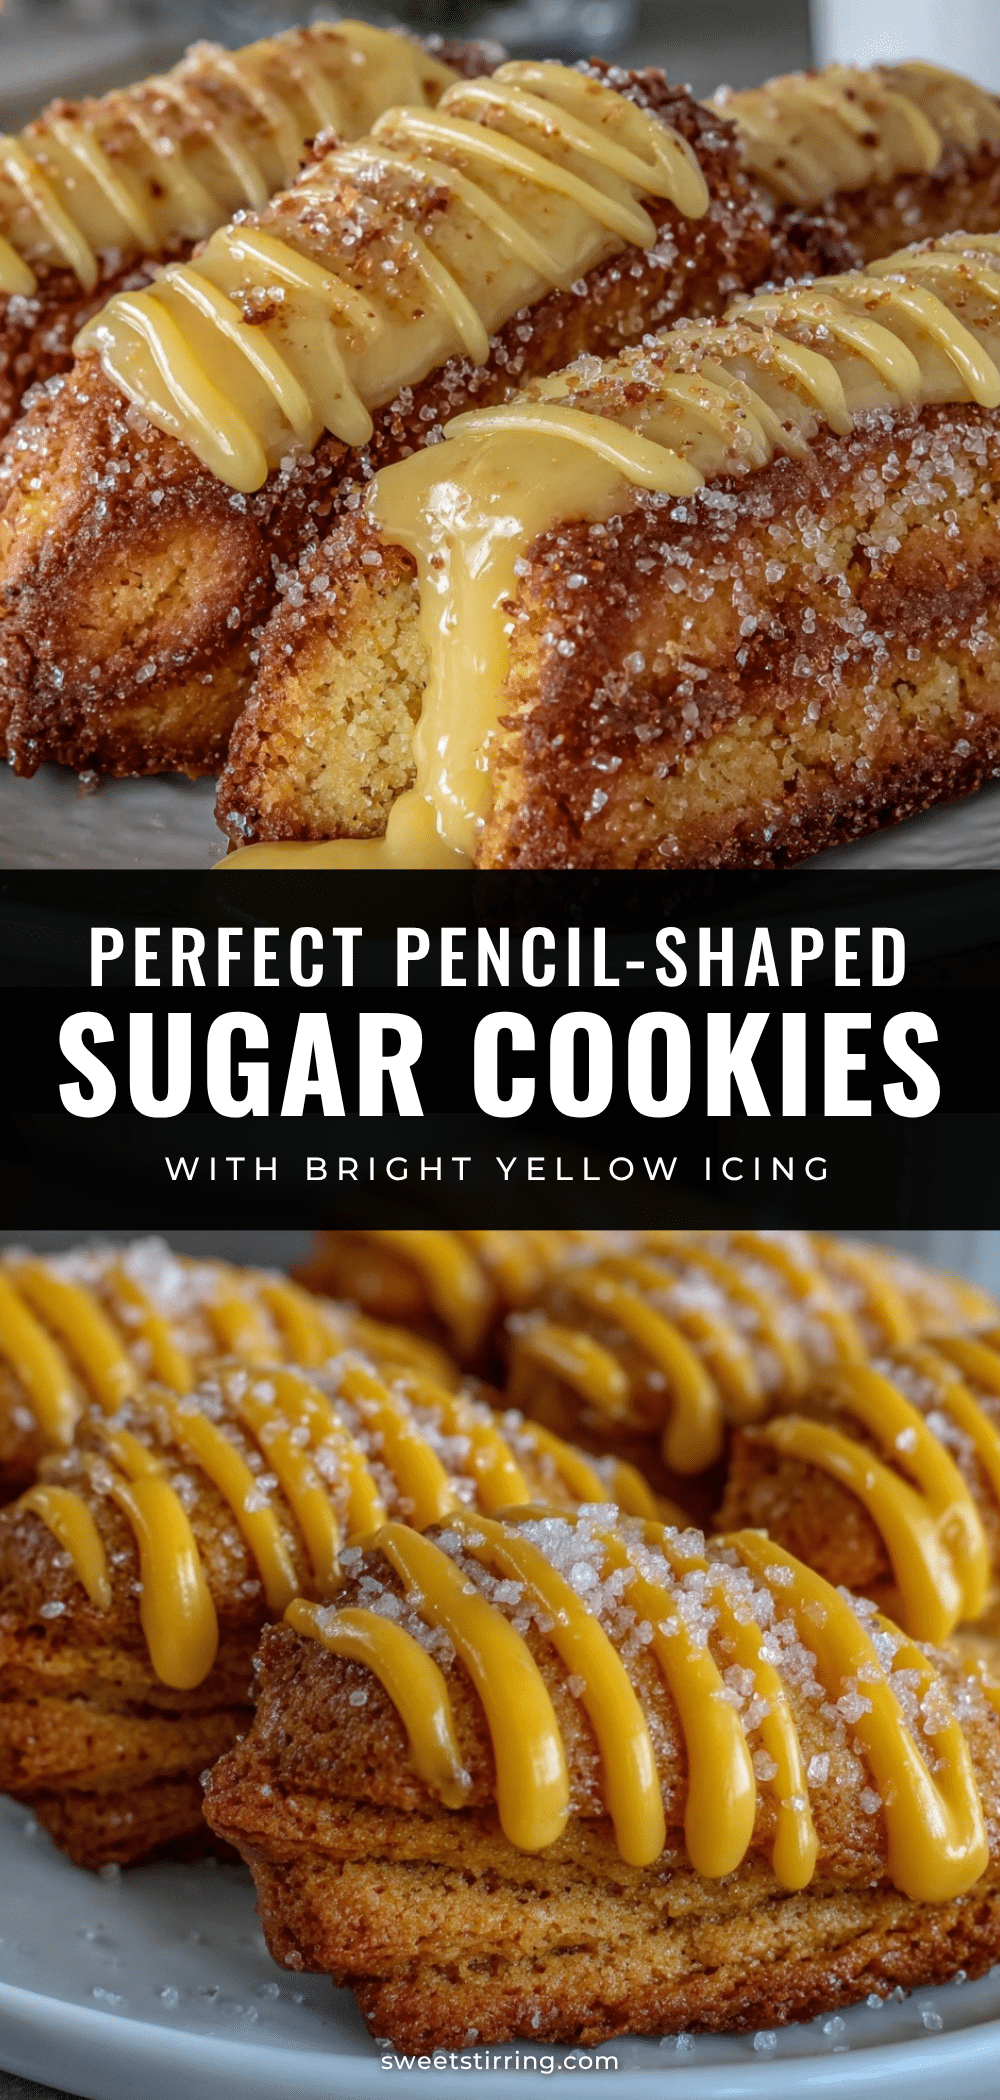
Perfect Pencil-Shaped Sugar Cookies Easy Homemade Recipe with Bright Yellow Icing

These pencil-shaped sugar cookies feature a soft, buttery texture with bright yellow vanilla icing, perfect for school events or cheerful snacks. The dough holds its shape well, making crisp, charming cookies that are fun to decorate.
- Prep Time: 15 minutes
- Cook Time: 11 minutes
- Total Time: 1 hour 26 minutes
- Yield: 24 cookies 1x
- Category: Dessert
- Cuisine: American
Ingredients
- 2 ¾ cups (350g) all-purpose flour
- 1 teaspoon baking powder
- ½ teaspoon salt
- 1 cup (226g) unsalted butter, softened (room temperature)
- 1 ½ cups (300g) granulated sugar
- 1 large egg (room temperature)
- 1 teaspoon pure vanilla extract
- 2 tablespoons whole milk (or any milk of choice)
- 2 cups (240g) powdered sugar, sifted
- 3–4 tablespoons milk or water (for icing, adjust for consistency)
- 1 teaspoon pure vanilla extract (for icing)
- Yellow gel food coloring
- Optional: Edible black food coloring pen or melted chocolate for pencil tip details
Instructions
- Mix dry ingredients: whisk together flour, baking powder, and salt in a medium bowl; set aside.
- Cream butter and sugar: beat softened butter and granulated sugar with an electric mixer on medium speed until light and fluffy, about 3-4 minutes.
- Add egg and vanilla: beat in egg and vanilla extract until fully combined.
- Combine wet and dry ingredients: gradually add flour mixture in three parts, alternating with milk, starting and ending with flour; mix on low speed just until combined.
- Chill dough: form dough into a disk, wrap tightly with plastic wrap, and chill for at least 1 hour.
- Preheat oven to 350°F (175°C) and line baking sheets with parchment paper or silicone mats.
- Roll out dough on a lightly floured surface to about ¼ inch (6mm) thickness; chill dough again if too soft.
- Cut shapes using pencil-shaped cookie cutter and place cookies 1 inch apart on baking sheets.
- Bake for 9-11 minutes until edges just start to turn golden; watch closely to avoid overbaking.
- Cool cookies on baking sheet for 5 minutes, then transfer to wire rack to cool completely.
- Prepare icing: whisk powdered sugar, milk, vanilla extract, and yellow gel food coloring until smooth; adjust consistency as needed.
- Decorate cooled cookies with yellow icing; add pencil tip details with black food coloring pen or melted chocolate once icing sets.
- Let icing set at room temperature for at least 30 minutes before serving or stacking.
Notes
Chilling the dough for at least 1 hour is crucial to prevent spreading and maintain shape. Use gel food coloring for vibrant icing without thinning. Let icing set fully before adding details. Store cookies in an airtight container at room temperature for up to 5 days or freeze undecorated dough for up to 3 months.
Nutrition
- Serving Size: 1 cookie
- Calories: 165
- Sugar: 15
- Sodium: 90
- Fat: 7
- Saturated Fat: 4
- Carbohydrates: 25
- Protein: 1
Keywords: sugar cookies, pencil-shaped cookies, back-to-school treats, yellow icing, homemade cookies, easy sugar cookies, school party snacks



