Love this? Save it for later!
Share the inspiration with your friends
“Hand me that bowl,” my cousin said over the clutter of a Saturday afternoon. I’d popped in to borrow a screwdriver, but before I even got inside, the scent of sharp cheddar and buttery crackers hit me like a warm welcome. She was casually assembling what looked like a snack tray, but honestly, it was something way better — an easy DIY Lunchables with crackers and cheese, thrown together with zero fuss and zero fancy ingredients. No complicated meal prep, just the kind of homemade snacking that feels effortless and yet somehow feels special.
She wasn’t making a big deal out of it, just stacking crackers and cheese slices in a little container like it was no big thing. Of course, I got curious. Turns out, this simple snack hack was her secret weapon for busy afternoons and quick bites on the go. I mean, maybe you’ve been there — staring at a pantry full of ingredients and wishing for something that’s ready in a snap, tastes great, and feels a bit nostalgic. That afternoon stuck with me, mostly because she was so chill about it, like this was her everyday magic trick.
Since then, I’ve made my own spin on these DIY Lunchables, and honestly, it’s become a staple. Whether you’re packing lunchboxes, need a quick snack, or are just craving that satisfying combo of crunchy crackers and melty cheese, this recipe hits the spot. Let me tell you, there’s something quietly comforting about putting together your own homemade snack packs — no preservatives, no mystery ingredients, just pure, simple goodness.
Why You’ll Love This Recipe
After testing this easy DIY Lunchables with crackers and cheese myself a dozen times, I can say it’s one of those recipes that really just works for everyone.
- Quick & Easy: Comes together in under 10 minutes — perfect for busy weeknights or last-minute snack cravings.
- Simple Ingredients: No need for fancy or hard-to-find groceries; you likely have all the essentials right in your pantry or fridge.
- Perfect for Any Occasion: Great for kid’s lunchboxes, office snacks, road trips, or casual get-togethers.
- Crowd-Pleaser: Loved by kids and adults alike — the classic combo of crackers and cheese never fails.
- Unbelievably Delicious: The texture contrast between crunchy crackers and creamy cheese is honestly next-level comfort food.
This recipe isn’t just another run-of-the-mill snack idea. The trick is in the balance — choosing the right crackers that hold up without crumbling, pairing with cheeses that melt or slice perfectly, and adding little extras like a touch of fruit or nuts to keep it interesting. I’ve tried versions with everything from sharp cheddar to creamy havarti and learned that even small tweaks make a big difference. It’s homemade snacking done right, without any stress.
Whether you’re aiming to impress guests casually or just want a fuss-free snack that feels thoughtfully put together, this DIY Lunchables recipe will quickly become your secret go-to. Honestly, after the first bite, you’ll see why it’s stuck around in my kitchen routine.
What Ingredients You Will Need
This easy DIY Lunchables with crackers and cheese recipe uses simple, wholesome ingredients to deliver bold flavor and satisfying texture without the fuss. Most of these are pantry staples, and you can easily swap or add extras depending on your tastes or what you have on hand.
- Crackers: Choose sturdy varieties like water crackers, multigrain crackers, or buttery round crackers. I personally like Carr’s Table Water Crackers for their crisp texture.
- Cheese: Go for slices or cubes of cheddar, gouda, swiss, or havarti. Sharp cheddar gives a nice bite, while havarti offers a creamier mouthfeel. For a dairy-free twist, use plant-based cheese slices.
- Lunch Meat (Optional): Thin slices of turkey, ham, or salami add protein and variety. Look for nitrate-free options if possible.
- Fresh Fruit: Grapes, apple slices, or berries complement the savory elements beautifully and add freshness.
- Nut Butter or Hummus (Optional): Adds a creamy spread option for extra flavor and nutrition.
- Pickles or Olives: For a little tang and saltiness, small pickles or olives work wonders.
- Nuts or Seeds: Almonds, walnuts, or pumpkin seeds add crunch and healthy fats.
Feel free to mix and match based on what’s in season or your pantry. When I made these on a whim last summer, swapping in fresh peach slices instead of crackers was surprisingly delicious! If you’re gluten-free, gluten-free crackers or crispbread are easy substitutions. The key is keeping the textures balanced and flavors complementary.
Equipment Needed
Luckily, assembling this easy DIY Lunchables with crackers and cheese doesn’t require any fancy kitchen gadgets.
- Sharp Knife: For slicing cheese and any fresh fruit or lunch meat.
- Cutting Board: A sturdy surface to prep your ingredients.
- Small Containers or Bento Boxes: Ideal for portioning out the snack packs. I’ve found reusable silicone snack bags work great and are eco-friendly.
- Cheese Slicer or Grater (Optional): If you prefer shredded cheese or thin slices.
- Spreader Knife: Useful if you’re adding nut butter or hummus.
Honestly, I’ve packed these snacks in everything from simple Tupperware to reusable beeswax wraps. You don’t need anything special — just what’s convenient and fits your lifestyle. For those on a budget, small plastic containers from dollar stores or even mason jars work perfectly and can be reused indefinitely.
Preparation Method
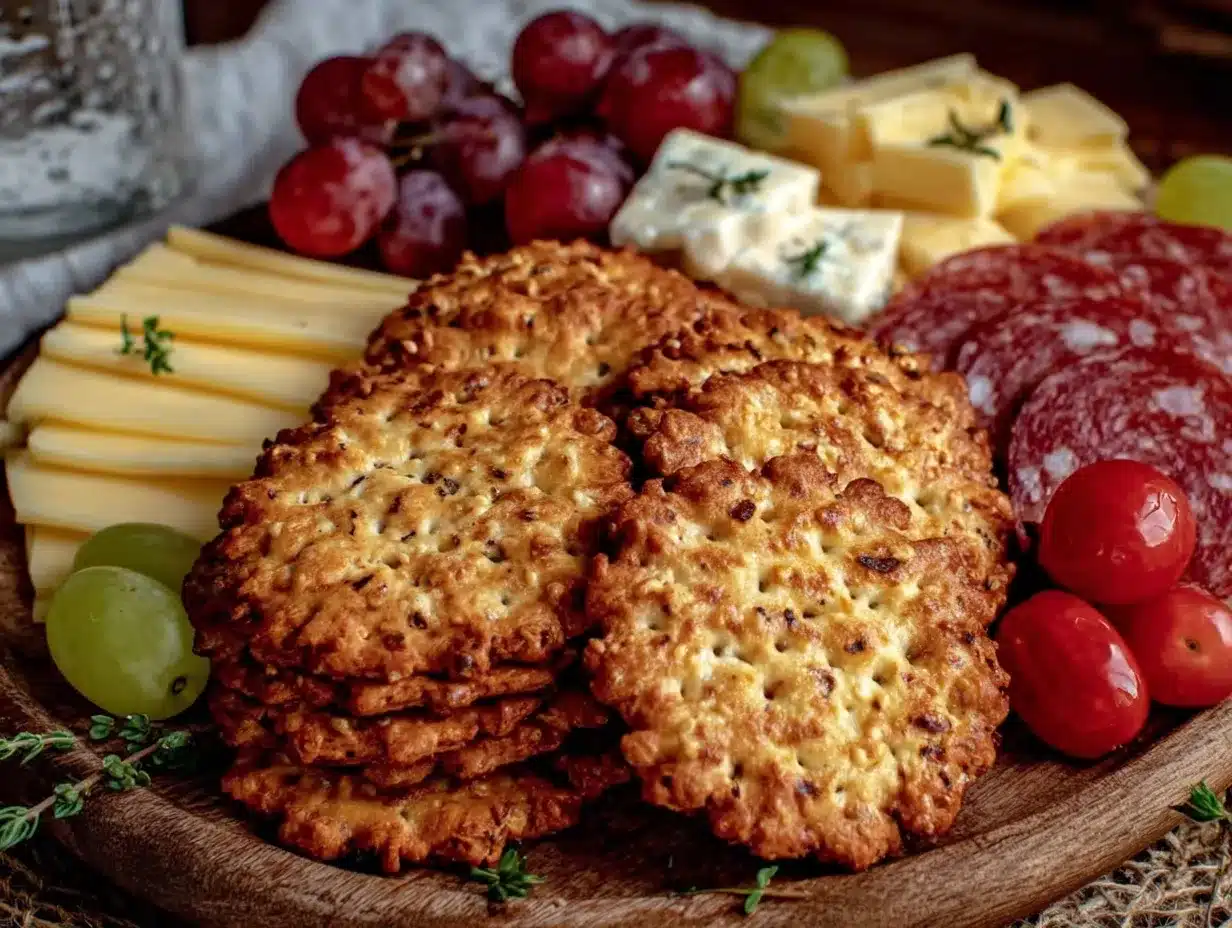
- Gather Your Ingredients: Assemble your crackers, cheese, and any extras like lunch meat or fruit on the counter. This usually takes about 2-3 minutes.
- Slice the Cheese: Use a sharp knife or cheese slicer to cut cheese into bite-sized slices or cubes, roughly 1/4 inch (6 mm) thick. This step takes about 3-5 minutes depending on quantity. Tip: Let cheese sit at room temperature for 10 minutes beforehand for easier slicing.
- Prep Additional Items: Slice any lunch meat into smaller portions. Wash and slice fruit like apples or grapes. This should take another 5 minutes. Be mindful not to cut fruit too far in advance to avoid browning — a quick lemon juice toss helps.
- Arrange the Snack Packs: In your chosen containers, start by placing a layer of crackers. Then add cheese slices next to or on top of crackers. Add lunch meat, fruit, and any spreads or nuts in separate compartments or sections. This assembly is quick, about 3-4 minutes per pack.
- Seal and Store: Close containers tightly and store in the refrigerator if not eating immediately. These packs stay fresh for up to 2 days. If packing for school or work, add an ice pack to keep everything cool.
Quick note: When I first tried this, I forgot to bring out the cheese ahead of time, and slicing cold cheese was a challenge. Lesson learned — always let your cheese rest a bit before cutting! Also, balancing cracker types (some salty, some plain) really makes the snack more interesting. This process takes less than 15 minutes once you get the hang of it, making it perfect for busy afternoons or last-minute needs.
Cooking Tips & Techniques
Even though this recipe is straightforward, a few tips can make your DIY Lunchables truly shine.
- Select Crackers Wisely: Choose crackers that won’t get soggy quickly or crumble into dust. Thicker, sturdier crackers work best, especially if you add any spreads.
- Cheese Temperature Matters: Let cheese warm up a bit before slicing for cleaner cuts and better texture. Cold cheese can be crumbly.
- Portion Control: Pack snack portions that match your hunger level. These DIY packs are easy to customize by adding or subtracting crackers and cheese.
- Mix Textures and Flavors: Adding something sweet (fruit) or tangy (pickles) balances the savory notes beautifully.
- Avoid Moisture Transfer: To keep crackers crisp, separate juicy fruit or spreads from crackers using small compartments or parchment paper.
- Multitask Efficiently: While slicing cheese, prep fruit or meat simultaneously to save time. I often line everything up on the counter to keep my flow going.
Trust me, the first time I made these, I stacked everything haphazardly and ended up with soggy crackers. Now I’m picky about the order and separation — it really keeps that fresh homemade crunch intact. Also, don’t be shy about swapping cheeses or crackers based on what’s on sale or in season. I once tried a smoked gouda version that knocked it out of the park!
Variations & Adaptations
This easy DIY Lunchables with crackers and cheese recipe is super flexible, letting you tailor it to different diets, seasons, or flavor preferences.
- Gluten-Free Option: Use gluten-free crackers or crispbread. Many brands now offer tasty and sturdy options that work perfectly.
- Vegan Adaptation: Swap cheese for plant-based slices and add hummus or nut butters as spreads. Include veggies like cucumber or cherry tomatoes for extra crunch.
- Seasonal Flavors: In summer, add fresh berries or peach slices; in fall, try apple slices with cinnamon-spiced nut butter.
- Spicy Twist: Add a little pepper jack cheese and a side of sliced jalapeños or a spicy mustard dip.
- Protein Boost: Include hard-boiled egg slices or roasted chickpeas for extra staying power.
Personally, I once made a version with smoked salmon and capers for a fancier snack moment — it was a hit at a casual gathering. The key is to keep the balance of savory, creamy, and crunchy elements while respecting your dietary needs or cravings.
Serving & Storage Suggestions
These DIY Lunchables are best served chilled, straight from the fridge. The cool temperature keeps cheese firm and crackers crisp.
- Presentation: Arrange crackers neatly with cheese slices and add colorful fruit or nuts for visual appeal. Little compartments or bento boxes help keep things tidy.
- Complementary Pairings: Serve with a cold glass of iced tea, lemonade, or your favorite sparkling water for a refreshing combo.
- Storage: Store snack packs in airtight containers in the refrigerator for up to 2 days. If packing ahead, include an ice pack for freshness.
- Reheating: These are best eaten cold or at room temperature. If you want melted cheese, try heating just the cheese and crackers separately for a few seconds in the microwave, then assemble.
- Flavor Development: The flavors stay fresh and distinct for best enjoyment; avoid pre-assembling too far in advance to keep textures optimal.
Nutritional Information & Benefits
This easy DIY Lunchables with crackers and cheese packs a balanced mix of macronutrients and is customizable to fit many dietary needs.
| Nutrient | Approximate Amount (per serving) |
|---|---|
| Calories | 250-300 kcal |
| Protein | 10-15 grams |
| Fat | 15-20 grams |
| Carbohydrates | 20-25 grams |
| Fiber | 2-4 grams |
Cheese provides calcium and protein, while whole grain crackers add fiber and sustained energy. Adding nuts or fruit boosts vitamins, minerals, and healthy fats. This snack can be tailored for gluten-free, low-carb, or vegan diets by swapping ingredients accordingly. For kids especially, these homemade packs offer a wholesome alternative to packaged snack trays loaded with preservatives.
Conclusion
If you’re looking for a fuss-free, tasty snack solution, this easy DIY Lunchables with crackers and cheese is definitely worth trying. It’s quick, adaptable, and feels a little nostalgic — like a homemade treat you can feel good about. I love how it takes the guesswork out of snacking and lets you customize exactly what you want, no mystery ingredients or additives.
Whether you’re packing lunches, prepping snacks for the week, or just need something satisfying between meals, this recipe has got you covered. Honestly, it’s become one of those go-to recipes I recommend to friends who want simple, tasty homemade snacks without the hassle.
Give it a shot, tweak it your way, and let me know how your snack packs turn out! I’m always curious to hear new ideas or variations you come up with.
FAQs
Can I make these DIY Lunchables ahead of time?
Yes! You can assemble them up to 2 days in advance and store in airtight containers in the fridge. Just add delicate fruit or spreads right before eating for best texture.
What types of cheese work best?
Cheddar, gouda, swiss, and havarti are great choices. Aim for cheeses that slice cleanly and have good flavor. For a twist, try pepper jack or smoked varieties.
How can I keep the crackers from getting soggy?
Keep crackers separate from moist ingredients like fruit or spreads. Use compartmentalized containers or small parchment paper dividers to maintain crunch.
Are there gluten-free options for this recipe?
Absolutely! Use gluten-free crackers or crispbreads to make the snack gluten-free without sacrificing texture.
Can I include other snacks besides crackers and cheese?
Definitely! Add lunch meats, nuts, fresh fruit, pickles, hummus, or nut butters to customize your snack packs to your taste and dietary needs.
Pin This Recipe!
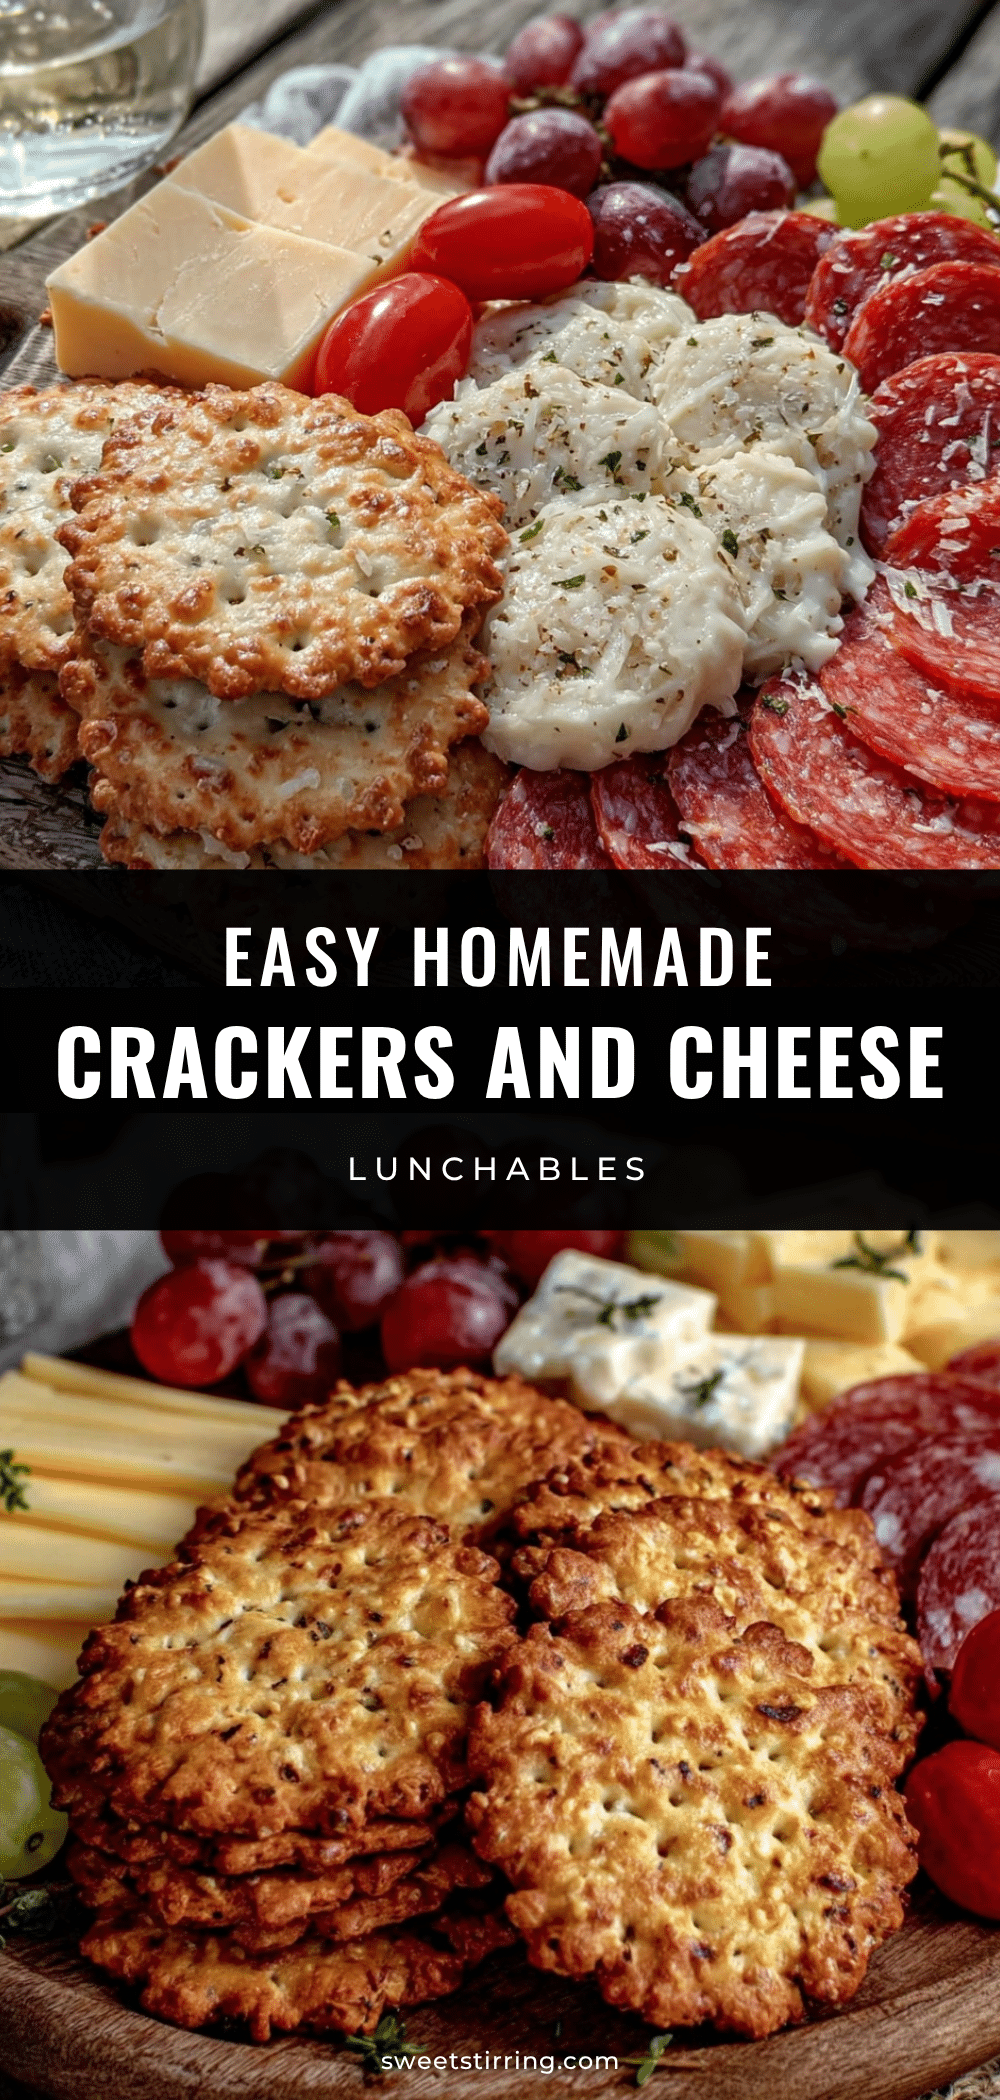
Easy DIY Lunchables Recipe with Crackers and Cheese for Perfect Homemade Snacks

A quick and easy homemade snack pack combining crunchy crackers and creamy cheese, perfect for lunchboxes, snacks on the go, or casual gatherings. Customizable with simple pantry staples and optional extras.
- Prep Time: 10 minutes
- Cook Time: 0 minutes
- Total Time: 10 minutes
- Yield: 1 snack pack (adjustable)
- Category: Snack
- Cuisine: American
Ingredients
- Crackers (sturdy varieties like water crackers, multigrain crackers, or buttery round crackers)
- Cheese slices or cubes (cheddar, gouda, swiss, havarti, or plant-based cheese slices for dairy-free)
- Lunch meat (optional; thin slices of turkey, ham, or salami, nitrate-free if possible)
- Fresh fruit (grapes, apple slices, berries)
- Nut butter or hummus (optional)
- Pickles or olives (small, for tang and saltiness)
- Nuts or seeds (almonds, walnuts, pumpkin seeds)
Instructions
- Gather your crackers, cheese, and any extras like lunch meat or fruit on the counter (2-3 minutes).
- Slice the cheese into bite-sized slices or cubes about 1/4 inch thick using a sharp knife or cheese slicer. Let cheese sit at room temperature for 10 minutes beforehand for easier slicing (3-5 minutes).
- Prep additional items: slice lunch meat into smaller portions; wash and slice fruit like apples or grapes. Toss fruit with lemon juice to prevent browning if needed (about 5 minutes).
- Arrange the snack packs in containers by placing a layer of crackers, then cheese slices next to or on top of crackers. Add lunch meat, fruit, and any spreads or nuts in separate compartments or sections (3-4 minutes per pack).
- Seal containers tightly and store in the refrigerator if not eating immediately. Snack packs stay fresh for up to 2 days. Add an ice pack if packing for school or work.
Notes
Let cheese warm to room temperature before slicing for easier cuts. Keep crackers separate from moist ingredients to avoid sogginess by using compartments or parchment paper dividers. Customize with different cheeses, crackers, fruits, nuts, or spreads to suit taste and dietary needs. Store assembled packs in airtight containers in the fridge for up to 2 days. Add ice packs when packing for school or work.
Nutrition
- Serving Size: One snack pack (appr
- Calories: 275
- Sugar: 3
- Sodium: 350
- Fat: 17.5
- Saturated Fat: 7
- Carbohydrates: 22.5
- Fiber: 3
- Protein: 12.5
Keywords: DIY Lunchables, crackers and cheese, homemade snacks, easy snack recipe, lunchbox ideas, quick snacks, kid-friendly snacks, gluten-free snack, vegan snack option