Love this? Save it for later!
Share the inspiration with your friends
The summer I turned twenty-eight, I was unloading groceries from the car last Saturday when the sharp tang of vinegar and crushed dill suddenly hit me — and suddenly I was eight years old again, standing in my Aunt Marlene’s cramped kitchen in upstate New York. There was a cracked blue bowl on the counter, dotted with garlic skins and flecks of dill, and the windows steamed up from the steam of her homemade pickles. Honestly, I wasn’t even sure if I liked pickles back then — they were more a curiosity than a favorite, but the way she made them? That crisp snap and garlicky punch stuck with me. Years later, after a few kitchen mishaps and a lot of trial and error, I finally cracked the code to these crispy garlic dill refrigerator pickles that are ready in just 24 hours. Maybe you’ve been there, trying to capture a flavor that seems just out of reach, that perfect balance of crunch and tang. These pickles aren’t just about preserving cucumbers — they’re about holding on to that flash of memory, that fleeting taste of a moment that feels almost lost, but still alive in your mouth.
Why You’ll Love This Recipe
After countless tries and tweaking, this recipe stands out because it’s quick, easy, and downright addictive. Here’s why these crispy garlic dill refrigerator pickles have earned a permanent spot in my fridge and hopefully yours too:
- Quick & Easy: Ready to eat in just 24 hours, perfect for last-minute pickle cravings or a speedy side for your BBQ.
- Simple Ingredients: No need for exotic spices or fancy jars — just basic pantry staples and fresh cucumbers.
- Perfect for Snacks and Sandwiches: They add a bright, crunchy zing to everything from burgers to salads.
- Crowd-Pleaser: Whether you’re feeding kids or adults, these pickles always get raves for their crispness and flavor.
- Unbelievably Delicious: The garlic and dill hit just the right notes with a satisfying snap that feels like a small celebration in your mouth.
What sets this recipe apart is the careful balance — I use fresh garlic cloves smashed to release their flavor without overpowering, and a touch of sugar to round out the acidity, which is a trick I picked up from a local deli. Plus, the refrigerator method means no boiling or canning fuss, so you can whip up a batch on a whim. Honestly, it’s the kind of recipe that makes you pause and smile after the first bite — pure, simple satisfaction.
What Ingredients You Will Need
This recipe uses simple, wholesome ingredients that come together to create bold flavor and satisfying texture without fuss. Most are pantry staples, and you can swap a few depending on your preferences or what’s on hand.
- Fresh cucumbers (about 4-5 medium Kirby cucumbers or Persian cucumbers) – choose firm and crisp for best results
- Fresh garlic cloves (4-5 cloves, smashed) – releases that punchy garlic flavor
- Fresh dill sprigs (4-5 sprigs) – the star herb for that classic dill taste
- White vinegar (1 cup / 240 ml) – I prefer Heinz or Bragg’s for clean acidity
- Water (1 cup / 240 ml) – filtered if possible for pure flavor
- Kosher salt (1 tablespoon) – use Diamond Crystal for consistent seasoning
- Sugar (1 teaspoon) – balances the tartness just right
- Black peppercorns (1 teaspoon) – whole, to add subtle spice
- Red pepper flakes (optional, 1/2 teaspoon) – for a mild heat kick
If you want to mix it up, you can swap white vinegar with apple cider vinegar for a fruitier tang, or add sliced onions to the jar for extra bite. For a gluten-free or paleo version, this recipe is naturally compliant as is. I once tried using dried dill when fresh wasn’t available, but honestly, it just doesn’t hold the same brightness — fresh dill is worth the extra trip to the market.
Equipment Needed
- Large glass jar(s) or Mason jars: At least 1 quart (1 liter) capacity. Glass helps keep flavors pure — I like Ball jars for their airtight lids.
- Sharp knife or mandoline slicer: For slicing cucumbers evenly. A mandoline gives you perfect thin slices fast, but a sharp knife works just fine.
- Cutting board: Choose one with a groove to catch any juice spills.
- Measuring cups and spoons: Accuracy matters here, especially for salt and vinegar.
- Small saucepan: For warming the brine (optional — see note below).
You don’t need fancy pickle presses or special equipment for this recipe, which is part of the charm. I sometimes warm the brine slightly to help dissolve salt and sugar faster, but you can skip that step and just stir vigorously until everything is dissolved. If you don’t have a mandoline, just take your time slicing with a knife — the irregularity adds personality to your pickles!
Preparation Method
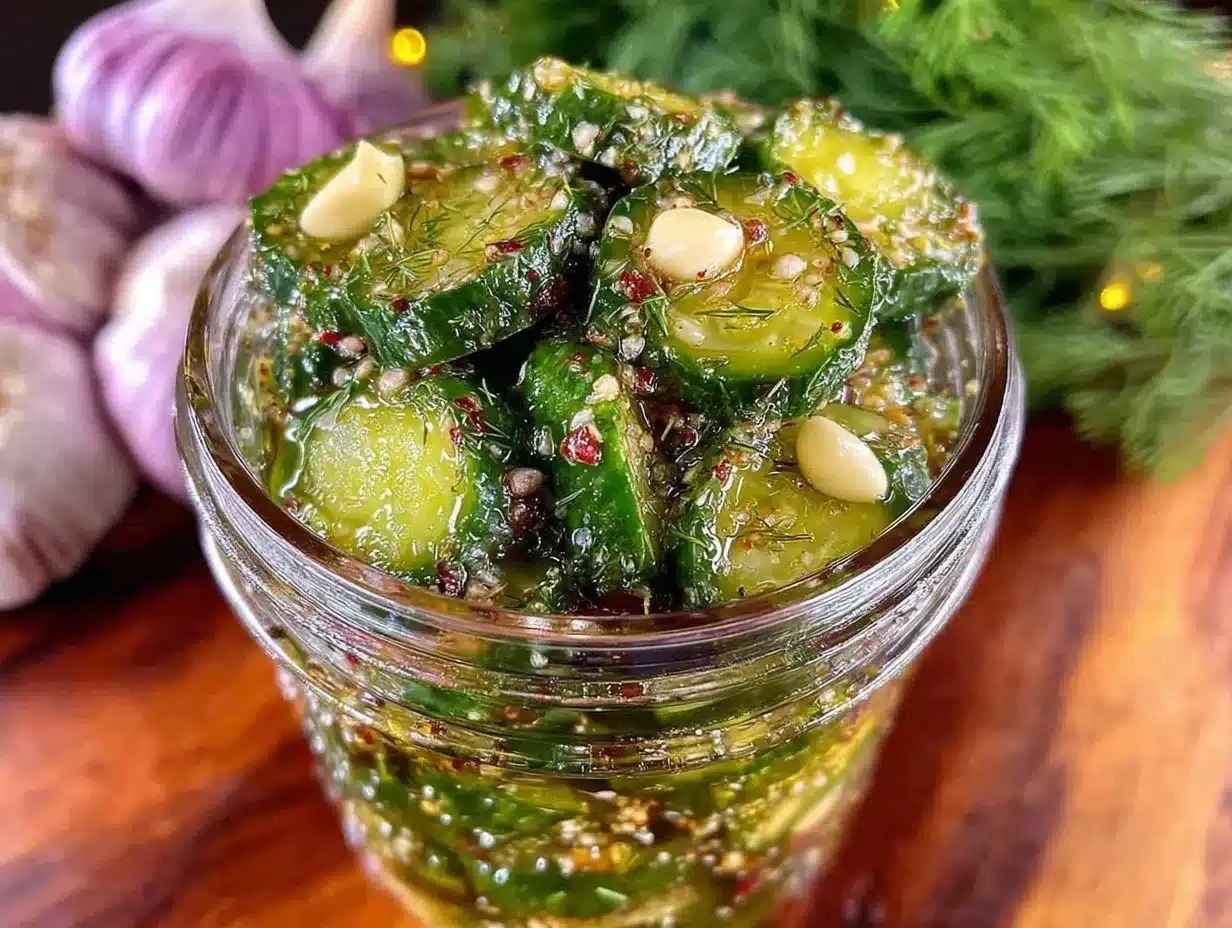
- Wash and slice cucumbers: Rinse the cucumbers thoroughly under cold water. Slice them into 1/4-inch (6 mm) thick rounds or spears if you prefer. This should take about 10 minutes. Don’t worry if slices aren’t perfectly even — it just means your pickles have character.
- Prepare the brine: In a small saucepan or bowl, mix 1 cup (240 ml) white vinegar, 1 cup (240 ml) water, 1 tablespoon kosher salt, and 1 teaspoon sugar. Warm gently if needed to dissolve salt and sugar, then let cool to room temperature (about 5-7 minutes). This step is helpful but not mandatory — you can mix brine cold, just stir well.
- Pack the jars: Place smashed garlic cloves, fresh dill sprigs, black peppercorns, and red pepper flakes (if using) at the bottom and sides of the jar(s). Then pack cucumber slices tightly but without crushing. This should take about 5 minutes per jar.
- Pour the brine: Pour the cooled brine over the cucumbers, making sure they’re fully submerged. Leave about 1/2-inch (1.3 cm) headspace at the top. If needed, add a clean weight or extra pickle slices to keep cucumbers under the brine.
- Seal and refrigerate: Screw on the lid tightly and place the jar in the fridge. Let the pickles sit for at least 24 hours before tasting, but honestly, they get better every day after that. This initial wait is the hardest part!
- Check and enjoy: After 24 hours, open the jar and give a taste. If they’re not quite tangy enough, wait another day or two. The garlic and dill will infuse more deeply over time, but that first crisp bite is always rewarding.
A quick tip: If you notice any floating bits or cloudiness, don’t panic — it’s normal with refrigerator pickles and harmless. Just give the jar a gentle shake or stir before serving. I once forgot to pack enough garlic in the jar and ended up with milder pickles than intended, so I keep an extra clove ready for topping off if needed.
Cooking Tips & Techniques
To get those perfect crispy garlic dill refrigerator pickles, here are some tips I’ve learned the hard way:
- Choose the right cucumbers: Kirby or Persian cucumbers are your best bet — they hold crispness well and don’t get mushy fast. Avoid large slicing cucumbers with thick skins.
- Don’t skip the salt: It’s crucial for flavor and texture. Kosher salt dissolves nicely and doesn’t have additives. Table salt can make pickles too salty or cloudy.
- Use fresh garlic and dill: These ingredients are the backbone of flavor. Avoid dried dill unless you’re in a pinch, and always smash garlic cloves to release more aroma.
- Keep cucumbers submerged: Exposure to air can cause them to soften or spoil quickly. Use a clean weight or add extra slices to hold everything down.
- Patience pays off: Let the pickles rest at least 24 hours but ideally 2-3 days for full flavor. I’ve made the mistake of rushing the process and ended with bland results.
- Refrigeration is key: These are not shelf-stable pickles, so keep them cold to preserve crunch and safety.
If you’re multitasking in the kitchen, pack the jars first and let the brine dissolve while you slice cucumbers — saves time and keeps the process smooth. And don’t be surprised if your first batch is a little different from the next; subtle shifts in garlic strength or cucumber freshness can change the outcome, which is part of the fun!
Variations & Adaptations
Feel like switching things up? Here are a few ways to customize your crispy garlic dill refrigerator pickles:
- Spicy Pickles: Add more red pepper flakes or a sliced jalapeño to the jar for a fiery kick.
- Sweet & Tangy: Increase the sugar to 2 tablespoons for a sweeter brine that balances the tartness.
- Herb Mix: Swap dill for fresh tarragon or add fresh thyme and mustard seeds for a unique herbal twist.
- Low Sodium: Cut salt by half and extend marinating time to 48 hours to compensate.
- Vinegar Swap: Use apple cider vinegar or white wine vinegar for a fruitier note.
Personally, I once made a batch with lemon zest and fresh basil when dill wasn’t in season — it turned out surprisingly fresh and bright. For different cooking methods, these pickles are designed for fridge storage, but you can quick-pickle by heating the brine and pouring it hot over cucumbers, then cooling before refrigerating, which shortens flavor infusion time.
Serving & Storage Suggestions
These pickles are best served chilled straight from the fridge. Their crisp texture and punchy garlic-dill flavor shine as a snack, sandwich topper, or alongside grilled meats and cheeses. I love pairing them with a hearty crispy garlic chicken sandwich or chopping them into a potato salad for that extra zing.
Store your pickles in the refrigerator for up to 3 weeks. Over time, the garlic flavor intensifies, and the cucumbers soften slightly but remain delicious. When reheating is needed (like adding to hot dishes), add pickles at the end to keep them crunchy. If you want crisper pickles longer, store them in a coldest part of your fridge, and avoid opening the jar repeatedly.
Nutritional Information & Benefits
One serving (about 3 slices) of these crispy garlic dill refrigerator pickles contains approximately:
| Calories | 10 |
|---|---|
| Carbohydrates | 2g |
| Protein | 0.3g |
| Fat | 0g |
| Sodium | 350mg |
These pickles are naturally low in calories and fat, making them a great guilt-free snack. The vinegar may help with digestion and blood sugar regulation, while garlic adds immune-boosting properties. Just watch the sodium if you’re on a low-salt diet. They’re also gluten-free and vegan-friendly, perfect for many dietary needs. I appreciate having these on hand as a crunchy, flavorful way to add variety without extra calories or additives.
Conclusion
If you’re chasing that perfect crunchy pickle with a bright garlic and dill punch, this refrigerator pickle recipe is worth making. It’s quick, fuss-free, and rewards you with pickles that taste like they’ve been slow-fermented, even though they’re ready in just 24 hours. Customize the heat, sweetness, or herbs to suit your mood, and keep the batch coming — trust me, you’ll want to.
I keep coming back to this recipe because it’s more than just pickles; it’s a little kitchen ritual, a connection to memory, and a way to brighten even the simplest meal. If you give it a try, drop a comment and share your tweaks — I love hearing how your batches turn out!
FAQs About Crispy Garlic Dill Refrigerator Pickles
How long do these refrigerator pickles last?
Stored properly in the fridge, they stay good for up to 3 weeks. Their flavor deepens over time, but crispness is best within the first week.
Can I use regular cucumbers instead of Kirby or Persian?
Yes, but regular slicing cucumbers have thicker skins and more water, which can make pickles less crisp and more watery.
Do I need to boil the brine?
No, warming the brine helps dissolve salt and sugar but isn’t necessary. You can mix everything cold and pour it directly over the cucumbers.
Can I make these pickles without garlic?
You can skip garlic for milder flavor, but it’s a big part of the classic dill taste. Try adding extra dill or peppercorns to compensate.
How do I keep the pickles submerged in the brine?
Use a clean weight like a small glass or extra cucumber slices pressed down to keep everything under the liquid and prevent spoilage.
Pin This Recipe!
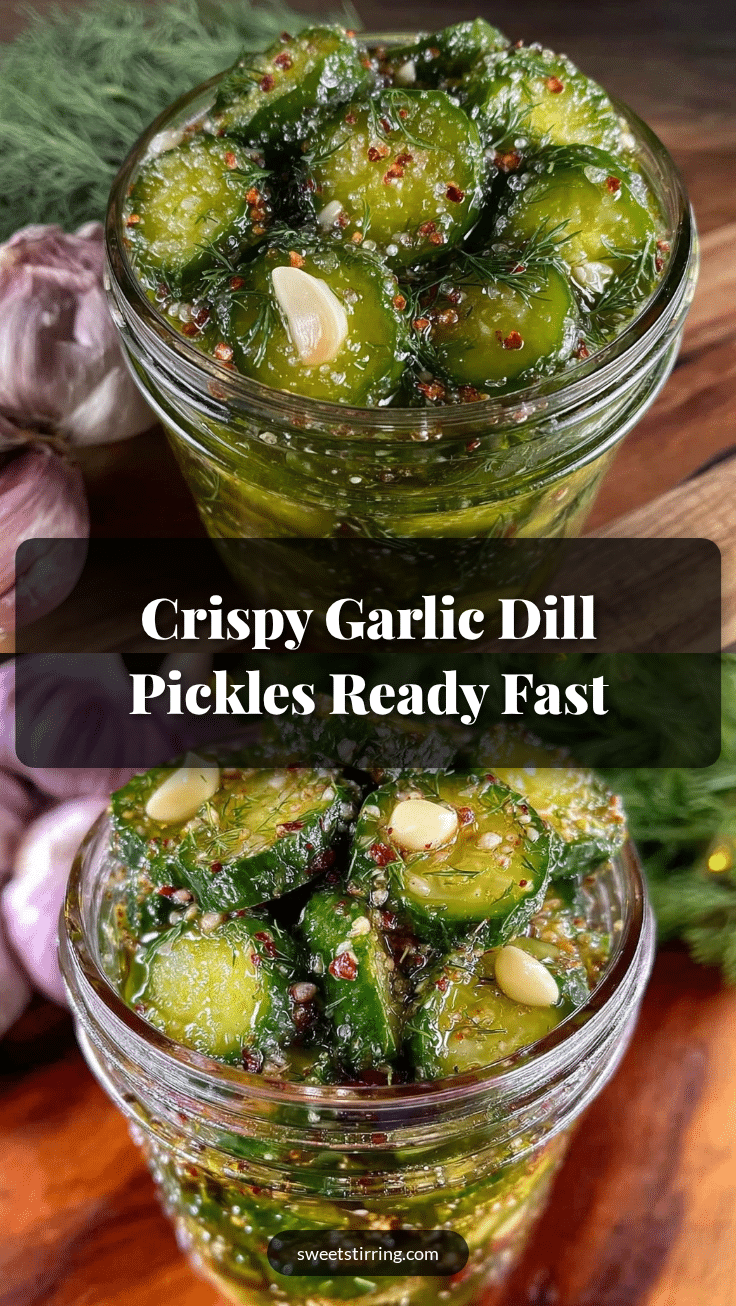
Crispy Garlic Dill Refrigerator Pickles

Quick and easy refrigerator pickles with a crisp snap and garlicky punch, ready in just 24 hours. Perfect for snacks, sandwiches, and BBQ sides.
- Prep Time: 15 minutes
- Cook Time: 0 minutes
- Total Time: 24 hours
- Yield: 4 servings 1x
- Category: Condiment
- Cuisine: American
Ingredients
- 4–5 medium Kirby cucumbers or Persian cucumbers, firm and crisp
- 4–5 fresh garlic cloves, smashed
- 4–5 fresh dill sprigs
- 1 cup (240 ml) white vinegar
- 1 cup (240 ml) water
- 1 tablespoon kosher salt
- 1 teaspoon sugar
- 1 teaspoon whole black peppercorns
- 1/2 teaspoon red pepper flakes (optional)
Instructions
- Wash and slice cucumbers into 1/4-inch (6 mm) thick rounds or spears.
- Prepare the brine by mixing 1 cup white vinegar, 1 cup water, 1 tablespoon kosher salt, and 1 teaspoon sugar. Warm gently if needed to dissolve salt and sugar, then cool to room temperature.
- Pack smashed garlic cloves, fresh dill sprigs, black peppercorns, and red pepper flakes (if using) into the bottom and sides of the jar(s).
- Pack cucumber slices tightly into the jar(s) without crushing.
- Pour the cooled brine over the cucumbers, ensuring they are fully submerged with about 1/2-inch headspace.
- Seal the jar(s) tightly and refrigerate for at least 24 hours before tasting.
- After 24 hours, taste and if desired, wait another day or two for stronger flavor.
Notes
Warming the brine helps dissolve salt and sugar but is optional. Keep cucumbers fully submerged in brine to maintain crispness. Use fresh garlic and dill for best flavor. Store pickles in the fridge up to 3 weeks. Flavor improves after 2-3 days. Avoid large slicing cucumbers with thick skins for best texture.
Nutrition
- Serving Size: About 3 slices
- Calories: 10
- Sodium: 350
- Carbohydrates: 2
- Protein: 0.3
Keywords: garlic dill pickles, refrigerator pickles, quick pickles, crispy pickles, easy pickles, dill pickles recipe