Love this? Save it for later!
Share the inspiration with your friends
I was staring at the lunchbox with the kind of dread that only a Tuesday morning can bring. You know that feeling when you open the fridge and realize you have absolutely nothing that works? My kid had a nut-free classroom policy, and I was fresh out of ideas. The bread was getting stale, the fruit was looking sad, and I was this close to just tossing in some crackers and calling it a day.
Then I spotted it. A jar of sunflower butter lurking in the back of the pantry, pushed behind some canned beans. I honestly had bought it months ago for some recipe idea that never happened. The jelly was right there too, half-empty but still good. I mean, could it really be that simple? I spread the sunflower butter on one slice, jelly on the other, pressed them together, and handed it over with zero confidence.
That afternoon, my kid came home and asked for the “sunflower sandwich” again. Not the peanut butter one. Not the ham and cheese. The sunflower one. I was genuinely shocked. It was just a sandwich, right? But there was something about that nutty, creamy sunflower butter paired with the sweet jelly that hit different. Maybe you’ve been there—when the simplest thing becomes the thing everyone wants. This Easy Sunflower Butter and Jelly Sandwich became our go-to nut-free lunch idea, and honestly, it saved my sanity on more mornings than I can count.
Why You’ll Love This Recipe
Let me tell you why this simple sandwich has earned a permanent spot in our lunch rotation. I’ve tested this with multiple brands of sunflower butter, different types of jelly, and even various breads—and it always delivers.
- Nut-Free Safe: Perfect for school lunch policies, daycare centers, or anyone with nut allergies. No stress, no worry.
- 5 Minutes Flat: When you’re running late, this comes together faster than you can argue with a toddler about wearing shoes.
- Pantry Staples: Sunflower butter and jelly keep forever in the pantry. You’re never more than two ingredients away from a meal.
- Kid-Approved: My kids went from skeptical to obsessed in one lunch period. The creamy texture and sweet-savory combo is magic.
- Budget-Friendly: A jar of sunflower butter costs about the same as peanut butter, and a little goes a long way.
What makes this different from just any sandwich? It’s the texture. Sunflower butter has this naturally creamy, almost buttery quality that spreads like a dream. No crumbling, no tearing the bread. And the flavor? It’s nutty and rich without being overwhelming. I’ve had friends tell me their kids actually prefer this over peanut butter now. It’s comfort food reimagined—safe, simple, and satisfying in a way that makes you close your eyes after that first bite.
What Ingredients You Will Need
This recipe uses simple, pantry-friendly ingredients to create a lunch that feels anything but basic. Here’s what you’ll need:
For the Sandwich Base
- 2 slices of bread (white, whole wheat, sourdough, or gluten-free—any works)
- 2 tablespoons sunflower seed butter (I prefer SunButter brand for its smooth texture and no added sugar)
- 1 tablespoon jelly or jam (strawberry, grape, raspberry—use your favorite)
Optional Add-Ins for Extra Flavor
- 1/2 banana, sliced (adds natural sweetness and creaminess)
- 1 tablespoon chia seeds (for extra fiber and omega-3s)
- A sprinkle of cinnamon (warmth without sugar)
- Honey or agave drizzle (if you want it sweeter)
Ingredient Selection Tips
When choosing sunflower butter, look for one with minimal ingredients—just sunflower seeds and maybe a little salt. Some brands add sugar or palm oil, which changes the texture. I’ve found that natural sunflower butter separates, so stir it well before using. For the jelly, go with a fruit-sweetened option if you’re watching sugar, but honestly, any jam you love will work.
Substitution Guidance
If you need a different seed butter, try pumpkin seed butter or tahini for a similar nut-free option. For a lower-sugar version, use mashed berries instead of jelly. And if you’re avoiding gluten, any good gluten-free bread will hold up beautifully—just toast it lightly first to prevent sogginess.
Equipment Needed
You don’t need anything fancy here. Here’s what I use:
- A butter knife for spreading—nothing special, just something flat
- A cutting board or any clean surface
- A plate to serve on
- A sandwich cutter (optional, but kids love fun shapes)
- A toaster if you prefer your bread toasted
Honestly, I’ve made these sandwiches with a plastic spoon and a paper towel when I was camping. It still worked. The only tool I recommend investing in is a good serrated bread knife if you’re using crusty bread—it makes clean cuts without squishing the filling.
For storage, a reusable sandwich container or beeswax wrap keeps everything fresh. I learned the hard way that plastic wrap can make the bread sweat. Not cute.
Preparation Method
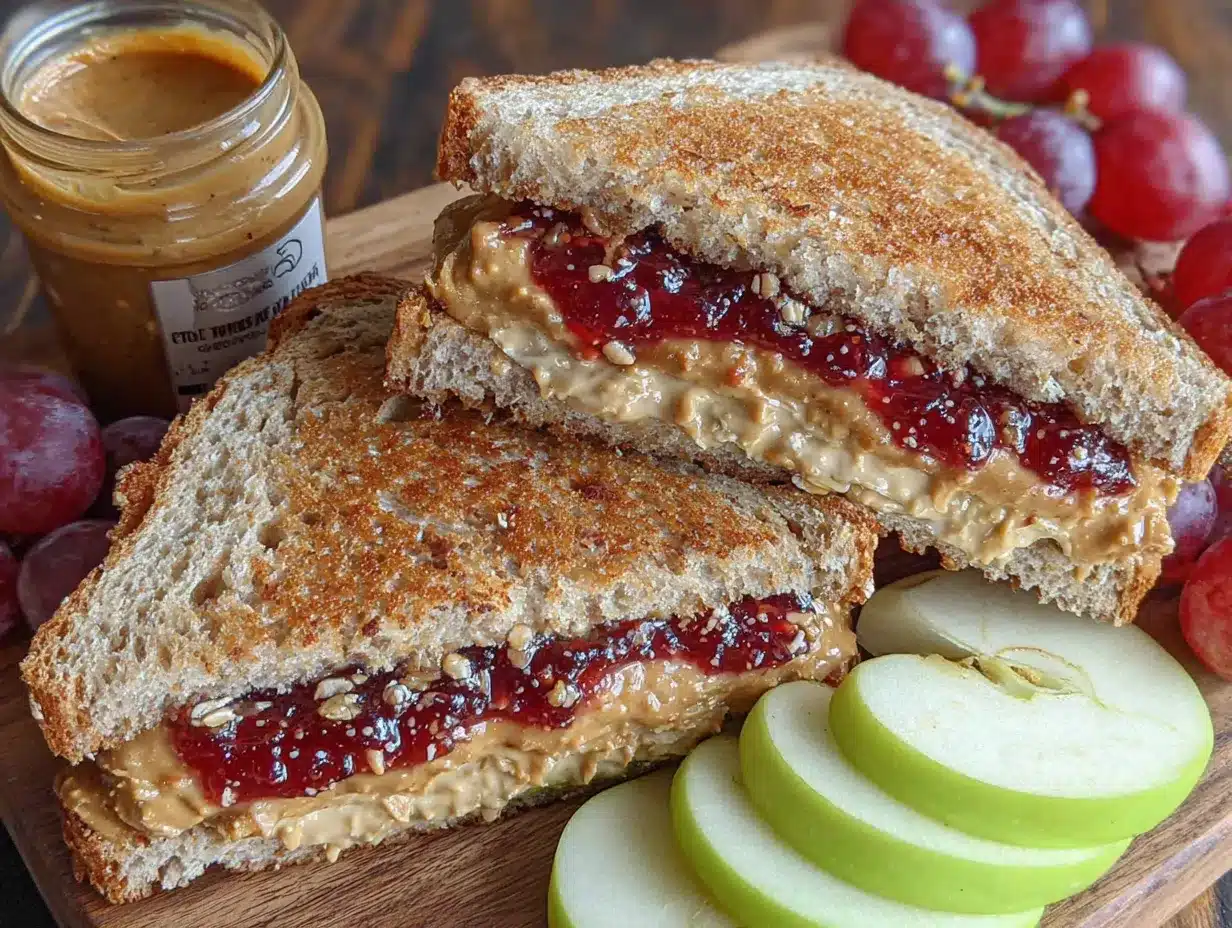
- Lay out your bread slices on a clean cutting board or plate. If you’re toasting the bread, do that first and let it cool slightly. Warm bread can make the sunflower butter melt and get messy.
- Open your sunflower butter jar and give it a good stir. Natural sunflower butter separates, so this step is crucial. I forgot once and ended up with a dry, crumbly mess. Stir until it’s smooth and creamy.
- Spread 1 tablespoon of sunflower butter on one slice of bread. Use the back of your knife to spread it evenly, going all the way to the edges. This creates a seal that keeps the jelly from soaking into the bread.
- Spread 1 tablespoon of jelly on the other slice of bread. Don’t go overboard—too much jelly makes the sandwich slide apart. A thin, even layer is perfect.
- Add any optional ingredients now. If you’re using banana slices, lay them on top of the sunflower butter. Sprinkle chia seeds or cinnamon if you want.
- Press the two slices together, sunflower butter side facing jelly side. Press gently but firmly so everything sticks together.
- Cut the sandwich however you like. Triangles for classic lunchbox vibes, rectangles for easy dipping, or use a cookie cutter for fun shapes. My kids love stars and dinosaurs.
- Serve immediately or pack it up for later. If you’re packing for lunch, wrap it tightly in beeswax wrap or place it in a sandwich container.
Sensory Cues: The sunflower butter should feel creamy and spreadable, not dry or crumbly. When you press the sandwich together, you should feel a slight give but not squishing. The finished sandwich should hold together without jelly oozing out the sides.
Cooking Tips & Techniques
I’ve made a lot of sunflower butter sandwiches, and I’ve learned a few things the hard way. Here’s what works:
Prevent the Soggy Bread Problem: Sunflower butter is more moisture-rich than peanut butter, which means it can make bread soggy faster. The fix? Spread the sunflower butter all the way to the edges of the bread. This creates a barrier that keeps the jelly from seeping in. I also toast the bread lightly if I’m packing the sandwich more than an hour ahead.
Deal with Separation: Natural sunflower butter separates like crazy. I keep mine upside down in the pantry so the oil redistributes. When you open it, stir from the bottom up. If it’s still too stiff, microwave it for 10 seconds and stir again.
Temperature Matters: Cold sunflower butter is hard to spread and can tear your bread. Let it sit at room temperature for 10 minutes before using. Or run the jar under warm water for a minute. Trust me on this—I ruined three slices of bread before I figured it out.
Make It Ahead: You can prep these sandwiches the night before. Just spread the sunflower butter on both slices of bread and store them separately. Add the jelly and assemble in the morning. This keeps the bread from getting soggy overnight.
Batch Prep for the Week: On Sunday, I spread sunflower butter on all the bread slices for the week and stack them with parchment paper between each slice. Then each morning, I just add jelly and go. It saves me about 5 minutes per sandwich, which adds up fast.
Variations & Adaptations
This sandwich is incredibly flexible. Here are some variations I’ve tried and loved:
The Crunchy Version: Add a tablespoon of crushed granola or toasted sunflower seeds on top of the sunflower butter before adding the jelly. The crunch is amazing and adds texture.
The Fruity Twist: Swap the jelly for fresh fruit slices. Strawberries, apples, or pears work beautifully. Mash them slightly with a fork first to release their natural juices.
The Low-Carb Option: Use lettuce wraps or cloud bread instead of regular bread. The sunflower butter and jelly combo works surprisingly well in a wrap.
The Breakfast Sandwich: Toast the bread, add sunflower butter, sliced banana, and a drizzle of honey. It’s like a warm, comforting breakfast that takes 2 minutes.
The Allergy-Friendly Version: Use gluten-free bread, sunflower butter, and fruit-sweetened jelly. It’s safe for most common allergies and still tastes amazing.
I once made a version with sunflower butter, raspberry jam, and crushed freeze-dried raspberries. It was like a fancy PB&J but nut-free. My neighbor tried it and asked for the recipe. That’s when I knew I had something good.
Serving & Storage Suggestions
Serve these sandwiches at room temperature for the best texture. If you’re packing for lunch, I recommend wrapping them in beeswax wrap or placing them in a reusable sandwich container. Avoid plastic wrap—it traps moisture and makes the bread sweat.
Storage Instructions:
- Refrigerator: These sandwiches keep for up to 24 hours in the fridge. The bread will soften slightly, but the flavor stays great.
- Freezer: You can freeze assembled sandwiches for up to 1 month. Wrap each one tightly in plastic wrap, then foil. Thaw overnight in the fridge or at room temperature for 30 minutes.
- Reheating: If you prefer a warm sandwich, pop it in a panini press or toaster oven for 2-3 minutes. The sunflower butter gets warm and melty, and the bread gets crispy.
What to Serve With It:
- Apple slices or carrot sticks for crunch
- A small cup of yogurt or applesauce
- Cheese cubes or string cheese
- A handful of pretzels or crackers
The flavors actually develop over time. I’ve noticed that after an hour or so, the sunflower butter and jelly meld together in a way that tastes even better. So don’t worry if you’re making these ahead—they might actually improve.
Nutritional Information & Benefits
Here’s an approximate nutritional breakdown for one sandwich made with whole wheat bread:
| Nutrient | Amount |
|---|---|
| Calories | 320 |
| Total Fat | 14g |
| Saturated Fat | 2g |
| Carbohydrates | 42g |
| Fiber | 5g |
| Sugar | 12g |
| Protein | 10g |
| Vitamin E | 30% DV |
| Iron | 10% DV |
Sunflower butter is packed with vitamin E, a powerful antioxidant that supports skin health and immune function. It also contains healthy fats that help keep kids full and focused through the school day. The fiber from the bread and seeds aids digestion, and the jelly provides a quick energy boost.
This sandwich is naturally dairy-free, egg-free, and vegan. Just check your bread label for any added dairy. It’s also a great option for those with tree nut or peanut allergies, making it a safe choice for school lunches.
Conclusion
This Easy Sunflower Butter and Jelly Sandwich is proof that you don’t need complicated recipes or fancy ingredients to make something truly satisfying. It started as a desperate pantry grab and turned into a family favorite that I make at least twice a week. The nut-free aspect makes it a lifesaver for school lunches, but honestly, we eat it on weekends too just because it’s that good.
I’d love to hear how you customize yours. Do you add banana? Use a specific type of jelly? Have you tried it with different breads? Drop a comment below and share your favorite version. And if you love this recipe, share it with a friend who’s struggling with nut-free lunch ideas. Trust me, they’ll thank you.
Happy sandwich making, friends. Sometimes the simplest things really are the best.
Frequently Asked Questions
Can I use any type of bread for this sandwich?
Absolutely. White, whole wheat, sourdough, rye, gluten-free—they all work. Just keep in mind that softer breads might get a bit soggy if you pack the sandwich ahead of time. Toasting the bread lightly helps prevent that.
How do I keep the sandwich from getting soggy in a lunchbox?
Spread the sunflower butter all the way to the edges of the bread. This creates a seal that keeps the jelly from soaking in. You can also pack the jelly separately and let the kids assemble it at lunchtime.
Is sunflower butter safe for kids with nut allergies?
Yes, sunflower butter is made from sunflower seeds, not nuts. However, always check the label to make sure it’s processed in a nut-free facility if allergies are severe. Brands like SunButter are specifically made for nut-free environments.
Can I make this sandwich vegan?
Yes, this sandwich is naturally vegan as long as you use bread that doesn’t contain eggs or dairy. Most commercial breads are vegan, but check the label to be sure.
How long does an opened jar of sunflower butter last?
An opened jar of sunflower butter will keep in the pantry for about 3 months. You can also refrigerate it to extend its shelf life to 6 months. Just remember to stir it well before each use, as natural separation is normal.
Pin This Recipe!
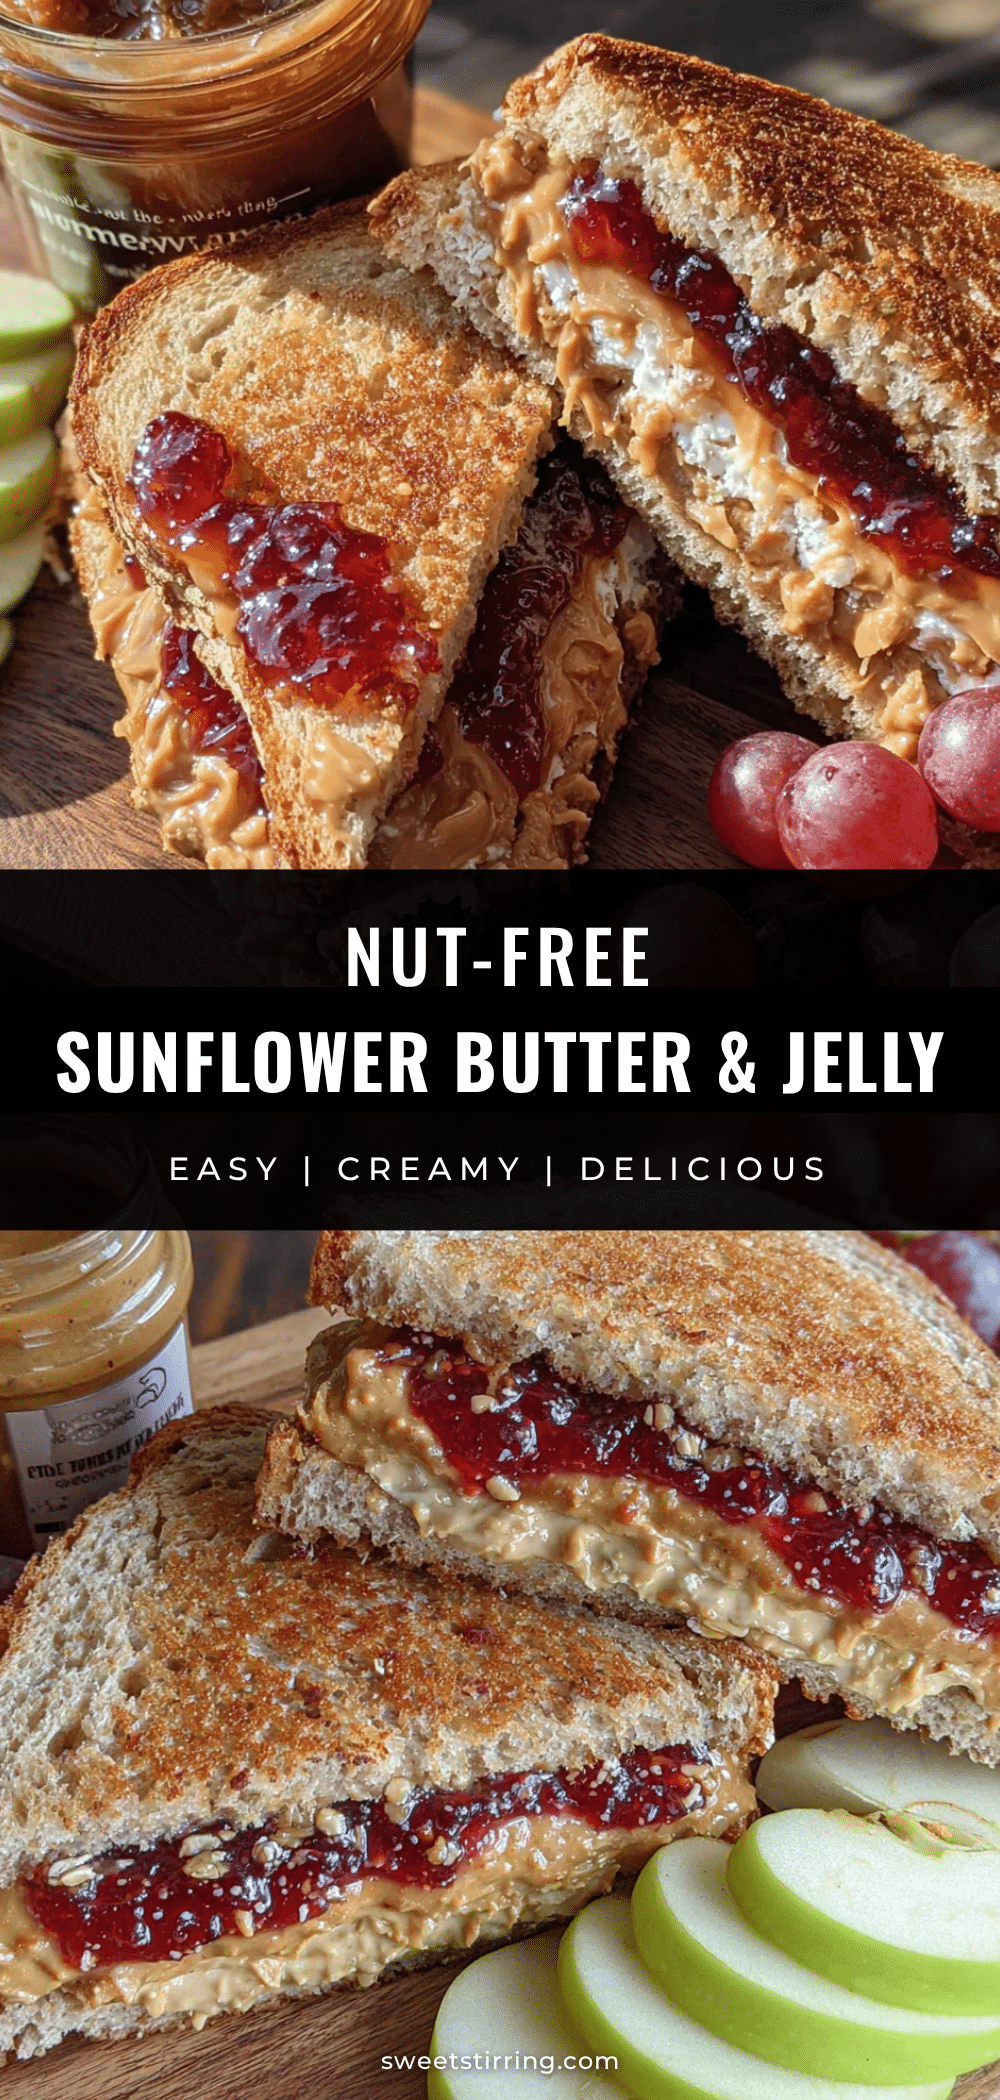
Easy Sunflower Butter and Jelly Sandwiches: Best Nut-Free Lunch

A quick and easy nut-free sandwich made with creamy sunflower seed butter and your favorite jelly, perfect for school lunches or a simple meal.
- Prep Time: 5 minutes
- Cook Time: 0 minutes
- Total Time: 5 minutes
- Yield: 1 serving 1x
- Category: Lunch
- Cuisine: American
Ingredients
- 2 slices of bread (white, whole wheat, sourdough, or gluten-free)
- 2 tablespoons sunflower seed butter
- 1 tablespoon jelly or jam (strawberry, grape, raspberry)
- 1/2 banana, sliced (optional)
- 1 tablespoon chia seeds (optional)
- A sprinkle of cinnamon (optional)
- Honey or agave drizzle (optional)
Instructions
- Lay out your bread slices on a clean cutting board or plate. If toasting, do that first and let cool slightly.
- Open your sunflower butter jar and stir well until smooth and creamy.
- Spread 1 tablespoon of sunflower butter on one slice of bread, going all the way to the edges.
- Spread 1 tablespoon of jelly on the other slice of bread in a thin, even layer.
- Add any optional ingredients now (banana slices, chia seeds, cinnamon, honey).
- Press the two slices together, sunflower butter side facing jelly side, gently but firmly.
- Cut the sandwich into triangles, rectangles, or fun shapes using a cookie cutter.
- Serve immediately or pack for later. Wrap tightly in beeswax wrap or a sandwich container.
Notes
Spread sunflower butter to the edges to prevent sogginess. For make-ahead, spread sunflower butter on both slices and store separately; add jelly in the morning. Natural sunflower butter separates, so stir well before use.
Nutrition
- Serving Size: 1 sandwich
- Calories: 320
- Sugar: 12
- Fat: 14
- Saturated Fat: 2
- Carbohydrates: 42
- Fiber: 5
- Protein: 10
Keywords: sunflower butter, jelly sandwich, nut-free lunch, school lunch, easy sandwich, kid-friendly