Love this? Save it for later!
Share the inspiration with your friends
There used to be a tiny coffee shop two blocks from my old apartment that made these incredible breakfast burritos. They weren’t fancy—just eggs, cheese, and some kind of sausage wrapped in a flour tortilla that was griddled until it was almost crispy. When they closed suddenly one Tuesday, I honestly felt a little lost. I mean, I’d been grabbing one of those burritos every single Friday for three years. After twelve tries—some of them truly sad, soggy disasters—I finally got it. And then I figured out how to freeze them, which changed everything.
The first batch I made for the freezer was born out of pure desperation. I had a 6 AM meeting, a toddler who refused to sleep through the night, and absolutely zero energy to stand over a stove. I grabbed one of those frozen burritos, microwaved it for ninety seconds, and let me tell you—it tasted better than that coffee shop version ever did. Maybe it was the relief of having breakfast ready, or maybe I just finally nailed the ratio of eggs to cheese to filling. Whatever it was, I knew I had something worth sharing.
These quick freezer breakfast burritos have saved my sanity more times than I can count. You know that feeling when mornings feel like a race you’re losing before you even get out of bed? This is the solution. You spend one hour on a Sunday, wrap up a dozen burritos, and suddenly you have breakfast for two weeks. No thinking, no cooking, no mess. Just grab, heat, and go. Honestly, it’s the kind of kitchen win that makes you feel like you’ve hacked the system.
Why You’ll Love This Recipe
I’ve tested this recipe more times than I care to admit. I’ve made them with scrambled eggs and with beaten eggs. I’ve tried pre-cooking the fillings and assembling them cold. I’ve wrapped them in foil, in parchment, and in plastic wrap. After all that trial and error, this version came out on top—and here’s why it works.
- Quick & Easy: From start to finish, you’re looking at about an hour of hands-on time. That’s it. One hour buys you twelve breakfasts, which is honestly the best trade-off in the world of meal prep.
- Simple Ingredients: Nothing fancy here. You need eggs, tortillas, cheese, and whatever filling you like. These are ingredients you probably already have in your fridge and pantry.
- Perfect for Busy Mornings: Whether you’re rushing to work, getting kids ready for school, or just want ten more minutes in bed, these burritos are your answer. They microwave in under two minutes.
- Crowd-Pleaser: I’ve served these to picky eaters, hungry teenagers, and breakfast snobs. Every single person has asked for the recipe. Kids especially love them because they feel like a treat.
- Unbelievably Delicious: The secret is in the technique—slightly undercooking the eggs so they stay soft after reheating, and using the right cheese-to-filling ratio so every bite is perfect. These don’t taste like freezer food. They taste like fresh breakfast.
What makes this recipe different from every other freezer burrito tutorial out there is the attention to texture. Most frozen breakfast burritos end up with rubbery eggs or a soggy tortilla. I figured out that the trick is to cool everything completely before wrapping, and to use a specific wrapping method that keeps the tortilla from getting steamy. It’s a small detail, but it makes all the difference.
These burritos are the kind of breakfast that makes you close your eyes after the first bite. They’re comfort food reimagined—faster, freezer-friendly, but with the same soul-soothing satisfaction of a diner breakfast. Perfect for impressing houseguests without stress, or turning a chaotic morning into something manageable.
What Ingredients You Will Need
This recipe uses simple, wholesome ingredients to deliver bold flavor and satisfying texture without the fuss. Most of these are pantry staples, and I’ve included substitution notes so you can work with what you have.
For the Egg Base
- 12 large eggs (room temperature if you remember, but cold works too)
- 1/4 cup whole milk or half-and-half (adds richness—water or plant milk will work but the texture won’t be as creamy)
- 1/2 teaspoon salt
- 1/4 teaspoon black pepper
- 2 tablespoons butter or olive oil (for cooking the eggs)
For the Filling
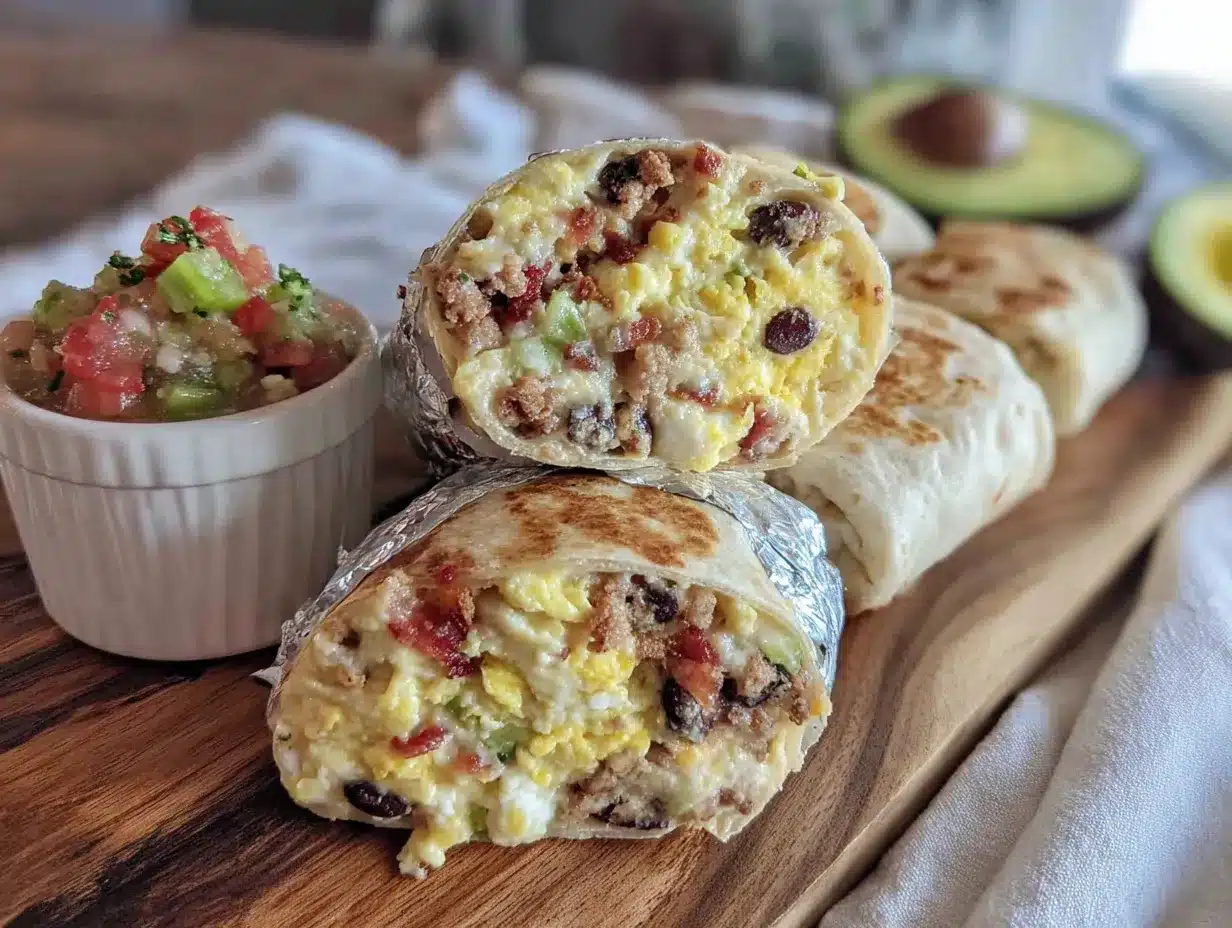
- 1 pound breakfast sausage, crumbled (I prefer Jimmy Dean for consistent flavor, but any brand works)
- 1 medium onion, diced
- 1 bell pepper, diced (any color—red adds sweetness, green adds bite)
- 2 cups shredded cheddar or Monterey Jack cheese (shred your own if you can—it melts better)
- 1 can (4 ounces) diced green chiles, drained (optional, but adds a nice mild kick)
For Assembly
- 12 large flour tortillas (burrito size, about 10 inches—I like Mission or Guerrero brands)
- Cooking spray or a little extra butter (for warming tortillas)
Let me talk about the tortillas for a second. You want the large burrito-size ones, not the small fajita ones. I learned this the hard way when I tried to stuff too much filling into a tiny tortilla and ended up with a mess. Also, look for tortillas that are pliable and fresh. If they’re dry or cracking, they’ll fall apart when you roll them.
For the cheese, I really recommend shredding it yourself from a block. Pre-shredded cheese has anti-caking agents that prevent it from melting smoothly. It’s a small extra step, but it makes a noticeable difference in the final texture. I use sharp cheddar because I like the flavor punch, but Monterey Jack or a Mexican blend works beautifully too.
If you want to switch up the protein, cooked and crumbled bacon works great, as does diced ham or leftover cooked chorizo. For a vegetarian version, use black beans and roasted sweet potatoes instead of the sausage. The recipe is flexible that way.
Equipment Needed
You don’t need much to make these burritos, which is part of the beauty. Here’s what you’ll need:
- A large non-stick skillet (12-inch is ideal for cooking the eggs and fillings)
- A medium skillet or saucepan (for cooking the sausage and veggies)
- A large mixing bowl
- A whisk or fork (for beating the eggs)
- A spatula (silicone is best for non-stick pans)
- A cutting board and sharp knife
- Measuring cups and spoons
- Aluminum foil or parchment paper (for wrapping)
- A baking sheet (optional, but helpful for freezing the burritos flat)
- Freezer-safe zip-top bags or containers
If you don’t have a non-stick skillet, a well-seasoned cast iron pan works too—just use a little extra butter or oil to prevent the eggs from sticking. I’ve also used a stainless steel pan in a pinch, but you’ll need to be more careful about temperature and stirring.
For wrapping, I prefer using aluminum foil because it holds the burrito shape better and can go directly into the oven or toaster oven for reheating. Parchment paper is a good alternative if you’re trying to reduce aluminum use, but you’ll need to secure it with tape or twist the ends tightly.
One tip: invest in a good spatula. I broke two cheap ones before I bought a silicone spatula that could handle the heat and the weight of the fillings. It made the whole process much less frustrating.
Preparation Method
This is where the magic happens. Follow these steps carefully, and you’ll have a freezer full of perfect breakfast burritos.
- Cook the sausage and veggies (10 minutes): Heat a medium skillet over medium-high heat. Add the crumbled sausage and cook, breaking it up with a spatula, until browned and cooked through—about 5 to 6 minutes. Add the diced onion and bell pepper and cook for another 3 to 4 minutes, until softened. If you’re using the diced green chiles, stir them in at the end. Transfer everything to a large bowl and let it cool slightly.
- Scramble the eggs (5 minutes): In a separate bowl, whisk the eggs with the milk, salt, and pepper until well combined. Heat the butter or oil in a large non-stick skillet over medium-low heat. Pour in the eggs and let them sit for about 30 seconds before you start stirring. Use a spatula to gently push the cooked eggs from the edges toward the center. Keep stirring until the eggs are just set but still look slightly wet—they’ll continue cooking from residual heat. This is the key step. Overcooked eggs turn rubbery after freezing and reheating. Transfer the eggs to the bowl with the sausage mixture.
- Cool everything completely (15 to 20 minutes): This step is non-negotiable. If you wrap the burritos while the filling is warm, steam will build up inside and make the tortillas soggy. Spread the filling mixture on a baking sheet to speed up cooling, or just let it sit in the bowl, stirring occasionally. You want it to reach room temperature. I usually let it cool while I clean up the kitchen.
- Prepare the tortillas (5 minutes): Warm the tortillas so they’re pliable and easy to roll. You can do this one at a time in a dry skillet over medium heat for about 15 seconds per side, or stack them between damp paper towels and microwave for 30 seconds. I prefer the skillet method because it gives the tortillas a slight toasty flavor.
- Assemble the burritos (15 minutes): Lay a warm tortilla on a clean work surface. Spoon about 1/2 cup of the filling mixture into the center, leaving a 2-inch border on all sides. Top with about 2 tablespoons of shredded cheese. Fold the sides of the tortilla over the filling, then fold the bottom flap up and over the filling, tucking it tightly. Roll the burrito away from you, keeping it snug but not too tight—you don’t want the tortilla to tear. Repeat with the remaining tortillas and filling.
- Wrap for freezing (10 minutes): Wrap each burrito tightly in aluminum foil or parchment paper. If using foil, fold the ends like you’re wrapping a present. If using parchment, fold the ends and secure with a piece of tape. Place the wrapped burritos on a baking sheet in a single layer and freeze for at least 2 hours, or until solid. This prevents them from sticking together in the freezer bag.
- Package and label (5 minutes): Once frozen solid, transfer the burritos to a freezer-safe zip-top bag or container. Squeeze out as much air as possible before sealing. Label the bag with the date and contents—trust me, you won’t remember in two weeks. They’ll keep for up to 3 months.
A few notes on the assembly: Don’t overfill the burritos. I know it’s tempting to stuff them full, but you need to be able to roll them properly. Also, if the tortilla tears, just eat that one fresh and use a new tortilla for the freezer. It happens to the best of us.
Cooking Tips & Techniques
After making dozens of batches, I’ve collected some tips that make a real difference. Let me share what I’ve learned the hard way.
The biggest mistake people make is overcooking the eggs. I did it myself the first few times. You want the eggs to look slightly underdone when you take them off the heat. They’ll finish cooking from the residual heat, and then they’ll cook again when you reheat the burrito. If you cook them until they’re fully set, they’ll be rubbery after the second reheat. Trust me on this one.
Drain any excess fat from the sausage. If you’re using a fatty sausage, there might be a lot of grease in the pan after cooking. Pour off most of it before adding the veggies. Too much fat in the filling will make the burritos greasy after reheating, and nobody wants a soggy tortilla.
Let the filling cool completely. I mentioned this in the method, but it’s worth repeating. I once rushed this step because I was hungry, and the burritos were a disaster. The steam from the warm filling made the tortillas wet, and they fell apart when I tried to reheat them. Patience pays off here.
Use a consistent wrapping technique. The way you wrap the burrito affects how it holds together during reheating. I like to fold the sides first, then roll from the bottom, tucking the filling in as I go. It takes a few tries to get the hang of it, but once you do, it’s like riding a bike.
Freeze them flat on a baking sheet first. If you throw the wrapped burritos directly into a freezer bag, they’ll freeze into a clump. Freezing them flat on a sheet pan for a couple of hours ensures they stay separate and easy to grab. I keep a baking sheet in my freezer just for this purpose.
Variations & Adaptations
One of the best things about this recipe is how easy it is to customize. Here are some variations I’ve tried and loved.
Vegetarian Black Bean and Sweet Potato: Swap the sausage for 1 can of black beans (rinsed and drained) and 1 medium sweet potato (peeled, diced, and roasted at 400°F for 20 minutes). Use pepper jack cheese for extra flavor. This version is hearty and satisfying, and it reheats beautifully.
Southwest Style: Add 1/2 cup corn kernels (frozen or canned, drained) and 1/2 cup cooked black beans to the filling. Use a Mexican cheese blend and add a tablespoon of taco seasoning to the eggs. Serve with salsa or hot sauce after reheating.
Bacon and Cheddar: Cook 8 slices of bacon until crispy, then crumble them. Use the bacon fat to cook the eggs (just 1 tablespoon instead of butter). This version is indulgent and perfect for weekend mornings when you want something special.
Low-Carb Option: Use low-carb tortillas (I like the ones from La Tortilla Factory) and reduce the amount of onion and bell pepper. Add extra cheese and some cooked spinach for volume. They freeze just as well as the original version.
Spicy Chorizo: Replace the breakfast sausage with Mexican chorizo. Cook it thoroughly and drain off the excess fat. Add 1/2 cup of diced jalapeño (seeds removed if you want less heat) and use pepper jack cheese. These have a serious kick and are my personal favorite.
I’ve also tried making these with whole wheat tortillas, and they work fine—they just need a little more time in the microwave to soften up. Gluten-free tortillas are trickier because they tend to crack when rolled, but if you warm them thoroughly and handle them gently, they can work.
Serving & Storage Suggestions
These burritos are designed for convenience, but how you reheat them makes a big difference in the final texture.
Microwave method (fastest): Unwrap the frozen burrito from the foil and place it on a microwave-safe plate. Microwave on high for 1 minute, then flip it over and microwave for another 30 to 45 seconds. Let it sit for a minute before eating—the filling gets dangerously hot. If you’re reheating two burritos, add about 30 seconds to the total time.
Oven method (crispiest): Preheat your oven to 350°F. Place the frozen burrito (still wrapped in foil) directly on the oven rack or on a baking sheet. Bake for 20 to 25 minutes, then unwrap and bake for another 5 minutes to crisp up the tortilla. This takes longer but gives you a texture closer to a fresh burrito.
Air fryer method (best of both worlds): Preheat your air fryer to 350°F. Unwrap the frozen burrito and place it in the basket. Cook for 8 to 10 minutes, flipping halfway through. The outside gets crispy while the inside stays soft and hot. This is my go-to method when I have an extra few minutes.
Storage: These burritos will keep in the freezer for up to 3 months. After that, they’re still safe to eat, but the texture starts to decline. I label my bags with the date and the filling type so I know what I’m grabbing. For best quality, eat them within 6 weeks.
If you want to make a batch for the fridge instead of the freezer, they’ll keep for up to 5 days. Just wrap them in foil or plastic wrap and store them in an airtight container. Reheat in the microwave for about 45 seconds.
I like to serve these with a side of fresh fruit or a dollop of Greek yogurt. Sometimes I’ll drizzle hot sauce over the top after reheating. They’re also great with a side of salsa or pico de gallo if you have it on hand.
Nutritional Information & Benefits
Here’s the estimated nutritional breakdown for one burrito (made with the basic sausage and cheddar version):
| Nutrient | Amount |
|---|---|
| Calories | 380 |
| Protein | 22g |
| Carbohydrates | 28g |
| Fat | 20g |
| Saturated Fat | 8g |
| Fiber | 2g |
| Sodium | 680mg |
These burritos are a good source of protein, which helps keep you full and satisfied throughout the morning. The eggs provide choline, which is important for brain health, and the cheese adds calcium for strong bones. If you use the vegetable-heavy variations, you’ll also get a good dose of fiber and vitamins.
For those watching their sodium intake, you can reduce the salt in the eggs and use low-sodium sausage or turkey sausage. The cheese also adds sodium, so using a lower-sodium cheese or reducing the amount can help. I’ve made versions with reduced-fat cheese and turkey sausage, and they’re still delicious—just a little less indulgent.
These burritos are naturally gluten-free if you use corn tortillas or certified gluten-free flour tortillas. They’re also easy to adapt for dairy-free diets by using dairy-free cheese and plant-based milk in the eggs. I’ve tested both versions, and they work well, though the texture is slightly different.
Conclusion
These quick freezer breakfast burritos have genuinely changed my mornings. What started as a desperate attempt to recreate a lost coffee shop favorite turned into a meal prep staple that saves me time, money, and stress. I love knowing that no matter how chaotic my morning gets, I have a hot, satisfying breakfast ready in under two minutes.
I hope you’ll give these a try and make them your own. Play around with the fillings, adjust the spice level, and find your perfect combination. That’s the beauty of this recipe—it’s a template, not a rigid set of rules. Whether you’re feeding a family, meal prepping for yourself, or just looking for a way to make mornings easier, these burritos deliver.
I’d love to hear how yours turn out! Drop a comment below and let me know what fillings you used, or tag me in your photos on social media. Happy cooking, and here’s to easier mornings!
Frequently Asked Questions
Can I use egg whites instead of whole eggs?
Yes, you can. Use about 2 cups of liquid egg whites (or the equivalent of 12 egg whites) in place of the whole eggs. The texture will be slightly different—less rich and a bit more rubbery—but it still works. I’d recommend adding a tablespoon of olive oil or butter to the egg whites to help with moisture.
How do I keep the tortillas from getting soggy?
The key is cooling the filling completely before assembling the burritos. Warm filling creates steam inside the wrapped burrito, which makes the tortilla soggy. Also, make sure you’re not overfilling the burritos, and wrap them tightly so there’s no air space inside.
Can I make these without meat?
Absolutely. The black bean and sweet potato version I mentioned earlier is one of my favorites. You can also use crumbled tofu seasoned with nutritional yeast and smoked paprika for a vegan option. Just make sure whatever you use is fully cooked and cooled before assembly.
How long do these last in the freezer?
They’ll stay good for up to 3 months, but I recommend eating them within 6 weeks for the best texture and flavor. After that, the tortillas can start to dry out and the filling might lose some of its moisture. Always label your bags with the date so you know which batch to grab first.
Can I reheat these in the oven instead of the microwave?
Yes, and it gives you a crispier tortilla. Preheat your oven to 350°F, place the frozen burrito (still wrapped in foil) on a baking sheet, and bake for 20 to 25 minutes. For an extra-crispy exterior, unwrap the burrito for the last 5 minutes of baking. The air fryer method also works great—8 to 10 minutes at 350°F, flipping halfway through.
Pin This Recipe!
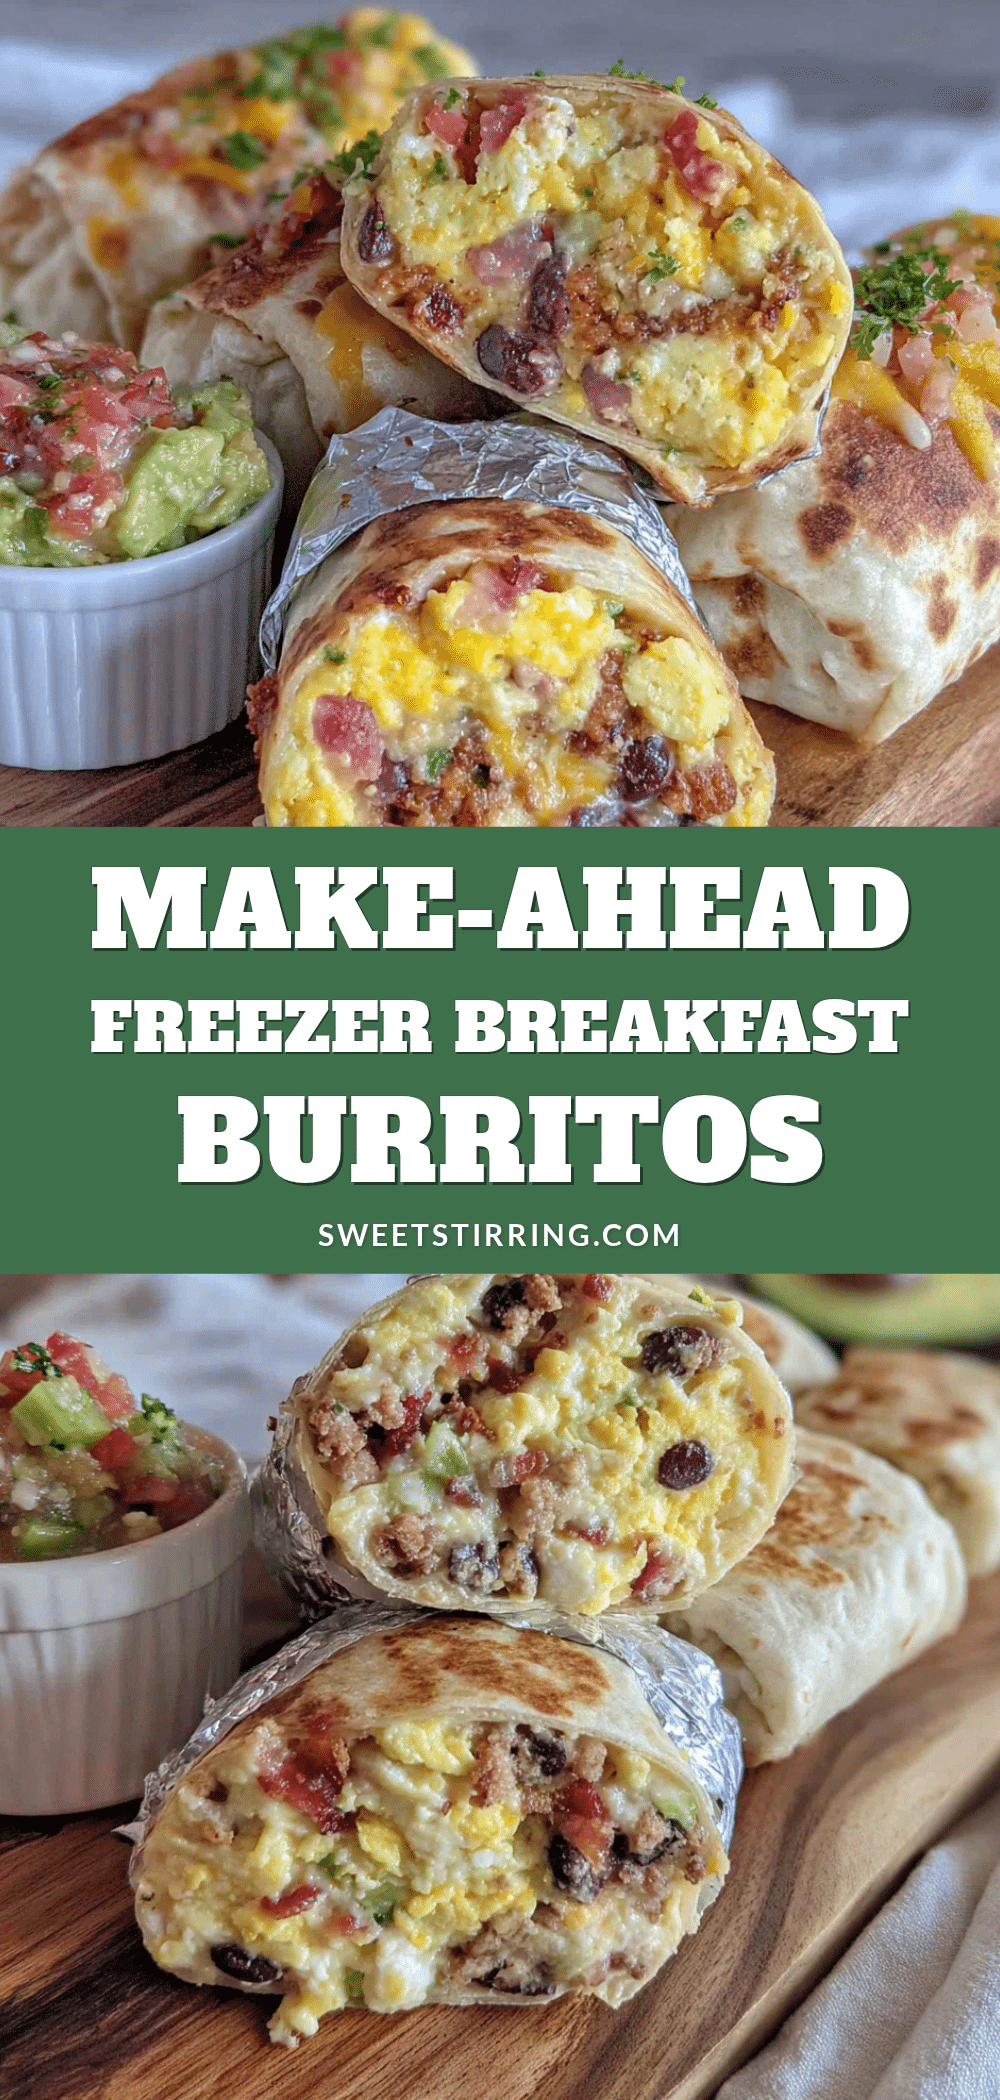
Quick Freezer Breakfast Burritos: Best Easy Make-Ahead Morning Meal

These quick freezer breakfast burritos are the ultimate make-ahead morning meal. With perfectly textured eggs, savory sausage, and melted cheese wrapped in a flour tortilla, they reheat in under two minutes for a satisfying breakfast any day of the week.
- Prep Time: 20 minutes
- Cook Time: 15 minutes
- Total Time: 1 hour
- Yield: 12 servings 1x
- Category: Breakfast
- Cuisine: American
Ingredients
- 12 large eggs
- 1/4 cup whole milk or half-and-half
- 1/2 teaspoon salt
- 1/4 teaspoon black pepper
- 2 tablespoons butter or olive oil
- 1 pound breakfast sausage, crumbled
- 1 medium onion, diced
- 1 bell pepper, diced
- 2 cups shredded cheddar or Monterey Jack cheese
- 1 can (4 ounces) diced green chiles, drained (optional)
- 12 large flour tortillas (burrito size, about 10 inches)
- Cooking spray or extra butter (for warming tortillas)
Instructions
- Cook the sausage and veggies: Heat a medium skillet over medium-high heat. Add the crumbled sausage and cook, breaking it up with a spatula, until browned and cooked through—about 5 to 6 minutes. Add the diced onion and bell pepper and cook for another 3 to 4 minutes, until softened. If using diced green chiles, stir them in at the end. Transfer everything to a large bowl and let it cool slightly.
- Scramble the eggs: In a separate bowl, whisk the eggs with the milk, salt, and pepper until well combined. Heat the butter or oil in a large non-stick skillet over medium-low heat. Pour in the eggs and let them sit for about 30 seconds before you start stirring. Use a spatula to gently push the cooked eggs from the edges toward the center. Keep stirring until the eggs are just set but still look slightly wet—they’ll continue cooking from residual heat. Transfer the eggs to the bowl with the saus…
- Cool everything completely: This step is non-negotiable. Spread the filling mixture on a baking sheet to speed up cooling, or just let it sit in the bowl, stirring occasionally. You want it to reach room temperature (about 15 to 20 minutes).
- Prepare the tortillas: Warm the tortillas so they’re pliable and easy to roll. Do this one at a time in a dry skillet over medium heat for about 15 seconds per side, or stack them between damp paper towels and microwave for 30 seconds.
- Assemble the burritos: Lay a warm tortilla on a clean work surface. Spoon about 1/2 cup of the filling mixture into the center, leaving a 2-inch border on all sides. Top with about 2 tablespoons of shredded cheese. Fold the sides of the tortilla over the filling, then fold the bottom flap up and over the filling, tucking it tightly. Roll the burrito away from you, keeping it snug but not too tight. Repeat with the remaining tortillas and filling.
- Wrap for freezing: Wrap each burrito tightly in aluminum foil or parchment paper. If using foil, fold the ends like you’re wrapping a present. If using parchment, fold the ends and secure with a piece of tape. Place the wrapped burritos on a baking sheet in a single layer and freeze for at least 2 hours, or until solid.
- Package and label: Once frozen solid, transfer the burritos to a freezer-safe zip-top bag or container. Squeeze out as much air as possible before sealing. Label the bag with the date and contents. They’ll keep for up to 3 months.
Notes
The biggest mistake is overcooking the eggs—they should look slightly underdone when removed from heat. Drain excess fat from the sausage to avoid greasy burritos. Cool the filling completely before wrapping to prevent soggy tortillas. Freeze burritos flat on a baking sheet before bagging to prevent clumping.
Nutrition
- Serving Size: 1 burrito
- Calories: 380
- Sugar: 2
- Sodium: 680
- Fat: 20
- Saturated Fat: 8
- Carbohydrates: 28
- Fiber: 2
- Protein: 22
Keywords: freezer breakfast burritos, make-ahead breakfast, meal prep breakfast, breakfast burrito recipe, easy breakfast



