Love this? Save it for later!
Share the inspiration with your friends
I was standing in line at the hardware store, of all places, holding a single lightbulb and wondering why this errand was taking forever. The man in front of me turned around—he had flour on his sleeve, which I only noticed because he reached into his pocket and a little puff of white dust floated into the air. He laughed, brushed it off, and said, “Sorry about that. I’ve been testing apple bread all morning, and I think I finally got it right.” I wasn’t expecting baking advice from a guy buying plumbing tape, but there I was, holding that lightbulb, listening to him describe exactly how to make a no-yeast apple fritter bread that tastes like a bakery treat without the stress.
He told me his wife had been asking for something sweet but easy, something that didn’t require kneading or rising or any of that fussy stuff. So he tinkered. He wanted the same sticky, cinnamon-sugar crunch you get from a fried apple fritter, but in loaf form—something you could slice for breakfast or sneak a piece of after dinner. Honestly, I almost forgot about my lightbulb. I scribbled his method on the back of a receipt, and let me tell you, I’ve been making it ever since. Maybe you’ve been there—standing in a random place, getting the best recipe tip from a complete stranger. This is that bread.
The first time I baked it, I forgot to set a timer and the top got a little dark. But you know what? It still tasted incredible. The apples get soft and jammy, the cinnamon sugar creates this crackly crust, and the whole house smells like autumn. That’s the thing about this recipe—it’s forgiving. It doesn’t need yeast, it doesn’t need patience, and it definitely doesn’t need a fancy trip to the grocery store. It just needs a few simple ingredients and maybe a little flour on your sleeve.
Why You’ll Love This Recipe
This isn’t just another quick bread recipe. After testing this dozens of times—yes, dozens—I can confidently say this version hits every note you want. It has the tender crumb of a classic loaf, the gooey apple filling you expect from a fritter, and that signature cinnamon-sugar crust that makes you reach for just one more slice.
- No Yeast, No Fuss: You don’t need to proof anything or wait for dough to rise. Mix, layer, bake. That’s it.
- Simple Pantry Ingredients: Butter, sugar, flour, eggs, apples, and cinnamon. You probably have everything except the apples right now.
- Perfect for Fall Mornings or Anytime: This bread works for breakfast, brunch, dessert, or a midnight snack with a cup of tea.
- Always a Crowd-Pleaser: I’ve brought this to potlucks and work events, and people always ask for the recipe. Kids love it, adults love it, everyone wins.
- Unbelievably Delicious Texture: The secret is layering diced apples with a cinnamon-sugar mixture right into the batter. It creates pockets of soft, caramelized fruit throughout the loaf.
What makes this different from other apple breads? Most quick breads have apples mixed evenly into the batter, which is fine, but it doesn’t give you that fritter experience. This recipe uses a layering technique. You pour half the batter, add a generous layer of cinnamon apples, then more batter, and finally a swirl of cinnamon sugar on top. The result is a loaf with distinct ribbons of apple goodness and a crunchy top that shatters when you slice it.
This is the kind of bread that makes you close your eyes after the first bite. It’s comfort food reimagined—simpler, faster, but with the same soul-soothing satisfaction. Perfect for impressing guests without stress, or turning a regular Tuesday into something memorable.
What Ingredients You Will Need
This recipe uses simple, wholesome ingredients to deliver bold flavor and satisfying texture without the fuss. Most of these are pantry staples you likely already have on hand.
For the Apple Fritter Bread Batter
- 1/2 cup (1 stick) unsalted butter, softened (adds richness and tenderness)
- 2/3 cup granulated sugar (for sweetness and structure)
- 2 large eggs, room temperature (helps the batter rise evenly)
- 1 1/2 teaspoons vanilla extract (pure vanilla is best, but imitation works fine)
- 1 1/2 cups all-purpose flour (spoon and level for accuracy)
- 1 1/2 teaspoons baking powder (the leavening agent—no yeast needed!)
- 1/2 teaspoon salt (balances the sweetness)
- 1/2 cup milk, room temperature (whole milk gives the best texture, but 2% works too)
For the Apple Filling & Cinnamon Swirl
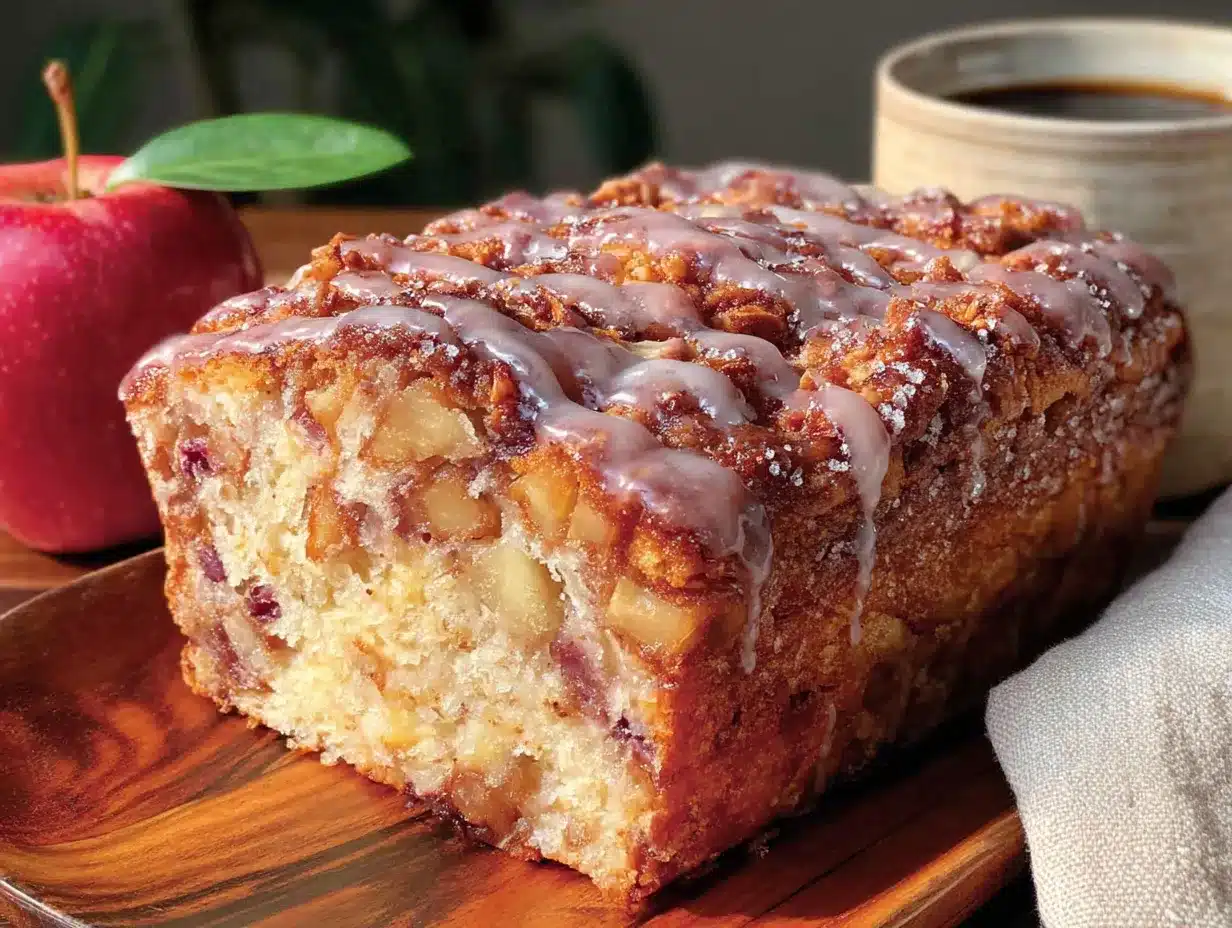
- 2 medium apples, peeled, cored, and diced into 1/2-inch pieces (I recommend Honeycrisp or Granny Smith for the best balance of sweet and tart)
- 1/3 cup granulated sugar
- 1 teaspoon ground cinnamon
- 1/8 teaspoon ground nutmeg (optional, but adds warmth)
For the Topping
- 2 tablespoons granulated sugar
- 1 teaspoon ground cinnamon
- 1 tablespoon unsalted butter, melted (for brushing on top after baking, optional but recommended)
Ingredient Tips: For the apples, I personally prefer Honeycrisp because they hold their shape well during baking and don’t turn into mush. Granny Smith apples are a great alternative if you like a tangier flavor. If you only have Red Delicious or Gala, that’s fine—just know they’ll break down a bit more, which actually creates a lovely jammy texture. I recommend using a good quality cinnamon like Saigon cinnamon for a stronger, sweeter spice profile.
Substitution Guidance: For a dairy-free option, substitute the butter with a high-quality vegan butter and use oat milk or almond milk. For a gluten-free version, swap the all-purpose flour with a 1:1 gluten-free baking flour blend. The texture will be slightly denser but still delicious. If you don’t have eggs, you can use 2 flax eggs (2 tablespoons ground flaxseed mixed with 6 tablespoons water) as a binder.
Equipment Needed
You don’t need a fancy kitchen to make this bread. Here’s what you’ll need:
- 9×5-inch loaf pan (standard size; if you use an 8×4-inch pan, increase baking time by 5-8 minutes)
- Parchment paper (for easy removal—trust me, this is a lifesaver)
- Two mixing bowls (one medium, one large)
- Whisk and spatula (a wooden spoon works too)
- Hand mixer or stand mixer (optional, but makes creaming butter and sugar easier)
- Knife and cutting board (for dicing apples)
- Cooling rack (essential for even cooling and preventing a soggy bottom)
If you don’t have parchment paper, you can grease the pan thoroughly with butter and dust it with flour. I’ve done it many times, and it works—just run a knife around the edges before turning it out. A cooling rack is worth the investment; I once cooled a loaf on a plate and the bottom got a little steamy. Lesson learned.
Preparation Method
This method is broken into clear steps so you can follow along easily. Take your time, and don’t rush the apple prep—it makes a big difference.
- Preheat and Prep: Preheat your oven to 350°F (175°C). Grease a 9×5-inch loaf pan or line it with parchment paper, leaving some overhang on the long sides for easy lifting.
- Prepare the Apple Filling: In a small bowl, combine the diced apples, 1/3 cup sugar, 1 teaspoon cinnamon, and nutmeg (if using). Toss until the apples are evenly coated. Set aside for at least 10 minutes. This allows the apples to release some of their juices, which will create those lovely caramelized pockets.
- Cream Butter and Sugar: In a large mixing bowl, beat the softened butter and 2/3 cup granulated sugar together until light and fluffy, about 2-3 minutes with a hand mixer. Scrape down the sides of the bowl halfway through. If you’re doing this by hand, it takes a bit more elbow grease, but it’s totally doable.
- Add Eggs and Vanilla: Add the eggs one at a time, beating well after each addition. Stir in the vanilla extract. The mixture should look smooth and slightly pale.
- Combine Dry Ingredients: In a separate medium bowl, whisk together the flour, baking powder, and salt. This ensures the baking powder is evenly distributed, so you don’t end up with a dense spot in your bread.
- Alternate Adding Flour and Milk: Gradually add the flour mixture to the butter mixture in three additions, alternating with the milk. Start and end with the flour. Mix on low speed or fold gently with a spatula until just combined. Do not overmix—overmixing develops gluten and makes the bread tough. A few small lumps are perfectly fine.
- Layer the Batter and Apples: Pour half of the batter into the prepared loaf pan and spread it evenly. Spoon half of the apple mixture over the batter, distributing it evenly. Pour the remaining batter over the apples and spread gently. Top with the remaining apples and any juices from the bowl.
- Prepare the Topping Swirl: In a tiny bowl, mix 2 tablespoons sugar and 1 teaspoon cinnamon. Sprinkle this mixture evenly over the top of the batter. Use a butter knife to gently swirl the cinnamon sugar into the top layer—just a few figure-eight motions. Don’t over-swirl or you’ll lose the distinct layers.
- Bake: Place the pan on the middle rack of your preheated oven. Bake for 50-60 minutes, or until a toothpick inserted into the center comes out clean or with a few moist crumbs. If the top is browning too quickly (after about 40 minutes), tent loosely with aluminum foil.
- Cool: Let the bread cool in the pan for 15 minutes. Then use the parchment paper to lift it out and transfer to a wire rack. Let it cool completely before slicing—about 1 hour. I know it’s hard to wait, but slicing warm bread tends to make it crumble.
Sensory Cues: When the batter is ready, it should be thick and scoopable, like a muffin batter. During baking, your kitchen will smell like cinnamon and baked apples—that’s how you know it’s working. The top should be golden brown and cracked in places. When you insert a toothpick, it should come out clean, not wet with batter.
Cooking Tips & Techniques
Over the years, I’ve learned a few tricks that make this recipe foolproof. Here are my best tips:
- Room Temperature Ingredients Matter: Cold eggs or milk can cause the batter to seize up, resulting in a denser loaf. Take them out of the fridge 30 minutes before starting. If you’re in a hurry, place the eggs in a bowl of warm water for 5 minutes.
- Don’t Skip the Apple Rest: Letting the diced apples sit with sugar and cinnamon draws out their natural juices. This creates a syrupy coating that caramelizes beautifully in the oven. If you skip this step, the apples won’t be as flavorful.
- Swirl Gently: When adding the cinnamon-sugar topping, use a light hand. Over-swirling mixes the sugar into the batter, and you lose that crackly top crust. I’ve done it—trust me, you want that crust.
- Check for Doneness: Ovens vary wildly. My oven runs hot, so I start checking at 50 minutes. If the toothpick comes out with wet batter, give it 5 more minutes. If it comes out with a few moist crumbs, it’s perfect.
- One Mistake I Made: The first time I made this, I used a metal pan without parchment paper and the bottom burned slightly. Now I always line my pan. Also, I once used a glass loaf pan and had to add 10 minutes to the baking time. Adjust accordingly!
Variations & Adaptations
This recipe is incredibly versatile. Here are some ways to make it your own:
- Gluten-Free Version: Substitute the all-purpose flour with a 1:1 gluten-free baking blend. Add 1/4 teaspoon xanthan gum if your blend doesn’t include it. The texture will be slightly more crumbly but still delicious.
- Vegan Version: Use vegan butter, flax eggs (2 tablespoons ground flaxseed + 6 tablespoons water), and oat milk. The bread will be a bit denser but just as flavorful. I’ve tested this, and it works beautifully.
- Seasonal Twists: In the fall, add 1/2 cup chopped pecans or walnuts to the apple mixture for crunch. In the summer, swap half the apples for diced peaches or pears. In winter, add a teaspoon of pumpkin pie spice to the cinnamon sugar.
- Flavor Variations: Add 1/2 cup of dried cranberries or raisins to the apple mixture for extra sweetness. For a caramel twist, drizzle a simple caramel sauce over the cooled bread. I’ve also tried adding a tablespoon of bourbon to the apple mixture—highly recommended for adult gatherings.
- Dietary Adjustments: Reduce the sugar to 1/2 cup total if you prefer a less sweet bread. Use a sugar substitute like monk fruit sweetener for a lower-carb option.
Serving & Storage Suggestions
This bread is wonderful in so many ways. Here’s how to serve and store it:
- Serving Temperature: Serve at room temperature or slightly warm. If you want to warm it up, pop a slice in the microwave for 10-15 seconds or in a 300°F oven for 5 minutes.
- Presentation Ideas: Dust with powdered sugar for a pretty finish. Serve with a dollop of vanilla ice cream or a drizzle of salted caramel for dessert. For breakfast, a smear of salted butter is perfection.
- Complementary Dishes: This bread pairs beautifully with a hot cup of coffee, a chai latte, or a glass of cold milk. It also works as a side to a simple fall salad with roasted vegetables.
- Storage Instructions: Store in an airtight container at room temperature for up to 3 days. To keep it moist, add a slice of bread to the container (the bread absorbs excess moisture, believe it or not). For longer storage, wrap tightly in plastic wrap and then foil, and freeze for up to 3 months.
- Reheating Tips: To reheat from frozen, thaw overnight in the fridge, then warm in a 300°F oven for 10 minutes. Or microwave individual slices for 20-30 seconds.
- Flavor Development: Honestly, this bread tastes even better the next day. The flavors meld together, and the apples soften further. If you can resist eating it all on day one, you’re in for a treat on day two.
Nutritional Information & Benefits
While this is a treat, it does have some redeeming qualities. Here’s the estimated nutrition per slice (based on 10 slices):
- Calories: 285
- Fat: 12g
- Carbohydrates: 41g
- Fiber: 2g
- Sugar: 24g
- Protein: 4g
Health Benefits: Apples are a great source of fiber and vitamin C. Cinnamon has anti-inflammatory properties and can help regulate blood sugar. Using whole milk provides calcium and vitamin D. While this isn’t a health food, it’s a wholesome homemade alternative to store-bought pastries filled with preservatives.
Dietary Considerations: This recipe contains gluten, dairy, and eggs. For allergen-friendly options, see the variations section above. If you’re watching your sugar intake, you can reduce the sugar by a third without dramatically affecting the texture.
I love that this bread feels indulgent but is made with simple, real ingredients. It’s the kind of treat you can feel good about sharing with your family.
Conclusion
This easy homemade apple fritter bread is everything I want in a fall recipe—simple, forgiving, and absolutely delicious. It came from an unexpected conversation in a hardware store, and now it’s a staple in my kitchen. I hope it becomes one in yours too.
Don’t be afraid to make it your own. Swap the apples, add nuts, or drizzle with glaze. The beauty of this recipe is that it’s a canvas for your creativity. Whether you’re baking for a holiday brunch, a cozy weekend breakfast, or just because you want the house to smell amazing, this bread delivers.
I’d love to hear how it turns out for you. Did you try a variation? Did your family love it? Drop a comment below and let me know. And if you share a photo on Pinterest or Instagram, tag me—I always love seeing your creations. Happy baking, friends!
Frequently Asked Questions
Can I use a different type of apple?
Absolutely. Honeycrisp and Granny Smith are my top picks, but Fuji, Braeburn, or Pink Lady also work well. Avoid Red Delicious as they tend to become mushy and lose flavor when baked.
Can I make this bread gluten-free?
Yes! Use a 1:1 gluten-free baking flour blend. I recommend one that contains xanthan gum for better structure. The texture will be slightly more tender, but it’s still incredibly tasty.
How do I know when the bread is done?
Insert a toothpick into the center of the loaf. If it comes out clean or with a few moist crumbs, it’s done. If it comes out with wet batter, bake for another 5-10 minutes. The top should be golden brown and cracked.
Can I freeze this bread?
Yes, it freezes beautifully. Wrap the cooled loaf tightly in plastic wrap, then a layer of aluminum foil. Freeze for up to 3 months. Thaw overnight in the refrigerator before serving.
Why did my bread sink in the middle?
This usually happens if the batter is overmixed or if the oven door is opened too early. Mix until just combined, and avoid opening the oven during the first 30 minutes of baking. Also, ensure your baking powder is fresh—expired baking powder won’t give enough lift.
Pin This Recipe!
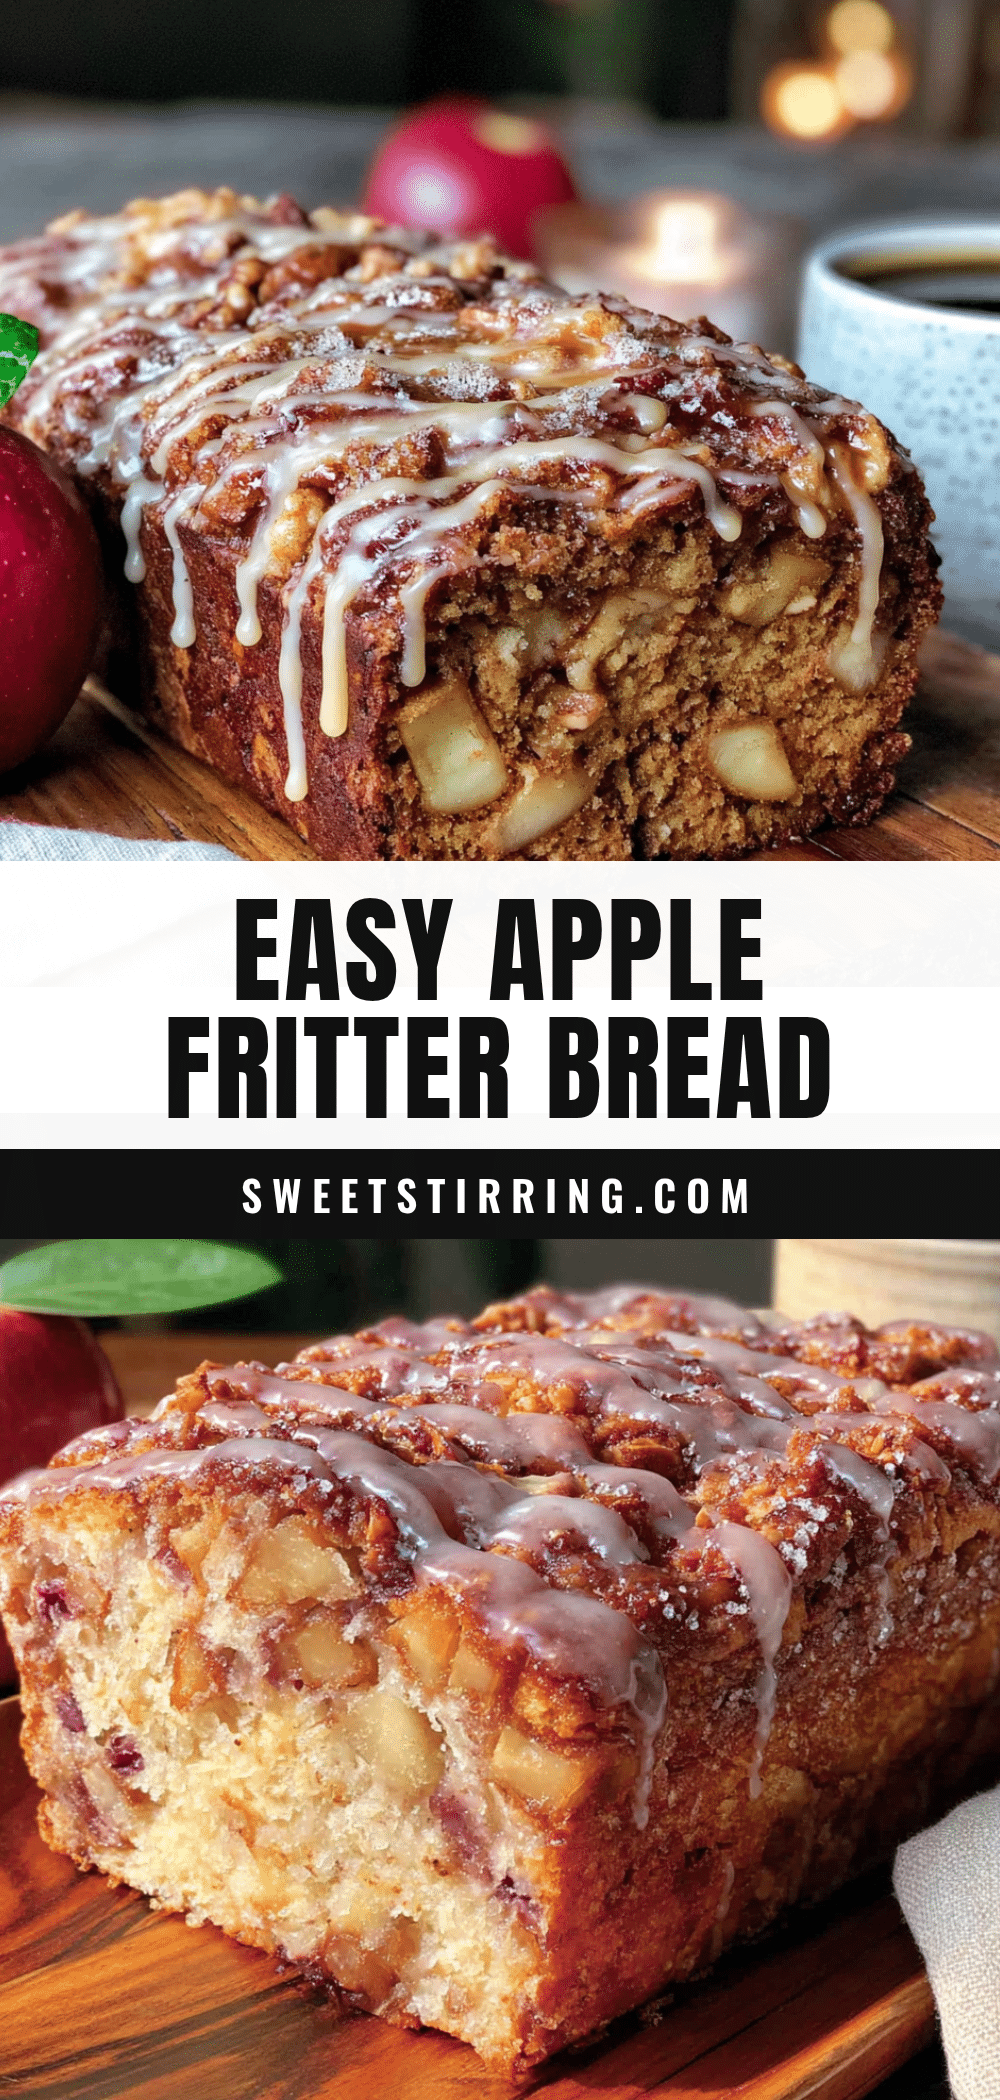
Easy Homemade Apple Fritter Bread (No Yeast!)
This no-yeast apple fritter bread delivers the sticky, cinnamon-sugar crunch of a fried fritter in an easy loaf form. Perfect for breakfast, brunch, or dessert, it features tender apples, a crackly crust, and simple pantry ingredients.
- Prep Time: 15 minutes
- Cook Time: 55 minutes
- Total Time: 1 hour 10 minutes
- Yield: 10 servings 1x
- Category: Dessert
- Cuisine: American
Ingredients
- 1/2 cup (1 stick) unsalted butter, softened
- 2/3 cup granulated sugar
- 2 large eggs, room temperature
- 1 1/2 teaspoons vanilla extract
- 1 1/2 cups all-purpose flour
- 1 1/2 teaspoons baking powder
- 1/2 teaspoon salt
- 1/2 cup milk, room temperature
- 2 medium apples, peeled, cored, and diced into 1/2-inch pieces (Honeycrisp or Granny Smith recommended)
- 1/3 cup granulated sugar
- 1 teaspoon ground cinnamon
- 1/8 teaspoon ground nutmeg (optional)
- 2 tablespoons granulated sugar
- 1 teaspoon ground cinnamon
- 1 tablespoon unsalted butter, melted (optional, for brushing)
Instructions
- Preheat your oven to 350°F (175°C). Grease a 9×5-inch loaf pan or line it with parchment paper, leaving some overhang on the long sides for easy lifting.
- In a small bowl, combine the diced apples, 1/3 cup sugar, 1 teaspoon cinnamon, and nutmeg (if using). Toss until the apples are evenly coated. Set aside for at least 10 minutes.
- In a large mixing bowl, beat the softened butter and 2/3 cup granulated sugar together until light and fluffy, about 2-3 minutes with a hand mixer.
- Add the eggs one at a time, beating well after each addition. Stir in the vanilla extract.
- In a separate medium bowl, whisk together the flour, baking powder, and salt.
- Gradually add the flour mixture to the butter mixture in three additions, alternating with the milk. Start and end with the flour. Mix on low speed or fold gently with a spatula until just combined. Do not overmix.
- Pour half of the batter into the prepared loaf pan and spread it evenly. Spoon half of the apple mixture over the batter. Pour the remaining batter over the apples and spread gently. Top with the remaining apples and any juices from the bowl.
- In a tiny bowl, mix 2 tablespoons sugar and 1 teaspoon cinnamon. Sprinkle this mixture evenly over the top of the batter. Use a butter knife to gently swirl the cinnamon sugar into the top layer—just a few figure-eight motions.
- Place the pan on the middle rack of your preheated oven. Bake for 50-60 minutes, or until a toothpick inserted into the center comes out clean or with a few moist crumbs. If the top is browning too quickly (after about 40 minutes), tent loosely with aluminum foil.
- Let the bread cool in the pan for 15 minutes. Then use the parchment paper to lift it out and transfer to a wire rack. Let it cool completely before slicing—about 1 hour.
Notes
For best results, use room temperature ingredients. Letting the diced apples sit with sugar and cinnamon draws out their natural juices, creating caramelized pockets. Swirl the topping gently to preserve the crackly crust. The bread tastes even better the next day. Store in an airtight container at room temperature for up to 3 days, or freeze for up to 3 months.
Nutrition
- Serving Size: 1 slice
- Calories: 285
- Sugar: 24
- Sodium: 180
- Fat: 12
- Saturated Fat: 7
- Carbohydrates: 41
- Fiber: 2
- Protein: 4
Keywords: apple fritter bread, no yeast, quick bread, apple bread, cinnamon sugar, fall recipe, easy baking



