Love this? Save it for later!
Share the inspiration with your friends
I was sitting in my car at a red light, scrolling through my phone to kill time, when the plumber who was repaving my neighbor’s driveway started tapping on my window. Not to tell me I was blocking something—he wanted to tell me about chicken thighs. “You gotta get the skin crispy,” he said, wiping sweat off his forehead. “Most people mess it up because they move the meat too soon. Let it sit. Let it scream in the pan.” I had no idea who this man was, but he had the conviction of someone who had ruined a lot of dinners before figuring it out. He told me about a garlic butter sauce he learned from his grandmother, who used to cook for a small restaurant in upstate New York. I scribbled his instructions on the back of a receipt while the light turned green and the car behind me honked.
That conversation stuck with me. I went home, grabbed a pack of bone-in, skin-on chicken thighs from the fridge, and decided to test his theory. I let them sit in the pan without touching them, just like he said. The skin turned out shatteringly crisp—the kind of crisp that makes a noise when you bite into it. And the garlic butter sauce? It was so good I almost drank it from the pan. Honestly, I’ve made this crispy one-pan garlic butter chicken thighs recipe at least twice a month since then. It is the kind of meal that makes you feel like you actually know what you’re doing in the kitchen, even if you’re just following directions from a plumber you met at a stoplight.
Maybe you’ve been there—staring at a pack of chicken thighs, wondering how to get that restaurant-quality sear without setting off the smoke alarm. This recipe solves that problem. It is fast, forgiving, and uses ingredients you probably already have. Let me show you how to make the best crispy one-pan garlic butter chicken thighs of your life.
Why You’ll Love This Recipe
This isn’t just another chicken recipe. After testing this dish over a dozen times—burning my fingers, oversalting a batch, and once forgetting the garlic entirely (don’t ask)—I can tell you this version is bulletproof. Here is why this crispy one-pan garlic butter chicken thighs recipe will become your new weeknight hero:
- Quick & Easy: From fridge to table in 30 minutes flat. No marinating, no complicated techniques, no stress.
- Simple Ingredients: You need chicken thighs, butter, garlic, salt, pepper, and maybe some fresh herbs. That is it. No trips to specialty stores.
- Perfect for Busy Weeknights: This is the dinner you make when you have zero energy but still want something that tastes like you tried.
- Crowd-Pleaser: I have served this to picky kids, foodie friends, and my mother-in-law. Everyone goes quiet after the first bite. That is the highest compliment.
- Unbelievably Delicious: The contrast between the crispy, golden skin and the rich, garlicky butter sauce is next-level comfort food. You will lick the spoon.
What makes this recipe different from every other garlic butter chicken out there? It is the technique. Most recipes tell you to flip the chicken constantly or add the butter too early. I learned the hard way—you need to let the skin sear undisturbed for a solid 6-7 minutes. That patience gives you a crust so crispy it practically shatters. And the garlic butter sauce? It gets infused with all those browned bits stuck to the pan, creating a flavor that is nutty, savory, and absolutely addictive.
This is the kind of recipe that makes you close your eyes after the first bite. It is comfort food reimagined—faster, easier, but with the same soul-soothing satisfaction. Perfect for impressing guests without breaking a sweat, or turning a random Tuesday into something worth remembering.
What Ingredients You Will Need
This recipe uses simple, everyday ingredients to deliver bold flavor and satisfying texture. Most of these are pantry staples, which makes this dish perfect for last-minute cooking.
- Chicken thighs, bone-in, skin-on: 4-6 pieces (about 2 lbs or 900g). The bone keeps the meat juicy, and the skin is what gets that incredible crispy crust. I prefer thighs from Bell & Evans or Mary’s Free Range for the best flavor and texture. Pat them dry with paper towels before cooking—this is non-negotiable for crispy skin.
- Unsalted butter: 3 tablespoons (42g). Using unsalted butter lets you control the salt level. It also browns more evenly than salted butter, which can sometimes scorch.
- Garlic cloves: 6-8 cloves, smashed but not minced. Smashing releases flavor without burning the garlic too quickly. If you love garlic (like I do), go for 8 cloves.
- Olive oil: 1 tablespoon (15ml). A little oil helps the butter brown without burning. It raises the smoke point and adds a fruity note to the sauce.
- Salt: 1 teaspoon (5g) kosher salt, plus more for seasoning. I use Diamond Crystal kosher salt—it is less salty by volume, so you get better control.
- Black pepper: ½ teaspoon (2g) freshly ground. Freshly ground pepper makes a noticeable difference here. Skip the pre-ground stuff for this recipe.
- Fresh thyme or rosemary: 3-4 sprigs. Optional but highly recommended. The herbs infuse the butter and add a subtle earthy note that balances the richness.
- Chicken broth or white wine: ¼ cup (60ml). This deglazes the pan and creates a quick, flavorful sauce. Use dry white wine like Sauvignon Blanc if you have it, or low-sodium chicken broth for a non-alcoholic option.
- Lemon juice: 1 tablespoon (15ml), freshly squeezed. A squeeze of lemon at the end brightens everything. It cuts through the fat and makes the dish feel lighter.
- Fresh parsley: 2 tablespoons, chopped. For garnish and a pop of freshness.
Substitution Guidance: If you only have boneless, skinless thighs, reduce cooking time by about 5 minutes and add a little extra oil to prevent sticking. For a dairy-free version, use vegan butter or ghee (ghee is technically dairy but has less lactose). You can swap fresh herbs with 1 teaspoon dried thyme or rosemary, but add them earlier so they rehydrate in the sauce.
Equipment Needed
You do not need fancy equipment for this recipe, which is part of its beauty. Here is what you will need:
- Large cast-iron skillet or heavy-bottomed stainless steel pan: A 12-inch skillet works best. Cast iron holds heat beautifully and gives you that perfect sear. I use a Lodge 12-inch skillet, which costs about $30 and will last forever. If you don’t have cast iron, a heavy stainless steel pan like All-Clad D3 works great too. Avoid nonstick pans—they don’t get hot enough for proper browning.
- Tongs: For flipping the chicken without piercing the skin. A good pair of spring-loaded tongs is worth every penny.
- Paper towels: For patting the chicken dry. This step is more important than you think.
- Cutting board and sharp knife: For smashing garlic and chopping herbs.
- Measuring spoons and cups: For accuracy, especially with salt and liquid.
- Instant-read thermometer (optional but recommended): Chicken thighs are done at 165°F (74°C), but I pull mine at 170°F for the best texture. A Thermapen is my go-to, but any reliable thermometer works.
Budget-Friendly Tip: If you don’t own a cast-iron skillet, check thrift stores. I found my backup skillet for $8, and it works just as well as the new one. You can also use a regular oven-safe skillet if you have one.
Preparation Method
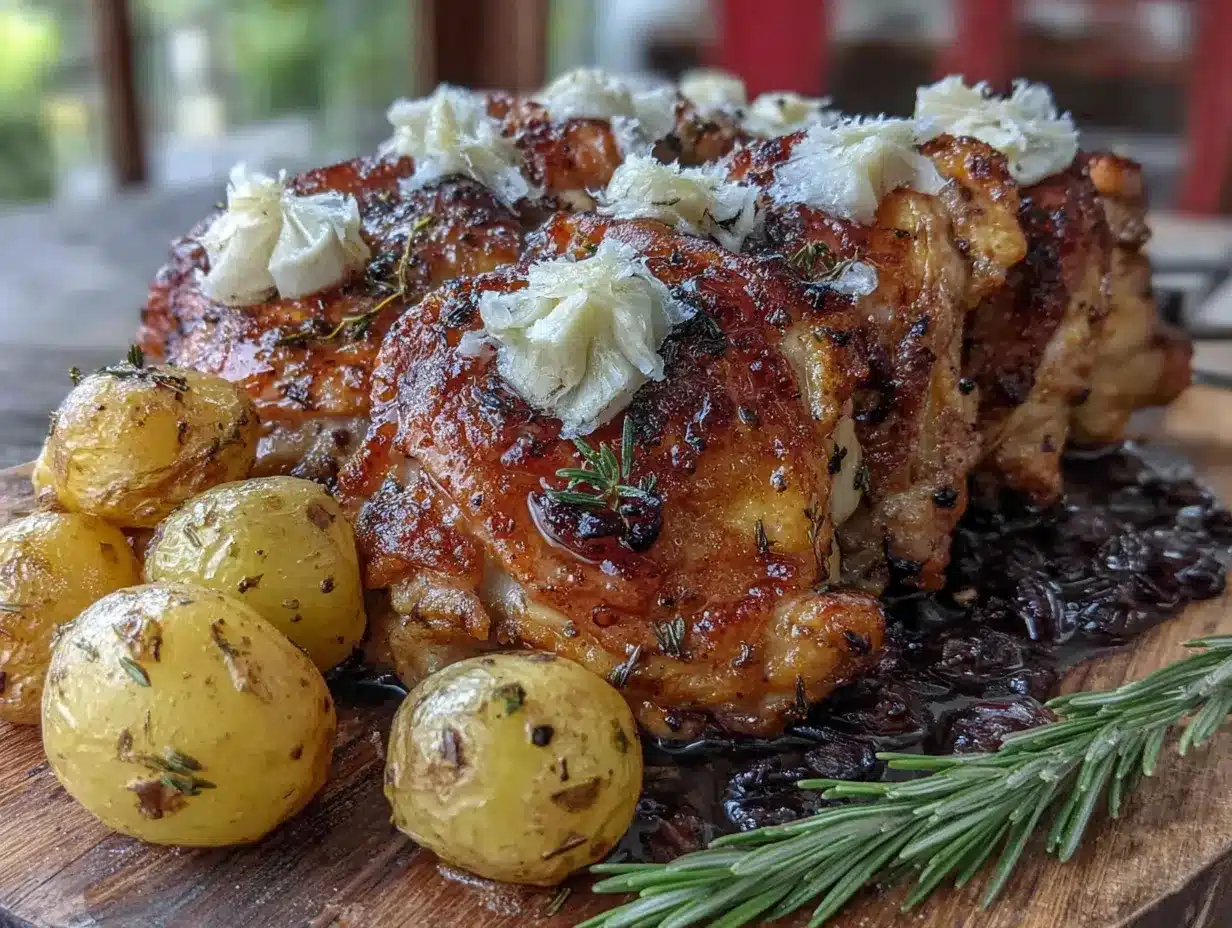
Let me walk you through this step by step. Trust me—following these details makes the difference between good chicken and unforgettable chicken.
- Prep the chicken (5 minutes): Take the chicken thighs out of the fridge 15-20 minutes before cooking to take the chill off. Pat them completely dry with paper towels. This is the most important step for crispy skin. Season generously on both sides with 1 teaspoon kosher salt and ½ teaspoon black pepper. Don’t be shy—the skin needs salt to crisp properly.
- Heat the pan (2 minutes): Place your skillet over medium-high heat. Add 1 tablespoon olive oil and 1 tablespoon butter. Swirl the pan until the butter melts and starts to foam. The oil helps prevent the butter from burning. You want the pan hot enough that a drop of water sizzles instantly, but not smoking.
- Sear the chicken (12-14 minutes): Place the chicken thighs skin-side down in the pan. Here is the part the plumber taught me—do not touch them for at least 6 minutes. Let them cook undisturbed. You will hear a steady sizzle. After 6 minutes, use tongs to gently lift one thigh and check the skin. It should be deep golden brown. If it is pale, give it another 1-2 minutes. Flip the thighs and cook for another 5-6 minutes on the second side. The internal temperature should reach 165°F (74°C) at the thickest part. Remove the chicken to a plate and tent loosely with foil.
- Make the garlic butter (3 minutes): Pour off most of the fat from the pan, leaving about 1 tablespoon. Reduce heat to medium-low. Add the remaining 2 tablespoons butter and the smashed garlic cloves. Stir constantly for 30 seconds—the garlic should become fragrant but not brown. If it starts browning too fast, remove the pan from the heat briefly.
- Deglaze the pan (2 minutes): Pour in the chicken broth or white wine. Scrape up all the browned bits from the bottom of the pan with a wooden spoon. Those bits are pure flavor. Let the liquid simmer for 1-2 minutes until it reduces slightly and thickens. Add the fresh thyme or rosemary sprigs and let them infuse for 30 seconds.
- Finish the dish (2 minutes): Return the chicken thighs to the pan, skin-side up. Spoon the garlic butter sauce over the top. Squeeze the lemon juice over everything. Let it simmer together for 1 minute so the flavors meld. Garnish with fresh parsley and serve immediately.
Troubleshooting Tip: If your skin is not crisping, the pan is not hot enough, or you overcrowded it. Cook in batches if needed. Also, make sure the chicken is very dry—moisture is the enemy of crispiness.
Cooking Tips & Techniques
After making this recipe more times than I can count, I have collected some hard-earned wisdom. Here are the tips that will save you from my mistakes:
- Dry the chicken like your dinner depends on it: I use three paper towels per thigh. No joke. Any moisture on the skin turns to steam, and steam prevents browning. Let the chicken sit uncovered in the fridge for 30 minutes if you have time—it dries the skin even more.
- Don’t crowd the pan: If your skillet is too small, cook the chicken in two batches. Overcrowding drops the pan temperature and steams the meat instead of searing it. You want each thigh to have its own space.
- Let it rest before serving: After you return the chicken to the pan for the final minute, let it rest for 5 minutes before cutting. This lets the juices redistribute so every bite is moist.
- Use a thermometer, not a timer: I once served undercooked chicken to guests because I trusted the clock. Now I always use an instant-read thermometer. Chicken thighs are done at 165°F, but I pull them at 170°F for the best texture—the dark meat stays juicy even at higher temps.
- Baste for extra flavor: In the last 2 minutes of cooking, tilt the pan slightly and spoon the butter sauce over the chicken continuously. This adds flavor and keeps the meat moist.
My Biggest Failure: I once tried to speed things up by using high heat the entire time. The butter burned, the garlic turned bitter, and the chicken skin was charred but not crispy. Lesson learned—medium-high for searing, then medium-low for the sauce. Patience pays off.
Variations & Adaptations
This recipe is endlessly adaptable. Here are some variations I have tried and loved:
- Spicy Garlic Butter Chicken: Add ½ teaspoon red pepper flakes with the garlic, or stir in 1 tablespoon sriracha at the end. The heat cuts through the richness beautifully.
- Herb-Crusted Version: Mix 2 tablespoons finely chopped fresh herbs (parsley, thyme, rosemary, oregano) with ¼ cup panko breadcrumbs. Press the mixture onto the skin side before searing. The herbs toast in the butter and create a flavorful crust.
- Lemon-Garlic with Capers: Add 2 tablespoons drained capers with the garlic. The briny pops of flavor are incredible against the rich butter sauce. Serve with a squeeze of extra lemon.
- Dairy-Free Adaptation: Replace butter with 3 tablespoons ghee or a high-quality vegan butter like Miyoko’s. The technique stays the same, and the flavor is still rich and nutty.
- Oven-Finished Version: Sear the chicken on the stovetop as directed, then transfer the skillet to a 375°F (190°C) oven for 10-12 minutes. This is great for cooking larger batches evenly.
Personal Favorite: I love the spicy version with a side of crusty bread to soak up the sauce. It is dangerous—I could eat the whole pan by myself.
Serving & Storage Suggestions
This dish is best served hot, straight from the pan. Here is how to make the most of it:
- Serving Temperature: Serve immediately while the skin is still crispy. If it sits too long, the skin softens from the sauce. Spoon the garlic butter sauce over the top right before serving.
- What to Serve With It: Mashed potatoes are the classic choice—the sauce acts as a gravy. Buttered egg noodles, roasted vegetables, or a simple green salad with lemon vinaigrette also work beautifully. Crusty bread is non-negotiable for sopping up every drop of that garlic butter.
- Storage: Store leftovers in an airtight container in the refrigerator for up to 3 days. The skin will soften, but the flavor remains incredible.
- Reheating: For best results, reheat in a skillet over medium heat with a splash of chicken broth or water. Cover the pan for 2-3 minutes to warm through, then uncover for 1 minute to re-crisp the skin slightly. Microwaving works in a pinch but will make the skin chewy.
- Freezing: You can freeze the cooked chicken (without the sauce) for up to 2 months. Wrap each thigh individually in plastic wrap, then place in a freezer bag. Thaw overnight in the fridge and reheat as directed. Make fresh sauce when reheating for the best texture.
Flavor Development: Honestly, the leftovers taste even better the next day. The garlic butter sauce seeps into the meat overnight, making every bite incredibly flavorful. I sometimes make extra just for next-day lunches.
Nutritional Information & Benefits
Here are the estimated nutritional values per serving (based on 4 servings, using bone-in, skin-on thighs):
| Nutrient | Amount per Serving |
|---|---|
| Calories | 420 |
| Protein | 32g |
| Fat | 31g |
| Saturated Fat | 12g |
| Carbohydrates | 3g |
| Fiber | 0g |
| Sugar | 1g |
| Sodium | 680mg |
Health Benefits: Chicken thighs are rich in B vitamins, particularly B6 and B12, which support energy metabolism and brain function. They also provide selenium, an antioxidant that supports thyroid health. Garlic is known for its anti-inflammatory properties and may help support immune function. Using butter in moderation adds fat-soluble vitamins A, D, E, and K.
Dietary Considerations: This recipe is naturally gluten-free and low-carb (only 3g carbs per serving). For a lower-fat option, remove the skin after cooking—you still get the flavor from the sauce. If you are watching sodium, use unsalted butter and reduce the added salt to ½ teaspoon.
Personal Note: I love that this recipe feels indulgent but is actually pretty balanced. The protein keeps you full, and the fat from the butter and skin is satisfying. It is the kind of meal that makes healthy eating feel effortless.
Conclusion
This crispy one-pan garlic butter chicken thighs recipe is proof that the best cooking advice sometimes comes from the most unexpected places. That plumber at the stoplight changed how I cook chicken forever, and I am so grateful he rolled down his window. The technique is simple, the ingredients are basic, but the result is anything but ordinary. Crispy skin, tender meat, and a garlic butter sauce that you will want to put on everything—this is weeknight dinner perfection.
I encourage you to make this recipe your own. Add more garlic if you are a garlic lover like me. Throw in some red pepper flakes for heat. Serve it with whatever sides make you happy. Cooking is about making food that brings you joy, and this dish delivers that in spades.
If you try this recipe, I would love to hear about it. Leave a comment below and tell me how it turned out—did you add any twists? Did your family go quiet after the first bite? Share your photos and tag me on social media. Let’s keep this conversation going, one crispy chicken thigh at a time. Happy cooking!
Frequently Asked Questions
Can I use boneless, skinless chicken thighs for this recipe?
Yes, but the cooking time will be shorter—about 4-5 minutes per side. The skinless version won’t be as crispy, but the garlic butter sauce will still be delicious. Add a little extra oil to prevent sticking.
How do I keep the garlic from burning?
Add the garlic after you remove the chicken from the pan, and keep the heat at medium-low. Stir constantly. Garlic burns quickly, especially in butter. If it starts turning dark brown, remove the pan from the heat immediately.
Can I make this recipe dairy-free?
Absolutely. Replace the butter with ghee (which is lactose-free) or a high-quality vegan butter. Coconut oil can work in a pinch but will add a slight coconut flavor. The technique remains the same.
Why is my chicken skin not getting crispy?
Three common reasons: the chicken was not patted dry enough, the pan was not hot enough when you added the chicken, or you moved the chicken too early. Make sure the chicken is very dry, let the pan heat fully, and do not touch the chicken for at least 6 minutes after placing it skin-side down.
Can I prepare this recipe ahead of time?
You can season the chicken up to 24 hours in advance and keep it uncovered in the fridge to dry out the skin. Cook the dish fresh for best results. Leftovers keep well for 3 days in the fridge, but the skin will soften upon reheating.
Pin This Recipe!
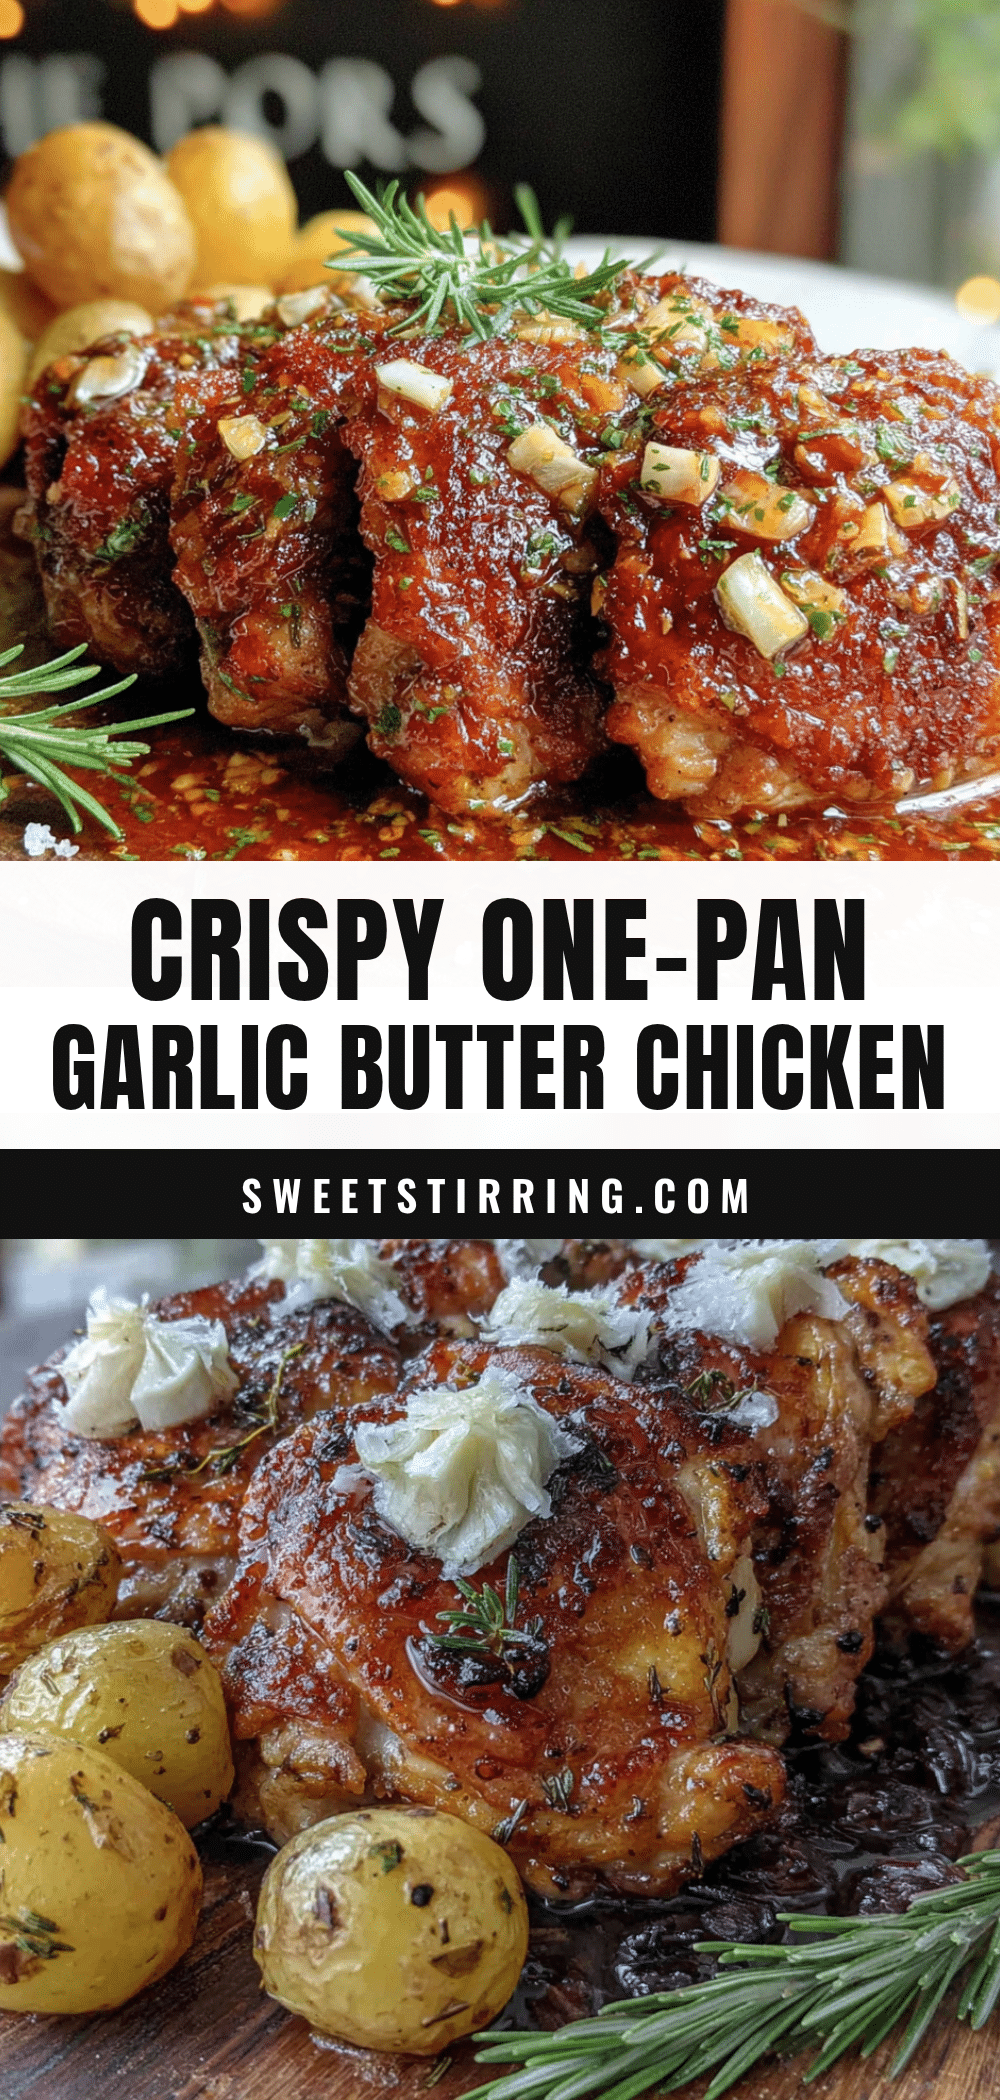
Crispy One-Pan Garlic Butter Chicken Thighs: Easy 30-Minute Recipe
This crispy one-pan garlic butter chicken thighs recipe delivers shatteringly crisp skin and a rich, nutty garlic butter sauce in just 30 minutes. Perfect for busy weeknights, it uses simple ingredients and a foolproof technique for restaurant-quality results.
- Prep Time: 5 minutes
- Cook Time: 25 minutes
- Total Time: 30 minutes
- Yield: 4 servings 1x
- Category: Main Course
- Cuisine: American
Ingredients
- 4–6 bone-in, skin-on chicken thighs (about 2 lbs or 900g)
- 3 tablespoons unsalted butter (42g)
- 6–8 garlic cloves, smashed
- 1 tablespoon olive oil (15ml)
- 1 teaspoon kosher salt (5g), plus more for seasoning
- ½ teaspoon freshly ground black pepper (2g)
- 3–4 sprigs fresh thyme or rosemary (optional)
- ¼ cup chicken broth or dry white wine (60ml)
- 1 tablespoon freshly squeezed lemon juice (15ml)
- 2 tablespoons fresh parsley, chopped
Instructions
- Prep the chicken: Take the chicken thighs out of the fridge 15-20 minutes before cooking. Pat them completely dry with paper towels. Season generously on both sides with 1 teaspoon kosher salt and ½ teaspoon black pepper.
- Heat the pan: Place a large cast-iron skillet or heavy-bottomed stainless steel pan over medium-high heat. Add 1 tablespoon olive oil and 1 tablespoon butter. Swirl until the butter melts and starts to foam.
- Sear the chicken: Place the chicken thighs skin-side down in the pan. Do not touch them for at least 6 minutes. After 6 minutes, check the skin—it should be deep golden brown. Flip and cook for another 5-6 minutes until the internal temperature reaches 165°F (74°C). Remove chicken to a plate and tent loosely with foil.
- Make the garlic butter: Pour off most of the fat from the pan, leaving about 1 tablespoon. Reduce heat to medium-low. Add the remaining 2 tablespoons butter and smashed garlic cloves. Stir constantly for 30 seconds until fragrant but not brown.
- Deglaze the pan: Pour in the chicken broth or white wine. Scrape up all the browned bits from the bottom of the pan. Let simmer for 1-2 minutes until slightly reduced. Add fresh thyme or rosemary sprigs and let infuse for 30 seconds.
- Finish the dish: Return the chicken thighs to the pan, skin-side up. Spoon the garlic butter sauce over the top. Squeeze lemon juice over everything. Let simmer together for 1 minute. Garnish with fresh parsley and serve immediately.
Notes
Pat the chicken very dry for crispy skin. Do not crowd the pan—cook in batches if needed. Let the chicken rest 5 minutes before serving. For best results, use an instant-read thermometer; pull thighs at 170°F for juiciest texture. Leftovers keep 3 days in the fridge; reheat in a skillet with a splash of broth.
Nutrition
- Serving Size: 1 chicken thigh with
- Calories: 420
- Sugar: 1
- Sodium: 680
- Fat: 31
- Saturated Fat: 12
- Carbohydrates: 3
- Protein: 32
Keywords: crispy chicken thighs, garlic butter chicken, one-pan chicken, 30-minute dinner, weeknight chicken, bone-in chicken thighs, easy chicken recipe



