Love this? Save it for later!
Share the inspiration with your friends
“I never thought assembling a snack board would become my secret weapon in managing gestational diabetes,” I confessed to my friend last week, laughing over a cup of herbal tea. It was the kind of day when the usual snack options felt either too heavy or too sweet, and honestly, I was getting tired of the endless cycle of testing, tracking, and second-guessing every bite. In the third trimester, when cravings and energy dips hit hard, finding snacks that satisfy without spiking blood sugar felt like chasing a unicorn.
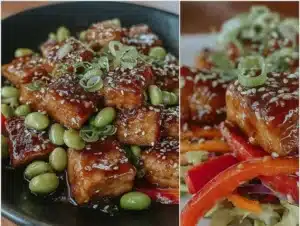
One afternoon, while browsing the farmer’s market, I spotted a colorful spread of fresh veggies, nuts, and cheeses at a local vendor’s stall. That vibrant display sparked an idea: why not bring that variety and freshness to my own kitchen in a way that fits the unique needs of moms dealing with gestational diabetes? The result was this Healthy Third-Trimester Gestational Diabetes Snack Board—a simple but thoughtfully curated collection of foods that balance flavor, nutrition, and blood sugar control.
Maybe you’re there too—the late-night cravings, the 3 PM slump, or the moments when you just want something tasty without the guilt or fuss. This snack board isn’t just about eating; it’s about feeling empowered and cared for during a tricky phase of pregnancy. Let me tell you, putting these snacks together turned my kitchen into a stress-free zone where I could nibble confidently, knowing I was doing right by myself and my little one.
Why You’ll Love This Recipe
Honestly, this snack board has become my go-to for those unpredictable third-trimester days. It’s more than just a collection of foods—it’s a carefully tested, mom-approved solution that makes managing gestational diabetes a bit less daunting. Here’s why you might find yourself reaching for this board often:
- Quick & Easy: Assembles in under 15 minutes, perfect for busy moms juggling appointments and nesting urges.
- Simple Ingredients: Uses everyday items you can find at any grocery or farmer’s market, no fancy trips required.
- Perfect for Snacking: Great for between-meal hunger or even light brunches during those slow mornings.
- Crowd-Pleaser: Family-friendly and designed to please even picky eaters, which is a win in any household.
- Unbelievably Delicious: Balances creamy, crunchy, tangy, and savory flavors that keep your taste buds happy and blood sugar steady.
What sets this snack board apart is the thoughtful combination of low-glycemic options with protein and healthy fats, which I honed after many trial-and-error sessions with my nutritionist. It’s not just about avoiding sugar spikes; it’s about enjoying the experience—snacking that feels like a treat, not a chore. I mean, who says managing gestational diabetes can’t be colorful and fun?
What Ingredients You Will Need
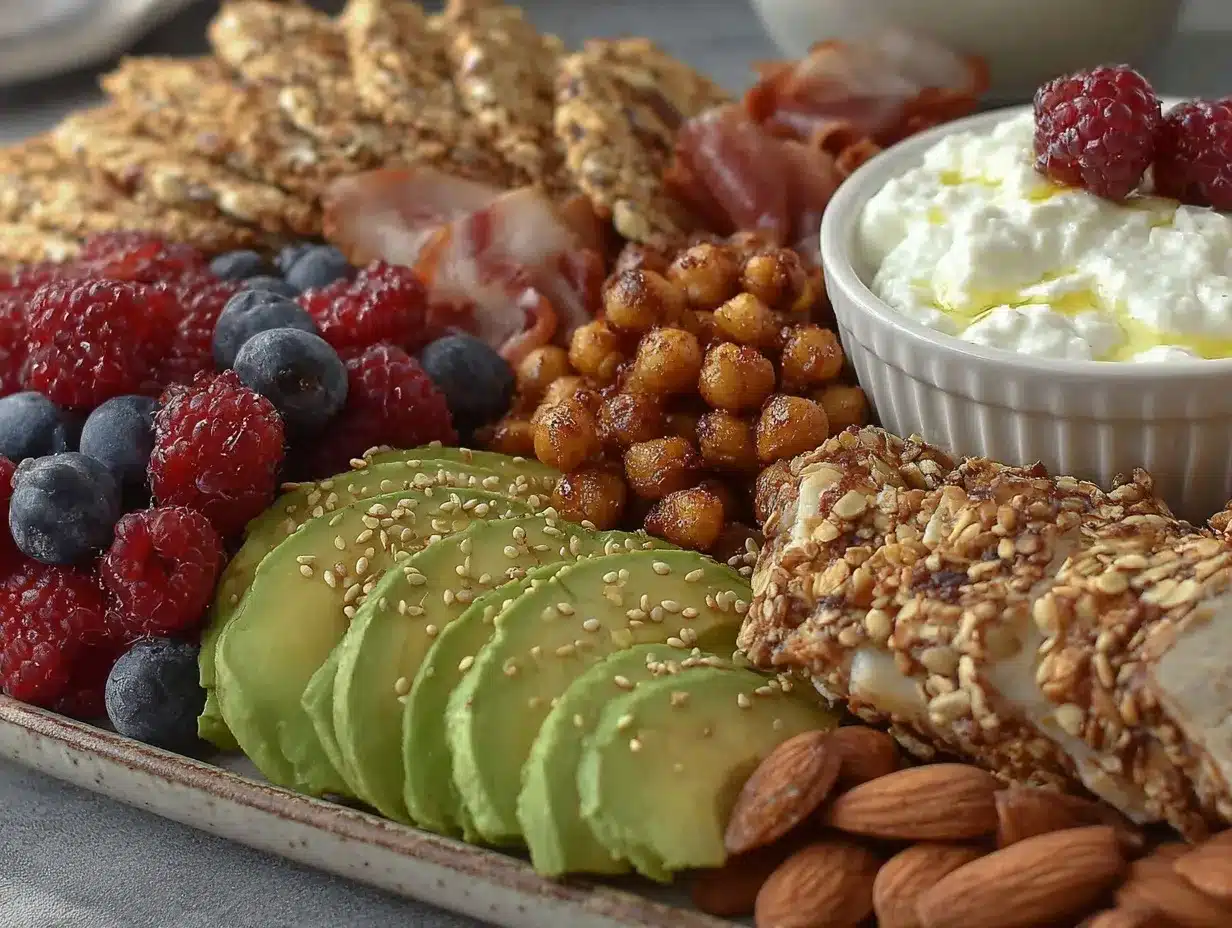
This snack board relies on wholesome, balanced ingredients that work harmoniously to keep energy stable and taste cravings satisfied. Most of these are pantry staples or easy to pick up fresh.
- Fresh Vegetables: Cherry tomatoes, cucumber slices, baby carrots, and sugar snap peas (all crisp and hydrating).
- Cheeses: Cubed sharp cheddar, mozzarella balls, and a few slices of aged gouda (adds richness and protein; I prefer organic, grass-fed options like Cabot or BelGioioso).
- Nuts & Seeds: Raw almonds, walnuts, and pumpkin seeds (great for crunch and healthy fats; avoid salted or roasted varieties to control sodium).
- Fresh Fruit: Green apple slices, berries (like blueberries or raspberries), and pear wedges (choose firm, less ripe fruits to keep sugar impact low).
- Whole-Grain Crackers: Look for options with minimal added sugar and high fiber, such as Mary’s Gone Crackers or homemade flaxseed crackers.
- Protein Bites: Hard-boiled eggs or turkey roll-ups (thinly sliced turkey breast wrapped around cucumber sticks).
- Dips & Spreads: Hummus (classic or beetroot), guacamole, and a small bowl of plain Greek yogurt mixed with fresh herbs (adds creaminess and a cooling effect).
- Extras: Olives (pitted, preferably Kalamata), a sprinkle of chia seeds over yogurt, and some fresh herbs like parsley or basil for garnish.
If you want to swap anything, for example, use dairy-free cheese or coconut yogurt if you’re sensitive. I’ve found that keeping the ingredients as close to whole foods as possible really helps with blood sugar control and keeps flavors fresh and bright.
Equipment Needed
Putting together this snack board is straightforward and doesn’t require any fancy tools. Here’s what I use:
- A large wooden or slate serving board (provides a rustic, inviting look; but a clean white platter works just fine too).
- Small bowls for dips and spreads—ceramic or glass ones to avoid leaking and mess.
- A sharp knife for slicing veggies and cheese (I recommend a serrated knife for fruits like apples and pears).
- Cutting board—preferably wood to avoid dulling your knife.
- Tongs or small forks to make grabbing snacks easy and hygienic.
I once tried assembling this on a flimsy plastic tray and let me tell you, the snacks didn’t stay put and it was a mess! Since switching to a sturdy board, cleanup is easier and presentation looks way more appetizing. If you’re on a budget, even a large plate or a baking sheet lined with parchment paper can work wonders.
Preparation Method
- Prep Your Ingredients (10-15 minutes): Wash and dry all fresh produce thoroughly. Slice cucumbers into thin rounds or sticks, halve cherry tomatoes, and peel baby carrots if needed. Cut green apples and pears into thin wedges, tossing them briefly in lemon juice to prevent browning.
- Cook Protein Bites (if using): Hard-boil eggs by placing them in boiling water for 10-12 minutes, then cool in ice water before peeling. For turkey roll-ups, slice the turkey breast thinly and wrap around cucumber sticks.
- Arrange Cheese and Nuts: Cube cheeses evenly and place small piles of almonds, walnuts, and pumpkin seeds in separate spots on the board. This helps guests easily grab their favorites without mixing flavors.
- Place Dips & Spreads: Spoon hummus, guacamole, and herbed Greek yogurt into small bowls. Garnish yogurt with a sprinkle of chopped parsley and chia seeds for a pretty touch.
- Assemble the Board: Start by placing bowls of dips strategically spaced. Surround them with fresh veggies, fruit wedges, cheese cubes, nuts, and olives. Use small clusters rather than spreading items randomly—this keeps the board neat and visually appealing.
- Garnish and Final Touches: Scatter fresh herbs like basil or parsley leaves across the board for color and aroma. Add whole-grain crackers in small stacks or fans around the edges to complete the look.
- Serve Immediately or Chill: This board is best enjoyed fresh but can be covered and refrigerated for up to 4 hours. Bring it to room temperature before serving for the best flavor.
By the way, a little tip: I learned the hard way that slicing everything too far in advance can lead to sogginess, especially with the crackers and cut fruit. So I slice just before assembling and keep everything chilled until serving time.
Cooking Tips & Techniques
Getting this snack board just right took a bit of trial and error, but here are some tips I swear by:
- Balance Is Key: Combine protein, fiber, and healthy fats to slow down sugar absorption. For example, pairing apple slices with cheddar helps avoid spikes.
- Freshness Matters: Use crisp veggies and firm fruits. Limp or overripe produce can throw off both texture and flavor.
- Watch Portions: It’s tempting to pile on nuts and cheese, but moderation keeps blood sugar stable. I usually limit nuts to a small handful per serving.
- Experiment with Dips: Hummus is a classic, but guacamole or Greek yogurt dips offer variety and creamy textures without added sugars.
- Keep Crackers Dry: Serve crackers separately or just before eating to prevent sogginess from moist veggies or dips.
- Multitask Smartly: While eggs boil, prep veggies; while slicing cheese, get dips ready—this keeps things efficient and minimizes kitchen chaos.
Honestly, once I got the hang of these little pointers, assembling the snack board became a quick, enjoyable ritual instead of a stressful task. It’s all about making healthy eating approachable, you know?
Variations & Adaptations
This snack board can easily be tailored to your tastes, dietary needs, or seasonal availability. Here are a few ways I’ve switched it up:
- Low-Carb Version: Swap apple and pear wedges for more berries or radishes. Replace crackers with celery sticks or kale chips.
- Dairy-Free Option: Use plant-based cheeses like cashew cheese or omit cheese entirely and add more nuts and seeds for protein.
- Seasonal Twist: In cooler months, roast some root vegetables like carrots or beets and serve warm alongside fresh options for contrast.
- Flavor Boost: Add a drizzle of balsamic glaze over cherry tomatoes or sprinkle smoked paprika over hummus for a smoky kick.
- Personal Favorite: I once added marinated artichoke hearts and sun-dried tomatoes, which gave the board a Mediterranean vibe that everyone raved about.
These adjustments keep the snack board interesting and perfectly suited to what’s in your kitchen or what your cravings dictate.
Serving & Storage Suggestions
Serve this snack board at room temperature for the best flavor and texture. If you’re hosting or want to prep ahead, cover and refrigerate it for up to 4 hours—just pull it out 15 minutes before serving to take the chill off.
This board pairs wonderfully with a crisp, unsweetened iced herbal tea or sparkling water with lemon. For a heartier snack, add a small side salad or a bowl of lentil soup.
Leftovers store well if kept separate—wrap crackers tightly to prevent moisture and store cut fruit in an airtight container with a splash of lemon juice. Nuts and cheese last longer in the fridge, but try to enjoy everything fresh for maximum taste and nutrient value.
Over time, the flavors of the dips deepen, especially the herbed Greek yogurt, so if you have leftovers the next day, give it a quick stir and fresh herbs to refresh the taste.
Nutritional Information & Benefits
This snack board is designed to provide balanced nutrition ideal for managing gestational diabetes. Here’s a snapshot of what you get per serving (approximate):
| Nutrient | Amount |
|---|---|
| Calories | 250-300 kcal |
| Protein | 12-15 grams |
| Carbohydrates | 20-25 grams (mostly low glycemic) |
| Fiber | 5-7 grams |
| Fat | 15-18 grams (healthy unsaturated fats) |
With fiber-rich veggies and fruits, quality protein from cheese and eggs, and heart-healthy fats from nuts and seeds, this board supports steady blood sugar levels and sustained energy. It’s naturally gluten-free if you select gluten-free crackers, and dairy-free options are easy to incorporate.
From a wellness perspective, this snack board helped me feel nourished without guilt and gave me the confidence to handle my third trimester’s ups and downs with a smile.
Conclusion
So there you have it—a Healthy Third-Trimester Gestational Diabetes Snack Board that’s as practical as it is delicious. It’s a little bit of calm in the often overwhelming whirlwind of pregnancy, designed to keep you satisfied and steady. Feel free to customize it to suit your cravings, dietary needs, or what’s fresh at the market.
Personally, this snack board became a comforting ritual, a way to connect with my body and baby while still enjoying food. I hope it brings you the same joy and ease. If you try it, I’d love to hear how it worked for you or what personal twists you added—drop a comment below and share your snack board stories!
Remember, healthy snacking doesn’t have to be boring, and managing gestational diabetes can coexist with joy and flavor.
FAQs
Can I prepare this snack board ahead of time?
Yes, you can prep most ingredients a few hours in advance. Keep crackers separate and add fresh fruit just before serving to prevent browning.
Are there gluten-free cracker options suitable for this board?
Absolutely! Look for gluten-free whole-grain crackers or make your own flaxseed crackers at home for a crunchy alternative.
How can I keep the fruit from browning on the board?
Toss sliced apples and pears with a little lemon juice right after cutting to slow oxidation and keep them looking fresh longer.
What are some good dip alternatives if I don’t like hummus?
You can try guacamole, herbed Greek yogurt, tzatziki, or even a light cottage cheese dip with herbs for variety.
Is this snack board suitable for other pregnancy stages?
Definitely! While tailored for the third trimester, its balanced nutrients and fresh ingredients make it a healthy choice throughout pregnancy and beyond.
Pin This Recipe!
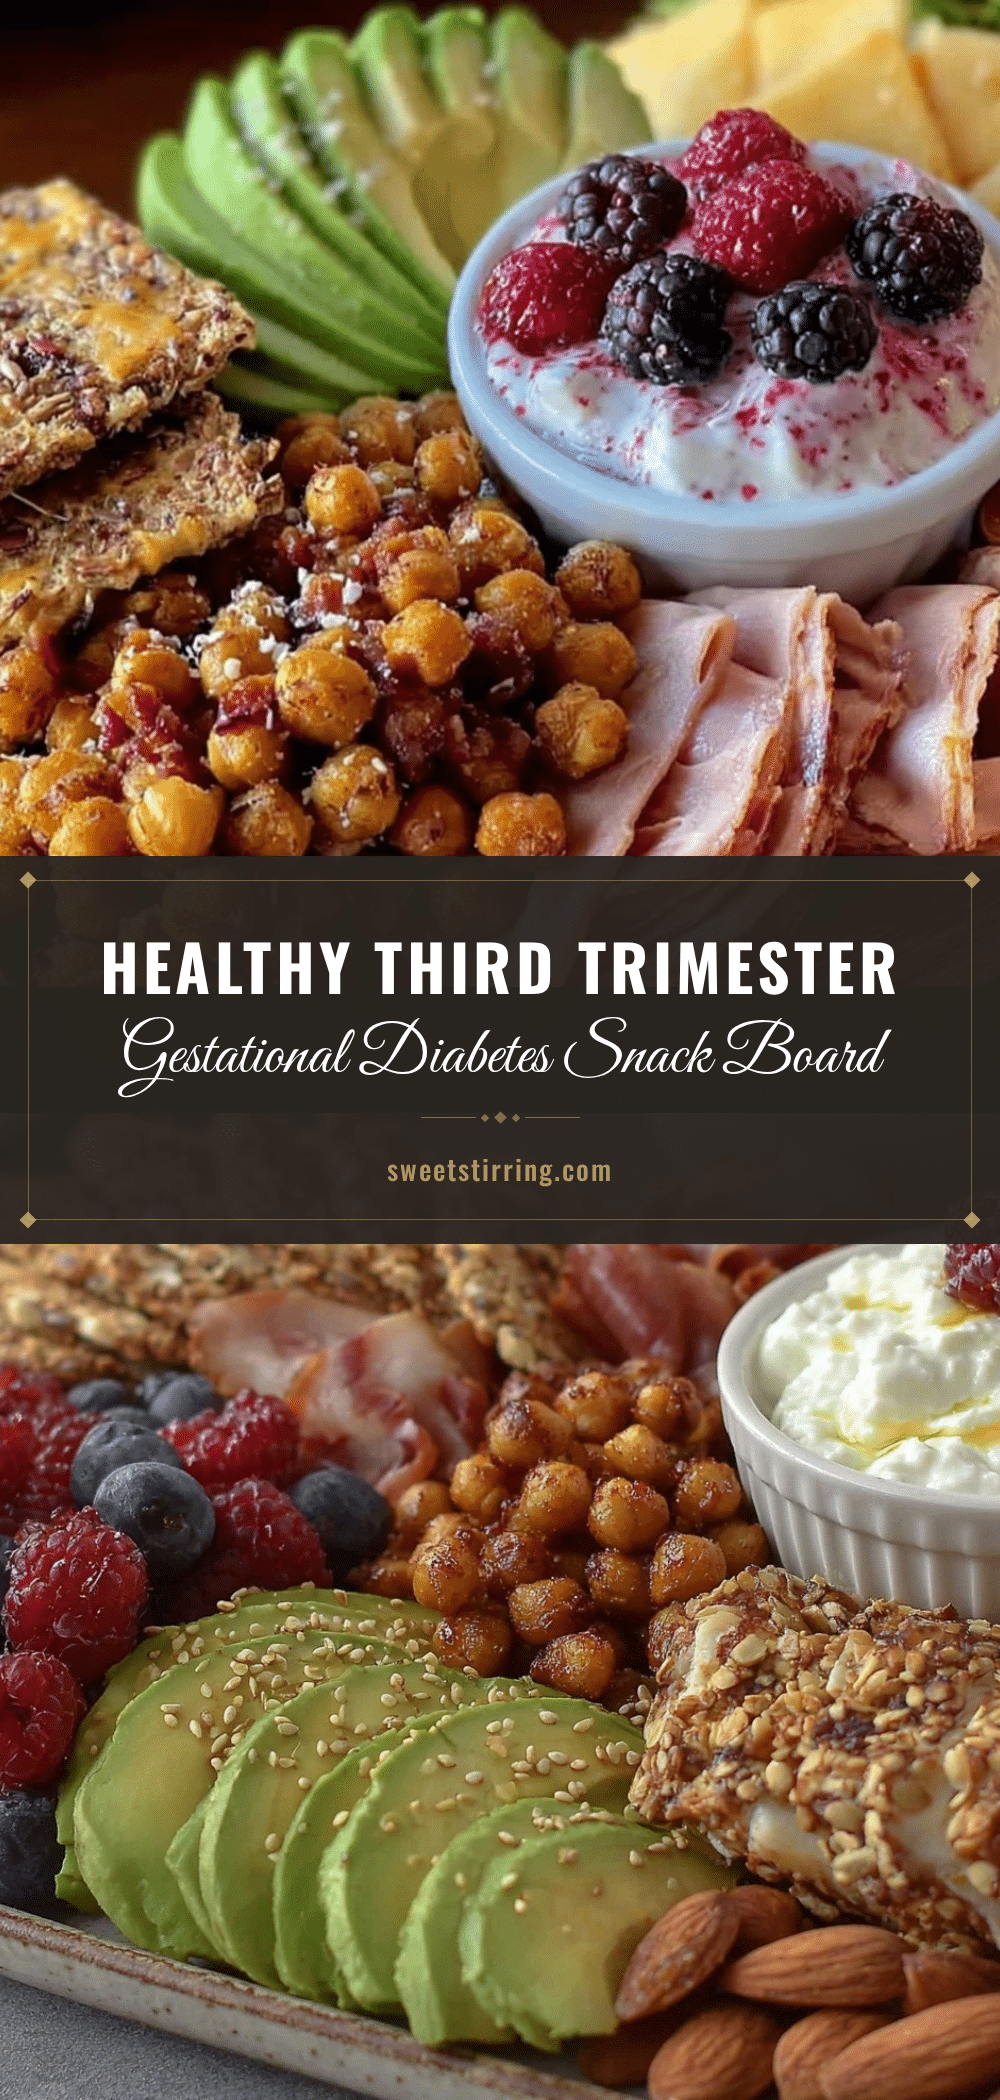
Healthy Third-Trimester Gestational Diabetes Snack Board
A thoughtfully curated snack board designed to balance flavor, nutrition, and blood sugar control for moms managing gestational diabetes in their third trimester. Quick to assemble and perfect for satisfying cravings without guilt.
- Prep Time: 10-15 minutes
- Cook Time: 10-12 minutes
- Total Time: 20-27 minutes
- Yield: 2-4 servings
- Category: Snack
- Cuisine: American
Ingredients
- Cherry tomatoes
- Cucumber slices
- Baby carrots
- Sugar snap peas
- Cubed sharp cheddar cheese
- Mozzarella balls
- Aged gouda slices
- Raw almonds
- Walnuts
- Pumpkin seeds
- Green apple slices
- Blueberries or raspberries
- Pear wedges
- Whole-grain crackers (e.g., Mary’s Gone Crackers or homemade flaxseed crackers)
- Hard-boiled eggs
- Turkey roll-ups (thinly sliced turkey breast wrapped around cucumber sticks)
- Hummus (classic or beetroot)
- Guacamole
- Plain Greek yogurt mixed with fresh herbs
- Olives (pitted, preferably Kalamata)
- Chia seeds
- Fresh herbs like parsley or basil
Instructions
- Wash and dry all fresh produce thoroughly. Slice cucumbers into thin rounds or sticks, halve cherry tomatoes, and peel baby carrots if needed. Cut green apples and pears into thin wedges, tossing them briefly in lemon juice to prevent browning.
- Hard-boil eggs by placing them in boiling water for 10-12 minutes, then cool in ice water before peeling. For turkey roll-ups, slice the turkey breast thinly and wrap around cucumber sticks.
- Cube cheeses evenly and place small piles of almonds, walnuts, and pumpkin seeds in separate spots on the board.
- Spoon hummus, guacamole, and herbed Greek yogurt into small bowls. Garnish yogurt with a sprinkle of chopped parsley and chia seeds.
- Start by placing bowls of dips strategically spaced. Surround them with fresh veggies, fruit wedges, cheese cubes, nuts, and olives. Use small clusters rather than spreading items randomly to keep the board neat and visually appealing.
- Scatter fresh herbs like basil or parsley leaves across the board for color and aroma. Add whole-grain crackers in small stacks or fans around the edges to complete the look.
- Serve immediately or cover and refrigerate for up to 4 hours. Bring to room temperature before serving for best flavor.
Notes
Slice fruits just before assembling to prevent sogginess and browning. Keep crackers dry and serve separately or just before eating. Use fresh, firm produce for best texture and flavor. Moderation with nuts and cheese helps maintain blood sugar stability. Variations include low-carb, dairy-free, and seasonal adaptations.
Nutrition
- Serving Size: One snack board serv
- Calories: 275
- Sugar: 8
- Sodium: 150
- Fat: 16.5
- Saturated Fat: 4
- Carbohydrates: 22.5
- Fiber: 6
- Protein: 13.5
Keywords: gestational diabetes snack, healthy snack board, third trimester snack, diabetes-friendly snacks, pregnancy snack ideas, low glycemic snacks, protein snacks, healthy fats, easy snack board