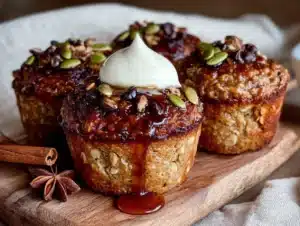
Love this? Save it for later!
Share the inspiration with your friends
It was 10:47 PM on a random Tuesday in October, and I had a pumpkin problem. Not the good kind where you’re carving jack-o’-lanterns and roasting seeds. No, I had a can of pumpkin puree staring at me from the pantry, leftover from a pie I never got around to making, and a sudden, inexplicable craving for something warm, spiced, and breakfast-adjacent. I didn’t have the energy for a full-blown baking project, but I had a bowl, a whisk, and the desperate hope that my kids would actually eat something with a vegetable in it before 7 AM. The idea for these oatmeal cups just sort of arrived—like a tired, late-night revelation. I grabbed some oats, that lonely can of pumpkin, and started throwing things together. Honestly, I wasn’t sure it would work. I mean, baked oatmeal can be tricky. Too dry, and it’s a crumbly mess. Too wet, and it’s a sad, soupy situation. But at that hour, you just go for it. You know that feeling when you’re too tired to overthink, so you just trust your gut? That was this recipe. And let me tell you, when I pulled those golden, fragrant cups out of the oven, I knew I had stumbled onto something special. They smelled like fall in a muffin tin. This is the story of how a late-night kitchen experiment became our family’s most-requested meal prep breakfast.
Why You’ll Love This Recipe
These pumpkin baked oatmeal cups are more than just a breakfast—they’re a lifesaver for busy mornings. I’ve tested this recipe more times than I can count, tweaking the ratios to get that perfect, tender-yet-hearty texture that holds up beautifully all week long. Here’s why they’ve earned a permanent spot in my weekly rotation:
- Quick & Easy: From bowl to oven in under 15 minutes. Mix everything in one bowl, scoop into a muffin tin, and let the oven do the work. Perfect for those Sunday meal prep sessions.
- Simple Ingredients: You probably have everything in your pantry right now. Oats, pumpkin puree, eggs, milk, maple syrup, and pumpkin pie spice. No fancy trips to a specialty store required.
- Perfect for Meal Prep: These cups are the ultimate grab-and-go breakfast. Make a batch on Sunday, and you have breakfast sorted for the entire week. They reheat in 30 seconds in the microwave.
- Crowd-Pleaser: My kids devour these. And I’m not talking about the “I’ll eat it because I have to” kind of devouring. I’m talking about asking for seconds. The pumpkin adds natural sweetness and moisture, so you don’t even miss the extra sugar.
- Unbelievably Delicious: The texture is where these cups really shine. They’re soft and tender on the inside, with a slightly firm, golden edge. The pumpkin and warm spices create a flavor that tastes like a hug in a muffin wrapper.
What makes this recipe different from the dozens of other baked oatmeal recipes out there? It’s the balance. I’ve found the exact ratio of oats to liquid that prevents that dreaded gummy texture. Plus, using pumpkin puree adds fiber and moisture without making them taste like a health food. These cups are comfort food you can feel good about serving your family. They’re the kind of breakfast that makes you close your eyes after the first bite, even if you’re just standing in the kitchen at 6 AM.
What Ingredients You Will Need
This recipe relies on simple, wholesome ingredients that work together to create a breakfast that’s both satisfying and delicious. Most of these are pantry staples, which makes this recipe a breeze to throw together on a whim.
- Rolled Oats (2 cups / 180g): The backbone of the recipe. I prefer rolled oats for their chewy texture. Quick oats will work in a pinch, but they’ll result in a softer, less structured cup. Don’t use steel-cut oats—they won’t cook through properly.
- Pumpkin Puree (1 cup / 245g): Not pumpkin pie filling! Make sure you grab 100% pure pumpkin puree. It adds moisture, a beautiful orange color, and a subtle sweetness. I usually go with Libby’s, but any brand works.
- Milk (1 cup / 240ml): Any milk works here. I use whole milk for extra creaminess, but almond milk, oat milk, or 2% are all fine. The fat content just affects the richness.
- Large Eggs (2): The binder that holds everything together. They add structure and help the cups rise just a little. Room temperature eggs incorporate more evenly.
- Maple Syrup (1/3 cup / 80ml): My go-to sweetener. It pairs beautifully with pumpkin and adds a warm, caramel-like flavor. Honey or brown sugar are great substitutes if that’s what you have.
- Coconut Oil or Butter (3 tablespoons / 42g), melted: Adds richness and helps the edges get that lovely golden-brown crispness. I use melted coconut oil for a subtle flavor, but unsalted butter works perfectly.
- Pumpkin Pie Spice (2 teaspoons): The magic blend. If you don’t have it, make your own: 1 teaspoon cinnamon, 1/2 teaspoon ginger, 1/4 teaspoon nutmeg, 1/4 teaspoon cloves.
- Vanilla Extract (1 teaspoon): Enhances all the warm flavors. A good-quality vanilla makes a difference here.
- Baking Powder (1 teaspoon): Gives the cups a little lift so they’re not dense hockey pucks.
- Salt (1/4 teaspoon): Just a pinch to balance the sweetness and bring out the pumpkin flavor.
- Optional Mix-Ins: 1/2 cup chocolate chips or 1/2 cup chopped pecans. I add chocolate chips for the kids—it makes them feel like they’re getting a treat.
Equipment Needed
You don’t need a fancy kitchen to make these oatmeal cups. Here’s what you’ll need:
- Muffin Tin (12-cup): A standard non-stick muffin tin works great. If yours is prone to sticking, use paper liners.
- Large Mixing Bowl: For combining all the ingredients. Any large bowl will do.
- Whisk: For beating the eggs and mixing the wet ingredients smoothly.
- Measuring Cups and Spoons: For accuracy. I’ve learned the hard way that eyeballing ingredients in baking rarely ends well.
- Ice Cream Scoop or Large Spoon: For evenly distributing the batter into the muffin cups. A scoop makes it so much cleaner.
- Cooling Rack: Optional but helpful. It lets the cups cool evenly so they don’t get soggy on the bottom.
Pro tip: If you don’t have a muffin tin, you can bake this in an 8×8-inch baking dish. Just increase the baking time by about 10 minutes and cut it into squares.
Preparation Method
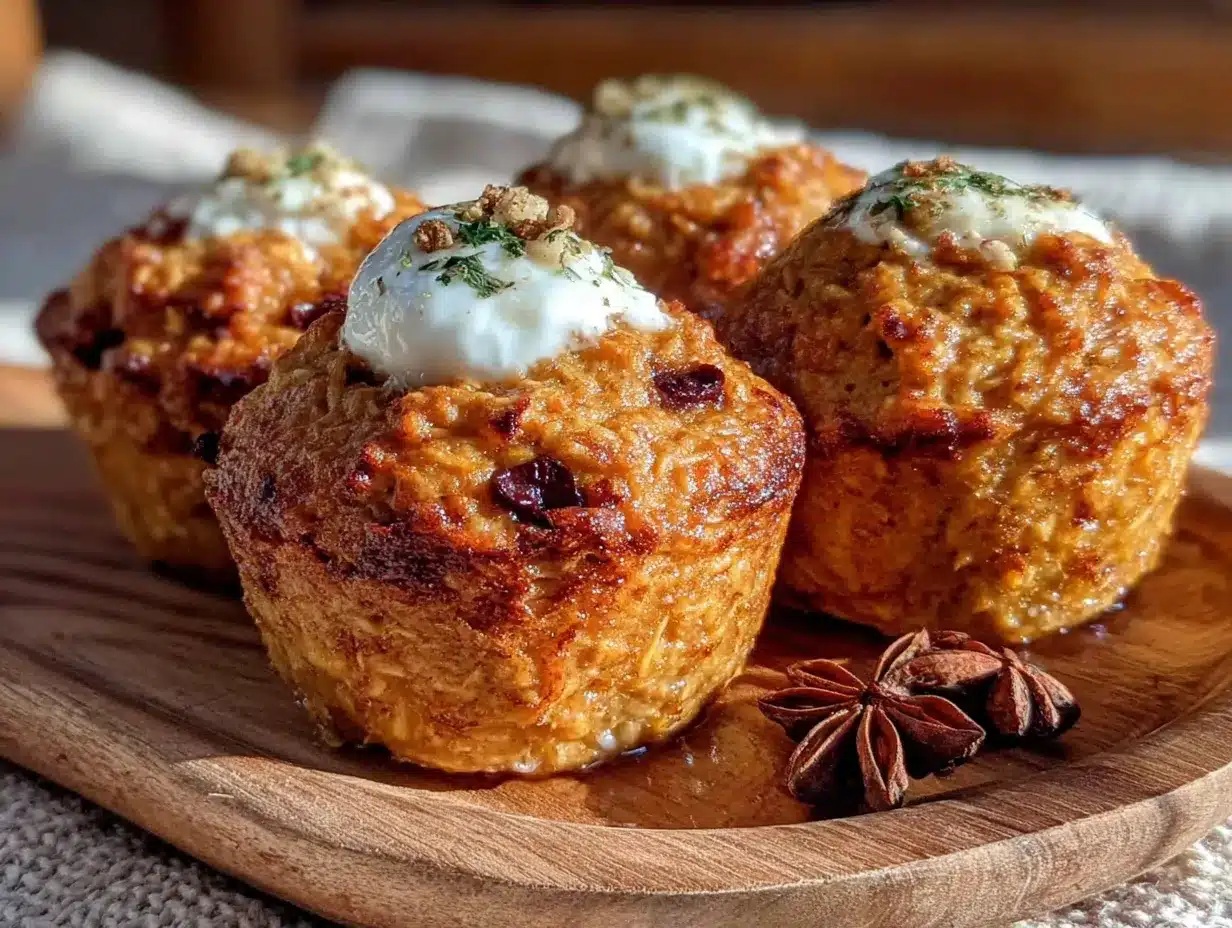
Let’s get baking! This recipe comes together quickly, so preheat your oven first and get everything ready.
- Preheat and Prep (5 minutes): Preheat your oven to 375°F (190°C). Grease your 12-cup muffin tin generously with cooking spray or butter. If you’re using paper liners, give them a quick spray too—the oatmeal can stick.
- Mix the Dry Ingredients (2 minutes): In your large mixing bowl, whisk together the 2 cups of rolled oats, 1 teaspoon of baking powder, 2 teaspoons of pumpkin pie spice, and 1/4 teaspoon of salt. Make sure there are no clumps of baking powder hiding in the oats.
- Combine the Wet Ingredients (3 minutes): In a separate smaller bowl (or just a liquid measuring cup), whisk together the 1 cup of pumpkin puree, 1 cup of milk, 2 large eggs, 1/3 cup of maple syrup, 3 tablespoons of melted coconut oil or butter, and 1 teaspoon of vanilla extract. Whisk until the mixture is smooth and a beautiful, creamy orange color.
- Bring It All Together (2 minutes): Pour the wet ingredients into the bowl with the dry ingredients. Stir with a spatula or wooden spoon until everything is just combined. Be careful not to overmix—a few streaks of flour are fine. Overmixing can make the oatmeal cups tough. If you’re adding chocolate chips or pecans, fold them in now.
- Fill the Muffin Tin (3 minutes): Let the batter sit for about 5 minutes. This gives the oats a chance to absorb some of the liquid, which helps the cups hold their shape. Then, use your ice cream scoop or a large spoon to divide the batter evenly among the 12 muffin cups. They should be filled almost to the top—the cups won’t rise much.
- Bake to Perfection (20-25 minutes): Place the muffin tin on the center rack of your preheated oven. Bake for 20-25 minutes, or until the tops are set and golden brown, and a toothpick inserted into the center of a cup comes out clean. The edges should be slightly firm to the touch. My oven runs a little hot, so I start checking at 18 minutes.
- Cool and Release (10 minutes): Let the oatmeal cups cool in the muffin tin for 5-10 minutes. This is important—they need this time to set up. Then, run a butter knife around the edges of each cup and gently lift them out. Transfer them to a cooling rack to cool completely. If you try to take them out too soon, they might fall apart.
Sensory cue: You’ll know they’re done when your kitchen smells like a pumpkin spice candle, and the tops are a warm, golden brown with slightly darker edges.
Cooking Tips & Techniques
After making these cups more times than I can count, I’ve picked up a few tricks that make a real difference. Let me share what I’ve learned—including some of my mistakes so you don’t have to make them yourself.
The Soaking Secret: That 5-minute rest before baking? It’s non-negotiable. I skipped it once because I was in a hurry, and the cups were much looser and didn’t hold together as well. That resting time lets the oats start absorbing the liquid, which gives the final cups a much better texture. Trust me on this one.
Don’t Overbake: The biggest mistake I made early on was overbaking. I thought they needed to be as firm as a regular muffin. They don’t. Overbaked oatmeal cups turn dry and crumbly. You want them to be just set in the center. A toothpick should come out with a few moist crumbs, not completely clean. They’ll continue to set as they cool.
Room Temperature Ingredients: This is one of those tips that sounds fussy but actually matters. If your eggs and milk are cold, they can cause the melted coconut oil to seize up and form little clumps. Take them out of the fridge 15 minutes before you start. It makes the batter come together much more smoothly.
Liners vs. Greasing: I’ve done both, and I prefer greasing the tin directly. Paper liners tend to stick to the oatmeal, and you end up losing half the cup to the wrapper. A good spray of cooking spray, and they pop right out. If you use a silicone muffin pan, you don’t need any greasing at all.
Make Them Even: Use that ice cream scoop! It’s the best tool for getting perfectly even portions. When all the cups are the same size, they bake at the same rate. No more burning some while others are still underdone.
Variations & Adaptations
One of the best things about this recipe is how flexible it is. You can change it up based on what you have in the pantry or what your family is in the mood for. Here are some of my favorite variations:
- Gluten-Free Version: Use certified gluten-free rolled oats. The recipe works exactly the same way. I’ve tested this for a friend with celiac disease, and she couldn’t tell the difference.
- Dairy-Free Version: Swap the milk for almond milk, oat milk, or coconut milk. Use melted coconut oil instead of butter. Everything else stays the same. The cups might be slightly less rich, but they’re still delicious.
- Lower Sugar Option: Reduce the maple syrup to 1/4 cup. The pumpkin adds enough natural sweetness that you won’t miss it too much. You can also add a mashed banana for extra sweetness without the sugar.
- Apple Pumpkin Version: Finely dice one small apple (peeled) and fold it in with the wet ingredients. The apple adds little bursts of sweetness and a different texture. My kids love this version in the fall.
- Chocolate Chip Pumpkin: This is the version that gets my kids most excited. Fold in 1/2 cup of semi-sweet chocolate chips. The warm chocolate against the spiced pumpkin is a combination that’s hard to beat. It feels like a treat, but it’s still a balanced breakfast.
- Protein Boost: Add 2 scoops of unflavored or vanilla protein powder. You’ll need to increase the milk by about 1/4 cup to keep the batter from being too thick. This turns them into a post-workout breakfast that actually tastes good.
Serving & Storage Suggestions
These oatmeal cups are incredibly versatile when it comes to serving. Here’s how I handle them throughout the week.
Serving: I serve them warm or at room temperature. For a quick breakfast, I microwave one cup for about 20-30 seconds. They’re perfect on their own, but a dollop of Greek yogurt or a drizzle of extra maple syrup takes them to another level. Sometimes I crumble one over a bowl of yogurt for a quick parfait. For the kids, I cut them in half and serve them with a side of fruit.
Storage: Let the cups cool completely before storing. Place them in an airtight container, layered with parchment paper if you’re stacking them. They’ll keep in the refrigerator for up to 5 days. I make a batch on Sunday, and we eat them through Friday. They actually get a little more moist and flavorful on day two or three.
Freezing: These freeze beautifully. Place the cooled cups in a single layer on a baking sheet and freeze for 1-2 hours until solid. Then transfer them to a freezer-safe bag or container. They’ll keep for up to 3 months. To reheat, just pop one in the microwave for 45-60 seconds from frozen, or let it thaw in the fridge overnight.
Reheating: The microwave is your best friend here. 20-30 seconds from the fridge, or 45-60 seconds from frozen. You can also reheat them in a 350°F oven for 5-7 minutes if you’re doing a batch. I’ve found that the texture is best when you don’t overheat them—just warm enough to take the chill off.
Flavor Development: Here’s a little secret: these cups taste even better the next day. The spices have time to meld together, and the oats continue to soften. I actually prefer them on day two. So don’t worry if they seem a little plain right out of the oven—they get better with time.
Nutritional Information & Benefits
These pumpkin baked oatmeal cups are a breakfast you can feel good about. They’re packed with ingredients that actually do something for your body, not just fill you up.
Estimated Nutritional Values (per cup, without mix-ins):
- Calories: 185
- Fat: 7g
- Carbohydrates: 27g
- Fiber: 4g
- Sugar: 9g
- Protein: 6g
Health Benefits: The rolled oats are a fantastic source of soluble fiber, which helps keep you full and supports healthy digestion. Pumpkin puree is loaded with vitamin A, which is great for eye health and immune function. The eggs add high-quality protein, and the maple syrup provides a more natural source of sweetness than refined sugar. Plus, the pumpkin pie spice isn’t just for flavor—cinnamon has been shown to help regulate blood sugar levels.
Dietary Considerations: This recipe is naturally vegetarian. It can easily be made gluten-free, dairy-free, and lower in sugar with the substitutions I mentioned above. The main allergens to be aware of are eggs, milk (if using dairy), and oats (which can sometimes be cross-contaminated with gluten).
From a personal perspective, I love that I can serve these to my kids and feel good about what they’re eating. They’re getting a serving of vegetables (yes, pumpkin counts!), whole grains, and protein, all in a package that they actually want to eat. That’s a win in my book.
Conclusion
These Kid-Approved Pumpkin Baked Oatmeal Cups have become a staple in our house for a reason. They’re easy, they’re delicious, and they make weekday mornings so much less stressful. That late-night experiment turned into something I genuinely look forward to making every week. The best part? They’re completely customizable. Add chocolate chips for the kids, skip the sweetener for yourself, throw in some nuts for crunch—make them your own. I’d love to hear how they turn out for you. Drop a comment below and let me know what mix-ins your family loved. And if you make a batch for meal prep, tag me in your photos—I love seeing these cups in kitchens all over the world. Happy baking, and here’s to breakfasts that actually make your morning better!
Frequently Asked Questions
Can I use quick oats instead of rolled oats?
Yes, you can use quick oats, but the texture will be softer and less chewy. The cups won’t hold their shape as well, so I recommend using rolled oats for the best results. If you only have quick oats, reduce the milk by 2 tablespoons to compensate.
Can I make these ahead of time for the week?
Absolutely! That’s the whole point of this recipe. They keep in the fridge for up to 5 days and reheat beautifully. I make a batch every Sunday, and we have breakfast sorted through Friday. They actually get more moist and flavorful after a day or two.
My oatmeal cups came out dry. What went wrong?
This usually happens from overbaking. Start checking them at 18 minutes. They should be just set in the center, and a toothpick should come out with a few moist crumbs. They’ll continue to set as they cool. Also, make sure you’re measuring your oats correctly—packed oats can throw off the ratio.
Can I freeze these oatmeal cups?
Yes, they freeze wonderfully. Freeze them in a single layer on a baking sheet, then transfer to a freezer bag. They’ll keep for up to 3 months. To reheat, microwave from frozen for 45-60 seconds, or let them thaw in the fridge overnight.
Can I make these without eggs?
Yes, you can substitute the eggs with flax eggs (1 tablespoon ground flaxseed mixed with 3 tablespoons water per egg). The texture will be slightly denser and less fluffy, but they’ll still hold together well. I’ve tested this, and my kids didn’t notice the difference.
Pin This Recipe!
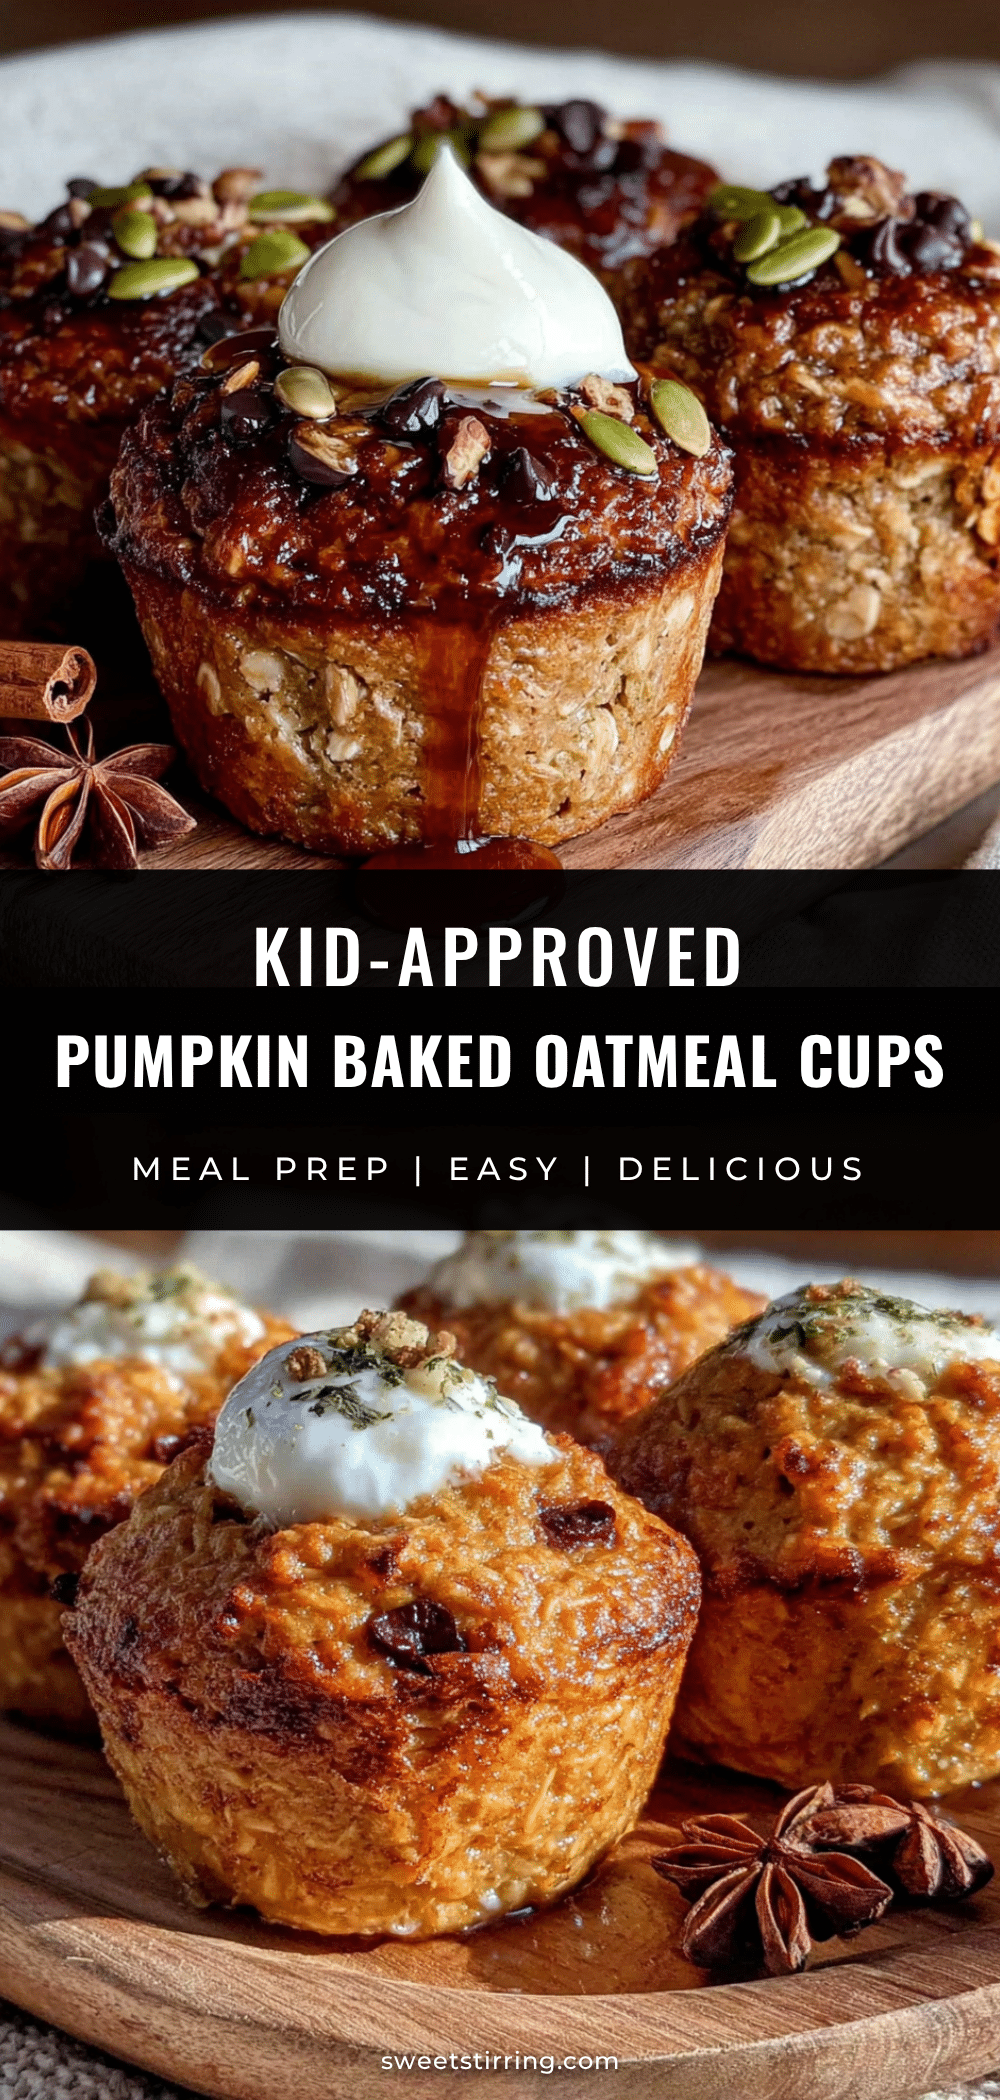
Kid-Approved Pumpkin Baked Oatmeal Cups (Easy Meal Prep)
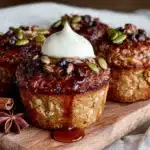
These pumpkin baked oatmeal cups are a lifesaver for busy mornings. Made with simple ingredients like oats, pumpkin puree, and warm spices, they’re a quick, delicious, and meal-prep-friendly breakfast that kids and adults love.
- Prep Time: 15 minutes
- Cook Time: 25 minutes
- Total Time: 40 minutes
- Yield: 12 servings 1x
- Category: Breakfast
- Cuisine: American
Ingredients
- 2 cups (180g) rolled oats
- 1 cup (245g) pumpkin puree (not pumpkin pie filling)
- 1 cup (240ml) milk (any kind)
- 2 large eggs, room temperature
- 1/3 cup (80ml) maple syrup
- 3 tablespoons (42g) coconut oil or butter, melted
- 2 teaspoons pumpkin pie spice
- 1 teaspoon vanilla extract
- 1 teaspoon baking powder
- 1/4 teaspoon salt
- Optional: 1/2 cup chocolate chips or 1/2 cup chopped pecans
Instructions
- Preheat oven to 375°F (190°C). Grease a 12-cup muffin tin generously with cooking spray or butter. If using paper liners, spray them lightly as well.
- In a large mixing bowl, whisk together rolled oats, baking powder, pumpkin pie spice, and salt until well combined.
- In a separate bowl or liquid measuring cup, whisk together pumpkin puree, milk, eggs, maple syrup, melted coconut oil or butter, and vanilla extract until smooth and creamy.
- Pour the wet ingredients into the dry ingredients. Stir with a spatula or wooden spoon until just combined. Do not overmix. If using mix-ins, fold them in now.
- Let the batter sit for 5 minutes to allow the oats to absorb some liquid.
- Use an ice cream scoop or large spoon to divide the batter evenly among the 12 muffin cups, filling them almost to the top.
- Bake on the center rack for 20-25 minutes, or until the tops are set and golden brown, and a toothpick inserted into the center comes out clean or with a few moist crumbs.
- Let the oatmeal cups cool in the muffin tin for 5-10 minutes. Then run a butter knife around the edges and gently lift them out. Transfer to a cooling rack to cool completely.
Notes
Let the batter rest for 5 minutes before baking for better texture. Do not overbake; the cups should be just set in the center. They taste even better the next day as the flavors meld. For best results, use room temperature ingredients.
Nutrition
- Serving Size: 1 oatmeal cup
- Calories: 185
- Sugar: 9
- Sodium: 150
- Fat: 7
- Saturated Fat: 4
- Carbohydrates: 27
- Fiber: 4
- Protein: 6
Keywords: pumpkin baked oatmeal cups, easy meal prep breakfast, kid-friendly breakfast, healthy oatmeal cups, fall breakfast recipe