Love this? Save it for later!
Share the inspiration with your friends
“Why can’t we just use frozen berries instead of fresh wild huckleberries?” my friend asked as we stood in my cramped kitchen, the counter cluttered with flour dust and half-measured sugar. I started to explain why that wouldn’t work — then stopped. Honestly, the answer came out of nowhere, and it turned out to be exactly right.
I’d been trying to teach her how to make my go-to wild huckleberry pie, the one with a buttery lattice crust that still feels like a hug on a plate. I was sure frozen berries wouldn’t give that perfect burst of tart sweetness and the delicate texture you get with fresh wild huckleberries. But we gave it a shot on a whim, mostly because I forgot to pick up fresh ones that morning (classic me). To my surprise, the pie turned out dazzling — the crust flaky and golden, the filling bursting with that unmistakable wild berry flavor, just a touch sweeter and easier to work with than fresh.
That afternoon, with the oven timer ticking and the kitchen smelling like warm vanilla and butter, I realized I’d just learned more than I taught. There’s something about this pie — maybe it’s the buttery lattice crust weaving through the juicy wild huckleberries — that sticks with you. You know that feeling when a simple dessert can make an ordinary day feel special? Yeah, that’s this pie. Maybe you’ve been there, too, staring down a basket of wild huckleberries, wondering if the fuss is worth it. Let me tell you, with this recipe, it absolutely is, whether you’re using fresh or frozen.
Why You’ll Love This Recipe
This wild huckleberry pie brings together rustic charm and effortless baking, and I’ve tested it through countless weekends and berry-picking adventures to get it just right. Here’s why it’s become a staple in my kitchen (and hopefully yours):
- Quick & Easy: Ready in under 90 minutes, including baking time — perfect when you want homemade without hours of fuss.
- Simple Ingredients: No need for specialty stores; pantry staples plus wild huckleberries (fresh or frozen) are all you need.
- Perfect for Seasonal Gatherings: Whether it’s a summer picnic or a cozy fall evening, this pie fits right in.
- Crowd-Pleaser: The lattice crust isn’t just pretty—it crisps beautifully and pairs with the juicy berries for a combo that kids and adults adore.
- Unbelievably Delicious: The balance of tart and sweet with that flaky, buttery crust is honestly next-level comfort food.
What makes this recipe stand out is the buttery lattice crust technique — it’s surprisingly simple and yields a crust that’s tender but sturdy enough to hold the luscious wild huckleberry filling. I recommend using a mix of butter and a touch of shortening for the crust to get that perfect texture. This pie isn’t just a pretty face; it’s a flavor-packed experience that makes you close your eyes with the first bite. It’s the kind of recipe that turns berry-picking memories into something deliciously tangible.
What Ingredients You Will Need
This pie uses simple, wholesome ingredients to deliver bold flavor and a satisfying texture without the fuss. Most of these are pantry staples, and you’ll find tips on substitutions along the way.
- For the crust:
- 2 ½ cups (315g) all-purpose flour (I like Gold Medal for reliable texture)
- 1 cup (226g) unsalted butter, cold and cubed (adds richness and flakiness)
- 2 tablespoons granulated sugar (balances the butter’s richness)
- ½ teaspoon salt
- 6-8 tablespoons ice water (keeps dough tender)
- For the filling:
- 5 cups (about 700g) fresh or frozen wild huckleberries (if frozen, thaw and drain excess liquid)
- ¾ cup (150g) granulated sugar (adjust based on berry sweetness)
- 2 tablespoons cornstarch (for thickening)
- 1 tablespoon lemon juice (brightens flavor)
- 1 teaspoon vanilla extract (adds warmth and depth)
- ½ teaspoon ground cinnamon (optional, for subtle spice)
- 1 egg, beaten (for egg wash on the crust)
- Coarse sugar for sprinkling on the crust (optional, for sparkle and crunch)
You can swap all-purpose flour with almond flour for a gluten-free crust option, but expect a slightly different texture. If you’re dairy-free, try a plant-based butter alternative, but keep it cold and firm. For the filling, if you’re out of cornstarch, potato starch or tapioca flour works well, too. In summer, fresh berries are unbeatable, but frozen berries work just fine — just manage the moisture carefully to avoid a soggy crust.
Equipment Needed
- 9-inch (23 cm) pie dish — glass or ceramic works best for even baking
- Mixing bowls (one large for dough, one medium for filling)
- Rolling pin — a smooth wooden or silicone one helps get even dough thickness
- Pastry cutter or two knives (for cutting butter into flour, but your fingers work in a pinch)
- Measuring cups and spoons for precise ingredient amounts
- Pastry brush (for applying the egg wash)
- Sharp knife or pizza cutter (to cut the lattice strips)
- Cooling rack (to let the pie rest and the crust crisp up)
If you don’t have a pastry cutter, no worries — I often just use my hands, but keep everything cold to avoid melting the butter. Rolling the dough between parchment papers helps prevent sticking and makes cleanup easier. For budget-friendly options, a silicone rolling pin and pastry brush can be found at most grocery stores and work just as well as pricier tools.
Preparation Method
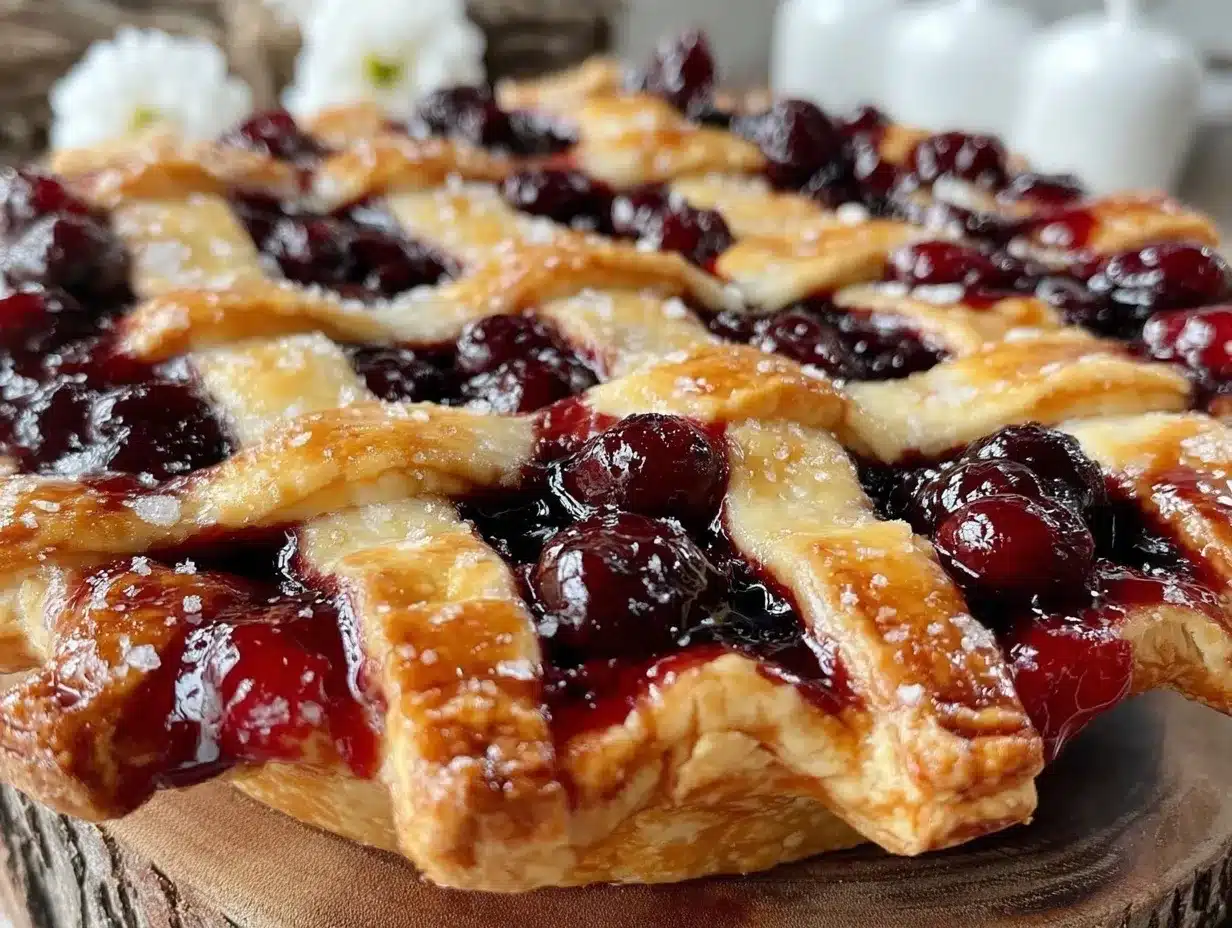
- Make the crust dough: In a large bowl, whisk together 2 ½ cups flour, 2 tablespoons sugar, and ½ teaspoon salt. Add the cold, cubed butter. Using a pastry cutter or two knives, cut the butter into the flour until the mixture resembles coarse crumbs with some pea-sized pieces. This texture is key for tenderness. (Tip: Work quickly and keep your butter cold.)
- Add ice water: Sprinkle 6 tablespoons of ice water over the mixture, stirring gently with a fork. Add more water, 1 tablespoon at a time, until dough just holds together when pressed. Avoid overworking—too much kneading = tough crust. Divide the dough in half, shape into disks, wrap in plastic, and chill for at least 30 minutes.
- Prepare the filling: In a medium bowl, combine wild huckleberries, ¾ cup sugar, 2 tablespoons cornstarch, 1 tablespoon lemon juice, 1 teaspoon vanilla extract, and ½ teaspoon cinnamon if using. Stir gently to coat berries evenly. Let sit while dough chills; this helps the flavors meld.
- Roll out the bottom crust: On a floured surface, roll one dough disk into a 12-inch (30 cm) circle about ⅛ inch thick. Carefully transfer it to your pie dish, letting the edges hang over. Don’t worry if it tears slightly; patch with extra dough.
- Fill the pie: Spoon the berry mixture into the crust, spreading evenly but leaving about ½ inch at edges free for sealing.
- Create the lattice top: Roll out the second dough disk into a 12-inch circle. Use a sharp knife or pizza cutter to cut into 12 strips, about ¾ inch wide. Lay half the strips vertically across the pie, spaced evenly. Fold back every other strip halfway, then lay one strip horizontally. Unfold the strips over it. Repeat, alternating the woven pattern until the top is covered. Trim excess dough and crimp edges to seal.
- Apply egg wash and sugar: Brush the lattice and edges with beaten egg for that golden shine. Sprinkle coarse sugar over the crust for crunch.
- Bake the pie: Place the pie on a baking sheet to catch drips. Bake in a preheated 375°F (190°C) oven for about 50-60 minutes, or until crust is golden and filling bubbles. (Pro tip: If edges brown too quickly, cover with foil halfway through baking.)
- Cool completely: Let the pie cool on a rack for at least 2 hours before slicing. This resting time allows the filling to thicken properly and prevents runny slices.
Cooking Tips & Techniques
Making the perfect wild huckleberry pie is as much about feel as it is about following a recipe. Here are some tips I’ve picked up — sometimes the hard way — to help you nail it:
- Keep everything cold: Butter and water coldness is crucial for a flaky crust. I sometimes keep my flour in the fridge, too, on hot days.
- Don’t overwork the dough: Hands-on mixing is tempting, but over-kneading toughens the crust. Stop when the dough just comes together.
- Manage filling moisture: Wild huckleberries can be juicy. If using fresh, toss them lightly in cornstarch and sugar and let them sit to draw out excess juice before filling.
- Use a baking sheet: The filling bubbles vigorously and can drip. A rimmed sheet keeps your oven clean and avoids smoke.
- Watch the crust edges: They brown faster. Shield with foil mid-bake if needed.
- Rest before slicing: I once cut my pie too soon, and the filling ran everywhere. Waiting at least two hours is worth the patience.
Variations & Adaptations
This pie recipe is flexible enough to adapt for different tastes and needs. Here are some ideas to make it your own:
- Seasonal twist: Swap wild huckleberries with fresh blueberries or blackberries in summer. For fall, try mixing in chopped apples or pears for a unique flavor.
- Gluten-free crust: Use a gluten-free flour blend in place of all-purpose flour. Add a teaspoon of xanthan gum for better structure.
- Dairy-free option: Replace butter with a vegan butter substitute. Make sure it’s firm and cold for best results.
- Sweetener swap: Feel free to use honey, maple syrup, or coconut sugar instead of granulated sugar, adjusting quantities to taste.
- Spice it up: Add a pinch of ground cardamom or nutmeg to the filling for an extra aromatic punch.
Personally, I once tried a version with a streusel topping instead of lattice — it didn’t have the same classic look, but the buttery crumble was a hit at a brunch party. If you like experimenting, this pie welcomes your creativity.
Serving & Storage Suggestions
This pie is best served at room temperature or slightly warm, which lets those wild huckleberry flavors shine through without muting the buttery crust. A scoop of vanilla bean ice cream or a dollop of whipped cream pairs perfectly, balancing the tartness.
For storage, cover leftover pie tightly with plastic wrap or foil and refrigerate for up to 3 days. You can freeze the unbaked pie for up to 2 months—just wrap it well and thaw overnight before baking.
To reheat, warm slices gently in a 325°F (160°C) oven for about 15 minutes to bring back crispness in the crust. Microwave works in a pinch but softens the crust quickly.
Interestingly, the flavors deepen after a day, making this a great make-ahead dessert if you can wait that long!
Nutritional Information & Benefits
This wild huckleberry pie provides a comforting treat without overloading on sugar or fat. A typical slice (1/8 of the pie) contains approximately:
| Calories | 320 |
|---|---|
| Fat | 16g (mostly from butter) |
| Carbohydrates | 42g |
| Fiber | 3g |
| Protein | 3g |
Wild huckleberries are loaded with antioxidants and vitamins, particularly vitamin C and manganese, supporting immune health and metabolism. Using fresh or frozen berries keeps the nutritional profile close to nature’s best. For those monitoring gluten, swapping to gluten-free flour makes this pie accessible, and the recipe can be tailored for lower sugar as well.
From my wellness perspective, this pie strikes a balance between indulgence and nourishment — a slice of simple joy that feels like a reward rather than a guilt trip.
Conclusion
The perfect wild huckleberry pie with buttery lattice crust is one of those recipes that sticks with you, not just because of flavor but because of the stories baked into it. Whether you’re a berry picker or a freezer stash enthusiast, this recipe makes it approachable and delicious.
Don’t hesitate to tweak the crust thickness, sugar levels, or spice mix to suit your palate. I love how this pie invites a bit of personalization. After all, every kitchen and cook adds their own touch to the story.
Give this pie a try, and share how it turned out — I’d love to hear your twists and tips. Baking is better when it’s a shared adventure, and this pie is the perfect companion for a cozy afternoon or festive gathering. Happy baking, friends!
FAQs
Can I use frozen wild huckleberries instead of fresh?
Yes! Just thaw and drain excess liquid to prevent a soggy crust. Frozen berries might be a bit softer but work well in this pie.
How do I make a lattice crust if I’m new to it?
Cut dough into even strips, lay half vertically, then weave horizontal strips over and under alternately. It takes practice, but it’s easier than it looks — and totally worth the effort!
What can I do if my pie crust cracks while rolling?
Patch small cracks with extra dough and chill the dough longer before rolling. Keeping the dough cold helps prevent cracking.
How long should I let the pie cool before slicing?
At least 2 hours at room temperature. This helps the filling set so slices hold their shape.
Can I prepare the pie crust in advance?
Absolutely! You can make the dough up to two days ahead and keep it wrapped in the fridge or freeze it for longer storage. Just let it thaw in the fridge before rolling out.
Pin This Recipe!
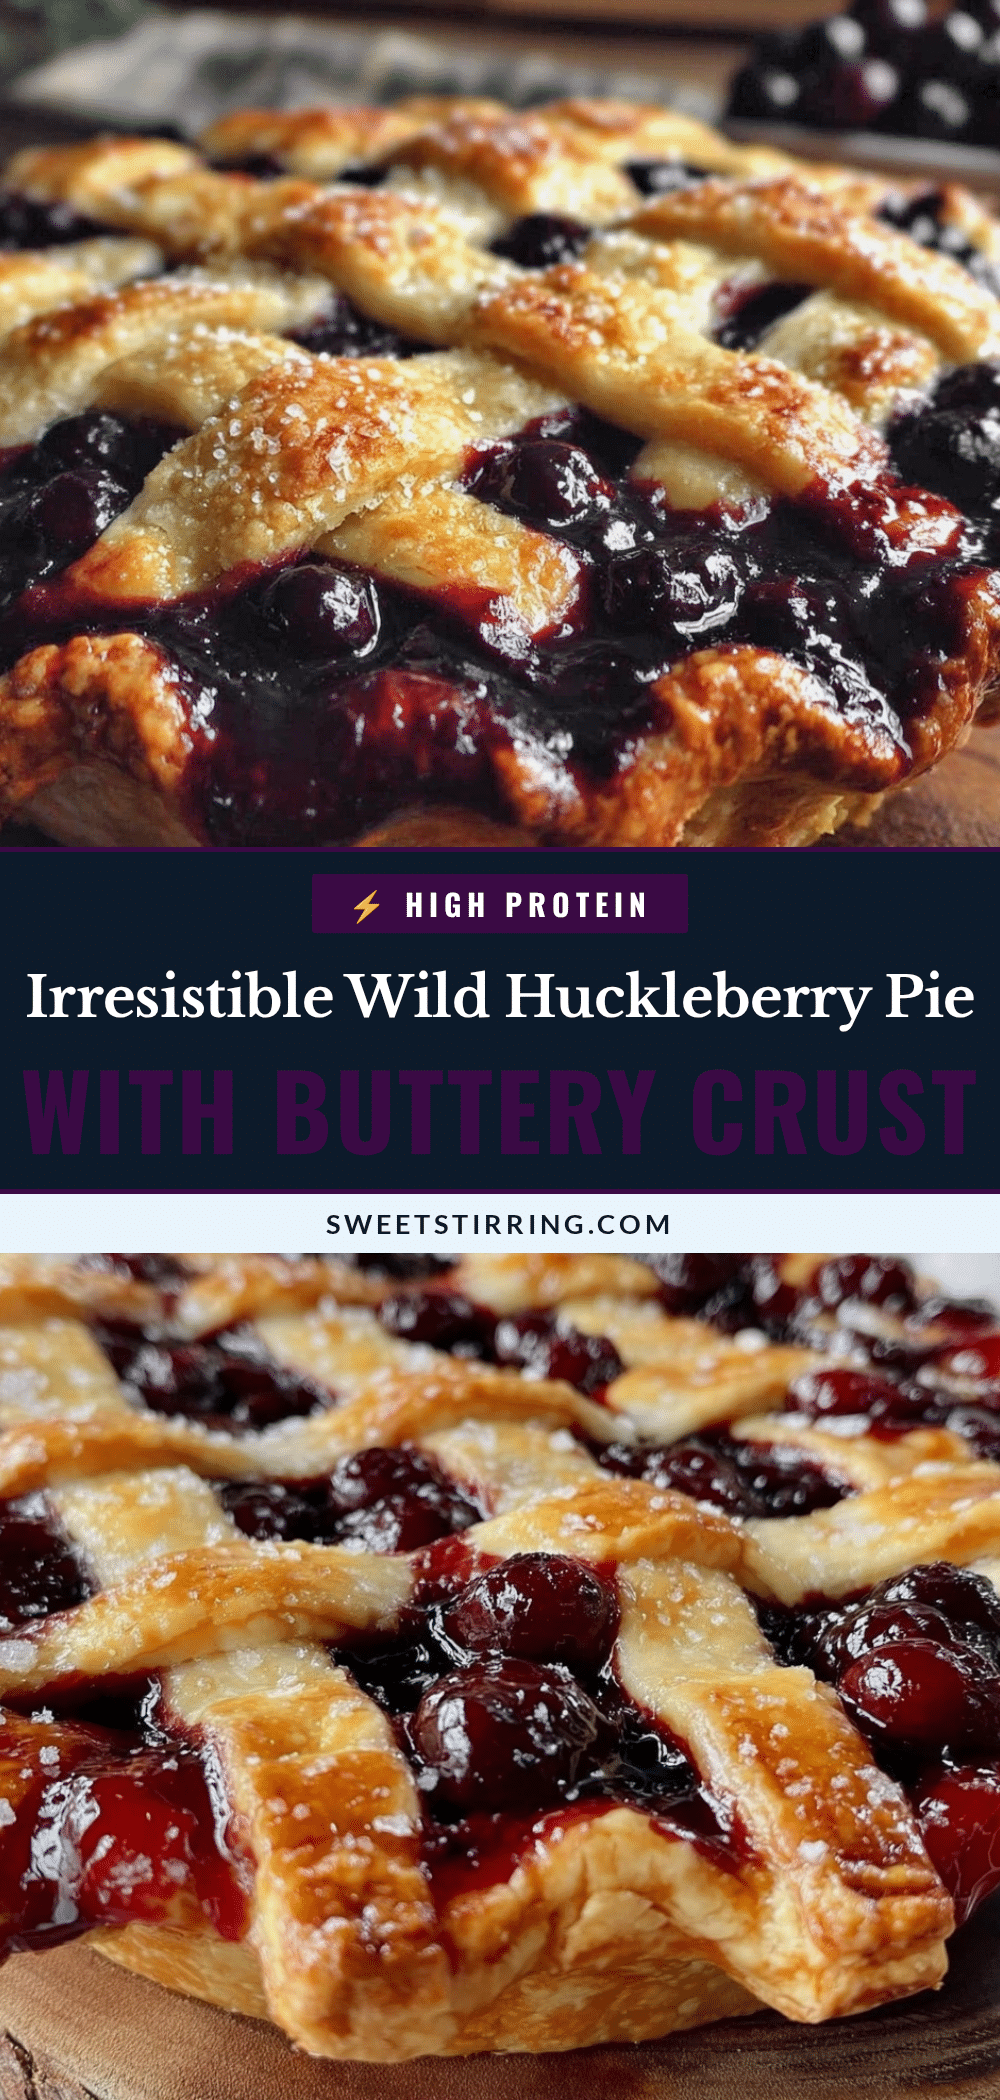
Perfect Wild Huckleberry Pie Recipe Easy Homemade Lattice Crust Tutorial

A rustic and delicious wild huckleberry pie featuring a buttery, flaky lattice crust. Perfect for seasonal gatherings and easy to make with fresh or frozen berries.
- Prep Time: 30 minutes
- Cook Time: 50-60 minutes
- Total Time: 80-90 minutes
- Yield: 8 servings 1x
- Category: Dessert
- Cuisine: American
Ingredients
- 2 ½ cups (315g) all-purpose flour
- 1 cup (226g) unsalted butter, cold and cubed
- 2 tablespoons granulated sugar
- ½ teaspoon salt
- 6–8 tablespoons ice water
- 5 cups (about 700g) fresh or frozen wild huckleberries (if frozen, thaw and drain excess liquid)
- ¾ cup (150g) granulated sugar
- 2 tablespoons cornstarch
- 1 tablespoon lemon juice
- 1 teaspoon vanilla extract
- ½ teaspoon ground cinnamon (optional)
- 1 egg, beaten (for egg wash)
- Coarse sugar for sprinkling on the crust (optional)
Instructions
- In a large bowl, whisk together 2 ½ cups flour, 2 tablespoons sugar, and ½ teaspoon salt. Add the cold, cubed butter. Using a pastry cutter or two knives, cut the butter into the flour until the mixture resembles coarse crumbs with some pea-sized pieces.
- Sprinkle 6 tablespoons of ice water over the mixture, stirring gently with a fork. Add more water, 1 tablespoon at a time, until dough just holds together when pressed. Divide the dough in half, shape into disks, wrap in plastic, and chill for at least 30 minutes.
- In a medium bowl, combine wild huckleberries, ¾ cup sugar, 2 tablespoons cornstarch, 1 tablespoon lemon juice, 1 teaspoon vanilla extract, and ½ teaspoon cinnamon if using. Stir gently to coat berries evenly. Let sit while dough chills.
- On a floured surface, roll one dough disk into a 12-inch circle about ⅛ inch thick. Transfer it to a 9-inch pie dish, letting the edges hang over. Patch any tears with extra dough.
- Spoon the berry mixture into the crust, spreading evenly but leaving about ½ inch at edges free for sealing.
- Roll out the second dough disk into a 12-inch circle. Cut into 12 strips about ¾ inch wide. Lay half the strips vertically across the pie, spaced evenly. Fold back every other strip halfway, then lay one strip horizontally. Unfold the strips over it. Repeat the woven pattern until the top is covered. Trim excess dough and crimp edges to seal.
- Brush the lattice and edges with beaten egg. Sprinkle coarse sugar over the crust.
- Place the pie on a baking sheet and bake in a preheated 375°F (190°C) oven for 50-60 minutes, or until crust is golden and filling bubbles. Cover edges with foil halfway through if they brown too quickly.
- Let the pie cool on a rack for at least 2 hours before slicing.
Notes
Keep butter and water cold for a flaky crust. Avoid overworking the dough to prevent toughness. Use a baking sheet under the pie to catch drips. Cover crust edges with foil if browning too fast. Let pie cool at least 2 hours before slicing to set filling.
Nutrition
- Serving Size: 1 slice (1/8 of pie)
- Calories: 320
- Fat: 16
- Carbohydrates: 42
- Fiber: 3
- Protein: 3
Keywords: wild huckleberry pie, lattice crust pie, homemade pie, berry pie, wild berries, easy pie recipe, seasonal dessert