Love this? Save it for later!
Share the inspiration with your friends
This was supposed to be a batch of my grandmother’s buttermilk biscuits. I had the flour sifted, the butter cubed and cold, and I was already running late for a friend’s brunch. Then I grabbed the wrong canister from the pantry. Instead of all-purpose flour, I scooped a heaping cup of pumpkin puree into the bowl. I stared at the orange mess for a solid thirty seconds, honestly ready to just order coffee and call it a day. But I was stubborn, and the butter was already melting into sad little puddles.
So I threw in some sugar, a pinch of cinnamon, and hoped for the best. What came out of the oven was nothing like the plan — and way, way better. They were tender, a little sweet, and smelled like a bakery in autumn. I mean, I didn’t even have a glaze, but I drizzled some powdered sugar and milk on top because, let’s face it, when life gives you pumpkin, you make scones. And that’s how this copycat Starbucks pumpkin scones recipe was born in my messy kitchen on a random Tuesday morning.
Maybe you’ve been there — you crave that warm, spiced scone from the coffee shop, but you don’t want to stand in line or spend five bucks. I get it. These scones have that same soft crumb and that signature spiced glaze that makes you close your eyes after the first bite. Honestly, they might even be better than the original. And the best part? You don’t need a pastry degree or a fancy mixer. Just a bowl, a spoon, and a little bit of patience. This recipe stayed with me because it turned a mistake into something I actually look forward to making every fall.
Why You’ll Love This Recipe
I’ve tested this copycat Starbucks pumpkin scones recipe more times than I care to admit. The first batch was too dense. The second batch was too dry. By the third attempt, I finally nailed that soft, almost fluffy texture that makes you forget you’re eating a scone and not a muffin. Here’s why this version is the one you’ll come back to:
- Quick & Easy: These come together in under 35 minutes, from mixing to glazing. Perfect for a lazy Sunday morning or a last-minute brunch contribution.
- Simple Ingredients: You probably have most of these in your pantry right now. No weird syrups or hard-to-find spices.
- Perfect for Fall Mornings: Great for cozy breakfasts, Thanksgiving brunch, or just a rainy day treat with a hot cup of coffee.
- Crowd-Pleaser: I’ve brought these to potlucks and work events, and they disappear faster than anything else on the table. Kids and adults both love them.
- Unbelievably Delicious: The texture is soft and tender, not dry and crumbly. And that spiced glaze? It’s the real star. It soaks into the top just enough to make every bite feel special.
What makes this recipe different from the dozens of other copycat versions out there is the technique. I learned that using cold butter and not over-mixing the dough is the secret to a tender scone. Also, I add a touch of buttermilk powder (if you have it) for that tangy flavor that Starbucks scones have. This isn’t just another pumpkin scone recipe — it’s the one that actually tastes like the real thing, without the drive-thru.
This recipe is comfort food reimagined. It’s healthier than a muffin, faster than a pie, and has the same soul-soothing satisfaction of a warm pastry on a cool morning. Perfect for impressing guests without stress, or turning a simple Tuesday into something memorable.
What Ingredients You Will Need
This copycat Starbucks pumpkin scones recipe uses simple, wholesome ingredients to deliver that signature flavor and soft texture. Most of these are pantry staples, so you can whip these up anytime the craving hits. Here’s what you’ll need:
For the Scones
- All-purpose flour, 2 cups (250g) — spoon and level it for accuracy. I prefer King Arthur Flour for consistent results.
- Granulated sugar, 1/3 cup (65g) — adds just the right sweetness without overpowering the pumpkin.
- Baking powder, 1 tablespoon (15g) — make sure it’s fresh for a good rise.
- Pumpkin pie spice, 1 teaspoon — you can use store-bought or make your own with cinnamon, nutmeg, ginger, and cloves.
- Ground cinnamon, 1/2 teaspoon — for extra warmth.
- Salt, 1/2 teaspoon — balances the sweetness.
- Cold unsalted butter, 6 tablespoons (85g), cut into small cubes — this is key for flaky layers. Keep it cold until the last minute.
- Pumpkin puree, 1/2 cup (120g) — use pure pumpkin, not pumpkin pie filling. I like Libby’s brand.
- Heavy cream, 1/3 cup (80ml) — plus a little extra for brushing the tops. This adds richness.
- Vanilla extract, 1 teaspoon — pure vanilla makes a difference here.
For the Spiced Glaze
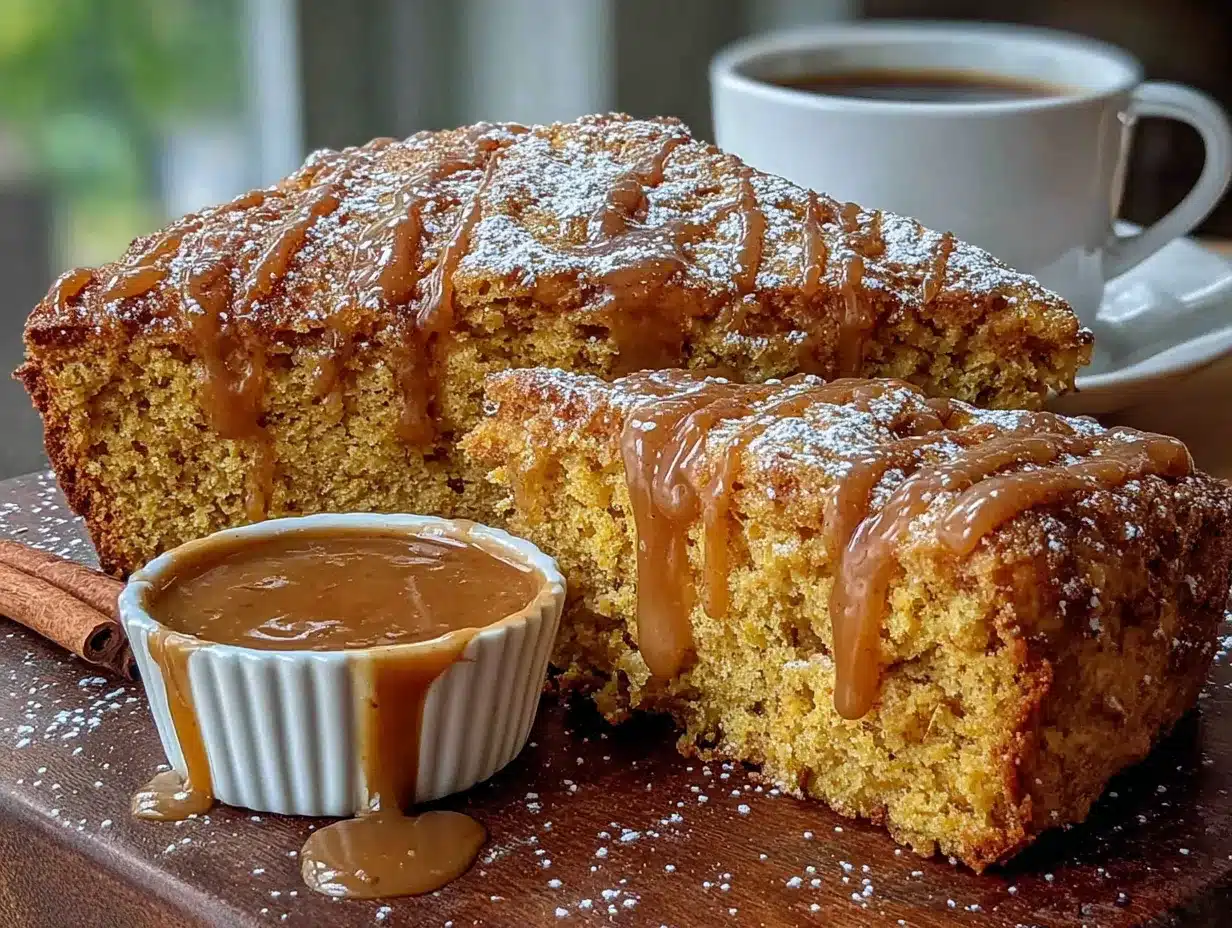
- Powdered sugar, 1 cup (120g) — sifted to avoid lumps.
- Milk, 2 to 3 tablespoons (30-45ml) — start with less and add more as needed.
- Pumpkin pie spice, 1/4 teaspoon — for that signature flavor.
- Vanilla extract, 1/2 teaspoon — optional but recommended.
Ingredient Selection Tips: For the best texture, use full-fat heavy cream. Low-fat milk will work, but the scones won’t be as tender. If you can’t find pumpkin pie spice, mix 1/2 teaspoon cinnamon, 1/4 teaspoon nutmeg, 1/8 teaspoon ginger, and a pinch of cloves. Also, make sure your pumpkin puree is at room temperature — it mixes more evenly into the dough.
Substitution Guidance: For a dairy-free version, use cold coconut oil instead of butter and canned coconut milk instead of heavy cream. For a gluten-free option, swap the all-purpose flour with a 1:1 gluten-free baking blend. Just note that the texture will be slightly more crumbly.
Equipment Needed
You don’t need a lot of fancy tools for this copycat Starbucks pumpkin scones recipe. Here’s what I use:
- Large mixing bowl — for combining dry ingredients.
- Pastry cutter or two forks — to cut the cold butter into the flour. I’ve used both, and honestly, a pastry cutter is faster and gives you more control. But forks work in a pinch.
- Measuring cups and spoons — for accuracy. I recommend using a kitchen scale for the flour if you have one.
- Baking sheet — lined with parchment paper. I prefer light-colored sheets to prevent over-browning.
- Bench scraper or sharp knife — to cut the dough into triangles. A bench scraper is my go-to because it doesn’t squish the dough.
- Pastry brush — for brushing cream on top before baking. If you don’t have one, just use your fingers.
- Wire rack — for cooling the scones before glazing. This prevents the glaze from melting off.
Budget-Friendly Options: If you don’t have a pastry cutter, you can freeze the butter and grate it into the flour using a box grater. It’s a little messy, but it works beautifully. Also, skip the bench scraper and use a regular knife — just be gentle when cutting.
Maintenance Tip: If you use a pastry cutter, wash it by hand and dry it immediately to prevent rust. My first one got rusty because I left it in the sink overnight. Lesson learned.
Preparation Method
Making these copycat Starbucks pumpkin scones is easier than you think. Just follow these steps, and you’ll have warm, glazed scones in no time.
- Preheat your oven to 400°F (200°C). Line a baking sheet with parchment paper. This ensures the scones don’t stick and makes cleanup a breeze.
- Mix the dry ingredients. In a large bowl, whisk together 2 cups (250g) all-purpose flour, 1/3 cup (65g) granulated sugar, 1 tablespoon (15g) baking powder, 1 teaspoon pumpkin pie spice, 1/2 teaspoon ground cinnamon, and 1/2 teaspoon salt. Make sure everything is evenly combined.
- Cut in the cold butter. Add the 6 tablespoons (85g) of cold, cubed unsalted butter to the flour mixture. Use a pastry cutter or two forks to cut the butter into the flour until it resembles coarse crumbs with pea-sized pieces of butter. Don’t overdo it — those small butter pieces create flaky layers. I learned this the hard way after making hockey pucks my first time.
- Combine the wet ingredients. In a separate small bowl, whisk together 1/2 cup (120g) pumpkin puree, 1/3 cup (80ml) heavy cream, and 1 teaspoon vanilla extract. Mix until smooth.
- Bring the dough together. Pour the wet mixture into the dry ingredients. Stir with a fork or spatula just until the dough starts to come together. It will look shaggy and a little dry — that’s perfect. Do not over-mix, or the scones will be tough.
- Shape the dough. Turn the dough out onto a lightly floured surface. Gently bring it together with your hands, patting it into a 6-inch (15cm) circle that’s about 3/4-inch (2cm) thick. If the dough is too sticky, dust your hands with a little flour.
- Cut the scones. Use a bench scraper or sharp knife to cut the circle into 8 equal wedges, like a pizza. Transfer the wedges to the prepared baking sheet, spacing them about 2 inches (5cm) apart.
- Brush with cream. Brush the tops of the scones with a little extra heavy cream. This helps them turn golden brown in the oven. Don’t skip this step — it makes a difference in the final look.
- Bake. Bake for 14 to 16 minutes, or until the scones are lightly golden on the bottom and the edges are set. The tops should still be pale. A toothpick inserted into the center should come out clean. Let them cool on the baking sheet for 5 minutes, then transfer to a wire rack to cool completely.
- Make the glaze. While the scones are cooling, make the spiced glaze. In a small bowl, whisk together 1 cup (120g) sifted powdered sugar, 2 tablespoons (30ml) milk, 1/4 teaspoon pumpkin pie spice, and 1/2 teaspoon vanilla extract. Whisk until smooth. If it’s too thick, add another tablespoon of milk. If it’s too thin, add a little more powdered sugar.
- Glaze the scones. Once the scones are completely cool, drizzle the glaze over the tops using a spoon or a piping bag. Let the glaze set for about 10 minutes before serving. The glaze will harden slightly, giving you that signature Starbucks look.
Sensory Cues: When you cut the butter into the flour, you should see small, pea-sized pieces of butter throughout. When you mix the wet and dry ingredients, the dough should feel slightly sticky but not wet. After baking, the scones should smell like pumpkin spice heaven, and the bottoms should be a light golden brown.
Time-Saving Tip: You can make the dough the night before. Shape the scones, place them on the baking sheet, cover with plastic wrap, and refrigerate. In the morning, just brush with cream and bake. Add a couple of minutes to the baking time if starting from cold.
Cooking Tips & Techniques
Over the years, I’ve made a lot of mistakes with scones. Here are the lessons I’ve learned so you don’t have to repeat them.
Keep everything cold. This is the number one rule of scone-making. Cold butter creates steam pockets in the oven, which makes the scones flaky and tender. If your kitchen is warm, pop the shaped scones in the fridge for 15 minutes before baking. I once left my butter out on the counter for too long, and the scones spread into flat, greasy discs. Not cute.
Don’t overwork the dough. When you mix the wet and dry ingredients, stop as soon as the dough comes together. Over-mixing develops gluten, which makes scones tough and chewy. You want them to be tender, not like a bread roll. I learned this the hard way when I made scones that were so dense, they could’ve been used as doorstops.
Use a light hand when shaping. Pat the dough into a circle gently. Don’t press down too hard or roll it out with a rolling pin. The less you handle the dough, the better the texture will be.
Brush with cream, not egg. Some recipes call for an egg wash, but I prefer heavy cream. It gives a softer, more golden finish without making the tops too shiny. Plus, it adds a little extra richness.
Let them cool completely before glazing. If you glaze warm scones, the glaze will melt and slide right off. I know it’s tempting to rush, but patience pays off here. I’ve had many a glazed scone turn into a sticky mess because I couldn’t wait.
Variations & Adaptations
This copycat Starbucks pumpkin scones recipe is pretty forgiving, so feel free to play around with it. Here are some of my favorite variations:
- Maple Glaze: Replace the milk in the glaze with 2 tablespoons of pure maple syrup and 1 tablespoon of milk. It adds a lovely fall flavor that pairs beautifully with the pumpkin. I tried this last Thanksgiving, and it was a hit.
- Chocolate Chip Pumpkin Scones: Fold in 1/2 cup (85g) of semi-sweet chocolate chips into the dough before shaping. The chocolate adds a nice contrast to the warm spices. My kids go crazy for this version.
- Vegan Version: Use cold coconut oil instead of butter, and replace the heavy cream with full-fat coconut milk. The scones will be a little less flaky but still delicious. I’ve made these for a friend who’s vegan, and she couldn’t stop eating them.
- Gluten-Free Version: Substitute the all-purpose flour with a 1:1 gluten-free baking blend that contains xanthan gum. The texture will be slightly more crumbly, so handle the dough gently. I recommend King Arthur’s Measure for Measure blend.
- Extra Spicy: Add 1/4 teaspoon of ground ginger and a pinch of ground cloves to the dry ingredients for a more intense pumpkin spice flavor. This is my personal favorite for cold winter mornings.
Serving & Storage Suggestions
These scones are best served warm, but they’re still delicious at room temperature. Here’s how to make the most of them:
Serving: Serve the scones with a dollop of clotted cream or a pat of butter if you’re feeling indulgent. They pair perfectly with a hot cup of coffee, chai latte, or even a glass of cold milk. For a brunch spread, arrange them on a platter with fresh fruit and a side of yogurt.
Storage: Store leftover scones in an airtight container at room temperature for up to 2 days. After that, they start to dry out. If you live in a humid climate, keep them in the fridge, but let them come to room temperature before serving.
Freezing: You can freeze the baked, unglazed scones for up to 3 months. Wrap them individually in plastic wrap, then place them in a freezer bag. To thaw, let them sit at room temperature for about an hour, then reheat in a 300°F (150°C) oven for 5 to 7 minutes. Glaze after reheating.
Reheating: The best way to reheat scones is in the oven. Pop them in a 300°F (150°C) oven for 5 minutes. The microwave works in a pinch, but it makes them soft and a little soggy. If you use the microwave, only heat for 10 to 15 seconds.
Flavor Development: Honestly, these scones taste even better the next day. The flavors meld together overnight, and the texture softens just a bit. So don’t worry if you have leftovers — they’ll still be delicious.
Nutritional Information & Benefits
Here’s the approximate nutritional breakdown for one copycat Starbucks pumpkin scone (with glaze):
- Calories: 280
- Fat: 12g
- Carbohydrates: 40g
- Protein: 4g
- Fiber: 2g
- Sugar: 22g
Health Benefits: Pumpkin is packed with vitamin A, which is great for eye health and immune function. It’s also a good source of fiber, which helps with digestion. The spices like cinnamon and nutmeg have anti-inflammatory properties. So while these scones are definitely a treat, they’re not completely empty calories.
Dietary Considerations: This recipe contains gluten, dairy, and eggs. For a dairy-free version, use coconut oil and coconut milk. For a gluten-free version, use a 1:1 gluten-free flour blend. I’ve made both versions, and while the texture is slightly different, they’re still delicious.
Personal Wellness Perspective: I believe in balance. These scones are a special treat, not an everyday breakfast. But when you do indulge, make it count. Use good ingredients, savor every bite, and don’t feel guilty about it. Life is too short for bad scones.
Conclusion
This copycat Starbucks pumpkin scones recipe is proof that happy accidents can lead to something amazing. What started as a messy mistake in my kitchen turned into a fall tradition that I actually look forward to every year. These scones have that perfect balance of soft, tender crumb and sweet, spiced glaze that makes you feel like you’re treating yourself, even on a regular Tuesday.
I encourage you to make this recipe your own. Add more spice, swap the glaze, or throw in some chocolate chips. The beauty of baking is that there’s always room for a little creativity. And honestly, even if you mess up, you’ll probably still end up with something delicious.
I’d love to hear how these turn out for you. Drop a comment below and let me know if you tried any variations or if this recipe brought back any memories. Share it with a friend who loves Starbucks as much as you do, and don’t forget to pin it for later. Happy baking, friend. You’ve got this.
Frequently Asked Questions
Can I use pumpkin pie filling instead of pumpkin puree?
No, I wouldn’t recommend it. Pumpkin pie filling is already sweetened and spiced, which will throw off the balance of the recipe. Stick with pure pumpkin puree for the best results.
Why are my scones dry?
Dry scones usually happen from over-mixing the dough or over-baking them. Mix just until the dough comes together, and check them at the 14-minute mark. Also, make sure you’re measuring your flour correctly — spoon it into the cup and level it off.
Can I freeze the dough?
Absolutely. Shape the scones, place them on a baking sheet, and freeze until solid. Then transfer them to a freezer bag. You can bake them straight from frozen, just add 2 to 3 minutes to the baking time.
How do I make the glaze thicker?
If your glaze is too thin, add more sifted powdered sugar, one tablespoon at a time, until it reaches your desired consistency. If it’s too thick, add a splash of milk.
Can I make these without a pastry cutter?
Yes! You can use two forks to cut the butter into the flour, or you can freeze the butter and grate it into the flour using a box grater. Both methods work well.
Pin This Recipe!
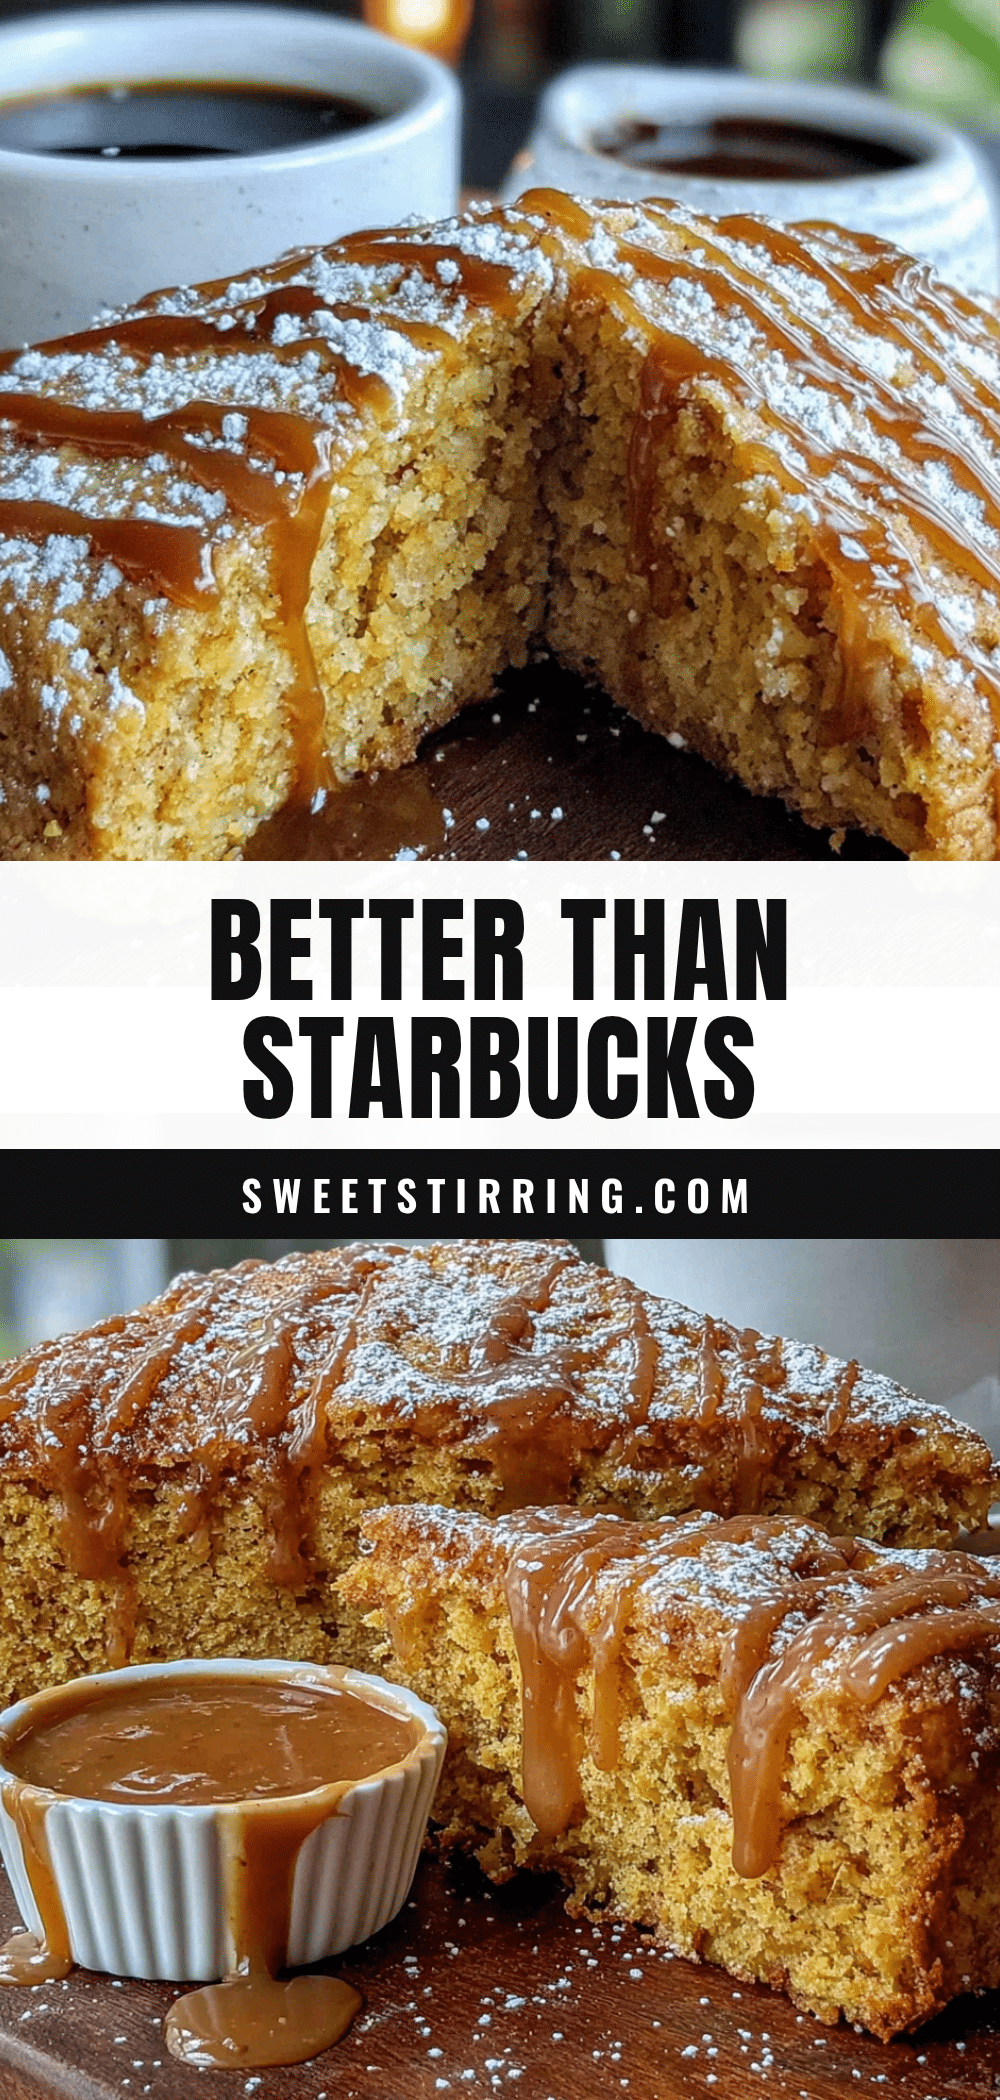
Perfect Copycat Starbucks Pumpkin Scones Recipe
These tender, spiced pumpkin scones with a signature glaze taste just like the coffee shop version but are made at home with simple ingredients. A happy accident turned into a fall favorite that’s quick, easy, and absolutely delicious.
- Prep Time: 15 minutes
- Cook Time: 16 minutes
- Total Time: 31 minutes
- Yield: 8 servings 1x
- Category: Breakfast
- Cuisine: American
Ingredients
- 2 cups (250g) all-purpose flour
- 1/3 cup (65g) granulated sugar
- 1 tablespoon (15g) baking powder
- 1 teaspoon pumpkin pie spice
- 1/2 teaspoon ground cinnamon
- 1/2 teaspoon salt
- 6 tablespoons (85g) cold unsalted butter, cut into small cubes
- 1/2 cup (120g) pumpkin puree
- 1/3 cup (80ml) heavy cream, plus extra for brushing
- 1 teaspoon vanilla extract
- 1 cup (120g) powdered sugar, sifted
- 2 to 3 tablespoons (30-45ml) milk
- 1/4 teaspoon pumpkin pie spice
- 1/2 teaspoon vanilla extract (optional)
Instructions
- Preheat your oven to 400°F (200°C). Line a baking sheet with parchment paper.
- In a large bowl, whisk together 2 cups (250g) all-purpose flour, 1/3 cup (65g) granulated sugar, 1 tablespoon (15g) baking powder, 1 teaspoon pumpkin pie spice, 1/2 teaspoon ground cinnamon, and 1/2 teaspoon salt.
- Add 6 tablespoons (85g) of cold, cubed unsalted butter to the flour mixture. Use a pastry cutter or two forks to cut the butter into the flour until it resembles coarse crumbs with pea-sized pieces of butter.
- In a separate small bowl, whisk together 1/2 cup (120g) pumpkin puree, 1/3 cup (80ml) heavy cream, and 1 teaspoon vanilla extract until smooth.
- Pour the wet mixture into the dry ingredients. Stir with a fork or spatula just until the dough starts to come together. It will look shaggy and a little dry.
- Turn the dough out onto a lightly floured surface. Gently bring it together with your hands, patting it into a 6-inch (15cm) circle that’s about 3/4-inch (2cm) thick.
- Use a bench scraper or sharp knife to cut the circle into 8 equal wedges. Transfer the wedges to the prepared baking sheet, spacing them about 2 inches (5cm) apart.
- Brush the tops of the scones with a little extra heavy cream.
- Bake for 14 to 16 minutes, or until the scones are lightly golden on the bottom and the edges are set. Let them cool on the baking sheet for 5 minutes, then transfer to a wire rack to cool completely.
- While the scones are cooling, make the spiced glaze: In a small bowl, whisk together 1 cup (120g) sifted powdered sugar, 2 tablespoons (30ml) milk, 1/4 teaspoon pumpkin pie spice, and 1/2 teaspoon vanilla extract. Whisk until smooth. Adjust consistency with more milk or powdered sugar as needed.
- Once the scones are completely cool, drizzle the glaze over the tops using a spoon or a piping bag. Let the glaze set for about 10 minutes before serving.
Notes
Keep all ingredients cold for flaky scones. Do not over-mix the dough. For best results, let scones cool completely before glazing. Can be made ahead and refrigerated overnight before baking.
Nutrition
- Serving Size: 1 scone
- Calories: 280
- Sugar: 22
- Sodium: 320
- Fat: 12
- Saturated Fat: 7
- Carbohydrates: 40
- Fiber: 2
- Protein: 4
Keywords: pumpkin scones, copycat Starbucks, pumpkin scones recipe, fall baking, easy scones, pumpkin spice scones



