Love this? Save it for later!
Share the inspiration with your friends
This was supposed to be a simple weeknight dinner — shredded chicken over rice, something quick and boring. I had the chicken simmering in the slow cooker with some Frank’s RedHot because I wanted a little kick, you know? Then my phone rang, plans changed, and that chicken just sat there. For hours. By the time I remembered it, the meat was practically falling apart and the whole kitchen smelled like a wing joint. I was annoyed. Honestly, I was hangry. I grabbed a fork, tasted it, and thought, “This is way too good to eat over plain rice.” So I did what any reasonable person would do: I dumped the whole thing into a baking dish, stirred in a block of cream cheese I found hiding in the fridge, and topped it with some blue cheese crumbles that were definitely past their “best by” date. I baked it until it was bubbly and brown around the edges, grabbed a bag of tortilla chips, and ate dinner standing at the counter. It was a mess. It was also the best accident I’ve ever made in the kitchen. That messy, improvised dip became the blueprint for this Best Loaded Buffalo Chicken Dip with Blue Cheese Crumble. It’s the kind of recipe that makes you wonder why you ever followed a plan in the first place. Maybe you’ve had one of those nights where dinner goes sideways and something better comes out of it. This is that something.
Why You’ll Love This Recipe
I’ve made this dip more times than I can count, and every single time, someone asks for the recipe. It’s one of those dishes that feels both indulgent and totally foolproof. Here’s why it works so well:
- Quick & Easy: From start to finish, this dip comes together in about 30 minutes. Most of that time is hands-off baking.
- Simple Ingredients: You probably have most of these in your kitchen right now. No weird specialty items required.
- Perfect for Game Day: This is the dip that disappears first at every Super Bowl party, potluck, or casual get-together.
- Crowd-Pleaser: I’ve served it to spice lovers and spice wimps alike. Everyone goes back for seconds.
- Unbelievably Delicious: The combination of creamy, tangy, spicy, and salty is basically perfect. The blue cheese crumble on top adds that little punch of sharpness that cuts through the richness.
What makes this version different from all the others? It’s the texture. A lot of buffalo chicken dips turn out watery or grainy. This one stays thick, creamy, and scoopable. The secret is a little trick I learned after a few too many watery batches: you drain the chicken really well and you let the cream cheese soften completely before mixing. Trust me on this one. It makes all the difference.
This is the kind of dip that makes you close your eyes after the first bite. It’s comfort food at its best — rich, spicy, and totally satisfying without being complicated. Perfect for impressing a crowd without breaking a sweat.
What Ingredients You Will Need
This recipe uses simple, honest ingredients to build layers of flavor. Most of these are pantry or fridge staples, which makes this dip perfect for last-minute cravings or unexpected guests.
- Cooked, shredded chicken: 3 cups (about 1.5 pounds or 680g). I prefer rotisserie chicken for convenience and flavor. If you’re cooking your own, poach 2 large chicken breasts in salted water until tender, then shred. Make sure to drain it well — excess moisture is the enemy of a good dip.
- Cream cheese: 8 ounces (226g), softened to room temperature. This is the backbone of the dip’s creamy texture. Philadelphia is my go-to brand, but any full-fat block cream cheese works. Do not use the spreadable kind in a tub — it has too much air and water.
- Frank’s RedHot Original Cayenne Pepper Sauce: 1/2 cup (120ml). This is non-negotiable for me. Frank’s has that perfect balance of heat and tang that makes buffalo sauce what it is. Other hot sauces will change the flavor profile significantly.
- Ranch dressing: 1/2 cup (120ml). Use a good quality ranch, not the watery stuff. I like Hidden Valley from the refrigerated section, but any thick, creamy ranch works.
- Blue cheese crumbles: 1 cup (about 120g). This is the star topping. Look for a brand that uses real, crumbly blue cheese — not the pre-crumbled stuff that’s coated in anti-caking agents. I prefer Boar’s Head or a local artisan brand from the cheese counter. You want those sharp, tangy pockets of flavor.
- Shredded mozzarella cheese: 1 cup (about 112g), divided. Half goes into the dip, half goes on top for that golden, bubbly crust. Low-moisture, part-skim mozzarella melts best without getting greasy.
- Shredded cheddar cheese: 1/2 cup (about 56g). Sharp cheddar adds a deeper, more complex cheesy flavor. I use Cabot or Tillamook.
- Green onions: 3 to 4, thinly sliced. These add a fresh, mild oniony bite and a pop of color. Save a few for garnish.
- Garlic powder: 1 teaspoon. Don’t use fresh garlic here — it can become harsh and overpowering during baking. Garlic powder blends in smoothly.
- Onion powder: 1/2 teaspoon. Adds a subtle savory depth.
- Salt and black pepper: To taste. Go easy on the salt — the hot sauce and cheese are already salty.
Substitution Guidance: For a lighter version, you can use Neufchatel cheese instead of cream cheese and low-fat ranch dressing. The texture will be slightly less rich, but still very good. If you’re not a blue cheese fan (I know, it’s controversial), you can skip the crumble and double the cheddar instead. I’ve also made this with Greek yogurt instead of ranch in a pinch — it works, but the tang is more pronounced.
Equipment Needed
You don’t need a ton of fancy equipment for this recipe, which is part of what makes it so great. Here’s what you’ll need:
- 9×13-inch baking dish: This is the perfect size for a generous batch of dip. A 10-inch cast iron skillet also works beautifully and looks great on the table.
- Large mixing bowl: For combining all the ingredients. Any big bowl will do.
- Hand mixer or sturdy spatula: A hand mixer makes it easy to get the cream cheese smooth and incorporated. If you don’t have one, a strong fork or spatula and some elbow grease will do the job — just make sure the cream cheese is really soft.
- Cutting board and knife: For slicing green onions.
- Measuring cups and spoons: Standard set for accuracy.
- Oven: Preheated to 375°F (190°C).
I’ve made this dip in a disposable aluminum pan for a tailgate before, and it worked fine. Just keep an eye on the baking time — aluminum pans cook a bit faster. If you’re using a cast iron skillet, you might need an extra 5 minutes because the pan holds heat differently. My advice? Use what you have. This recipe is forgiving.
Preparation Method
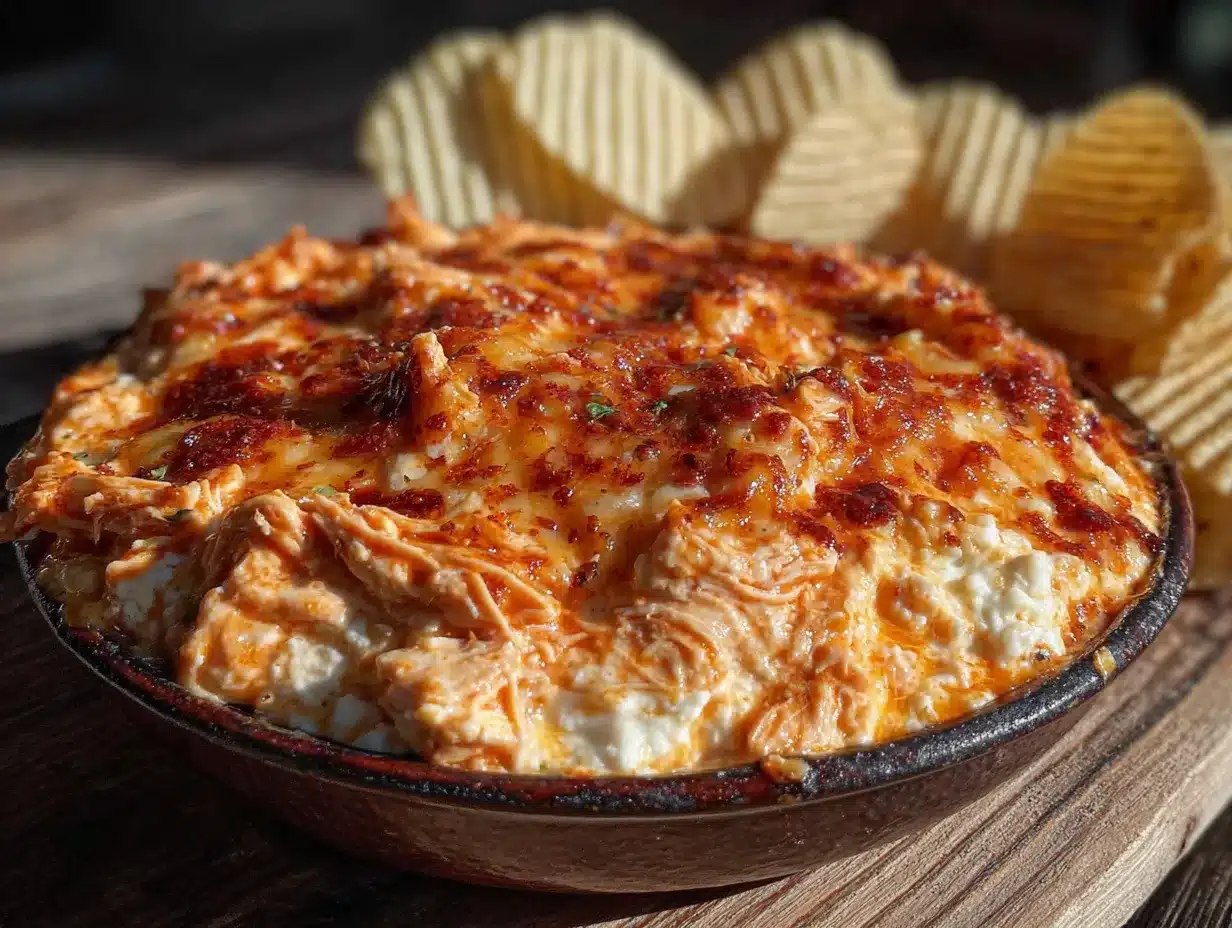
- Preheat your oven to 375°F (190°C). While it’s heating, take your cream cheese out of the fridge and let it sit on the counter to soften. This step is crucial — cold cream cheese will leave you with lumpy dip.
- Prepare your chicken. If you’re using rotisserie chicken, remove the skin and bones, then shred the meat with two forks. You want small, bite-sized pieces, not long strings. Measure out 3 cups. If the chicken seems wet, pat it dry with paper towels. I learned this the hard way after making a soup-like dip once. Never again.
- Soften the cream cheese. In your large mixing bowl, beat the softened cream cheese with a hand mixer until it’s smooth and fluffy, about 30 seconds. Scrape down the sides of the bowl. If you don’t have a mixer, let the cream cheese sit out for a full hour and then mash it with a fork until it’s paste-like.
- Add the wet ingredients. Pour the Frank’s RedHot and ranch dressing into the bowl with the cream cheese. Mix until everything is combined and smooth. The mixture will look a little thin at this point — that’s normal.
- Add the dry seasonings. Sprinkle in the garlic powder, onion powder, and a pinch of black pepper. Mix again. Don’t add salt yet — taste the hot sauce mixture first and decide if it needs it. I usually find it doesn’t.
- Fold in the chicken and half the cheese. Add the shredded chicken, 1/2 cup of the mozzarella, and all of the cheddar cheese to the bowl. Stir with a spatula until everything is evenly coated. The mixture should look thick and chunky, almost like a very wet chicken salad.
- Transfer to the baking dish. Spread the mixture evenly into your 9×13 dish or cast iron skillet. Use the spatula to smooth the top. It doesn’t need to be perfect — rustic is fine.
- Top with remaining cheese. Sprinkle the remaining 1/2 cup of mozzarella over the top. Then, scatter the blue cheese crumbles evenly over that. Don’t press them in — let them sit on top where they’ll get warm and slightly melty but still hold their shape.
- Bake. Place the dish in the preheated oven and bake for 20 to 25 minutes. You’re looking for the edges to be bubbly and the top to be golden brown in spots. The dip should be hot all the way through. If you want a browner top, you can switch the oven to broil for the last 2 minutes, but watch it closely — blue cheese burns fast.
- Rest and garnish. Let the dip sit for 5 minutes after it comes out of the oven. This allows it to set up a little so it’s not too runny. Sprinkle the sliced green onions over the top right before serving.
Cooking Tips & Techniques
I’ve made this dip probably fifty times by now, and I’ve made every mistake in the book so you don’t have to. Here are the things I wish someone had told me:
Don’t skip draining the chicken. This is the number one mistake people make. Wet chicken creates steam in the oven, which thins out your dip and makes it watery. If you’re using rotisserie chicken, it’s usually pretty dry already. If you’re poaching your own, let the shredded chicken sit in a colander for a few minutes to drain any excess liquid.
Let the cream cheese soften naturally. I know it’s tempting to microwave it for 30 seconds when you’re in a hurry. I’ve done it. But microwaved cream cheese melts unevenly and can leave you with greasy spots in your dip. If you’re truly short on time, cut the cold cream cheese into small cubes and let them sit for 15 minutes. They’ll soften much faster than a whole block.
Use full-fat dairy. This is not the recipe to experiment with low-fat cheese or light cream cheese. The fat is what keeps the dip creamy and stable. Low-fat versions break and turn grainy when baked. Your guests won’t thank you for saving 50 calories per serving.
Multitask wisely. While the dip is baking, set out your serving platter, open the bags of chips, and slice any extra garnishes. This dip is best served hot, so you want everything ready to go when it comes out of the oven. I once burned my fingers trying to arrange celery sticks while holding a hot dish. Learn from my impatience.
Watch the broiler. If you decide to broil the top for extra color, do not walk away. Blue cheese crumbles go from golden to black in about 45 seconds. I ruined a perfectly good batch this way while I was answering a text. The dip was still edible, but it looked like a crime scene.
Variations & Adaptations
This recipe is a great base for experimentation. Here are a few ways I’ve changed it up over the years:
Smoky Buffalo Dip: Substitute half the Frank’s RedHot with a smoky chipotle hot sauce. The smokiness pairs beautifully with the blue cheese. I tried this on a whim during a winter game day and it was a huge hit.
Bacon Lover’s Version: Cook 6 slices of bacon until crispy, crumble them, and mix half into the dip before baking. Reserve the other half to sprinkle on top along with the green onions. Bacon and blue cheese are a classic combo for a reason.
Lighter Buffalo Dip: Use Neufchatel cheese (it has about a third less fat than cream cheese) and a thick Greek yogurt-based ranch dressing. The texture will be slightly less luscious, but the flavor is still fantastic. I’ve served this version to friends who didn’t notice the difference until I told them.
Spicier Version: Add 1 tablespoon of cayenne pepper to the cream cheese mixture, or stir in a few teaspoons of your favorite hot sauce along with the Frank’s. For extra heat, leave some of the seeds in if you’re using fresh jalapeños as a garnish.
Dairy-Free Adaptation: Use a dairy-free cream cheese alternative (Kite Hill makes a good one) and a plant-based ranch dressing. Omit the cheese topping or use a dairy-free shredded mozzarella. The texture won’t be exactly the same, but it’s still a solid, creamy dip that satisfies the craving.
Serving & Storage Suggestions
This dip is best served hot, straight from the oven. I like to set the baking dish right on a trivet in the middle of the table and let people dig in. The presentation is rustic and inviting — no fancy platter needed.
What to serve with it: Tortilla chips are the classic choice, and for good reason — they’re sturdy enough to scoop up the thick dip without breaking. But don’t stop there. Celery sticks and carrot chips add a fresh crunch that cuts through the richness. Pretzel chips are also fantastic, especially the thick, salty kind. I’ve even served this with toasted baguette slices for a more substantial appetizer.
Beverage pairings: A cold, crisp beer is my go-to. An IPA or a light lager works beautifully. For wine drinkers, a dry Riesling or a unoaked Chardonnay can stand up to the spice. If you’re serving cocktails, a classic margarita or a spicy bloody mary is a match made in heaven.
Storage: Leftover dip keeps well in the refrigerator for up to 4 days. Store it in an airtight container. The blue cheese crumbles will soften and lose some of their texture, but the flavor will actually deepen as the dip sits. I’ve been known to eat it cold straight from the fridge the next day — don’t judge me.
Reheating: The best way to reheat this dip is in the oven at 350°F (175°C) for about 10 to 15 minutes, or until bubbly. The microwave works in a pinch, but it can make the dip grainy. If you’re microwaving, do it in 30-second bursts, stirring between each, until hot.
Freezing: I don’t recommend freezing this dip. The dairy separates when thawed, and the texture becomes watery and unpleasant. Make it fresh — it’s quick enough that you don’t need to plan ahead.
Nutritional Information & Benefits
Let’s be honest — this is not health food. It’s a decadent, indulgent dip meant for sharing on game days and special occasions. But that doesn’t mean it’s entirely without merit.
Here are the approximate nutritional values per serving (based on 12 servings):
- Calories: 310
- Fat: 24g
- Saturated Fat: 12g
- Cholesterol: 85mg
- Sodium: 680mg
- Carbohydrates: 4g
- Fiber: 0g
- Sugar: 2g
- Protein: 19g
The chicken provides a solid dose of lean protein — about 19 grams per serving, which helps keep you full. The blue cheese contains calcium and beneficial probiotics (if it’s made from raw, unpasteurized milk). The hot sauce contains capsaicin, which has been linked to a temporary boost in metabolism. Of course, these benefits come wrapped in a blanket of cheese and cream, so portion control is your friend here.
This recipe contains dairy (cream cheese, cheese, ranch) and is not suitable for vegans or those with lactose intolerance. It is gluten-free as written, but always check your specific brands of hot sauce and ranch dressing to be sure.
Conclusion
This Best Loaded Buffalo Chicken Dip with Blue Cheese Crumble is the kind of recipe that becomes a staple. It’s the dish you bring to parties when you want to impress without stress. It’s the dip that disappears before the main course even hits the table. And it started as a complete accident — a distracted cook, a forgotten chicken, and a leap of faith.
I hope you make this your own. Maybe you add extra blue cheese, maybe you swap in a different hot sauce, maybe you serve it with celery sticks instead of chips. The beauty of this recipe is that it’s forgiving. It wants to be customized. It wants to be shared.
When you make it — and I really hope you do — come back and tell me how it turned out. Did you change anything? Did your guests fight over the last scoop? I love hearing about your kitchen adventures, even the messy ones. Especially the messy ones.
Now go preheat that oven. Your dip is waiting.
Frequently Asked Questions
Can I make this Buffalo Chicken Dip ahead of time?
Absolutely. You can assemble the entire dip (without baking) up to 24 hours in advance. Cover the dish tightly with plastic wrap and refrigerate. When you’re ready to serve, let it sit on the counter for 20 minutes to take the chill off, then bake as directed. You may need to add 5 to 10 minutes to the baking time since you’re starting from cold.
Can I use canned chicken instead of fresh?
You can, but I don’t recommend it. Canned chicken has a very different texture — it’s finer and mushier than shredded rotisserie chicken. The dip will still taste okay, but it won’t have the same satisfying, chunky texture. If you’re in a real pinch, drain the canned chicken very well and fluff it with a fork before mixing it in.
How do I make this dip less spicy?
Reduce the Frank’s RedHot to 1/4 cup and increase the ranch dressing to 3/4 cup. You can also add an extra ounce of cream cheese to help mellow out the heat. The dip will still have a mild buffalo flavor, but it won’t have that lip-tingling kick. If you’re serving a crowd with mixed spice tolerances, I recommend making the full-spice version and serving it with a side of extra ranch for dipping.
What’s the best way to shred chicken for this recipe?
For the best texture, use two forks to shred the chicken into small, bite-sized pieces. If you’re making a large batch, you can use a hand mixer on low speed — place the cooked chicken in a large bowl and run the mixer for about 30 seconds. It’s faster, but be careful not to overdo it or you’ll end up with chicken paste. For rotisserie chicken, I find that pulling it apart with my hands (once it’s cool enough) gives me the most control over the size of the pieces.
Can I cook this in a slow cooker instead of the oven?
Yes! This is a great option for parties. Add all the ingredients (except the blue cheese crumbles and green onions) to a slow cooker. Cook on low for 2 to 3 hours, stirring occasionally, until everything is melted and hot. Stir in half the blue cheese crumbles, then top with the remaining crumbles and green onions. Switch the slow cooker to warm and let guests serve themselves. The texture will be slightly softer than the baked version, but it’s just as delicious.
Pin This Recipe!
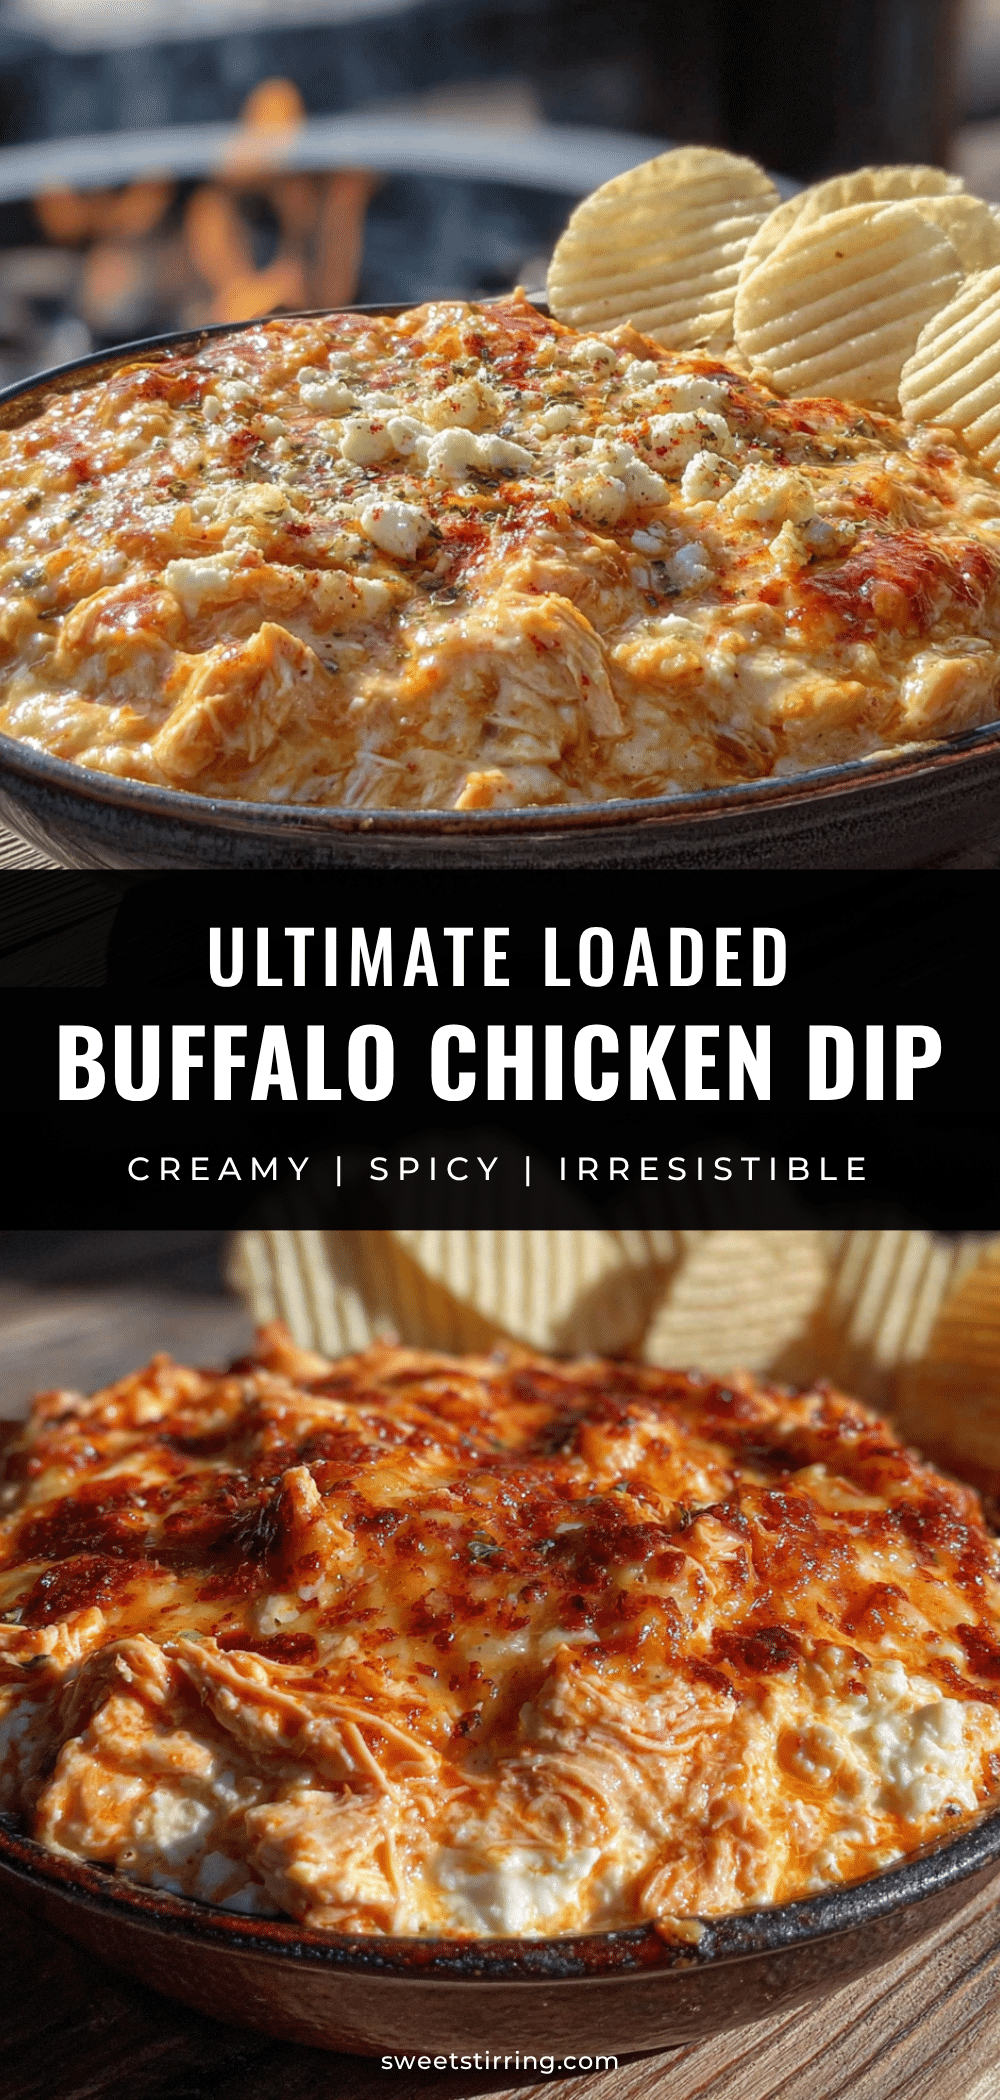
Best Loaded Buffalo Chicken Dip with Blue Cheese Crumble

This creamy, spicy, and utterly addictive buffalo chicken dip is the ultimate game day appetizer. Made with shredded chicken, cream cheese, Frank’s RedHot, and a sharp blue cheese crumble, it’s thick, scoopable, and always the first to disappear.
- Prep Time: 10 minutes
- Cook Time: 25 minutes
- Total Time: 35 minutes
- Yield: 12 servings 1x
- Category: Appetizer
- Cuisine: American
Ingredients
- 3 cups cooked, shredded chicken (about 1.5 pounds or 680g)
- 8 ounces cream cheese, softened to room temperature
- 1/2 cup Frank’s RedHot Original Cayenne Pepper Sauce
- 1/2 cup ranch dressing
- 1 cup blue cheese crumbles (about 120g)
- 1 cup shredded mozzarella cheese, divided (about 112g)
- 1/2 cup shredded sharp cheddar cheese (about 56g)
- 3 to 4 green onions, thinly sliced
- 1 teaspoon garlic powder
- 1/2 teaspoon onion powder
- Salt and black pepper to taste
Instructions
- Preheat your oven to 375°F (190°C). Let the cream cheese sit on the counter to soften.
- Prepare the chicken: If using rotisserie chicken, remove skin and bones, then shred with two forks into small, bite-sized pieces. Measure out 3 cups. Pat dry with paper towels if wet.
- In a large mixing bowl, beat the softened cream cheese with a hand mixer until smooth and fluffy, about 30 seconds. Scrape down the sides.
- Add the Frank’s RedHot and ranch dressing to the bowl with the cream cheese. Mix until combined and smooth.
- Sprinkle in the garlic powder, onion powder, and a pinch of black pepper. Mix again. Do not add salt yet.
- Fold in the shredded chicken, 1/2 cup of the mozzarella, and all of the cheddar cheese. Stir until everything is evenly coated.
- Transfer the mixture to a 9×13-inch baking dish or a 10-inch cast iron skillet. Spread evenly and smooth the top.
- Top with the remaining 1/2 cup of mozzarella, then scatter the blue cheese crumbles evenly over the top.
- Bake for 20 to 25 minutes, until the edges are bubbly and the top is golden brown in spots. For a browner top, broil for the last 2 minutes, watching closely.
- Let the dip rest for 5 minutes. Sprinkle sliced green onions over the top right before serving.
Notes
For best results, drain the chicken well and let cream cheese soften naturally. Use full-fat dairy for a creamy, stable texture. The dip can be assembled up to 24 hours in advance and refrigerated before baking. For a slow cooker version, cook on low for 2-3 hours.
Nutrition
- Serving Size: 1 serving (about 1/1
- Calories: 310
- Sugar: 2
- Sodium: 680
- Fat: 24
- Saturated Fat: 12
- Carbohydrates: 4
- Protein: 19
Keywords: buffalo chicken dip, game day dip, buffalo dip, chicken dip, blue cheese dip, easy appetizer, party dip



