Love this? Save it for later!
Share the inspiration with your friends
Introduction
“I wasn’t planning on baking cookies that Saturday morning,” I remember telling my friend Kelly as we scrambled through her tiny kitchen, trying not to wake up her curious toddler. The power had flickered off the night before, and the fridge was a bit of a mystery box. Kelly’s daughter was due for a school snack, and honestly, the local store’s offerings just weren’t cutting it. So, armed with pantry staples and zero time, we threw together what would soon become my go-to chewy peanut butter chocolate chip lunchbox cookies.
What’s funny is that Kelly swore she was “not a baker.” Yet, the moment those cookies came out all golden and tender, even her toddler stopped mid-play to sneak a bite. Maybe you know that feeling when a kitchen mishap turns into a sweet victory? This recipe is exactly that—simple, forgiving, and packed with nostalgia. I mean, who doesn’t love peanut butter and chocolate chips teaming up in chewy, soft cookies that hold their shape but melt in your mouth?
That cracked mixing bowl, the slightly burnt corner on one cookie (oops!), the unexpected crunch of peanuts paired with gooey chocolate—it all makes this recipe feel like a warm, cozy hug in cookie form. Whether you’re packing lunchboxes or just craving a homemade treat, these cookies have a way of sticking around in your memory—and your cookie jar.
Why You’ll Love This Recipe
After countless batches and tweaks (including the infamous “forgot the sugar” incident), I can confidently say these chewy peanut butter chocolate chip lunchbox cookies are a winner for so many reasons:
- Quick & Easy: Ready in under 30 minutes, perfect for busy mornings or last-minute snack needs.
- Simple Ingredients: No fancy stores required—you probably have all the staples already.
- Perfect for Lunchboxes: Stays soft yet sturdy enough for packing without crumbling all over.
- Crowd-Pleaser: Loved by kids and adults alike, always disappears fast at potlucks and after-school snacks.
- Unbelievably Delicious: The combo of peanut butter’s richness with melty chocolate chips is classic comfort food.
What makes this recipe stand out is the balance of chewiness and just a hint of crisp on the edges—thanks to a small tweak in the baking time and the choice of peanut butter (I trust Skippy for that perfect creamy texture). Plus, blending a touch of brown sugar with granulated sugar gives the cookies that deep, caramel-like flavor. Honestly, this isn’t just another peanut butter cookie recipe—it’s the one I reach for when I want fuss-free but unforgettable treats.
If you’ve ever had the challenge of finding a cookie that travels well and tastes amazing straight out of the lunchbox, this recipe’s for you. It’s comfort food, uncomplicated and reliably delicious.
What Ingredients You Will Need
This recipe uses simple, wholesome ingredients to deliver bold flavor and satisfying texture without any fuss. Most of these are pantry staples, and a few tips on selecting the best versions will help your cookies turn out just right.
- Peanut Butter: 1 cup (240g) creamy peanut butter (I recommend Skippy or Jif for smooth texture)
- Granulated Sugar: 3/4 cup (150g) – balances the sweetness
- Brown Sugar: 1/2 cup (100g), packed (adds moisture and depth)
- Large Egg: 1, room temperature (helps with chewiness and binding)
- Vanilla Extract: 1 teaspoon (adds warmth and aroma)
- Baking Soda: 1/2 teaspoon (for leavening and a slight rise)
- Salt: 1/4 teaspoon (enhances all the flavors)
- All-Purpose Flour: 1 cup (125g) – use spooned and leveled for accuracy; can swap with gluten-free flour blend for GF option
- Chocolate Chips: 1 cup (175g) semi-sweet or milk chocolate chips (Ghirardelli or Nestlé Toll House work well)
Optional: For a little crunch, you could add 1/2 cup chopped roasted peanuts or walnuts. In summer, feel free to swap chocolate chips with dark chocolate chunks or even mini peanut butter cups for a fun twist.
Equipment Needed
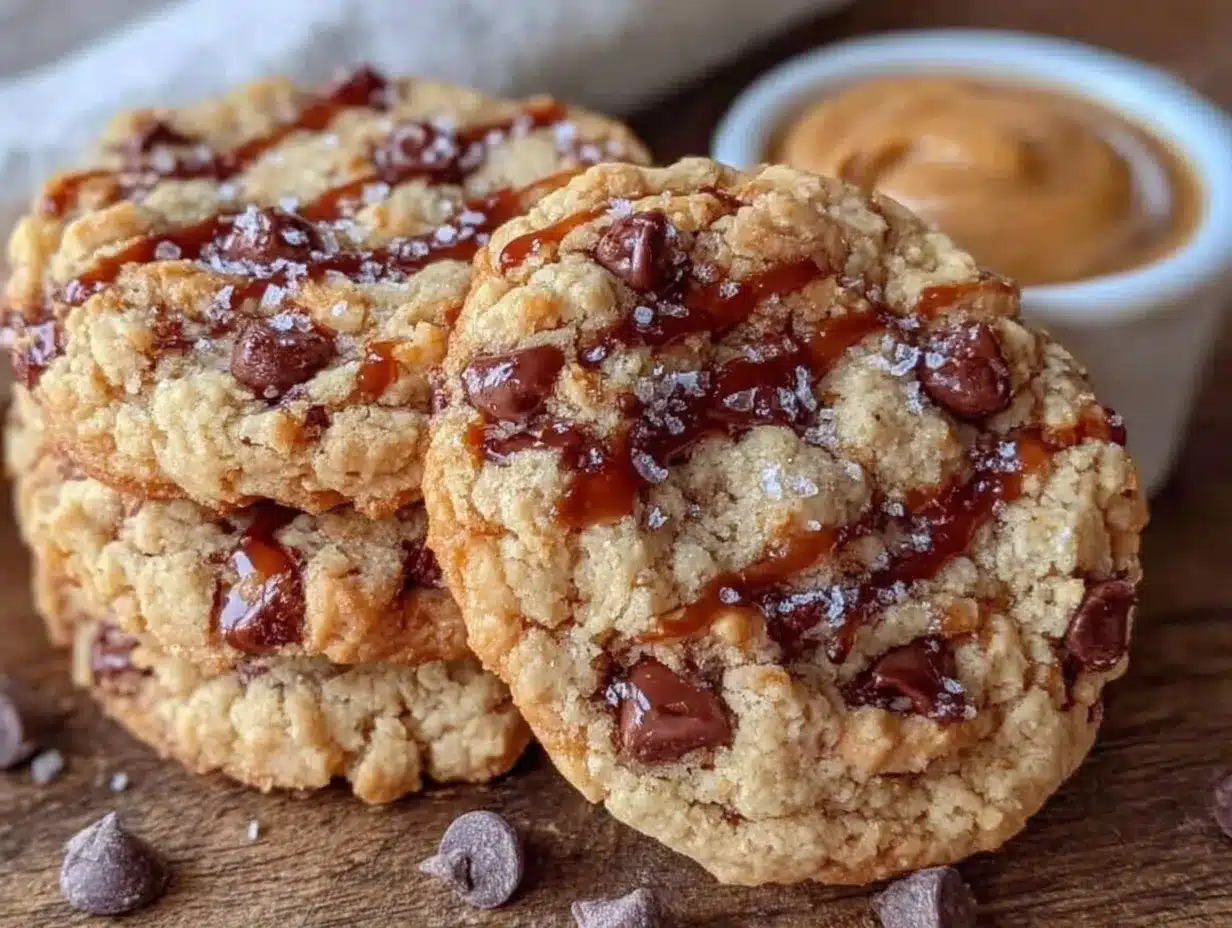
- Mixing bowls (medium and large)
- Measuring cups and spoons (for precise measurements)
- Hand mixer or stand mixer (optional but helpful for creamier peanut butter mix)
- Baking sheets lined with parchment paper or silicone mats (to prevent sticking and promote even baking)
- Cooling rack (to help cookies firm up while cooling)
- Cookie scoop or tablespoon (for uniform cookie sizes)
If you don’t have a mixer, stirring by hand works just fine—just be patient and mix until the dough is smooth. I used to think a mixer was essential, but honestly, some of my best batches were hand-mixed during a power outage (true story!). For budget-friendly baking, a sturdy wooden spoon and a couple of bowls will do the trick.
Preparation Method
- Preheat your oven to 350°F (175°C). Line two baking sheets with parchment paper or silicone baking mats to keep the cookies from sticking and ensure even baking. This usually takes about 10 minutes.
- Mix the sugars and peanut butter in a large bowl. Use a hand mixer or stand mixer on medium speed to combine 3/4 cup granulated sugar, 1/2 cup packed brown sugar, and 1 cup creamy peanut butter until smooth and creamy—around 2-3 minutes. You can do this by hand, but it’ll take a bit more elbow grease.
- Add the egg and vanilla extract. Crack 1 large room-temperature egg into the bowl, pour in 1 teaspoon vanilla extract, and mix until fully incorporated. The dough will start to look glossy and smooth now.
- Whisk together dry ingredients in a separate bowl: 1 cup all-purpose flour, 1/2 teaspoon baking soda, and 1/4 teaspoon salt. This helps distribute the leavening agent evenly.
- Gradually add the dry ingredients to the wet mixture, mixing on low speed just until combined. The dough will be thick and slightly sticky—perfect for chewy cookies. Overmixing here can make cookies tough, so stop once the flour disappears.
- Fold in the chocolate chips (1 cup) using a spatula, making sure they’re evenly spread throughout the dough.
- Scoop dough onto prepared baking sheets using a cookie scoop or tablespoon, spacing them about 2 inches apart (they will spread slightly). For uniform cookies, I like to roll the dough balls slightly between my hands.
- Bake for 9-11 minutes. Keep a close eye after 8 minutes—cookies should have golden edges with a slightly soft center. They’ll firm up as they cool, so don’t overbake! If your oven runs hot, try 8 minutes first.
- Cool cookies on the baking sheet for 5 minutes before transferring to a cooling rack to finish cooling. This prevents breakage and helps retain chewiness.
Pro tip: If your dough feels too sticky to handle, pop it in the fridge for 15 minutes before scooping. I’ve found that chilling helps keep the cookies from spreading too much and makes them easier to portion.
Cooking Tips & Techniques
Making the perfect chewy peanut butter chocolate chip lunchbox cookies comes down to a few key details. Here’s what I’ve learned after many kitchen experiments:
- Don’t skip the brown sugar. It’s the secret to moisture and chewiness in these cookies.
- Use creamy peanut butter. Chunky can work, but it changes the texture and spread of the cookies.
- Measure flour carefully. Too much flour makes cookies dry and cakey. Spoon and level for accuracy instead of scooping directly from the bag.
- Watch your baking time. Cookies will look slightly underbaked when you take them out but will firm up as they cool. Overbaking leads to crunchier cookies, which isn’t the goal here.
- Experiment with chilling the dough. Sometimes I chill for 30 minutes to get thicker cookies, especially in hot weather when the dough can get sticky.
- Multitasking tip: While dough chills or cookies bake, clean your prep area or prep your next batch. It makes the whole process smoother and more enjoyable.
One time, I accidentally forgot the vanilla extract but baked the batch anyway. The cookies were good, but adding vanilla next time made a noticeable difference—little details add up!
Variations & Adaptations
If you want to mix things up or accommodate special diets, here are some easy ways to tweak this recipe:
- Gluten-Free Version: Swap all-purpose flour with a gluten-free 1:1 baking flour blend. Make sure it contains xanthan gum or add 1/4 teaspoon for structure.
- Nut-Free Alternative: Use sunflower seed butter or soy nut butter instead of peanut butter. The flavor changes but the texture stays satisfying.
- Flavor Boost: Add 1/2 teaspoon cinnamon or a pinch of cayenne for a subtle twist that plays well with peanut butter.
- Healthier Swap: Substitute half the sugar with coconut sugar or maple syrup (reduce liquid slightly) for a more natural sweetness.
- Double Chocolate: Replace 1/4 cup flour with unsweetened cocoa powder for a chocolate-peanut butter mashup.
Personally, I’ve tried adding chopped pretzels for a sweet-salty crunch that’s surprisingly addictive. It’s a fun way to surprise your taste buds without complicating the recipe.
Serving & Storage Suggestions
These chewy peanut butter chocolate chip lunchbox cookies are best enjoyed at room temperature. They hold up well in lunchboxes and snack bags without turning crumbly—just the kind of cookie you want to pack for school or work.
For serving, pair them with a cold glass of milk or a hot cup of coffee for grown-ups. They also go great alongside fresh fruit or a yogurt parfait for a balanced snack.
Store cookies in an airtight container at room temperature for up to 5 days. If you want to keep them longer, freeze baked cookies for up to 3 months. Thaw overnight at room temperature or warm gently in the microwave for 10-15 seconds.
Pro tip: Letting the cookies rest a day after baking helps the flavors meld and the texture improve. If you can wait, it’s worth it!
Nutritional Information & Benefits
Each cookie (based on 24 cookies per batch) roughly contains:
- Calories: 150-170
- Protein: 4g (thanks to peanut butter)
- Fat: 8-9g (mostly from healthy fats in peanut butter)
- Carbohydrates: 18g
- Fiber: 1-2g
Peanut butter is a great source of protein and heart-healthy fats, making these cookies more satisfying than your average treat. Plus, using a moderate amount of sugar keeps them from being overly sweet—better for both kids and adults alike.
For gluten-free or nut-free versions, the swaps keep the nutritional profile similar while catering to dietary needs. Just a heads up—these cookies contain nuts and eggs, so watch for allergies.
Conclusion
If you’re looking for a cookie that’s chewy, packed with peanut butter goodness, and studded with melty chocolate chips, this recipe fits the bill perfectly. It’s straightforward enough for beginners yet satisfying enough to become a household favorite. I love how reliable it is—easy to mix up on a whim and always delivers that nostalgic, comforting flavor.
Feel free to make it your own, whether that means adding a dash of cinnamon, swapping out flours, or sneaking in some chopped nuts. And hey, if you give this recipe a try, I’d love to hear how your batch turned out or what tweaks you made! Sharing your cookie stories always makes my day.
So grab your mixing bowl, and let’s make some magic happen—because chewy peanut butter chocolate chip lunchbox cookies are the kind of homemade treat worth baking again and again.
FAQs
Can I use natural peanut butter for these cookies?
Yes, but natural peanut butter tends to be more oily and runny, which can affect the dough’s texture. If using natural, chill the dough before baking to help the cookies hold their shape.
How do I keep the cookies soft for lunchboxes?
Store them in an airtight container and avoid overbaking. Adding a slice of bread to the container can help maintain moisture.
Can I freeze the cookie dough?
Absolutely! Scoop the dough into balls and freeze on a tray. Once frozen, transfer to a freezer bag. Bake straight from frozen, adding a couple extra minutes to the baking time.
What’s the best way to measure flour for this recipe?
Spoon the flour into your measuring cup and level it off with a knife instead of scooping directly from the bag to avoid packing too much flour.
Can I make these cookies vegan?
To make vegan, substitute the egg with a flax egg (1 tablespoon flaxseed meal mixed with 3 tablespoons water) and use dairy-free chocolate chips. Also, choose a vegan-friendly peanut butter brand.
Pin This Recipe!
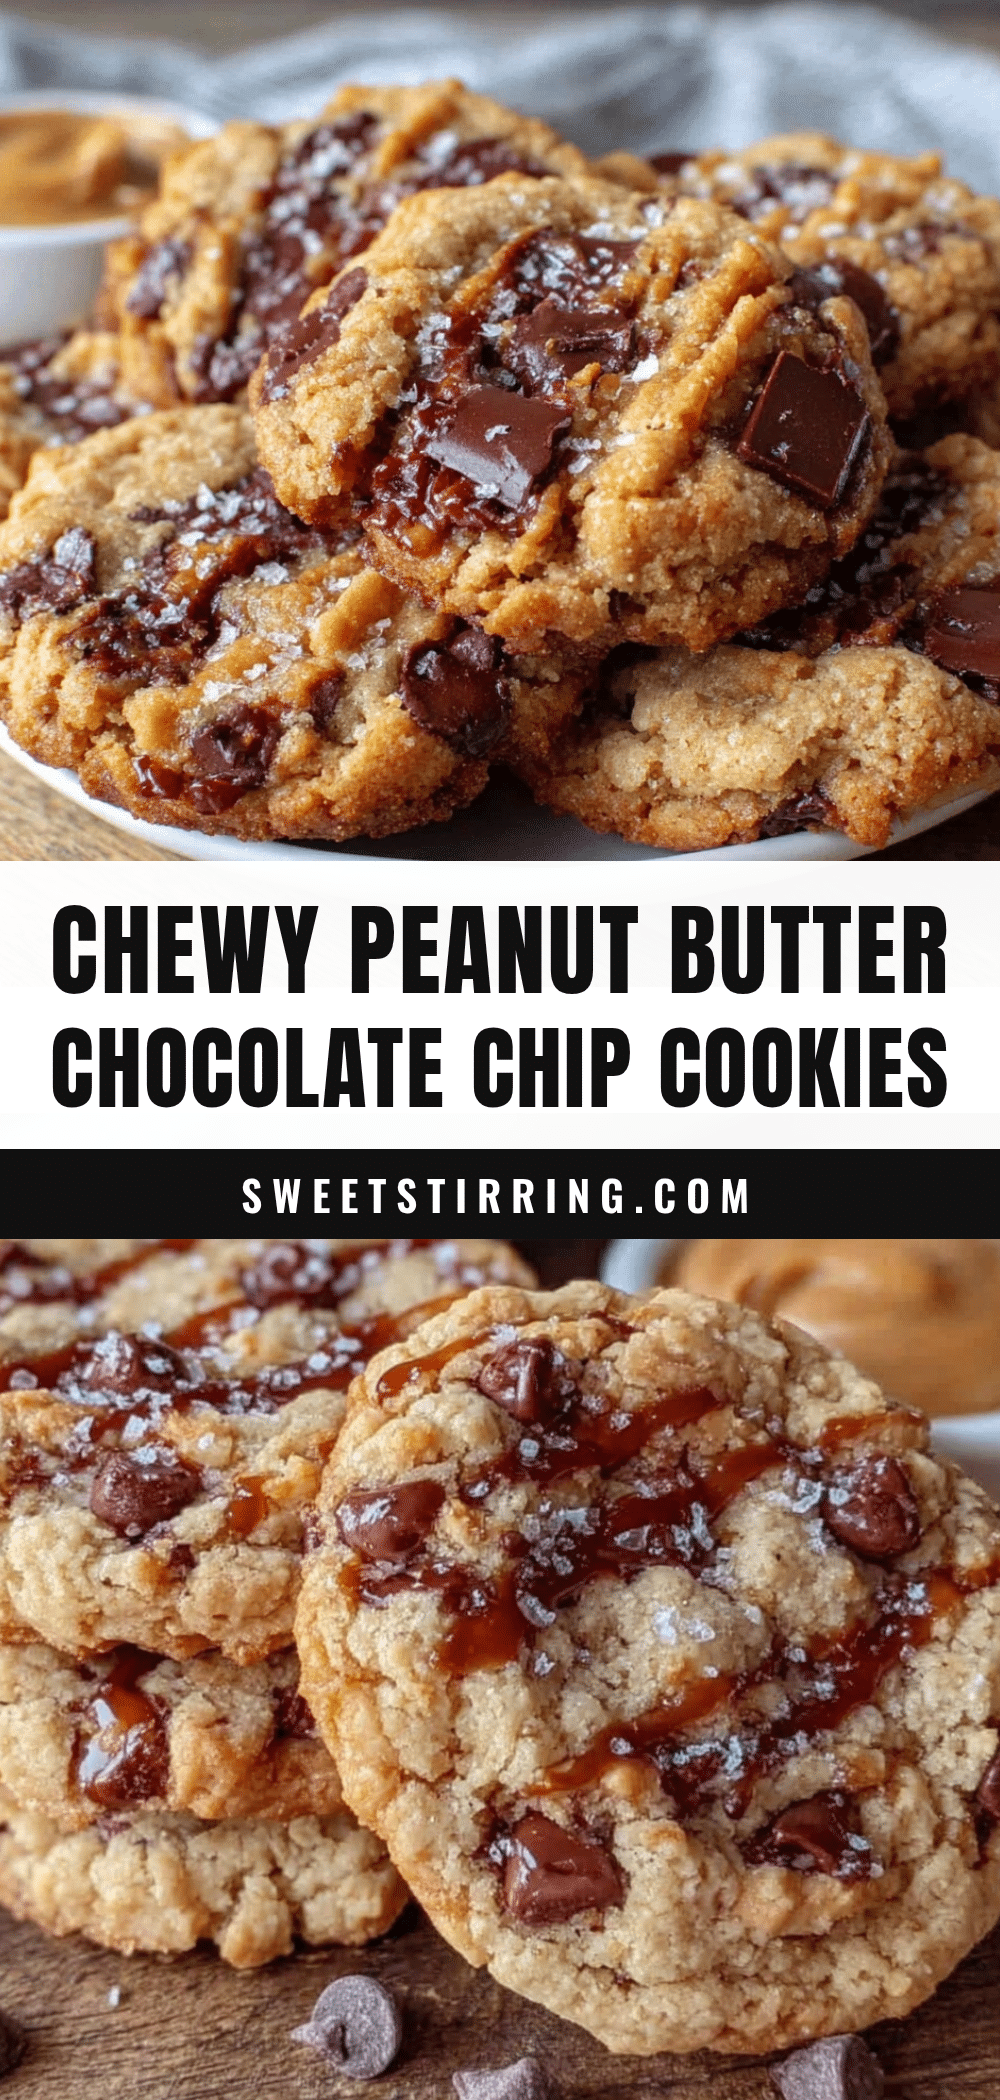
Chewy Peanut Butter Chocolate Chip Lunchbox Cookies

These chewy peanut butter chocolate chip lunchbox cookies are quick, easy, and perfect for packing in lunchboxes. They combine creamy peanut butter with melty chocolate chips for a nostalgic, soft, and tender treat.
- Prep Time: 10 minutes
- Cook Time: 10 minutes
- Total Time: 20 minutes
- Yield: 24 cookies 1x
- Category: Dessert
- Cuisine: American
Ingredients
- 1 cup (240g) creamy peanut butter (Skippy or Jif recommended)
- 3/4 cup (150g) granulated sugar
- 1/2 cup (100g) packed brown sugar
- 1 large egg, room temperature
- 1 teaspoon vanilla extract
- 1/2 teaspoon baking soda
- 1/4 teaspoon salt
- 1 cup (125g) all-purpose flour (spooned and leveled; can swap with gluten-free flour blend for GF option)
- 1 cup (175g) semi-sweet or milk chocolate chips (Ghirardelli or Nestlé Toll House recommended)
- Optional: 1/2 cup chopped roasted peanuts or walnuts
Instructions
- Preheat oven to 350°F (175°C). Line two baking sheets with parchment paper or silicone baking mats.
- In a large bowl, mix 3/4 cup granulated sugar, 1/2 cup packed brown sugar, and 1 cup creamy peanut butter until smooth and creamy (2-3 minutes with mixer or by hand).
- Add 1 large room-temperature egg and 1 teaspoon vanilla extract; mix until fully incorporated and dough is glossy and smooth.
- In a separate bowl, whisk together 1 cup all-purpose flour, 1/2 teaspoon baking soda, and 1/4 teaspoon salt.
- Gradually add dry ingredients to wet mixture, mixing on low speed just until combined. Dough will be thick and slightly sticky.
- Fold in 1 cup chocolate chips evenly with a spatula.
- Scoop dough onto prepared baking sheets using a cookie scoop or tablespoon, spacing about 2 inches apart. Optionally roll dough balls slightly between hands.
- Bake for 9-11 minutes until cookies have golden edges and slightly soft centers. Watch closely after 8 minutes to avoid overbaking.
- Cool cookies on baking sheet for 5 minutes, then transfer to a cooling rack to finish cooling.
Notes
If dough is too sticky, chill for 15 minutes before scooping to prevent spreading. Do not overmix flour to avoid tough cookies. Cookies will firm up as they cool; avoid overbaking. Store in airtight container with a slice of bread to maintain softness. Dough can be frozen in balls and baked from frozen with extra baking time. For vegan version, substitute egg with flax egg and use dairy-free chocolate chips and vegan peanut butter.
Nutrition
- Serving Size: 1 cookie
- Calories: 160
- Sugar: 12
- Sodium: 120
- Fat: 8.5
- Saturated Fat: 1.5
- Carbohydrates: 18
- Fiber: 1.5
- Protein: 4
Keywords: peanut butter cookies, chocolate chip cookies, lunchbox cookies, chewy cookies, easy cookies, homemade treats, kid-friendly snacks