Love this? Save it for later!
Share the inspiration with your friends
My sister claimed she hated pumpkin desserts for a solid decade. Ten years of rolling her eyes at pumpkin spice season, of pushing past the Thanksgiving pie without a second glance, of declaring herself “just not a pumpkin person” with that finality only a younger sibling can muster. Then last October, I made these creamy no-bake pumpkin pie cheesecake bars “just for myself” and found her standing at the counter, fork in hand, scraping the last crumb from the pan. She didn’t even try to look guilty.
Honestly, I get it. Pumpkin desserts can be tricky. They’re either too heavy with spice or so bland you wonder why you bothered. But these bars? They hit different. The filling is silky smooth — thanks to a little trick with cream cheese and cold pumpkin puree — and the buttery pecan crust gives just enough crunch to keep things interesting. I made them on a random Tuesday evening when I needed something sweet but didn’t want to turn on the oven. My kitchen smelled like cinnamon and victory.
The best part? They set in the fridge, no baking required. You stir, you pour, you wait. That’s it. Maybe you’ve been burned by complicated pumpkin recipes before — I know I have. But these bars are forgiving, foolproof, and somehow even better the next day. Let me show you why they’ve become my most-requested fall dessert.
Why You’ll Love This Recipe
Let’s be real for a second. There are a lot of pumpkin dessert recipes out there. What makes these creamy no-bake pumpkin pie cheesecake bars worth your time? I’ve tested this recipe six times over two seasons — once with a friend’s picky kids as taste-testers, once for a Thanksgiving potluck, and once just because I needed comfort food on a rainy Sunday. Every single batch disappeared.
- No oven required. Seriously. Your kitchen stays cool, which matters when you’re already roasting a turkey or just want a simple dessert without the heat.
- Simple ingredients. You probably have most of this in your pantry right now. No fancy grocery store trips needed.
- Perfect for fall gatherings. These bars travel well, slice cleanly, and look gorgeous on a dessert table. Bring them to Friendsgiving or keep them all for yourself — no judgment.
- Crowd-pleaser status. Even self-proclaimed pumpkin haters (like my sister) go back for seconds. The cream cheese balances the pumpkin perfectly.
- Make-ahead friendly. They actually taste better after chilling overnight. Less stress on party day.
What makes these different from every other no-bake pumpkin bar? It’s the texture. Most recipes end up either too dense or too runny. I spent weeks tweaking the ratio of cream cheese to pumpkin puree, testing different thickening agents, and finally landed on a method that gives you that silky, mousse-like consistency without any gelatin or weird ingredients. The crust isn’t an afterthought either — toasted pecans and brown sugar make it taste like a warm hug.
This is the kind of dessert that makes you close your eyes after the first bite. It’s comfort food reimagined — faster, easier, but with the same soul-soothing satisfaction. Perfect for impressing guests without stress, or turning a simple Tuesday into something memorable.
What Ingredients You Will Need
This recipe uses simple, wholesome ingredients to deliver bold flavor and satisfying texture without the fuss. Most of these are pantry staples for fall baking, but I’ve included notes on substitutions where helpful.
For the crust:
- 1 ½ cups (150g) graham cracker crumbs (about 12 full sheets)
- ½ cup (60g) finely chopped pecans
- ¼ cup (50g) packed light brown sugar
- ½ cup (113g) unsalted butter, melted
- ¼ teaspoon salt
For the no-bake pumpkin cheesecake filling:
- 16 oz (454g) full-fat cream cheese, softened to room temperature (I recommend Philadelphia for best texture)
- 1 cup (200g) granulated sugar
- 1 cup (245g) canned pumpkin puree (not pumpkin pie filling — look for 100% pure pumpkin)
- 1 teaspoon vanilla extract
- 1 ½ teaspoons pumpkin pie spice
- ½ teaspoon ground cinnamon
- ¼ teaspoon ground ginger
- ⅛ teaspoon ground cloves
- 2 cups (480ml) cold heavy whipping cream
- ¼ cup (30g) powdered sugar
For the topping (optional but recommended):
- ¼ cup (60ml) caramel sauce (store-bought or homemade)
- 2 tablespoons chopped pecans, toasted
- Flaky sea salt, for sprinkling
A few ingredient notes from my kitchen to yours. Use full-fat cream cheese here — low-fat versions contain more water and can make the filling runny. Let it sit on the counter for about 30 minutes before mixing so it blends smoothly. For the pumpkin puree, I’ve tested this with Libby’s and store brands; both work well, but Libby’s gives a slightly thicker consistency. If you’re in a pinch, you can swap the graham crackers with digestive biscuits or even shortbread cookies for a different crust flavor. For a gluten-free version, use certified gluten-free graham crackers.
Equipment Needed
You don’t need a fancy kitchen for these creamy no-bake pumpkin pie cheesecake bars. Here’s what you’ll need:
- 9×9-inch square baking pan (an 8×8 works too, but bars will be slightly thicker)
- Parchment paper — trust me on this one. It makes lifting the bars out so much easier
- Electric hand mixer or stand mixer — you need to whip the cream and beat the cream cheese until fluffy
- Large mixing bowls (at least two)
- Measuring cups and spoons
- Rubber spatula for scraping every bit of filling into the pan
- Food processor or zip-top bag with rolling pin for crushing graham crackers
- Small skillet for toasting pecans (optional but recommended)
If you don’t have a hand mixer, you can whip the cream by hand with a whisk — it’ll take about 8 minutes of vigorous arm work, but it’s doable. I’ve done it before when my mixer broke mid-recipe, and honestly, it was a good arm workout. For the crust, a food processor gives the most even crumbs, but crushing graham crackers in a zip-top bag with a rolling pin works perfectly fine. Just make sure there are no large chunks left.
Preparation Method
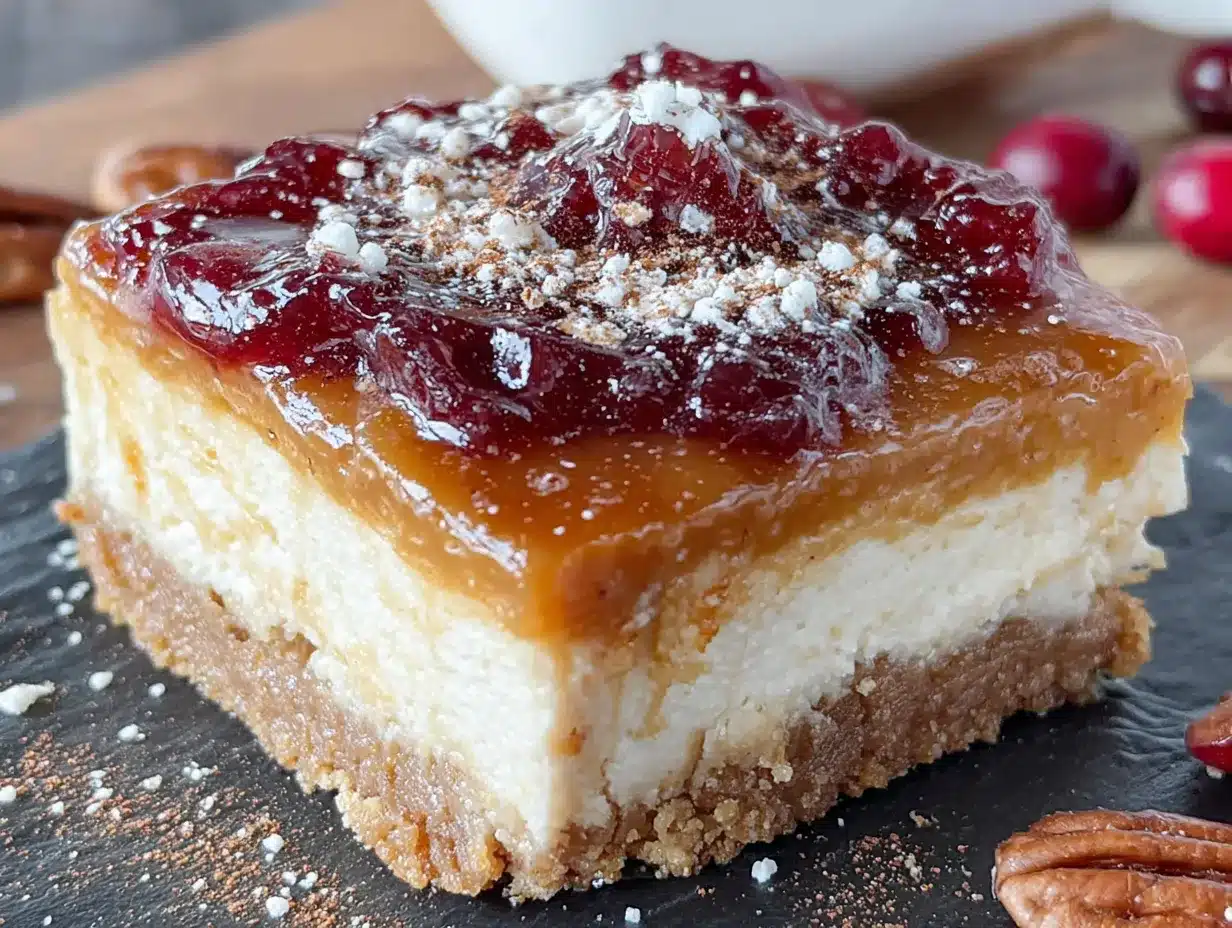
Let’s make these no-bake pumpkin pie cheesecake bars. The process is straightforward, but I’ve included detailed notes so you nail it on your first try.
Step 1: Prepare the pan and crust
Line your 9×9-inch baking pan with parchment paper, leaving about 2 inches of overhang on two opposite sides. This creates “handles” for lifting the bars out later. In a medium bowl, combine the graham cracker crumbs, finely chopped pecans, brown sugar, and salt. Pour in the melted butter and stir with a fork until everything is evenly moistened. The mixture should hold together when you squeeze a handful. Transfer to the prepared pan and press firmly into an even layer. I use the bottom of a measuring cup to really compact it. Pop the pan in the refrigerator while you make the filling — at least 15 minutes.
Step 2: Whip the cream
In a large mixing bowl, pour the cold heavy whipping cream. Add the powdered sugar. Using an electric hand mixer on medium-high speed, whip until stiff peaks form. This takes about 3-4 minutes. You’ll know it’s ready when you lift the beaters and the cream holds its shape without drooping. Be careful not to overwhip — it can turn into butter if you go too far. Set the whipped cream aside in the refrigerator while you make the cream cheese base.
Step 3: Make the pumpkin cheesecake base
In another large bowl, beat the softened cream cheese with the granulated sugar until smooth and fluffy — about 2 minutes on medium speed. Scrape down the sides and bottom of the bowl with a rubber spatula. Add the pumpkin puree, vanilla extract, pumpkin pie spice, cinnamon, ginger, and cloves. Beat on medium speed until fully combined and smooth, about 1 minute. The mixture will look thick and luscious. Taste it here — adjust spices if you want a stronger pumpkin flavor.
Step 4: Fold everything together
Remove the whipped cream from the fridge. Add about one-third of it to the pumpkin mixture and fold gently with a rubber spatula. This first addition lightens the mixture, making it easier to incorporate the rest. Add the remaining whipped cream and fold until no white streaks remain. Be gentle — you want to keep the air in the whipped cream for that light, mousse-like texture. The final filling should be pale orange, thick, and silky.
Step 5: Assemble and chill
Remove the crust from the refrigerator. Spoon the filling over the crust and spread it into an even layer. Tap the pan gently on the counter a few times to release any air bubbles. Cover with plastic wrap and refrigerate for at least 6 hours, but overnight is best. I know the wait is hard, but the bars need this time to set properly. If you try to slice them too early, they’ll be soft and messy.
Step 6: Add toppings and serve
Once fully chilled and firm, lift the bars out of the pan using the parchment handles. Place on a cutting board. Drizzle with caramel sauce, sprinkle with toasted pecans, and finish with a pinch of flaky sea salt. Use a sharp knife to slice into 16 squares, wiping the blade clean between cuts for neat edges. Serve cold straight from the fridge.
Cooking Tips & Techniques
After making these creamy no-bake pumpkin pie cheesecake bars more times than I can count, I’ve learned a few things the hard way. Let me save you some trouble.
Room temperature cream cheese is non-negotiable. I once tried to rush this step and ended up with lumpy filling. Cold cream cheese doesn’t blend smoothly, and those little white flecks won’t go away no matter how long you beat it. Set it out 30-45 minutes before starting.
Don’t skip chilling the crust. A warm crust will absorb moisture from the filling and turn soggy. Fifteen minutes in the fridge while you make the filling is enough to firm up the butter and keep everything crisp.
Fold, don’t stir. When combining the whipped cream with the pumpkin mixture, use a gentle folding motion — cut through the center, scrape along the bottom, and turn the bowl. Stirring vigorously deflates the air you worked so hard to whip in. The first time I made these, I got impatient and stirred. The bars were still delicious, but they were denser and less creamy.
Patience is a virtue. I know you want to eat these immediately. I’ve been there. But 6 hours is the minimum for proper setting. Overnight is ideal. The filling needs time to firm up so you get clean slices. I ruined my first batch by slicing after only 4 hours — it was more like pumpkin soup with crust.
Use a wet knife for clean cuts. Run your knife under hot water, wipe it dry, then slice. Repeat between cuts. This gives you those beautiful, Instagram-worthy bars with sharp edges.
Variations & Adaptations
One of the best things about this recipe is how flexible it is. Here are some ways to make it your own.
Gluten-free version: Use certified gluten-free graham crackers or crushed gluten-free shortbread cookies for the crust. Everything else is naturally gluten-free.
Dairy-free adaptation: Swap the cream cheese with a high-quality dairy-free cream cheese (I’ve had good results with Kite Hill), use coconut cream instead of heavy whipping cream, and substitute the butter with vegan butter or coconut oil. The texture will be slightly different — coconut cream makes it a bit richer — but still delicious.
Spice it up: Not a fan of cloves? Leave it out and add an extra ¼ teaspoon of cinnamon. Want more warmth? Add a pinch of nutmeg or cardamom. I once made a version with ½ teaspoon of Chinese five-spice powder instead of the traditional pumpkin pie spice, and it was unexpectedly amazing.
Chocolate twist: Add ¼ cup of melted dark chocolate to the filling before folding in the whipped cream. Or drizzle melted chocolate over the top instead of caramel. Pumpkin and chocolate are an underrated combo.
Individual servings: Instead of a pan, press the crust into the bottom of 8 small mason jars or dessert cups, then spoon the filling on top. These make adorable gifts or party favors. Just reduce the chilling time to about 4 hours since the portions are smaller.
My personal variation: Last Thanksgiving, I swapped the pecan crust for a ginger snap crust. I used 2 cups of crushed ginger snaps and reduced the brown sugar to 2 tablespoons since the cookies are already sweet. The spicy, molasses flavor of the ginger snaps paired beautifully with the pumpkin filling. My sister asked for the recipe twice.
Serving & Storage Suggestions
These creamy no-bake pumpkin pie cheesecake bars are best served cold, straight from the refrigerator. The texture is firm but creamy, like a dreamy pumpkin mousse with a buttery crust. I like to let them sit at room temperature for about 5 minutes before serving — just enough to take the chill off without losing the structure.
For presentation, slice into 16 even squares and arrange on a platter. Drizzle with caramel sauce just before serving so it doesn’t soak in. A sprinkle of flaky sea salt adds a wonderful contrast to the sweet, creamy filling. If you’re feeling fancy, add a dollop of whipped cream and a dusting of cinnamon on top.
These bars pair beautifully with a hot cup of coffee, spiced chai, or even a glass of cold milk. For a full fall dessert spread, serve them alongside apple cider donuts or a warm apple crisp.
Storage: Keep leftover bars in an airtight container in the refrigerator for up to 5 days. The crust stays crisp, and the filling actually gets creamier over time. I honestly think day 2 is the sweet spot — the flavors meld together beautifully.
Freezing: These bars freeze exceptionally well. Place them on a baking sheet and freeze until solid (about 2 hours), then transfer to a freezer-safe container with parchment paper between layers. They’ll keep for up to 3 months. Thaw overnight in the refrigerator before serving. The texture remains perfect — no sogginess, no ice crystals.
Nutritional Information & Benefits
Here’s the estimated nutritional breakdown for one bar (based on 16 servings):
- Calories: 285
- Total Fat: 20g
- Saturated Fat: 11g
- Cholesterol: 55mg
- Sodium: 180mg
- Total Carbohydrates: 24g
- Dietary Fiber: 1g
- Sugars: 18g
- Protein: 4g
These bars are a treat, no doubt, but they do offer some nutritional perks. Pumpkin is packed with vitamin A (great for eye health), fiber, and antioxidants. The pecans provide healthy fats and a little protein. And the cream cheese? Well, it adds calcium. Everything in moderation, right?
For a lighter version, you can reduce the sugar to ¾ cup and use a sugar-free caramel sauce. The bars will still taste fantastic — just a little less sweet. If you’re watching your carb intake, this recipe can fit into a balanced diet as an occasional indulgence. I personally love that I can make these ahead for gatherings and not feel like I’m derailing my entire week.
Conclusion
These creamy no-bake pumpkin pie cheesecake bars are everything I want in a fall dessert — easy, impressive, and ridiculously delicious. No oven required, no complicated techniques, just simple ingredients that come together into something truly special. They’ve converted at least one pumpkin hater in my life, and I have a feeling they’ll win over a few more.
Don’t be afraid to make this recipe your own. Swap the crust, play with the spices, pile on the toppings. That’s the beauty of a no-bake dessert — it’s forgiving and flexible. Whether you’re bringing them to a holiday party, surprising your family on a cozy weekend, or just treating yourself after a long week, these bars deliver.
I’d love to hear how yours turn out! Drop a comment below and let me know if you tried any variations, or share a photo of your beautiful bars. And if you know someone who claims to hate pumpkin desserts? Make these for them anyway. Trust me.
Frequently Asked Questions
Can I use pumpkin pie filling instead of pumpkin puree?
No, please don’t. Pumpkin pie filling is already sweetened and spiced, so it will throw off the sugar and spice ratios in this recipe. Stick with 100% pure pumpkin puree for the best results. Libby’s is my go-to brand.
How long do these bars need to set in the fridge?
At least 6 hours, but overnight is ideal. The filling needs time to firm up so you get clean slices. If you’re in a rush, you can try 4 hours, but the bars will be softer and harder to cut neatly.
Can I make this recipe in a different size pan?
Absolutely. An 8×8-inch pan will give you thicker bars, so you’ll need to increase the chilling time by about 2 hours. A 9×13-inch pan will give you thinner bars — reduce the chilling time to 4 hours. Adjust the crust and filling quantities accordingly if you change the pan size.
Why did my filling turn out runny?
This usually happens for one of three reasons: the cream cheese wasn’t fully softened, the whipped cream wasn’t whipped to stiff peaks, or you didn’t chill the bars long enough. Make sure your cream cheese is at room temperature and your heavy cream is very cold before whipping. And don’t rush the chilling time!
Can I skip the pecans in the crust?
Yes, you can. Replace the pecans with an equal amount of graham cracker crumbs, or use crushed walnuts or almonds instead. The crust will still be delicious — just a little less crunchy. If you have a nut allergy, you can also use crushed pretzels for a sweet-salty twist.
Pin This Recipe!
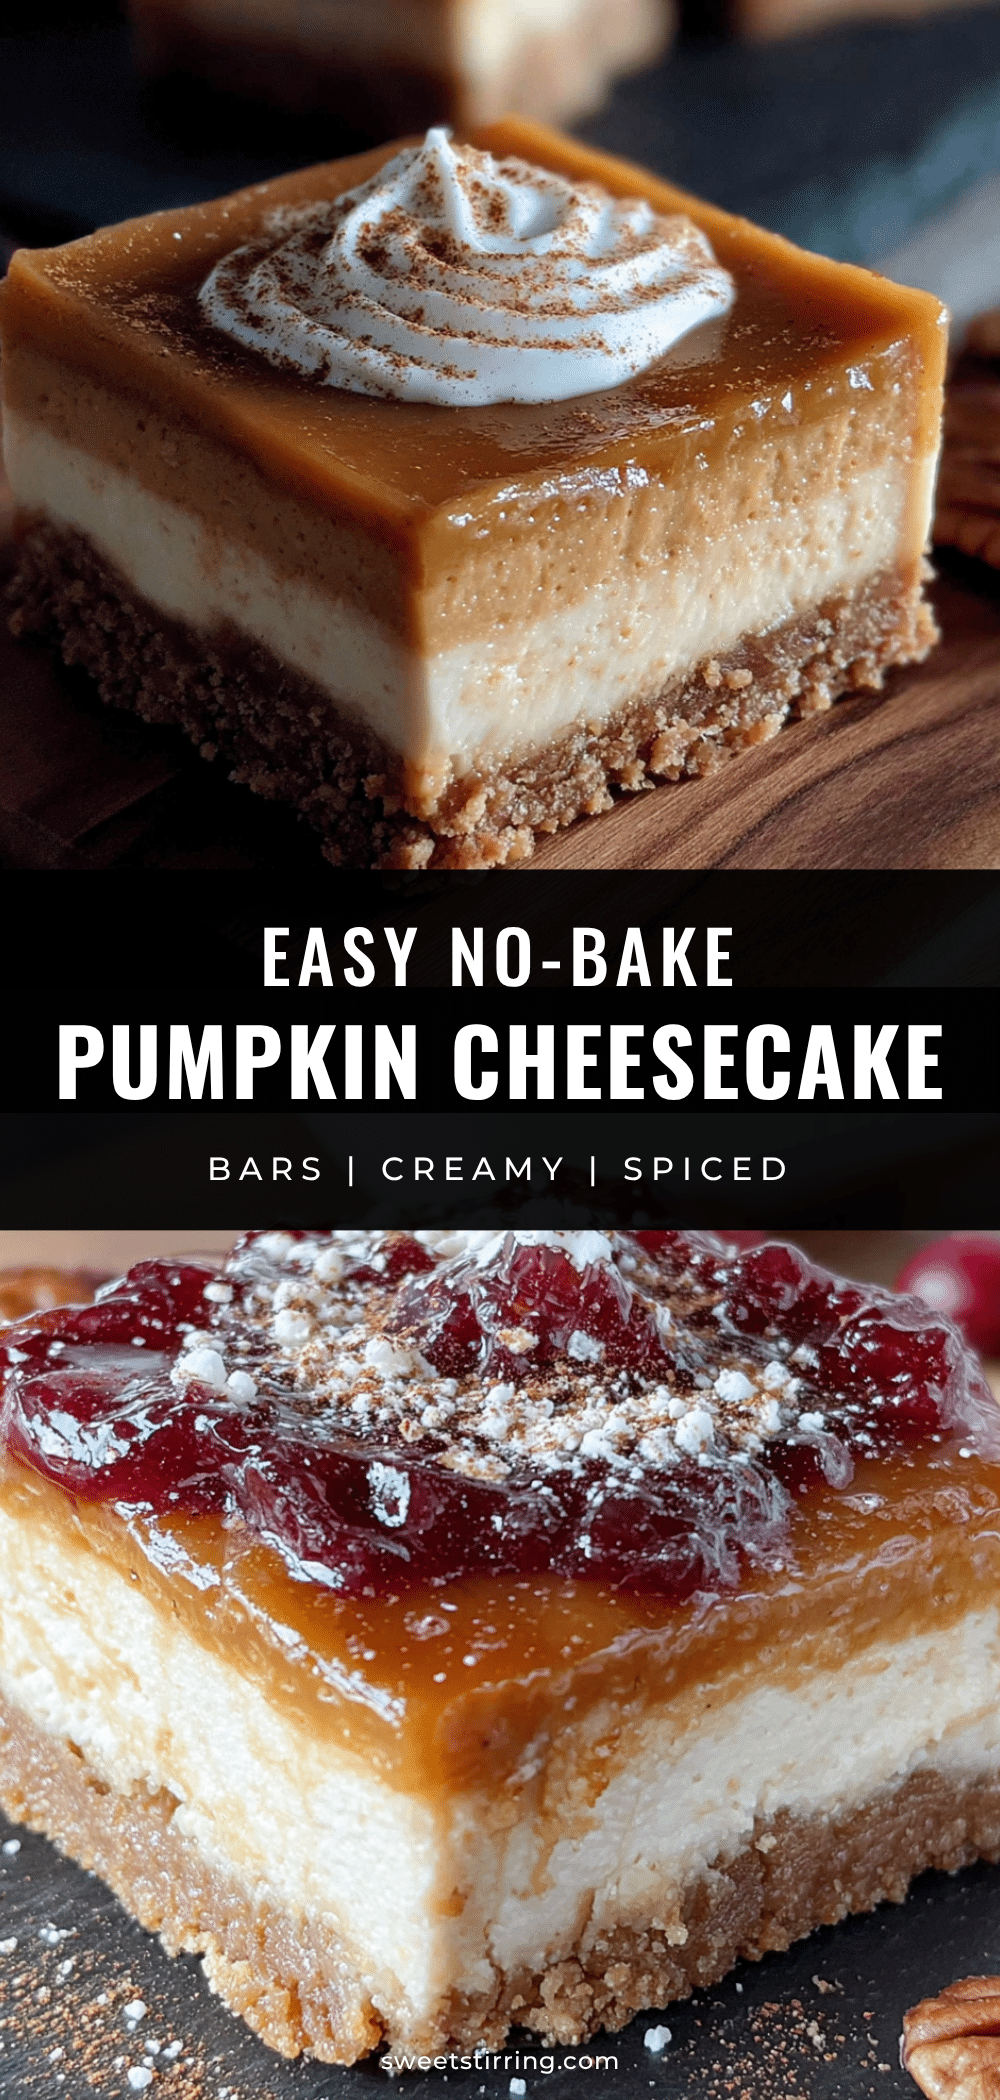
Creamy No-Bake Pumpkin Pie Cheesecake Bars: Easy Fall Dessert
These creamy no-bake pumpkin pie cheesecake bars are a silky, mousse-like dessert with a buttery pecan crust. No oven required, simple ingredients, and perfect for fall gatherings—even pumpkin haters love them.
- Prep Time: 30 minutes
- Cook Time: 0 minutes
- Total Time: 6 hours 30 minutes (includes chilling)
- Yield: 16 servings 1x
- Category: Dessert
- Cuisine: American
Ingredients
- 1 ½ cups (150g) graham cracker crumbs (about 12 full sheets)
- ½ cup (60g) finely chopped pecans
- ¼ cup (50g) packed light brown sugar
- ½ cup (113g) unsalted butter, melted
- ¼ teaspoon salt
- 16 oz (454g) full-fat cream cheese, softened to room temperature
- 1 cup (200g) granulated sugar
- 1 cup (245g) canned pumpkin puree (not pumpkin pie filling)
- 1 teaspoon vanilla extract
- 1 ½ teaspoons pumpkin pie spice
- ½ teaspoon ground cinnamon
- ¼ teaspoon ground ginger
- ⅛ teaspoon ground cloves
- 2 cups (480ml) cold heavy whipping cream
- ¼ cup (30g) powdered sugar
- ¼ cup (60ml) caramel sauce (optional)
- 2 tablespoons chopped pecans, toasted (optional)
- Flaky sea salt, for sprinkling (optional)
Instructions
- Line a 9×9-inch baking pan with parchment paper, leaving overhang on two sides. In a medium bowl, combine graham cracker crumbs, finely chopped pecans, brown sugar, and salt. Pour in melted butter and stir until evenly moistened. Press firmly into the pan. Refrigerate for at least 15 minutes.
- In a large bowl, whip cold heavy whipping cream and powdered sugar with an electric mixer on medium-high until stiff peaks form, about 3-4 minutes. Set aside in the refrigerator.
- In another large bowl, beat softened cream cheese and granulated sugar until smooth and fluffy, about 2 minutes. Add pumpkin puree, vanilla, pumpkin pie spice, cinnamon, ginger, and cloves. Beat until fully combined, about 1 minute.
- Fold one-third of the whipped cream into the pumpkin mixture to lighten it. Gently fold in the remaining whipped cream until no white streaks remain.
- Spoon the filling over the chilled crust and spread evenly. Tap the pan gently to release air bubbles. Cover and refrigerate for at least 6 hours, preferably overnight.
- Once set, lift bars out using parchment handles. Drizzle with caramel sauce, sprinkle with toasted pecans and flaky sea salt if desired. Slice into 16 squares with a sharp knife, wiping clean between cuts. Serve cold.
Notes
Use full-fat cream cheese for best texture. Let cream cheese sit at room temperature for 30-45 minutes before mixing. Chill crust before adding filling. Fold whipped cream gently to keep airy texture. For clean slices, use a wet knife and wipe between cuts. Bars taste even better the next day.
Nutrition
- Serving Size: 1 bar
- Calories: 285
- Sugar: 18
- Sodium: 180
- Fat: 20
- Saturated Fat: 11
- Carbohydrates: 24
- Fiber: 1
- Protein: 4
Keywords: no-bake pumpkin cheesecake bars, pumpkin dessert, fall dessert, no-bake dessert, pumpkin pie bars, easy pumpkin recipe



