Love this? Save it for later!
Share the inspiration with your friends
“I don’t see why anyone bothers with homemade granola bars,” my friend Lisa declared one autumn afternoon while I was prepping snacks in my tiny kitchen. She’d been bringing store-bought bars to her son’s school for years, convinced nothing homemade could beat the convenience and taste of the commercial kind. Then, one hectic Tuesday, I whipped up a batch of these easy chewy homemade granola bars for my daughter’s lunchbox, mostly just to use up some old oats and honey languishing in the pantry.
Fast-forward to the next day, and Lisa was caught red-handed sneaking a bar out of my kid’s lunchbag—mouth full, eyes wide. Honestly, I was just as surprised as she was. These weren’t your typical dry, crumbly granola bars. They had this perfect chewiness—sticky in the best way—and just the right amount of sweetness. I mean, maybe you’ve been there: trying a recipe half-heartedly, expecting to throw it out, and then finding yourself making it again the very next week.
It wasn’t just about taste, either. This recipe turned into our go-to because of how quick it is, with no complicated ingredients or weird textures. And let’s be real, school lunchboxes need snacks that survive a morning of recess without turning into a mess. So here we are—this simple recipe quietly converted a skeptic and earned its spot in our weekly snack rotation. If you’re wondering whether homemade granola bars can really be that easy and satisfying, let me tell you, this one’s worth proving yourself wrong for.
Why You’ll Love This Recipe
Having tested this recipe through multiple school weeks, snack cravings, and even last-minute after-school activities, I can say these easy chewy homemade granola bars are a keeper. I’m no stranger to granola bars, but this version stands out for a bunch of reasons:
- Quick & Easy: Ready in about 25 minutes, with minimal hands-on time—perfect for busy mornings or when you realize you’re out of snacks.
- Simple Ingredients: No fancy superfoods or hard-to-find items here. Just oats, honey, peanut butter, and a handful of mix-ins you probably already have.
- Perfect for School Lunchboxes: These bars hold together well without crumbling, so they’re lunchbox-friendly and mess-free.
- Crowd-Pleaser: Kids, adults, and picky eaters alike keep coming back for more. The chewy texture and just-right sweetness hit the spot every time.
- Unbelievably Delicious: The balance of nutty, sweet, and chewy makes this a snack that feels indulgent but is actually wholesome.
What makes this recipe truly stand apart is the way it blends chewy and soft textures without relying on baking powder or complicated steps. The peanut butter and honey combo binds everything perfectly, and I learned that pressing the mixture firmly into the pan is key to that satisfying chewiness. Honestly, it’s the kind of recipe that sneaks up on you — you don’t expect homemade bars to taste this good or hold up this well, but they do.
Whether you’re packing lunches for your kids, prepping snacks for yourself, or just want a reliable grab-and-go treat, this recipe has become my secret weapon for hassle-free homemade goodness.
What Ingredients You Will Need
This recipe uses simple, wholesome ingredients to deliver bold flavor and satisfying texture without the fuss. Most of these are pantry staples, which means you can throw them together anytime without a grocery trip. Here’s what you’ll need:
- Old-fashioned rolled oats (2 cups / 180g) – The base of the bars, offering chewy texture and fiber.
- Natural peanut butter (1/2 cup / 128g) – I prefer a smooth variety for easy mixing and a creamy chew.
- Honey (1/3 cup / 113g) – Acts as the sweetener and binder; raw honey works great if you have it.
- Vanilla extract (1 teaspoon) – Just a hint to deepen the flavor.
- Salt (1/4 teaspoon) – Balances the sweetness and enhances flavors.
- Mini chocolate chips (1/3 cup / 60g) – Optional but highly recommended for a kid-friendly treat.
- Chopped nuts (1/2 cup / 60g) – Walnuts or almonds add a nice crunch (optional).
- Flaxseed meal or chia seeds (2 tablespoons) – Adds nutrition and subtle texture (optional).
Substitution tips: Use almond or sunflower seed butter instead of peanut butter for nut-free versions. Swap honey with maple syrup or agave if vegan. For gluten-free, make sure your oats are certified gluten-free.
I usually grab Barney Butter for a smooth, allergy-friendly nut butter, and Bob’s Red Mill oats give the best chewiness. If fresh nuts aren’t handy, toasted sunflower seeds work well too.
Equipment Needed
Luckily, you don’t need any fancy gadgets for these bars. Here’s what works best:
- Mixing bowl: A large one for combining ingredients easily.
- Wooden spoon or spatula: For mixing the sticky batter without scraping your hands off.
- 8×8-inch (20×20 cm) baking pan: This size helps keep the bars thick and chewy.
- Parchment paper: Lining the pan makes removing bars a breeze and keeps them from sticking.
- Measuring cups and spoons: For accuracy — because too much honey can make it too sticky!
- Optional: A food processor if you want to chop nuts finely, but it’s not necessary.
I’ve tried baking these in metal and glass pans — glass seems to hold heat more evenly, but either works fine. If you press the mixture firmly into the pan (I use the back of a spatula), it helps the bars keep their shape better than just pressing with your hands.
Preparation Method
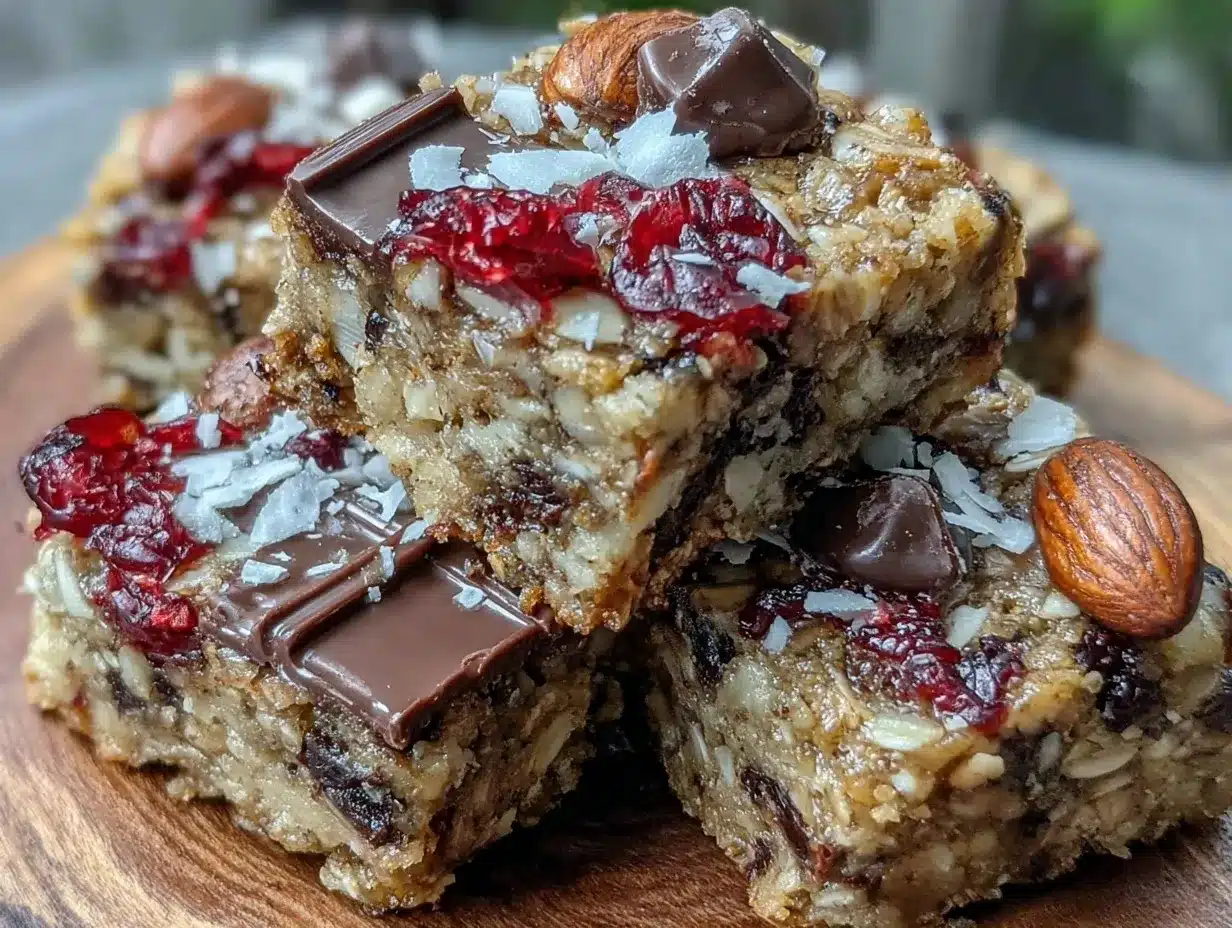
- Line your baking pan: Use parchment paper, leaving an overhang on the sides for easy lifting later. This step saves a lot of mess and frustration.
- Mix the wet ingredients: In a large bowl, combine 1/2 cup (128g) peanut butter and 1/3 cup (113g) honey. Microwave for about 20 seconds to soften and stir until smooth. Add 1 teaspoon vanilla extract and 1/4 teaspoon salt; mix well.
- Add dry ingredients: Stir in 2 cups (180g) rolled oats, 1/2 cup (60g) chopped nuts if using, 2 tablespoons flaxseed meal or chia seeds, and 1/3 cup (60g) mini chocolate chips. Mix until everything is evenly coated with the peanut butter and honey mixture.
- Press mixture into pan: Transfer the sticky mixture to your prepared 8×8-inch (20×20 cm) pan. Use a spatula or your hands (lightly wet to prevent sticking) to press the mixture firmly and evenly into the pan. Don’t skimp here—pressing well is how you get that chewy texture instead of crumbly bars.
- Chill: Place the pan in the fridge for at least 2 hours or until bars are firm enough to cut cleanly. Overnight chilling works even better if you have time.
- Cut into bars: Lift the parchment paper out of the pan and place on a cutting board. Use a sharp knife to slice into 10-12 bars, depending on your preferred size. Keep bars refrigerated for best texture.
Tips: If the mixture feels too sticky to press, pop it back in the fridge for 10-15 minutes and try again. Avoid overmixing once the oats are added, or the bars can get tough. When cutting, wipe your knife clean between slices for neat edges.
Cooking Tips & Techniques
Making these easy chewy homemade granola bars work every time is mostly about a few simple tricks I learned the hard way:
- Press firmly: The key to chewy bars is compacting the mixture well. I use the flat back of a sturdy spatula and press down hard to avoid crumbly pieces.
- Don’t skip chilling: It’s tempting to cut bars right away, but cold bars hold together better. If you’re impatient like me, pop them in the freezer for 30 minutes as a shortcut.
- Mix-ins matter: Adding chocolate chips last keeps them from melting into the batter, preserving their shape and bite.
- Watch ingredient temperatures: If your peanut butter is too cold and stiff, microwave it slightly to make mixing easier.
- Store properly: Keep bars in an airtight container in the fridge to maintain that chewy texture. Letting them sit out too long makes them dry and crumbly.
I once tried using quick oats instead of rolled oats — big mistake. The texture was all wrong, too powdery and not chewy. Also, using crunchy peanut butter tends to break the bars apart more easily, so smooth is the way to go if you want neat squares.
Multitasking tip: While these chill, I usually prep the next day’s lunch or tidy the kitchen. It feels like a little win to get snacks done early and saved from last-minute chaos.
Variations & Adaptations
These granola bars are like a blank canvas, and I’ve played around with a bunch of variations depending on mood and dietary needs:
- Nut-free version: Swap peanut butter for sunflower seed butter and omit nuts. The bars still hold together beautifully.
- Seasonal flair: Add dried cranberries or chopped dried apricots in place of chocolate chips for a fruity twist that feels fresh in fall or spring.
- Boosted protein: Stir in a scoop of vanilla or chocolate protein powder to the dry mix for an energizing snack perfect for active kids.
- Vegan swap: Use maple syrup instead of honey and make sure your chocolate chips are dairy-free.
- Personal favorite: I once added a teaspoon of cinnamon and a handful of shredded coconut for a cozy, tropical vibe that got rave reviews at a weekend picnic.
You can also bake these bars for about 15 minutes at 325°F (160°C) if you want a firmer, crunchier texture, but honestly, I prefer the no-bake chewy style for school lunches.
Serving & Storage Suggestions
These bars are best served chilled or at room temperature, making them perfect for slipping into lunchboxes or grabbing as an afternoon pick-me-up. They pair nicely with a glass of milk, a cup of tea, or even a fresh fruit salad for a balanced snack.
To store, keep bars in an airtight container in the fridge for up to a week. For longer storage, wrap bars individually in plastic wrap and freeze them in a zip-top bag for up to 3 months. Thaw overnight in the fridge or at room temperature for 30 minutes before eating.
One neat thing I noticed is that the flavors meld and deepen after a day or two in the fridge, making the bars taste even better with time. So if you make a big batch, don’t hesitate to enjoy them over the week—each bite gets a little richer.
Nutritional Information & Benefits
Each homemade granola bar (assuming 12 bars per batch) roughly contains:
| Nutrient | Amount per Bar |
|---|---|
| Calories | ~180 kcal |
| Protein | 5g |
| Fat | 8g (mostly healthy fats) |
| Carbohydrates | 22g |
| Fiber | 3g |
| Sugar | 10g (natural from honey) |
These bars provide a nice balance of complex carbs from oats, healthy fats from peanut butter, and natural sweetness from honey. Including flaxseed or chia seeds adds omega-3 fatty acids and fiber, supporting digestion and heart health.
They’re gluten-free if you use certified oats and free of refined sugars, making them a wholesome choice for kids and adults alike. Just be mindful of nut allergies and adjust accordingly.
Conclusion
If you’ve ever hesitated to make homemade granola bars because you thought they’d be too complicated or disappointing, this recipe is your gentle nudge to try again. It’s a straightforward, reliable way to make easy chewy homemade granola bars that actually taste great and hold up well in lunchboxes.
Feel free to tweak the mix-ins or sweetness to fit your family’s taste—this recipe is forgiving and versatile. Honestly, I keep coming back to it because it makes snack time less stressful and more satisfying. Plus, there’s something quietly rewarding about knowing exactly what’s in your kid’s lunch.
If you try it, I’d love to hear how you customize your bars or any tips you discover along the way. Happy snacking!
Frequently Asked Questions
Can I use quick oats instead of rolled oats?
Quick oats aren’t recommended as they create a softer, less chewy texture and can make the bars crumbly.
How long do these granola bars stay fresh?
Stored in an airtight container in the fridge, they stay fresh for about one week. They can be frozen for up to three months.
Can I make these bars nut-free?
Yes! Substitute peanut butter with sunflower seed butter and omit nuts. The bars will still hold together well.
Is it necessary to refrigerate the bars before cutting?
Yes, chilling helps the bars firm up for clean slicing and maintains their chewy texture.
Can I bake these granola bars?
While this recipe is designed as no-bake, you can bake them at 325°F (160°C) for 15 minutes for a firmer, crunchier bar, but expect a different texture.
Pin This Recipe!
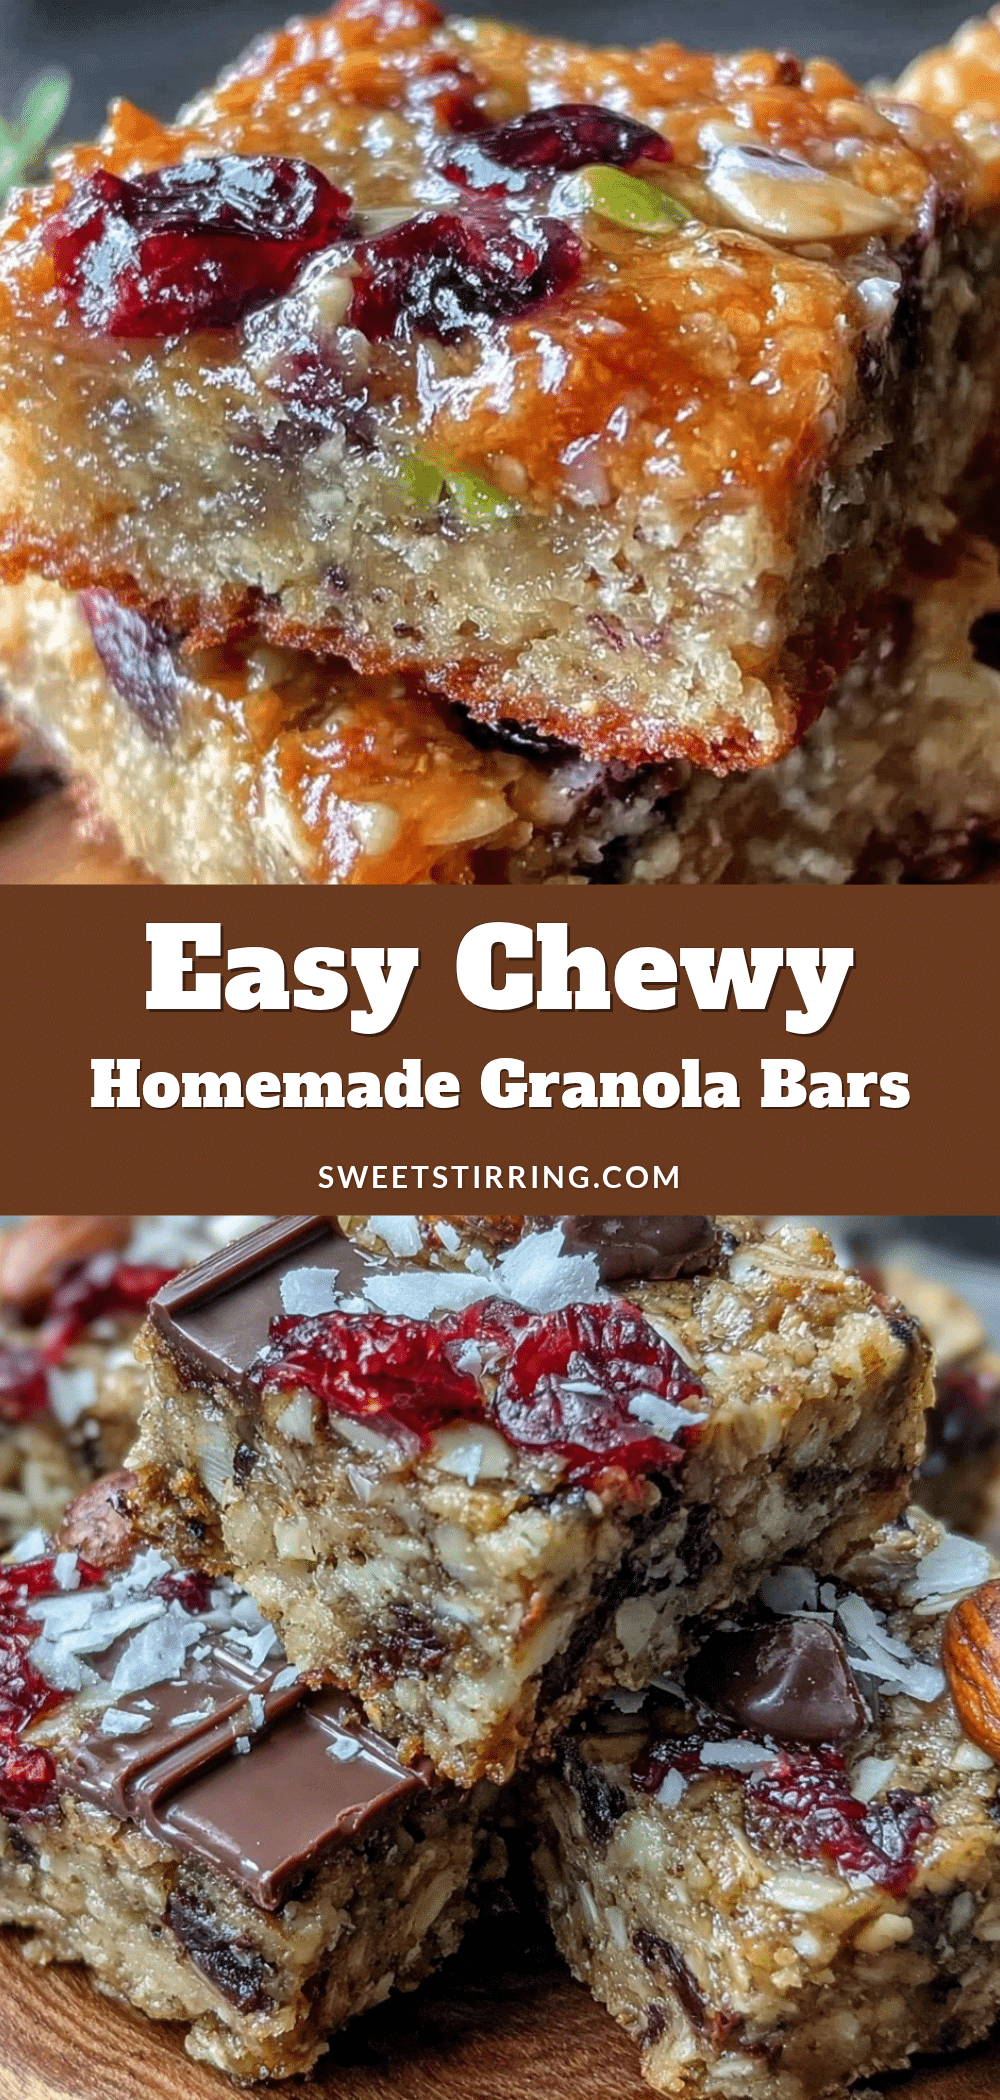
Easy Chewy Homemade Granola Bars Recipe Perfect for School Lunchboxes
These easy chewy homemade granola bars are quick to make, use simple ingredients, and hold together well for mess-free school lunchboxes. They offer a perfect balance of nutty, sweet, and chewy textures that kids and adults love.
- Prep Time: 10 minutes
- Cook Time: 0 minutes
- Total Time: 2 hours 10 minutes
- Yield: 10-12 bars 1x
- Category: Snack
- Cuisine: American
Ingredients
- 2 cups (180g) old-fashioned rolled oats
- 1/2 cup (128g) natural peanut butter (smooth preferred)
- 1/3 cup (113g) honey
- 1 teaspoon vanilla extract
- 1/4 teaspoon salt
- 1/3 cup (60g) mini chocolate chips (optional)
- 1/2 cup (60g) chopped nuts – walnuts or almonds (optional)
- 2 tablespoons flaxseed meal or chia seeds (optional)
Instructions
- Line your 8×8-inch (20×20 cm) baking pan with parchment paper, leaving an overhang on the sides for easy lifting.
- In a large mixing bowl, combine 1/2 cup peanut butter and 1/3 cup honey. Microwave for about 20 seconds to soften, then stir until smooth.
- Add 1 teaspoon vanilla extract and 1/4 teaspoon salt to the wet mixture and mix well.
- Stir in 2 cups rolled oats, 1/2 cup chopped nuts (if using), 2 tablespoons flaxseed meal or chia seeds, and 1/3 cup mini chocolate chips until everything is evenly coated.
- Transfer the sticky mixture to the prepared pan. Press firmly and evenly into the pan using a spatula or lightly wet hands to ensure a compact, chewy texture.
- Chill the pan in the refrigerator for at least 2 hours or until firm enough to cut cleanly. Overnight chilling is recommended for best results.
- Lift the bars out using the parchment paper overhang and cut into 10-12 bars with a sharp knife. Keep refrigerated for best texture.
Notes
Press the mixture firmly into the pan to achieve chewy bars instead of crumbly ones. Chill bars thoroughly before cutting for clean slices. Use smooth peanut butter for best texture. For nut-free versions, substitute peanut butter with sunflower seed butter and omit nuts. Bars can be baked at 325°F (160°C) for 15 minutes for a crunchier texture, but the recipe is designed as no-bake. Store bars in an airtight container in the fridge for up to one week or freeze for up to three months.
Nutrition
- Serving Size: 1 bar (assuming 12 b
- Calories: 180
- Sugar: 10
- Sodium: 70
- Fat: 8
- Saturated Fat: 1.5
- Carbohydrates: 22
- Fiber: 3
- Protein: 5
Keywords: granola bars, homemade granola bars, chewy granola bars, school lunch snacks, no bake granola bars, peanut butter granola bars, healthy snacks



