Love this? Save it for later!
Share the inspiration with your friends
My sister swore she hated protein balls. For years. “They taste like sawdust mixed with sadness,” she’d announce every time someone offered her one at a gym or a health food store. I believed her, honestly. The ones I’d tried were either rock-hard hockey pucks or weirdly slimy things that left a chalky film on your tongue. Not exactly snack goals.
Then last Tuesday, I was in my kitchen experimenting. I had a half-empty jar of peanut butter staring at me, a bag of chocolate chips winking from the pantry, and this desperate need for something I could grab with one hand while wrangling my toddler with the other. I just threw stuff together, honestly. Oats, peanut butter, a drizzle of honey, some chocolate chips. I wasn’t trying to prove anything. I was just trying to survive the 4 PM slump.
I left the bowl on the counter and walked away to handle a juice box emergency. When I came back, my sister was standing there, rolling these little balls in her palms and popping them into her mouth like they were contraband. “These are… actually good,” she said, trying to sound unimpressed but failing miserably. That’s the thing about these Easy No-Bake Peanut Butter Protein Balls with Chocolate Chips. They sneak up on you. Maybe you’ve been there—dismissing an entire food category based on one bad experience. I get it. But these little guys? They’re different. They’re soft, they’re chewy, they taste like dessert but somehow count as a snack you can feel okay about. I keep making them because they’re the only recipe I know that can convert a skeptic without even trying.
Why You’ll Love This Recipe
Let me tell you why these little bites have become a permanent fixture in my fridge. I’ve tested this recipe about seven times now—adjusting the peanut butter ratio, trying different oats, even accidentally using crunchy peanut butter once (which was actually pretty great). So these tips come from real kitchen experience, not just theory.
- No-Bake & Ready in 10 Minutes: You don’t even need to turn on your oven. Mix, roll, eat. That’s it. Perfect for those days when you need a snack right now and don’t have the patience for preheating.
- Simple Pantry Ingredients: Oats, peanut butter, honey, chocolate chips. That’s the core lineup. You probably have all of this in your kitchen already. No weird health food store trips required.
- Perfect for Meal Prep: Make a batch on Sunday and you’ve got snacks for the whole week. They’re my go-to for throwing in my bag before work or handing to the kids after school.
- Crowd-Pleaser: I brought these to a potluck once, and people asked for the recipe before they even asked what was in them. Kids love them. Adults love them. Even my protein-ball-hating sister loves them.
- Actually Satisfying: They’ve got protein from the peanut butter, fiber from the oats, and just enough chocolate to make you feel like you’re getting away with something. That combination keeps you full and happy.
What makes this recipe different from all those other protein ball recipes out there? It’s the texture. So many recipes turn out dry or crumbly. Mine stays soft and chewy because of the ratio of wet to dry ingredients. I spent a lot of time getting that balance just right. Plus, the mini chocolate chips are distributed evenly throughout every single bite. No hunting for chocolate. Every ball delivers.
This isn’t just another snack recipe. It’s the kind that makes you close your eyes after the first bite because it tastes like a treat but fuels you like a real meal. It’s comfort food that works with your busy life—not against it.
What Ingredients You Will Need
This recipe uses simple, wholesome ingredients to deliver that perfect balance of flavor and texture without any fuss. Most of these are probably already in your pantry.
- Old-Fashioned Rolled Oats (1 cup / 90g): These give the balls their chewy texture and fiber. Don’t use instant oats here—they get too mushy and make the balls gummy. I prefer Bob’s Red Mill or Quaker Old-Fashioned. If you’re gluten-sensitive, make sure to buy certified gluten-free oats.
- Creamy Peanut Butter (½ cup / 130g): The glue that holds everything together. Use a natural peanut butter that’s just peanuts and salt, not the sugary processed kind. The oil separation is normal—just stir it well before measuring. If your peanut butter is too dry, your balls will be crumbly. I’ve learned that the hard way.
- Honey (¼ cup / 85g): Adds sweetness and helps bind everything. Maple syrup works too, but honey gives a better texture. If you’re vegan, use agave nectar or brown rice syrup.
- Mini Chocolate Chips (⅓ cup / 60g): The little bursts of chocolate that make these feel like a treat. Mini chips distribute better than regular-sized ones. I use Enjoy Life brand for dairy-free options, or good old Nestlé Toll House if you’re not avoiding dairy.
- Ground Flaxseed (2 tablespoons / 14g): This is my secret ingredient. It adds fiber and omega-3s, plus it helps bind the mixture without making it dry. You can skip it, but you might need to add a tablespoon more oats to balance the moisture.
- Vanilla Extract (1 teaspoon): Just a splash to round out the flavors. Pure vanilla is best, but imitation works fine too.
- Pinch of Salt: If your peanut butter is unsalted, definitely add this. It makes the chocolate and peanut butter flavors pop.
Optional add-ins: A tablespoon of chia seeds for extra fiber, a scoop of your favorite protein powder for more protein (just add an extra tablespoon of honey to keep it from getting dry), or a handful of shredded coconut for texture.
Equipment Needed
You don’t need fancy equipment for these Easy No-Bake Peanut Butter Protein Balls with Chocolate Chips. That’s part of the beauty.
- Large Mixing Bowl: Any bowl will do. I use a ceramic one because it doesn’t slide around on the counter.
- Measuring Cups and Spoons: For accuracy. Eyeballing works in a pinch, but measuring gives you consistent results every time.
- Rubber Spatula or Wooden Spoon: For mixing. A spatula is easier for scraping the sides.
- Cookie Scoop or Tablespoon: For portioning evenly. A 1-tablespoon scoop makes perfectly uniform balls. If you don’t have one, just use a regular spoon and eyeball it.
- Parchment Paper or Wax Paper: For placing the balls on while they chill. Prevents sticking.
- Baking Sheet or Large Plate: To hold the balls while they set in the fridge.
- Airtight Container: For storage. Glass or plastic works fine.
I’ve made these with nothing but a bowl and a spoon before, and they turned out great. The cookie scoop is nice but not necessary. If you’re on a budget, just use your hands to roll the balls—it’s actually kind of therapeutic.
Preparation Method
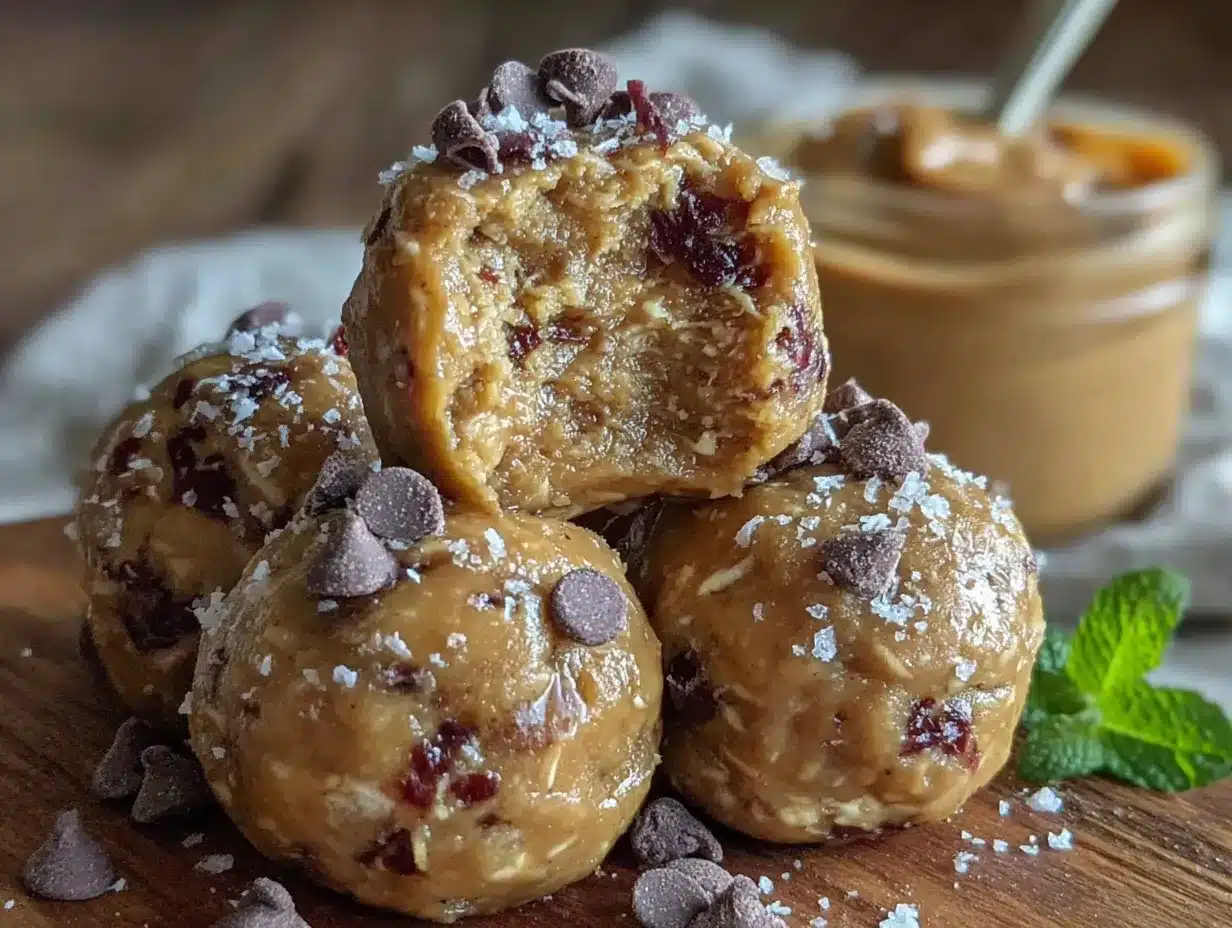
Get ready for the easiest recipe you’ll make all week. Here’s how to do it.
- Combine the dry ingredients. In your large mixing bowl, add 1 cup of old-fashioned rolled oats, 2 tablespoons of ground flaxseed, and a pinch of salt. Stir them together with your spatula so the flaxseed gets evenly distributed. This takes about 30 seconds.
- Add the wet ingredients. Pour in ½ cup of creamy peanut butter, ¼ cup of honey, and 1 teaspoon of vanilla extract. Don’t dump them all in one spot—try to distribute them a little so mixing is easier. I usually drizzle the honey around the edges of the bowl.
- Mix everything together. Stir with your spatula or spoon until everything is well combined. This takes about 1-2 minutes of consistent stirring. At first it’ll look like a crumbly mess, but keep going. The peanut butter and honey will eventually coat all the oats. The mixture should hold together when you pinch it between your fingers. If it seems too dry, add another tablespoon of honey. If it seems too wet, add another tablespoon of oats. Trust your hands on this one.
- Fold in the chocolate chips. Add ⅓ cup of mini chocolate chips to the mixture. Fold them in gently until they’re evenly distributed. You don’t want to overmix at this point or the chocolate might start melting from the heat of your hands.
- Chill the mixture. This step is optional but highly recommended. Cover the bowl and pop it in the fridge for 15-20 minutes. This makes the mixture firmer and easier to roll. If you’re in a hurry, you can skip this—just know the balls will be a little softer and stickier to work with.
- Roll into balls. Line a baking sheet or large plate with parchment paper. Using a cookie scoop or tablespoon, scoop out portions of the mixture. Roll each portion between your palms to form a smooth ball. You should get about 16-18 balls, depending on size. I like mine to be about 1 inch in diameter—big enough to be satisfying, small enough to pop in your mouth in two bites.
- Chill to set. Place the rolled balls on the parchment-lined sheet. Refrigerate for at least 30 minutes to let them firm up. This is the hardest part—waiting. But trust me, it’s worth it. The texture is so much better after they’ve had time to set.
- Enjoy. Once they’re firm, they’re ready to eat. Store any leftovers in an airtight container in the refrigerator.
Cooking Tips & Techniques
After making these Easy No-Bake Peanut Butter Protein Balls with Chocolate Chips more times than I can count, I’ve picked up a few tricks that make a real difference.
Temperature matters. If your kitchen is warm, your peanut butter will be softer, and your mixture will be stickier. That’s fine, but it makes rolling harder. Chilling the mixture first solves this problem completely. On hot summer days, I sometimes even chill my mixing bowl for 10 minutes before I start.
Wet your hands slightly. If the mixture sticks to your palms while rolling, dampen your hands with a little water. Not too much—just a light mist. It creates a barrier that prevents sticking without adding extra moisture to the balls. I learned this after making a mess of my first batch.
Don’t overmix the chocolate chips. I made this mistake once. I kept stirring and stirring, trying to make sure every chip was perfectly distributed. The heat from my hands and the friction of mixing started melting the chocolate. I ended up with brownish balls instead of ones with distinct chocolate chunks. Still tasty, but not as pretty. Fold gently and stop when everything looks even.
Taste and adjust. Before you roll all the balls, taste a tiny bit of the mixture. Is it sweet enough? Does it need more salt? This is your chance to adjust. I once made a batch that was too bland because I forgot the salt. Catching it early saved the whole recipe.
Consistency check. The mixture should hold together when squeezed but shouldn’t feel greasy. If it feels oily, you might have used a peanut butter with too much added oil. Next time, look for one with just peanuts and salt. If it feels crumbly, add a touch more honey or peanut butter.
Variations & Adaptations
This recipe is incredibly flexible. Here are some ways I’ve adapted it.
Chocolate Peanut Butter Dream: Swap half the oats for chocolate protein powder. You’ll need to add an extra tablespoon of honey to keep it from getting dry. The result is intensely chocolatey and perfect for post-workout recovery.
Almond Joy Twist: Replace the peanut butter with almond butter, and add ¼ cup of shredded coconut. Use dark chocolate chips instead of milk chocolate. It tastes like a candy bar but with actual nutritional value.
Seed Butter Version: For those with peanut allergies, sunflower seed butter works beautifully. Just know that sunflower seed butter can react with baking soda if you ever bake these (which you don’t here, so no worries). It might turn a little green over time due to a natural reaction, but it’s perfectly safe and still delicious.
Vegan Option: Use maple syrup or agave instead of honey. Make sure your chocolate chips are dairy-free. Everything else is already plant-based.
Protein-Packed: Add one scoop of vanilla or chocolate protein powder. Reduce the oats by 2 tablespoons to compensate. You might need an extra tablespoon of honey to keep the texture right. I do this when I know I’m going to have a long day and need the extra fuel.
Fruity Version: Fold in ¼ cup of dried cranberries or chopped dried apricots along with the chocolate chips. The tartness of the fruit balances the sweetness beautifully.
Serving & Storage Suggestions
These Easy No-Bake Peanut Butter Protein Balls with Chocolate Chips are best served cold, straight from the fridge. The texture is firmer, the chocolate chips are snappy, and they just taste better. I eat them as a mid-afternoon snack when I need energy without feeling heavy.
They pair wonderfully with a cup of coffee or a glass of cold milk. If you’re packing them for lunch, throw them in a small container with an ice pack to keep them from getting too soft. They also make great post-workout snacks—the carbs from the oats and the protein from the peanut butter help with recovery.
Storage Instructions:
- Refrigerator: Store in an airtight container for up to 2 weeks. They actually get better after a day or two as the flavors meld together.
- Freezer: These freeze beautifully. Place them in a single layer on a baking sheet and freeze for an hour, then transfer to a freezer bag. They’ll keep for up to 3 months. You can eat them frozen (they’re like little protein ice cream bites) or let them thaw for 10 minutes.
- Counter: I don’t recommend storing them at room temperature for more than a day. They’ll get soft and the chocolate might melt. Plus, they taste better cold.
The flavors develop over time. On day one, they’re good. On day three, they’re amazing. The oats soften slightly, the peanut butter flavor deepens, and everything comes together. If you can resist eating them all in one sitting, you’ll be rewarded.
Nutritional Information & Benefits
These numbers are approximate and based on making 16 balls with the recipe as written.
- Calories: About 110-120 per ball
- Protein: 4-5g per ball
- Fiber: 2-3g per ball
- Healthy Fats: 6-7g per ball (mostly from peanut butter)
These little balls are packed with good stuff. The oats provide slow-release energy and fiber that keeps your digestion happy. Peanut butter gives you protein and healthy monounsaturated fats that support heart health. Flaxseed adds omega-3 fatty acids and extra fiber. And yes, the chocolate chips have antioxidants from the cocoa—so they’re practically health food, right?
This recipe is naturally vegetarian and can easily be made vegan or gluten-free (with certified gluten-free oats). It contains peanuts and potentially gluten, so keep that in mind if you’re cooking for someone with allergies. The dairy content depends on your chocolate chips—use dairy-free chips if needed.
I love that these feel like a treat but actually fuel my body. They’re not a meal replacement, but they’re a snack I feel good about eating and giving to my family. That balance is hard to find, and this recipe nails it.
Conclusion
These Easy No-Bake Peanut Butter Protein Balls with Chocolate Chips are worth trying because they solve a real problem. You need a snack that’s quick, satisfying, and actually good for you. You don’t want to turn on the oven or wash a million dishes. You want something that tastes like a treat but doesn’t leave you crashing an hour later. This recipe checks all those boxes.
Don’t be afraid to customize them based on what you have in your pantry. Use almond butter if that’s what you’ve got. Swap the chocolate chips for dried fruit. Add a sprinkle of cinnamon or a dash of coconut. The base recipe is forgiving, and every variation I’ve tried has been delicious.
What I love most about these is how they make me feel prepared. On busy mornings when I know I won’t have time for a proper lunch, I grab two of these and know I’ll be okay. They’re my little secret weapon against hangry afternoons. I hope they become yours too.
I’d love to hear how yours turn out. Drop a comment below and let me know what variations you tried. Did you add something unexpected? Did your kids love them? Did you convert a protein-ball skeptic in your own life? Share your story—I read every comment. And if you found this recipe helpful, please share it with a friend who needs a quick, healthy snack in their life.
Happy rolling, friends. You’ve got this.
Frequently Asked Questions
Can I use quick oats instead of old-fashioned oats?
You can, but the texture will be different. Quick oats are more processed and will make your protein balls softer and less chewy. Old-fashioned oats give that satisfying bite. If you only have quick oats, reduce the honey by a tablespoon since they absorb liquid differently.
Why are my protein balls too dry?
This usually happens if your peanut butter is too thick or if you added too many oats. Try adding an extra tablespoon of honey or peanut butter to bring moisture back. Next time, make sure your peanut butter is well-stirred and not too stiff. Natural peanut butters vary a lot in consistency.
How long do these protein balls last in the fridge?
They’ll stay fresh in an airtight container in the refrigerator for up to 2 weeks. In my house, they never last that long, but technically they’re good. You can also freeze them for up to 3 months. Just let them thaw for a few minutes before eating.
Can I use a different nut butter?
Absolutely. Almond butter, cashew butter, or sunflower seed butter all work well. Keep in mind that different nut butters have different moisture levels. If your alternative butter is runnier, you might need to add a tablespoon or two more of oats. If it’s thicker, add a little more honey.
Are these protein balls healthy enough for kids?
Yes, with a couple of caveats. They’re a great snack for kids because they have fiber, protein, and healthy fats without any processed junk. Just be mindful of the honey content for very young children (under 1 year old, due to botulism risk). Also, make sure there are no choking hazards by rolling the balls small enough for little hands.
Pin This Recipe!
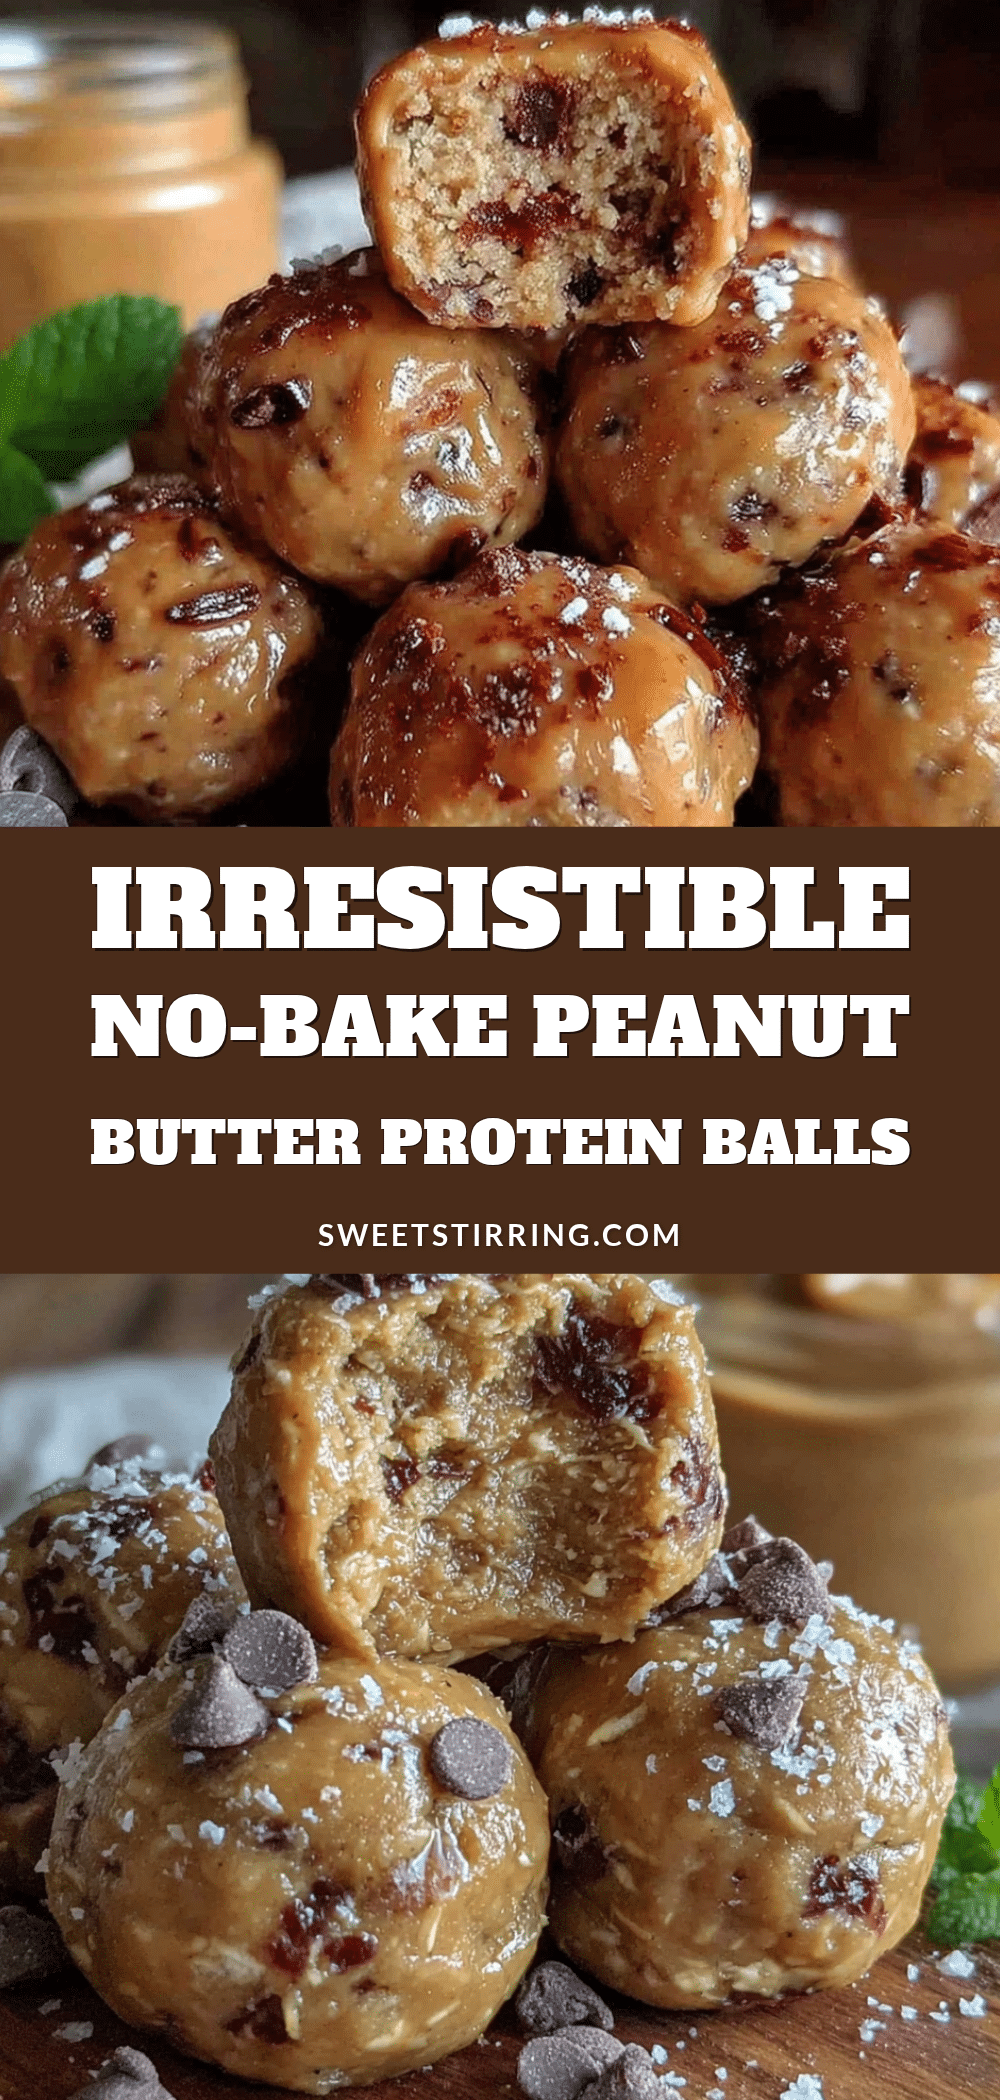
Easy No-Bake Peanut Butter Protein Balls with Chocolate Chips
These no-bake peanut butter protein balls are soft, chewy, and taste like dessert but count as a healthy snack. Made with simple pantry ingredients, they’re perfect for meal prep and convert even the biggest protein ball skeptics.
- Prep Time: 10 minutes
- Cook Time: 0 minutes
- Total Time: 40 minutes (including chilling time)
- Yield: 16-18 balls 1x
- Category: Snack
- Cuisine: American
Ingredients
- 1 cup (90g) old-fashioned rolled oats
- ½ cup (130g) creamy peanut butter
- ¼ cup (85g) honey
- ⅓ cup (60g) mini chocolate chips
- 2 tablespoons (14g) ground flaxseed
- 1 teaspoon vanilla extract
- Pinch of salt
Instructions
- Combine the dry ingredients: In a large mixing bowl, add 1 cup of old-fashioned rolled oats, 2 tablespoons of ground flaxseed, and a pinch of salt. Stir together with a spatula until evenly distributed.
- Add the wet ingredients: Pour in ½ cup of creamy peanut butter, ¼ cup of honey, and 1 teaspoon of vanilla extract. Distribute them around the bowl for easier mixing.
- Mix everything together: Stir with a spatula or spoon for 1-2 minutes until well combined. The mixture should hold together when pinched. If too dry, add another tablespoon of honey; if too wet, add another tablespoon of oats.
- Fold in the chocolate chips: Add ⅓ cup of mini chocolate chips and fold gently until evenly distributed. Avoid overmixing to prevent the chocolate from melting.
- Chill the mixture (optional but recommended): Cover the bowl and refrigerate for 15-20 minutes to make the mixture firmer and easier to roll.
- Roll into balls: Line a baking sheet or large plate with parchment paper. Using a cookie scoop or tablespoon, scoop out portions and roll between your palms to form smooth balls about 1 inch in diameter. You should get 16-18 balls.
- Chill to set: Place the rolled balls on the parchment-lined sheet and refrigerate for at least 30 minutes to firm up.
- Enjoy: Once firm, they’re ready to eat. Store leftovers in an airtight container in the refrigerator.
Notes
For best texture, chill the mixture before rolling. If the mixture sticks to your hands, dampen your palms slightly with water. The flavors develop over time—they’re even better after a day or two in the fridge. Store in the refrigerator for up to 2 weeks or freeze for up to 3 months.
Nutrition
- Serving Size: 1 ball
- Calories: 110120
- Sugar: 79
- Sodium: 5070
- Fat: 67
- Saturated Fat: 1.52
- Carbohydrates: 1214
- Fiber: 23
- Protein: 45
Keywords: no-bake protein balls, peanut butter protein balls, healthy snacks, no-bake snacks, energy balls, gluten-free snacks, meal prep snacks



