Love this? Save it for later!
Share the inspiration with your friends
It was 11:17 PM on a random Wednesday, and I was hit with this sudden, unshakable craving for something crisp, tangy, and a little punchy—pickles, specifically. The problem? I didn’t have time or the patience to break out my canning gear (which honestly, feels like a whole other job after a long day). What I did have? A jar, some cucumbers, and a wild idea to skip all the fuss and make quick dill refrigerator pickles. No canning needed, no stress—just a few ingredients and a little patience.
Now, I know you might be thinking, “Quick pickles? Aren’t those kinda meh?” But hear me out. This recipe was born from a sleepless night, a cracked mixing bowl, and the comforting sizzle of the brine coming together on the stove. Maybe you’ve been there—standing in the kitchen at odd hours, not quite ready to call it a day but desperate for a snack that feels like a little victory.
Honestly, these easy quick dill refrigerator pickles turned out so well, I ended up making a second batch the very next day. The late-night experiment became my go-to whenever I want fresh, crunchy pickles without the usual canning marathon. Let me tell you, there’s something oddly satisfying about knowing you can enjoy homemade pickles in just a few days, no pressure at all.
So if you’re like me, juggling a million things but still craving that perfect pickle crunch, this recipe is your new best friend. Let’s get into it!
Why You’ll Love This Recipe
This easy quick dill refrigerator pickles recipe isn’t just another pickle recipe—it’s a game changer for anyone who loves homemade flavor but dreads the whole canning process. I’ve tested this several times, tweaking the brine and timing to get the perfect balance of tartness and crunch.
- Quick & Easy: Ready to eat in as little as 24 hours, and the prep only takes about 5 minutes.
- Simple Ingredients: No need for fancy spices or hard-to-find items; most are pantry staples.
- Perfect for Any Occasion: Whether it’s a last-minute side for a barbecue or a snack to jazz up your sandwiches, these pickles fit right in.
- Crowd-Pleaser: Friends and family always ask for more—kids love the crunch, and adults appreciate the fresh dill flavor.
- Unbelievably Delicious: The brine is perfectly balanced—not too sour, not too salty, with just the right zing.
What sets this recipe apart is how it embraces simplicity without sacrificing that classic dill pickle punch. I don’t fuss with complicated spice blends; instead, I focus on fresh dill, garlic, and just the right amount of vinegar and sugar. The result? A pickle that tastes like it’s been fermenting for weeks but was actually whipped up in minutes and chilled in your fridge.
Honestly, these pickles have become my secret weapon for adding instant flavor to everything from burgers to charcuterie boards. If you want a straightforward, no-fail recipe that you can trust to deliver crunchy, tangy pickles anytime, this is it.
What Ingredients You Will Need
This recipe uses simple, wholesome ingredients to deliver bold flavor and satisfying crunch without any fuss. Most are pantry staples or things you can grab at any local grocery store. If you want to switch things up, I’ve got you covered with easy substitutions, too.
- Cucumbers: About 4-5 medium Kirby cucumbers or Persian cucumbers, sliced into spears or rounds (Kirby cucumbers work best for crunch)
- Fresh dill: 3-4 sprigs, plus a few extra for garnish if you like (fresh dill gives that unmistakable aroma and flavor)
- Garlic cloves: 2-3, smashed or thinly sliced (adds a gentle bite without overpowering)
- White vinegar: 1 cup (240 ml) for that classic tang; you can swap apple cider vinegar for a softer flavor
- Water: 1 cup (240 ml), preferably filtered or distilled
- Salt: 1 tablespoon kosher salt or pickling salt (table salt can be used but adjust quantity)
- Sugar: 1 teaspoon granulated sugar (balances the acidity)
- Black peppercorns: 1 teaspoon whole peppercorns (optional, adds subtle spice)
- Red pepper flakes: 1/4 teaspoon (optional, for a touch of heat)
If you don’t have fresh dill, dried dill weed can work in a pinch, but the flavor won’t be as vibrant. For a gluten-free or low-sodium option, just make sure your salt is appropriate or reduce it slightly. Whenever possible, I like to buy organic cucumbers from my local farmer’s market to avoid wax coatings that can interfere with the brine penetrating well.
Equipment Needed
For this recipe, you don’t need any fancy gadgets—just some basic kitchen gear you probably already own.
- Glass jar or airtight container: A quart-sized (about 1 liter) jar works perfectly. I prefer glass because it doesn’t absorb flavors and is easy to clean.
- Small saucepan: For heating the brine. A non-stick or stainless steel pan is ideal.
- Measuring cups and spoons: To get the vinegar, water, salt, and sugar just right.
- Knife and cutting board: For slicing cucumbers and garlic.
- Tongs or chopsticks: Optional, but handy for packing cucumbers tightly into the jar without squishing.
If you don’t have a glass jar, a BPA-free plastic container with a tight lid can work, but I’d recommend glass for the best taste and safety. Also, make sure your jar and lid are thoroughly cleaned before starting—hot soapy water and a quick rinse usually do the trick. I learned this the hard way after a batch developed a strange off-flavor (lesson: clean jars matter!).
Preparation Method
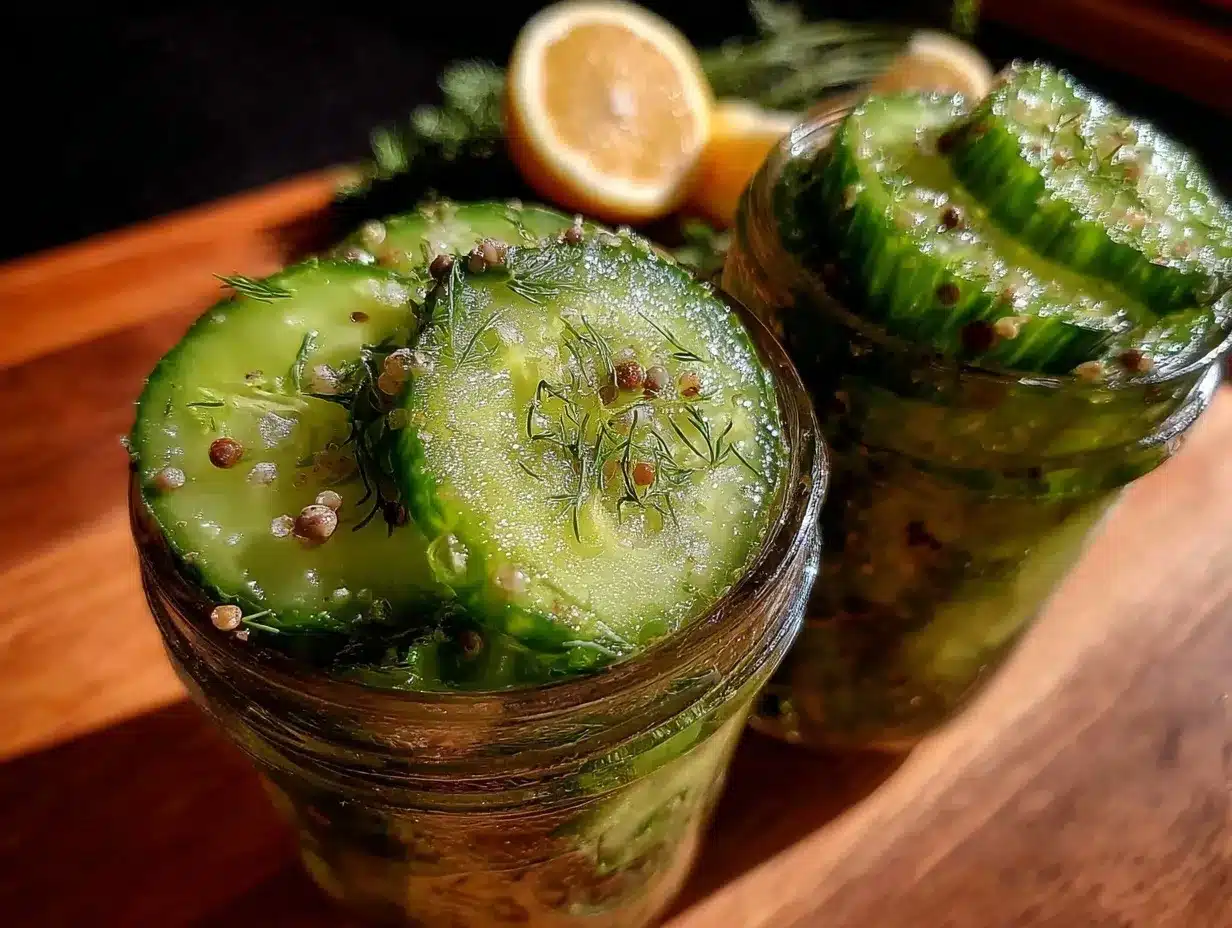
- Prepare the cucumbers: Wash 4-5 medium Kirby cucumbers thoroughly and slice them into spears or rounds, about 1/4 inch (6 mm) thick. The shape depends on your preference—spears work great for snacking, rounds are perfect for sandwiches. Set aside. (5 minutes)
- Make the brine: In a small saucepan, combine 1 cup (240 ml) white vinegar, 1 cup (240 ml) water, 1 tablespoon kosher salt, and 1 teaspoon sugar. Heat over medium heat, stirring occasionally, until the salt and sugar dissolve completely. Remove from heat and let it cool slightly. (5 minutes)
- Pack the jar: Place 3-4 sprigs of fresh dill, 2-3 smashed garlic cloves, 1 teaspoon whole black peppercorns, and 1/4 teaspoon red pepper flakes (if using) into the bottom of a clean quart-sized glass jar. Then tightly pack the cucumber slices on top, leaving about 1/2 inch (1.3 cm) of headspace at the top. (5 minutes)
- Pour the brine: Carefully pour the warm brine over the cucumbers, making sure they’re fully submerged. You can gently press the cucumbers down with a spoon or chopsticks to release any trapped air bubbles. Seal the jar tightly with the lid. (3 minutes)
- Cool and refrigerate: Let the jar cool to room temperature (about 20 minutes), then place it in the refrigerator. The pickles will start to develop flavor after 24 hours, but honestly, letting them sit 2-3 days really amps up the crisp, tangy goodness. (Prep done early; flavor develops in fridge)
- Enjoy and store: Your easy quick dill refrigerator pickles are ready to eat! They keep crisp and delicious in the fridge for up to 3 weeks. Always use a clean fork to remove pickles to prevent contamination. (Ongoing)
Pro tip: If you want extra-crispy pickles, add a few grape leaves or a pinch of calcium chloride (pickle crisp) to the jar before brining. Also, avoid boiling the brine for too long—it’s just to dissolve salt and sugar, not to cook the cucumbers.
Cooking Tips & Techniques
Making refrigerator pickles is straightforward, but a few insider tips make all the difference between “meh” and truly crave-worthy pickles.
- Choose the right cucumbers: Pick firm, fresh Kirby or Persian cucumbers. Their thin skin and dense flesh hold up well in the brine, giving you that satisfying crunch.
- Don’t skip the salt measurement: Salt is the backbone of pickling—it controls fermentation and flavor. Use kosher or pickling salt to avoid off-flavors from additives.
- Warm brine is key: Warming the brine dissolves salt and sugar perfectly but avoid letting it boil hard. A gentle simmer is enough.
- Pack tightly but gently: This helps cucumbers stay submerged and pick evenly without getting bruised.
- Give it time: Even though it’s “quick,” the flavor really shines after a couple of days in the fridge. Patience pays off.
- Keep everything clean: Always use clean jars and utensils to avoid any funky flavors or spoilage.
I once rushed this recipe and shoved cucumbers into a warm jar without waiting for the brine to cool. The pickles ended up a bit soggy and less crisp than I like. Lesson learned: patience (and temperature control) matters. Also, if you find your pickles too sour, dial back the vinegar slightly next time or add a pinch more sugar to balance it out.
Variations & Adaptations
This easy quick dill refrigerator pickles recipe is a fantastic base for all sorts of variations. Here are a few ways I’ve mixed it up or you might want to try:
- Spicy kick: Add sliced jalapeños or increase red pepper flakes for a fiery version.
- Garlic lovers: Double the garlic for a more pungent, savory punch.
- Sweet & sour: Increase sugar to 2 tablespoons for a sweeter pickle reminiscent of bread-and-butter style.
- Herb swap: Try fresh tarragon or thyme instead of dill for a different herbal note.
- Vinegar alternatives: Use apple cider vinegar for a fruitier, less sharp bite.
- Low-sodium option: Reduce salt to 1/2 tablespoon and add a splash of lemon juice for brightness.
One time, I tossed in a few slices of fresh ginger and coriander seeds for a quick Asian-inspired pickle that paired beautifully with grilled meats. Don’t be afraid to experiment; the fridge pickling method is forgiving and fun!
Serving & Storage Suggestions
These easy quick dill refrigerator pickles are best served cold straight from the fridge. Their crisp texture and bright flavor are perfect for snacking or adding a tangy crunch to your meals.
- Serving ideas: Add them to sandwiches, burgers, or wraps for that satisfying snap. They’re also excellent chopped into potato salad or alongside a charcuterie board.
- Storage: Keep pickles refrigerated in a sealed jar or airtight container. They stay fresh and crunchy for up to 3 weeks.
- Reheating: No need to heat—these are best enjoyed chilled.
- Flavor development: The flavors deepen over the first 3 days. If you can, wait before diving in!
I’ve found that these pickles pair wonderfully with a cold crispy garlic chicken dinner or alongside a fresh classic potato salad. They really bring a bright contrast to richer dishes.
Nutritional Information & Benefits
These quick dill refrigerator pickles are low in calories (about 10-15 calories per serving), fat-free, and a smart choice for snacking without guilt. Cucumbers provide hydration and a small amount of vitamin K, while the vinegar may help with digestion and blood sugar regulation.
Since this recipe contains garlic and dill, you get some antioxidant and anti-inflammatory benefits as well. Just watch the sodium content if you’re on a low-salt diet, but overall, these pickles are a tasty, wholesome addition to most eating plans.
Gluten-free and naturally vegan, they fit nicely into a variety of diets.
Conclusion
If you’re craving pickles but want to skip the canning hassle, this easy quick dill refrigerator pickles recipe is exactly what you need. It’s simple, fast to prep, and gives you that crave-worthy crunch and tang in just a few days. I love how it turns a few humble ingredients into something fresh and satisfying without much effort.
Feel free to tweak the seasoning or spice level to your liking—this recipe is an open invitation to make pickle magic your own. Honestly, once you try these, you’ll wonder why you ever waited so long to make homemade pickles this way.
Go ahead, give it a shot, and let me know how your batch turns out—I’m always excited to hear new twists or success stories from fellow pickling enthusiasts!
FAQs
How long do these quick dill refrigerator pickles last?
They keep fresh and crunchy in the fridge for up to 3 weeks. Always use clean utensils to avoid contamination.
Can I use regular cucumbers instead of Kirby cucumbers?
You can, but Kirby cucumbers are firmer and hold up better. Regular slicing cucumbers might be softer and less crunchy.
Do I need to boil the cucumbers before pickling?
Nope! These are raw pickles, so just slice and pack them into the brine—boiling isn’t necessary and can make them mushy.
Can I make these pickles without fresh dill?
Dried dill can be used in a pinch, but fresh dill provides the best flavor and aroma.
Is this recipe gluten-free?
Yes! All ingredients are naturally gluten-free, making these pickles safe for gluten-sensitive diets.
Pin This Recipe!
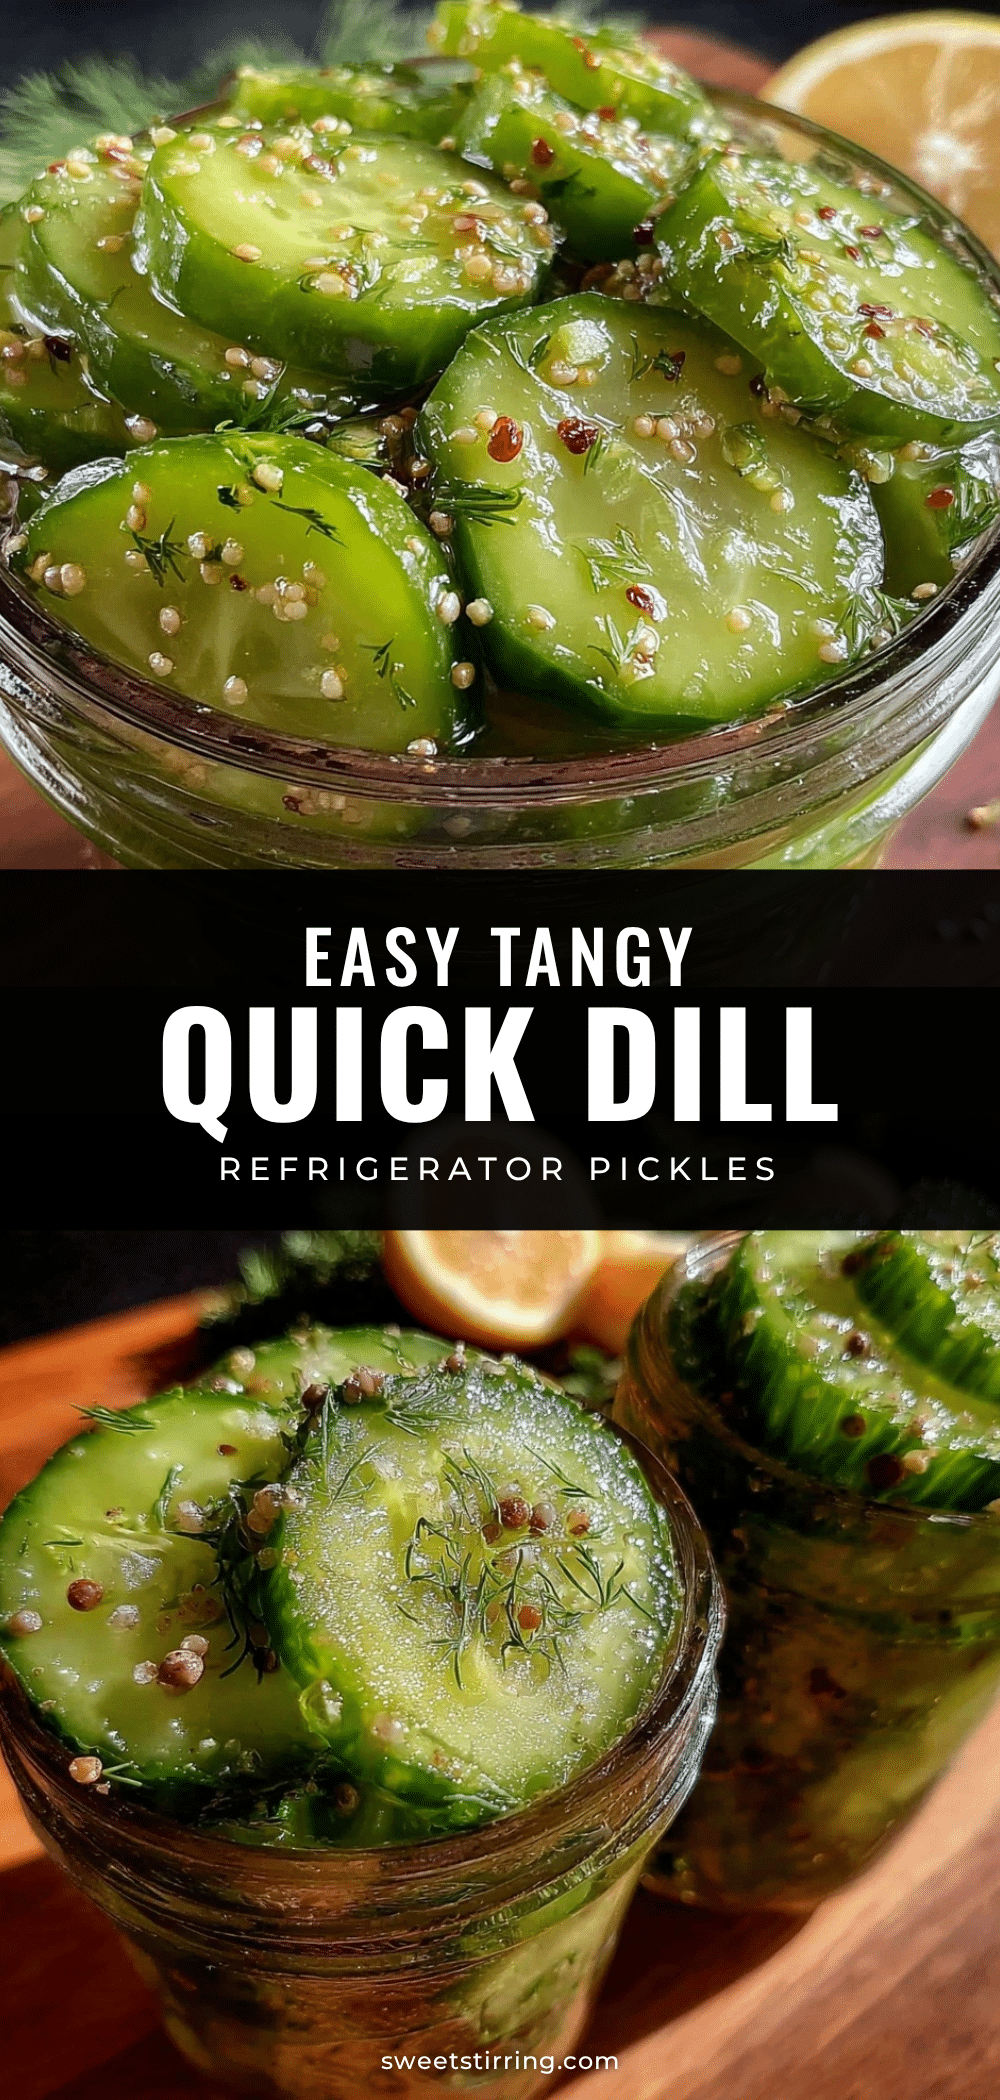
Easy Quick Dill Refrigerator Pickles Recipe 5-Minute No Canning Needed
A simple and quick recipe for homemade dill refrigerator pickles that require no canning and are ready to eat in as little as 24 hours. Perfectly crunchy and tangy with minimal ingredients and effort.
- Prep Time: 5 minutes
- Cook Time: 5 minutes
- Total Time: 24 hours to 3 days (including refrigeration time)
- Yield: 4-5 servings 1x
- Category: Condiment
- Cuisine: American
Ingredients
- 4–5 medium Kirby cucumbers or Persian cucumbers, sliced into spears or rounds
- 3–4 sprigs fresh dill, plus extra for garnish
- 2–3 garlic cloves, smashed or thinly sliced
- 1 cup (240 ml) white vinegar (can substitute apple cider vinegar)
- 1 cup (240 ml) water, preferably filtered or distilled
- 1 tablespoon kosher salt or pickling salt (adjust if using table salt)
- 1 teaspoon granulated sugar
- 1 teaspoon whole black peppercorns (optional)
- 1/4 teaspoon red pepper flakes (optional)
Instructions
- Wash 4-5 medium Kirby cucumbers thoroughly and slice into spears or rounds about 1/4 inch thick. Set aside.
- In a small saucepan, combine 1 cup white vinegar, 1 cup water, 1 tablespoon kosher salt, and 1 teaspoon sugar. Heat over medium heat, stirring occasionally until salt and sugar dissolve. Remove from heat and let cool slightly.
- Place 3-4 sprigs fresh dill, 2-3 smashed garlic cloves, 1 teaspoon whole black peppercorns, and 1/4 teaspoon red pepper flakes (if using) into the bottom of a clean quart-sized glass jar.
- Tightly pack the cucumber slices on top of the herbs and spices, leaving about 1/2 inch of headspace at the top.
- Pour the warm brine over the cucumbers, ensuring they are fully submerged. Press down gently to release air bubbles. Seal the jar tightly.
- Let the jar cool to room temperature (about 20 minutes), then refrigerate. Pickles develop flavor after 24 hours, best after 2-3 days.
- Enjoy chilled. Pickles keep fresh and crunchy in the fridge for up to 3 weeks. Use clean utensils to remove pickles.
Notes
For extra-crispy pickles, add grape leaves or a pinch of calcium chloride to the jar before brining. Avoid boiling the brine too long; just dissolve salt and sugar. Use clean jars and utensils to prevent off-flavors or spoilage. Flavor improves after 2-3 days in the fridge. Adjust vinegar and sugar to taste if pickles are too sour.
Nutrition
- Serving Size: About 1/2 cup of pic
- Calories: 1015
- Sugar: 1
- Sodium: 600
- Carbohydrates: 3
- Fiber: 0.5
Keywords: quick pickles, dill pickles, refrigerator pickles, no canning, easy pickles, homemade pickles, crunchy pickles