Love this? Save it for later!
Share the inspiration with your friends
There used to be a tiny, fluorescent-lit takeout joint on 4th Street that made teriyaki chicken so good it felt like cheating. When they closed abruptly on a rainy Tuesday in November, I was heartbroken. I spent months trying to recreate that specific sweet-salty glaze, burning three batches of chicken in the process. After forty-two tries — including one disastrous attempt where I used honey instead of sugar and created a sticky mess — I finally got it.
I mean, honestly, who has time for that kind of failure? But you know that feeling when you just can’t let go of a flavor? That’s exactly where I was. The original place had this weird, perfect balance of ginger and soy that hit different every time. I missed the way it tasted after a long week of work. I missed the convenience, but I also missed the health factor. The original place was loaded with sodium and preservatives.
So, I decided to tackle it myself. Not just as a dinner, but as a solution for my chaotic schedule. I wanted those bowls to be my lifeline during busy weeks. I wanted to pack them, freeze them, and have a healthy meal ready in minutes. It wasn’t just about the taste anymore; it was about control. Control over my ingredients, my time, and my energy levels.
The first time I tasted my version, I actually cried a little. It wasn’t exactly the same, but it was better. It was cleaner. It made me feel good. And that’s why I keep making it. You know that feeling when you finally solve a problem you’ve been obsessing over? That’s the joy of these Healthy Teriyaki Chicken Meal Prep Bowls. They are my victory lap every Sunday night.
Maybe you’ve been there too, chasing a ghost of a flavor from a place that no longer exists. I hope this recipe helps you find your own version of that comfort. It’s not just chicken and rice. It’s peace of mind in a bowl.
Why You’ll Love This Recipe
Let’s face it, meal prep can feel like a chore. But this recipe changes the game entirely. I’ve tested this teriyaki sauce and chicken combination dozens of times to ensure it’s not just tasty, but actually sustainable for your weekly routine. It’s built for real life, not just for Instagram photos.
- Quick & Easy: The sauce comes together in under five minutes. You can have the entire meal prepped and ready for the week in about an hour. It’s perfect for busy weeknights or when you just want to relax.
- Simple Ingredients: No fancy grocery trips needed. You likely already have soy sauce, ginger, and garlic in your kitchen. This recipe relies on pantry staples that you probably already own.
- Perfect for Meal Prep: These bowls hold up incredibly well in the fridge for up to five days. The flavors actually meld and improve over time, making Monday’s lunch better than Friday’s dinner.
- Crowd-Pleaser: Even my picky eaters love this. The sweet and savory profile is universally liked by kids and adults alike. It’s a safe bet for family dinners.
- Unbelievably Delicious: The texture of the chicken stays juicy, and the veggies retain a nice crunch. It’s next-level comfort food that doesn’t weigh you down.
What makes this different from other teriyaki recipes? It’s the balance. Most recipes are too sweet or too salty. This one hits the sweet spot. I use a combination of low-sodium soy sauce and a touch of natural sweetness to keep it wholesome. It’s not just good—it’s the kind of meal that makes you look forward to lunch. It’s comfort food reimagined—healthier, faster, but with the same soul-soothing satisfaction. It’s perfect for impressing guests without stress, or turning a simple meal into something memorable.
What Ingredients You Will Need
This recipe uses simple, wholesome ingredients to deliver bold flavor and satisfying texture without the fuss. I like to keep the list short so it’s easy to shop for and easy to understand. Everything plays a specific role in creating that perfect balance.
- Chicken Breast: Boneless, skinless chicken breasts are my go-to. They are lean and absorb the sauce beautifully. I recommend looking for organic, antibiotic-free chicken if you can find it. It makes a noticeable difference in taste.
- Low-Sodium Soy Sauce: Regular soy sauce can be overpoweringly salty. Using a low-sodium version allows you to control the salt level while still getting that deep umami flavor. I prefer Kikkoman brand for its consistent quality.
- Fresh Ginger: Do not use powdered ginger for this. Freshly grated ginger adds a bright, spicy kick that is essential for the authentic taste. It’s worth the extra minute to peel and grate it.
- Garlic: Minced fresh garlic adds warmth and depth. It’s a non-negotiable ingredient for this sauce. Two cloves are usually enough for this batch.
- Honey or Maple Syrup: I use honey for its floral notes, but pure maple syrup works great for a vegan option. It balances the saltiness of the soy sauce. Use about two tablespoons.
- Rice Vinegar: This adds a subtle acidity that cuts through the sweetness. It brightens up the whole dish. If you don’t have rice vinegar, apple cider vinegar is a decent substitute.
- Cornstarch: This is the magic ingredient for thickening the sauce. It creates that glossy, restaurant-style coating on the chicken. Make sure to mix it with cold water first to avoid clumps.
- Broccoli and Bell Peppers: For the veggies, I choose broccoli florets and sliced bell peppers. They add color, crunch, and nutrients. You can swap these based on what’s in season.
- Brown Rice or Quinoa: I serve this over brown rice for extra fiber, but quinoa is a great high-protein alternative. Cooked grains form the base of the bowl.
- Green Onions: Sliced green onions are used as a garnish. They add a fresh, oniony bite that looks beautiful on top.
I also keep sesame seeds on hand for a nice nutty finish. It’s a small touch that elevates the presentation. If you need a gluten-free option, simply use Tamari instead of soy sauce. It’s that simple.
Equipment Needed
You don’t need a fancy kitchen to make this. A few basic tools will get the job done efficiently.
- Large Skillet or Wok: A non-stick skillet is great for cooking the chicken evenly without sticking. A wok is ideal if you like to stir-fry quickly over high heat. I use a 12-inch cast iron skillet because it holds heat well.
- Mixing Bowls: You’ll need small bowls for mixing the sauce and for marinating the chicken. Glass bowls are easy to clean.
- Measuring Spoons and Cups: Precision matters for the sauce balance. Standard measuring tools work fine.
- Meal Prep Containers: Glass containers with dividers are perfect for storing the bowls. They keep the components separate until you’re ready to eat. I recommend Pyrex containers because they are durable and dishwasher safe.
- Grater: A microplane grater makes quick work of the fresh ginger and garlic. It’s a small tool that saves time.
If you don’t have a non-stick pan, use a well-seasoned stainless steel pan with a bit more oil. Just be careful not to burn the sauce. The cornstarch can burn easily if the heat is too high.
Preparation Method
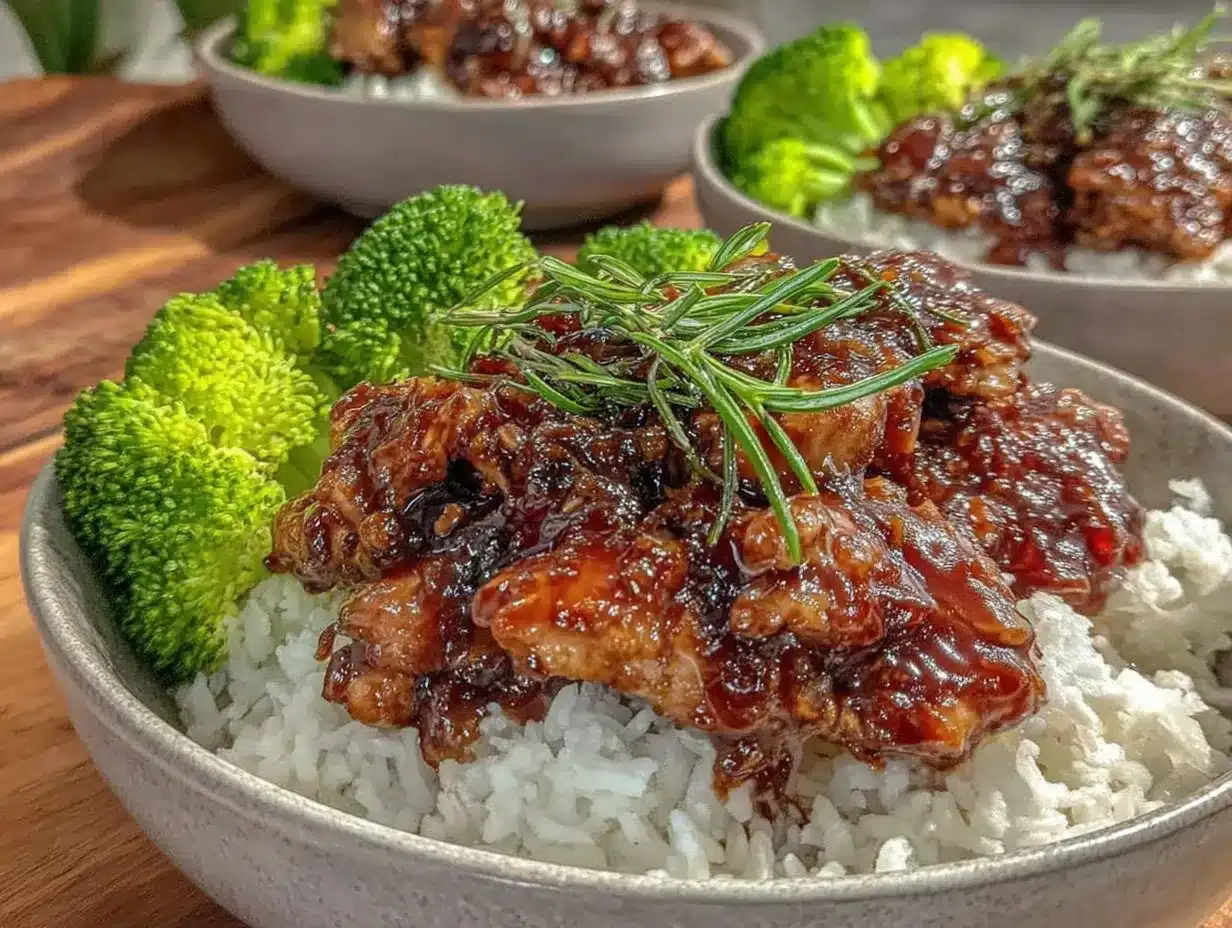
- Prepare the Rice: Start by cooking your brown rice or quinoa according to package instructions. This usually takes about 40-45 minutes. Set it aside to cool slightly. (Time: 45 minutes)
- Cut the Chicken: Slice the chicken breasts into bite-sized cubes. Try to keep them uniform in size so they cook evenly. This should take about 5 minutes.
- Make the Sauce: In a small bowl, whisk together the low-sodium soy sauce, honey, rice vinegar, minced garlic, and grated ginger. Set aside. (Time: 3 minutes)
- Cook the Chicken: Heat a large skillet over medium-high heat with a teaspoon of oil. Add the chicken cubes in a single layer. Cook for 3-4 minutes until browned on one side. Flip and cook for another 3-4 minutes until cooked through. Remove chicken from the pan and set aside. (Time: 8 minutes)
- Steam the Veggies: In the same pan, add a splash of water and the broccoli florets. Cover and steam for 3-4 minutes until tender-crisp. Add the bell peppers and cook for another 2 minutes. Remove veggies and set aside with the chicken. (Time: 6 minutes)
- Thicken the Sauce: Lower the heat to medium. Pour the sauce mixture into the hot pan. Let it simmer for 1 minute. In a separate small cup, mix the cornstarch with cold water to create a slurry. Stir the slurry into the simmering sauce. It will thicken quickly, within 30 seconds. (Time: 3 minutes)
- Combine: Return the chicken and veggies to the pan. Toss everything in the thickened sauce until coated. Remove from heat. (Time: 2 minutes)
- Assemble: Divide the cooked rice into your meal prep containers. Top with the chicken and veggie mixture. Garnish with sliced green onions and sesame seeds. (Time: 5 minutes)
Let the bowls cool completely before sealing them. This prevents condensation and keeps the rice from getting soggy. This step is crucial for storage.
Cooking Tips & Techniques
Getting the sauce consistency right is the most important part. If it’s too thin, it won’t coat the chicken properly. If it’s too thick, it will be gloppy. The cornstarch slurry is key here. Always mix it well before adding it to the hot liquid.
Don’t overcrowd the pan when cooking the chicken. If you put too much chicken in at once, it will steam instead of sear. Cook in batches if necessary. This ensures a nice brown color and better flavor.
I once burned my sauce because I was distracted by a phone call. Lesson learned: pay attention when the sauce is simmering. Stir it constantly to prevent burning. The sugars in the honey can caramelize and burn quickly.
For consistent results, weigh your chicken instead of eyeballing it. This ensures each portion has the same amount of protein. It also helps with nutritional tracking.
Use fresh ginger whenever possible. The flavor difference between fresh and dried is night and day. It adds a fresh, zesty note that powdered ginger just can’t match.
If you prefer a softer texture for your veggies, steam them longer. For a crunchier bite, add them to the pan raw and stir-fry for a shorter time. It’s all about personal preference.
Variations & Adaptations
This recipe is very flexible. Here are a few ways to customize it:
- Protein Swap: Use tofu or tempeh for a vegetarian version. Press the tofu well before cooking to remove excess moisture. It absorbs the sauce beautifully.
- Gluten-Free: Swap the soy sauce for Tamari or Coconut Aminos. This makes the entire dish gluten-free without sacrificing flavor.
- Low-Carb: Skip the rice and use cauliflower rice instead. It’s a great way to reduce carbs while keeping the volume high.
- Spicy Kick: Add a teaspoon of sriracha or red pepper flakes to the sauce for some heat. It pairs well with the sweetness of the honey.
- Veggie Boost: Add snap peas, carrots, or bok choy to the mix. Any crunchy vegetable works well in this dish.
I’ve tried adding pineapple chunks for a tropical twist. It was surprisingly delicious. The acidity of the pineapple complements the savory sauce. It’s a fun variation for summer.
Serving & Storage Suggestions
These bowls are best served warm. Reheat them in the microwave for 2-3 minutes, stirring halfway through. This ensures even heating. You can also reheat them in a skillet over medium heat for a fresher taste.
Store the bowls in the refrigerator for up to five days. Keep them in airtight glass containers to maintain freshness. The rice may harden slightly in the fridge, but it softens up nicely when reheated.
For longer storage, freeze the bowls for up to three months. Thaw them in the refrigerator overnight before reheating. Note that the texture of the bell peppers may soften slightly after freezing.
Pair these bowls with a side of miso soup or a simple green salad for a complete meal. A cup of green tea is a perfect beverage choice to complement the flavors.
The flavors develop over time, so Monday’s bowl might taste slightly different than Tuesday’s. This is normal and often desirable. The sauce continues to infuse into the chicken and veggies.
Nutritional Information & Benefits
Each bowl contains approximately 450 calories, 35g of protein, 50g of carbohydrates, and 10g of fat. This makes it a balanced meal for muscle recovery and sustained energy.
Chicken breast is a lean source of protein, essential for building and repairing tissues. Broccoli and bell peppers are rich in vitamins C and K, supporting immune health and bone strength.
Brown rice provides complex carbohydrates and fiber, which aid in digestion and keep you feeling full longer. This helps prevent overeating later in the day.
The sauce is lower in sodium than store-bought versions, making it heart-healthier. You control the sugar content, allowing for a more balanced sweet-savory profile.
For those with gluten sensitivity, using Tamari ensures the meal remains safe. It’s a versatile recipe that can adapt to various dietary needs.
I find that eating this meal helps me stay focused and energetic throughout the afternoon. It’s a reliable fuel source for a busy day.
Conclusion
These Healthy Teriyaki Chicken Meal Prep Bowls are more than just a recipe. They are a solution to the daily struggle of deciding what to eat. They save time, money, and stress. I hope you find as much joy in making them as I did.
Feel free to customize the vegetables and proteins to suit your taste. The base recipe is solid, but your tweaks will make it yours. I’d love to hear how you adapt it.
Try this recipe this Sunday. Your future self will thank you on Wednesday when you’re too tired to cook. It’s that simple.
Leave a comment below if you try it. Share your variations and tips. Let’s build a community of healthy eaters together.
Happy cooking! May your bowls be full and your week be easy.
FAQs
Can I use chicken thighs instead of breasts?
Yes, chicken thighs work well and are juicier. Just adjust the cooking time slightly as thighs may take a few minutes longer to cook through.
How long do these bowls last in the fridge?
They last up to five days when stored in airtight containers. Make sure they cool completely before refrigerating.
Can I freeze these meal prep bowls?
Yes, they can be frozen for up to three months. Thaw in the fridge overnight before reheating. The texture of the veggies may change slightly.
What can I use instead of rice?
You can use quinoa, cauliflower rice, or zucchini noodles. Any grain or veggie base works well with the teriyaki sauce.
Is this recipe gluten-free?
Not by default, but you can make it gluten-free by using Tamari or Coconut Aminos instead of soy sauce.
Pin This Recipe!
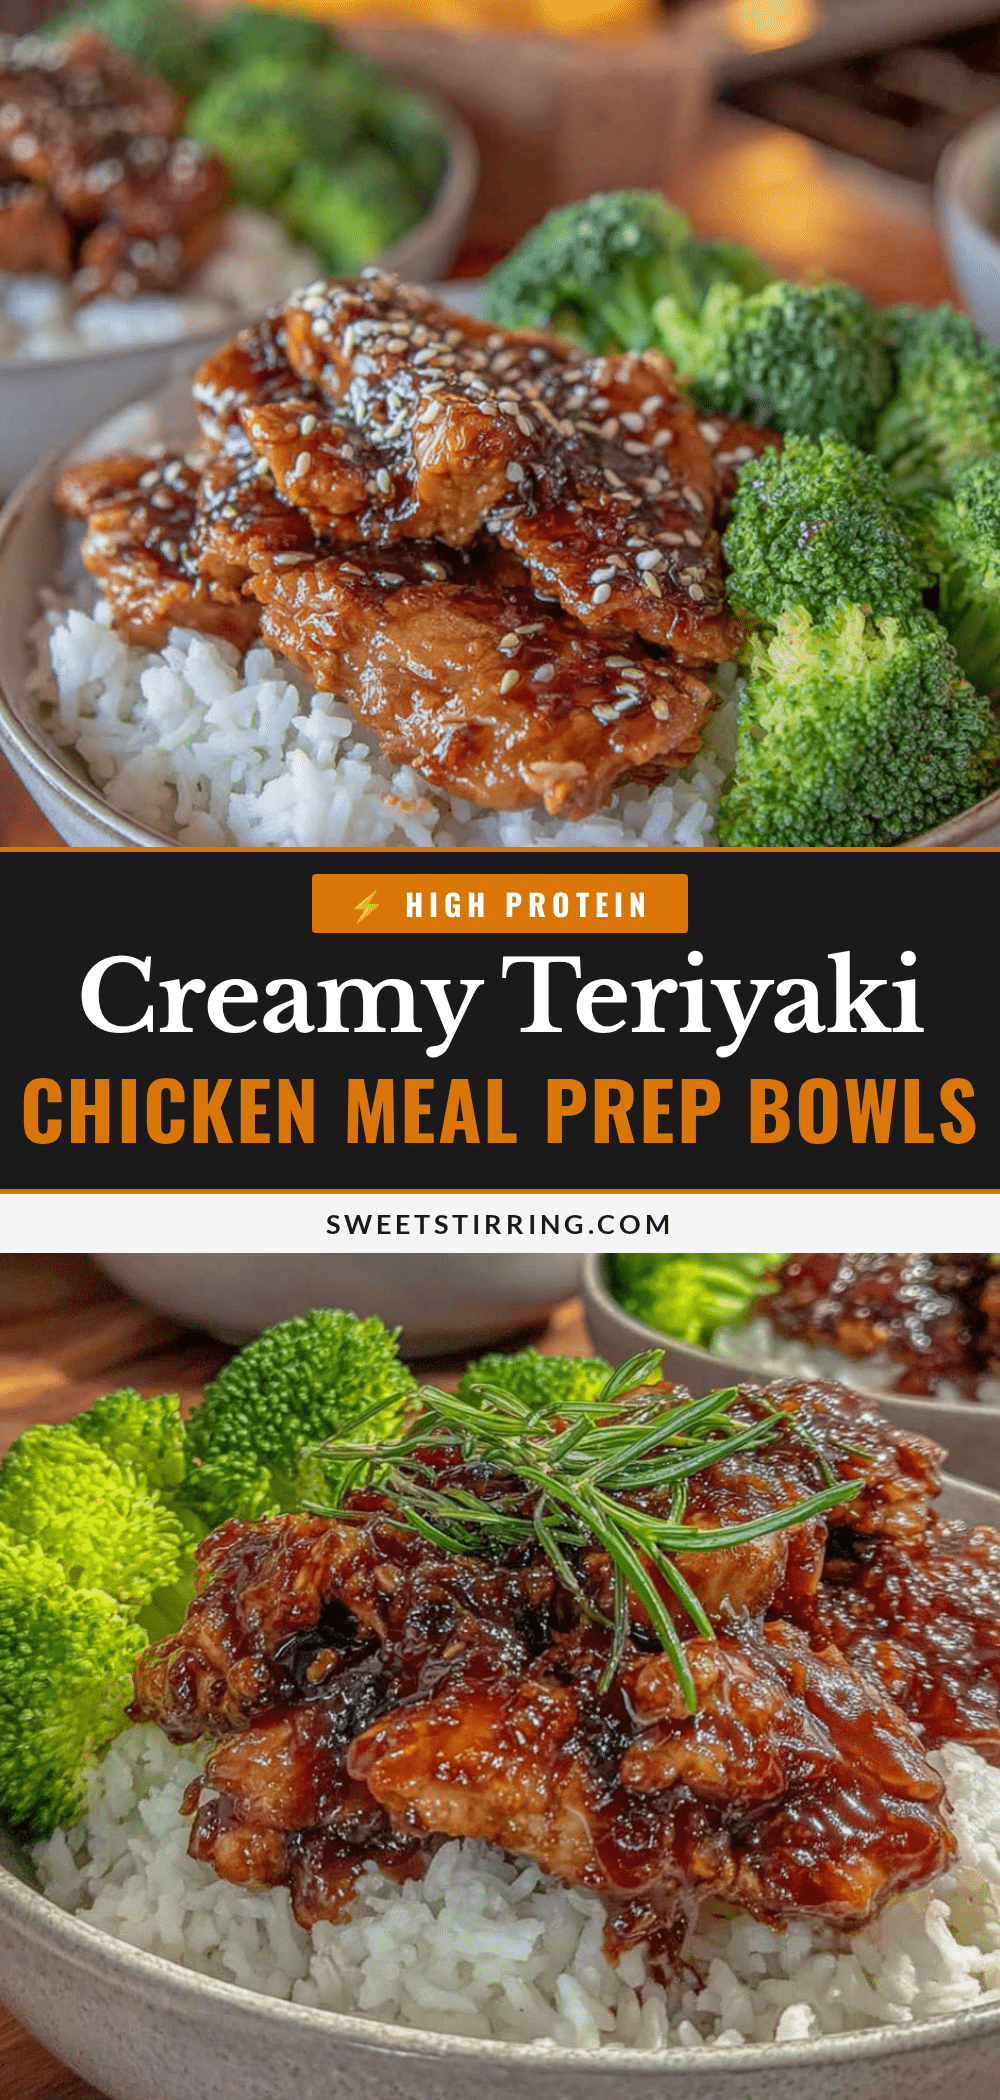
Healthy Teriyaki Chicken Meal Prep Bowls: 5 Easy Dinner Ideas
A healthy, homemade teriyaki chicken meal prep bowl that offers a balanced sweet-salty glaze, lean protein, and fresh vegetables. Perfect for busy weeks, these bowls are easy to make, store well for up to five days, and provide a nutritious alternative to takeout.
- Prep Time: 15 minutes
- Cook Time: 60 minutes
- Total Time: 75 minutes
- Yield: 4 servings
- Category: Main Course
- Cuisine: Asian
Ingredients
- Boneless, skinless chicken breasts
- Low-sodium soy sauce (or Tamari for gluten-free)
- Fresh ginger, grated
- Fresh garlic, minced
- Honey or pure maple syrup
- Rice vinegar (or apple cider vinegar)
- Cornstarch mixed with cold water
- Broccoli florets
- Bell peppers, sliced
- Brown rice or quinoa
- Green onions, sliced
- Sesame seeds
- Cooking oil
Instructions
- Cook brown rice or quinoa according to package instructions (approx. 40-45 minutes) and set aside to cool slightly.
- Slice chicken breasts into uniform bite-sized cubes.
- In a small bowl, whisk together low-sodium soy sauce, honey, rice vinegar, minced garlic, and grated ginger.
- Heat a large skillet or wok over medium-high heat with oil. Add chicken cubes in a single layer and cook for 3-4 minutes per side until browned and cooked through. Remove chicken and set aside.
- In the same pan, add a splash of water and broccoli florets. Cover and steam for 3-4 minutes until tender-crisp. Add bell peppers and cook for another 2 minutes. Remove veggies and set aside with the chicken.
- Lower heat to medium. Pour the sauce mixture into the hot pan and simmer for 1 minute. Stir in the cornstarch slurry and cook until the sauce thickens (approx. 30 seconds).
- Return the chicken and vegetables to the pan. Toss everything in the thickened sauce until coated. Remove from heat.
- Divide cooked rice into meal prep containers. Top with the chicken and veggie mixture. Garnish with sliced green onions and sesame seeds.
- Let bowls cool completely before sealing to prevent condensation and sogginess.
Notes
Ensure chicken cubes are uniform for even cooking. Do not overcrowd the pan to allow for proper searing. Always mix cornstarch with cold water before adding to hot liquid to avoid clumps. Cool bowls completely before refrigerating to maintain texture. Can be frozen for up to three months.
Nutrition
- Serving Size: 1 bowl
- Calories: 450
- Sugar: 12
- Sodium: 600
- Fat: 10
- Saturated Fat: 2
- Carbohydrates: 50
- Fiber: 5
- Protein: 35
Keywords: healthy teriyaki chicken, meal prep bowls, chicken meal prep, healthy dinner ideas, teriyaki sauce recipe, high protein meal, gluten-free options, quick weeknight dinner



