Love this? Save it for later!
Share the inspiration with your friends
My sister claimed she hated anything “spooky” for Halloween. Years of this. She’d roll her eyes at carved pumpkins, avoid the decorations aisle, and insist the only good thing about October 31st was the candy corn. Then last year, I made a batch of these cheesy breadsticks for a small get-together, just as a silly snack. I walked back into the kitchen to grab the marinara sauce, and there she was, caught in the act, pulling apart a mummy’s cheese bandage with a sheepish grin. “These aren’t spooky,” she mumbled through a mouthful of dough. “These are delicious.” Honestly, that’s the highest compliment a Halloween recipe can get, isn’t it? When it wins over the holiday humbug.
I mean, I get it. Sometimes the pressure to create something elaborate for a party is just too much. You want it to look impressive, but you also need it to be easy enough to make after a long day. That’s exactly where these mummy breadsticks come in. They look like you fussed, but they’re secretly one of the simplest things you can pull together. Let me tell you, the first time I made them, I forgot to set a timer and they got a little too golden. But you know what? They still looked like perfectly toasted little mummies. Maybe you’ve been there, frantically checking on snacks while trying to get a costume together. These are forgiving, and that’s their superpower.
They’ve stayed in my regular rotation because they’re just so fun. The kids at the party devoured them before I could even arrange them on the platter. It’s the kind of recipe that creates a moment—a laugh, a shared silly photo, a memory of a good time. That’s why I keep coming back to it every single October. It’s not just about the taste (which is amazing), but about the little story it tells on the plate.
Why You’ll Love This Recipe
Let’s be real for a second. There are a million Halloween snacks out there, but most of them are either too complicated or look like a hot mess. These mummy breadsticks hit that sweet spot where fun meets actually delicious. I’ve tested this recipe about four times now, tweaking the cheese-to-dough ratio and the baking time, and I can confidently say this version is foolproof.
- Quick & Easy: From start to finish, you’re looking at about 25 minutes. Perfect for a last-minute Halloween party or a fun after-school snack that comes together in a snap.
- Simple Ingredients: You probably have everything in your kitchen right now. No weird specialty items, no trips to three different stores. Just pizza dough, string cheese, and a few pantry staples.
- Perfect for Halloween Parties: Whether it’s a classroom celebration, a work potluck, or a cozy night in with a scary movie, these little guys are the star of the show. They’re portable, easy to grab, and don’t require a plate.
- Crowd-Pleaser: I have yet to meet a kid (or adult, honestly) who can resist warm, cheesy bread wrapped up like a little monster. They disappear faster than candy.
- Unbelievably Delicious: The outside gets perfectly golden and a little crispy, while the inside stays soft and gooey with melted cheese. It’s the ultimate comfort food in a fun, spooky package.
What makes this version different from the rest? It’s the way the dough is wrapped. I learned that leaving a tiny gap at the top for the “eyes” creates a much cuter mummy face. And using a good quality string cheese makes all the difference—it melts into a creamy, stretchy center that pulls apart just like a real mummy bandage. This isn’t just another Pinterest fail waiting to happen. This is the one that works every single time.
It is the kind of snack that makes you close your eyes after the first bite. It’s comfort food reimagined for a fun holiday—faster, simpler, but with the same soul-soothing satisfaction. Perfect for impressing your kids without any stress, or turning a simple snack into something memorable.
What Ingredients You Will Need
This recipe uses simple, everyday ingredients to deliver big flavor and a fun presentation without any fuss. Most of these are probably already in your fridge or pantry right now.
- 1 can (16.3 oz) refrigerated pizza dough (I prefer Pillsbury for its consistent texture, but any brand works. Let it sit at room temperature for 10 minutes so it’s easier to stretch)
- 8 sticks string cheese (mozzarella works best. Look for the full-fat version for the best melt. I’ve tried part-skim and it doesn’t get as gooey)
- 2 tablespoons unsalted butter, melted (adds richness and helps the dough brown beautifully. You can use salted butter and just skip the extra salt)
- 1/2 teaspoon garlic powder (for that savory kick that makes these irresistible)
- 1/4 teaspoon salt (enhances all the flavors)
- 1/4 teaspoon dried parsley (optional, but adds a nice pop of green for “herbal bandages”)
- 16 candy eyes (you can find these at most grocery stores in the baking aisle, or online. I like the Wilton brand ones because they stick well)
- Marinara sauce, for dipping (use your favorite jarred kind or homemade)
For the candy eyes, you have options. If you can’t find the edible ones, you can make little dots using a black food-safe marker on a piece of white cheese, or even use small dollops of black olive slices. I’ve used both, and honestly, the candy eyes are the most fun and easiest. For the dough, I recommend the classic Pillsbury pizza dough in the refrigerated section. It’s soft, easy to work with, and bakes up perfectly golden every time. If you want a whole wheat version, you can find that too, but the texture will be slightly denser.
For a dairy-free option, use vegan mozzarella sticks and a dairy-free butter substitute. I tested this with a popular vegan cheese, and it melted okay, but the texture was a bit different. Still tasty, just not as stretchy. Also, feel free to add a pinch of Italian seasoning or red pepper flakes to the melted butter for extra flavor.
Equipment Needed
You don’t need any fancy gadgets for this recipe. Just a few basic kitchen tools that you probably already own.
- Baking sheet (a standard half-sheet pan works perfectly. Line it with parchment paper for easy cleanup)
- Parchment paper (non-stick and makes cleanup a breeze. You can use a silicone baking mat too)
- Sharp knife or pizza cutter (for cutting the dough into strips. A pizza cutter makes it faster)
- Pastry brush (for brushing the melted butter on the dough. A silicone one is easiest to clean)
- Small bowl (for mixing the melted butter and seasonings)
- Ruler (optional, but helpful if you want perfectly even strips. I usually just eyeball it)
If you don’t have a pastry brush, you can use the back of a spoon to spread the butter. It’s not as neat, but it works. For the knife, a sharp chef’s knife will do the job. I’ve used a dull one before, and it just squished the dough. Trust me, a sharp blade makes all the difference.
Preparation Method
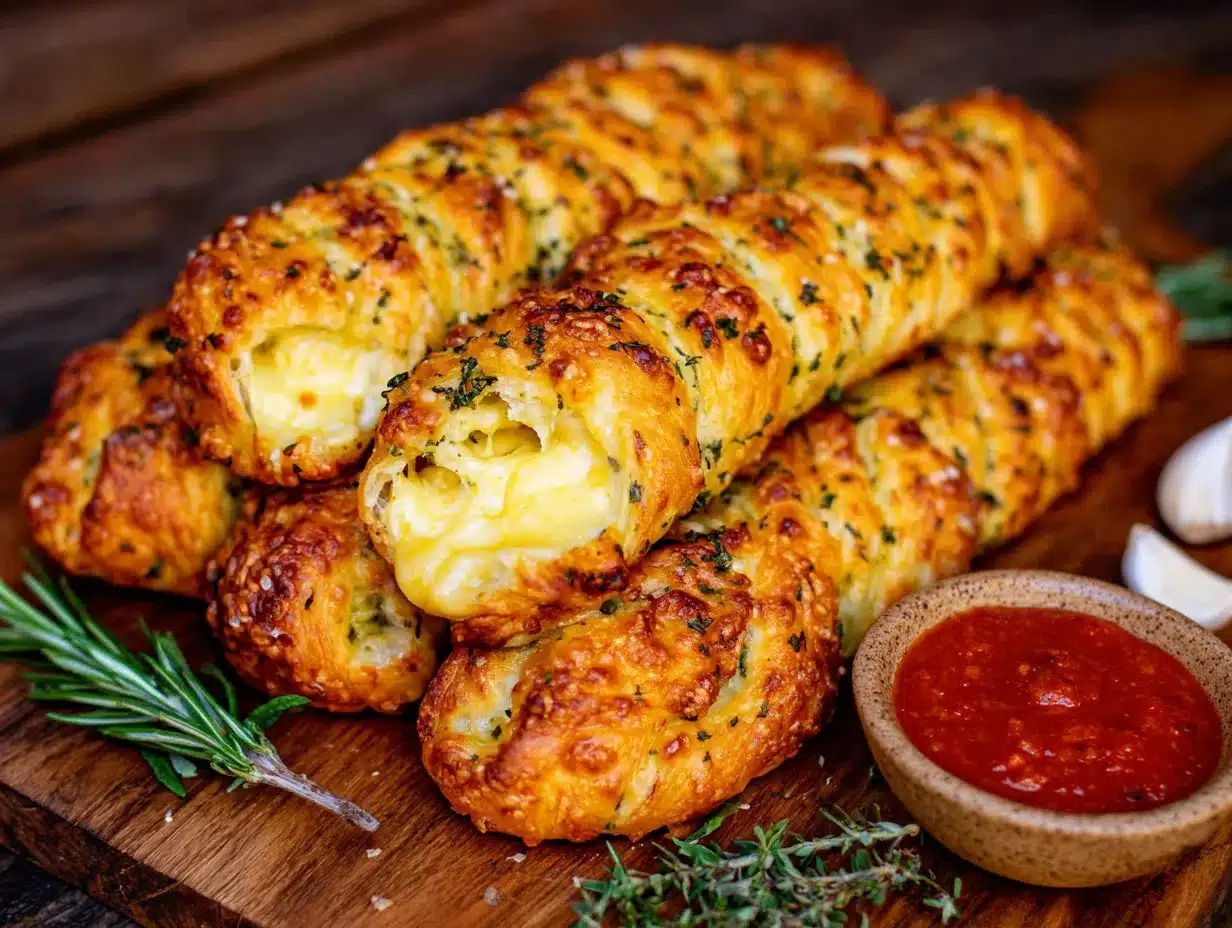
These mummy breadsticks come together so quickly. Here’s the step-by-step process that I’ve perfected through trial and error.
- Preheat your oven to 400°F (200°C). Line a baking sheet with parchment paper. This is crucial—don’t skip the parchment, or the cheese might stick.
- Prepare the dough. Unroll the pizza dough onto a clean, lightly floured surface. Use your hands or a rolling pin to stretch it into a rough rectangle, about 12×8 inches. Don’t worry about perfection. A little unevenness adds character.
- Cut the dough into strips. Using a sharp knife or pizza cutter, slice the dough lengthwise into 16 even strips, each about 1/2-inch wide. I count them as I go to make sure I have enough. If some are a bit wonky, that’s okay. They’ll still look like mummy bandages.
- Wrap the cheese sticks. Take one string cheese stick and place it at one end of a dough strip. Gently wrap the dough strip around the cheese, overlapping slightly as you go, like you’re wrapping a bandage. Leave a small gap at the top for the eyes. Repeat with the remaining cheese and dough strips. I usually wrap them all at once on the baking sheet to keep things moving.
- Place on the baking sheet. Arrange the wrapped mummies on the prepared baking sheet, leaving about 2 inches of space between each one. They will puff up a bit, so give them room to breathe.
- Make the butter wash. In a small bowl, mix the melted butter, garlic powder, salt, and dried parsley (if using). Stir until combined.
- Brush the mummies. Using a pastry brush, generously brush the butter mixture over each mummy. Make sure to get into all the little crevices. This is what gives them that beautiful golden color and savory flavor.
- Bake. Place the baking sheet in the preheated oven and bake for 10-12 minutes, or until the dough is golden brown and the cheese is melted and bubbly. Keep an eye on them after 10 minutes. Ovens vary, and you want them golden, not burnt.
- Add the eyes. Remove the baking sheet from the oven. Let the mummies cool on the pan for 2-3 minutes—this is important because the candy eyes will melt if the breadsticks are too hot. Then, gently press two candy eyes into the exposed cheese at the top of each mummy. I use a pair of tweezers for precision, but your fingers work just fine.
- Serve immediately. These are best enjoyed warm, when the cheese is still gooey and the dough is soft. Serve with a bowl of warm marinara sauce for dipping.
A quick note: If the dough feels too sticky while you’re cutting it, lightly dust your knife with flour. And if you’re worried about the eyes falling off, you can use a tiny dab of frosting or cream cheese as “glue” to stick them on. I’ve done this for parties where the mummies needed to look perfect.
Cooking Tips & Techniques
I’ve made these mummy breadsticks more times than I can count, and I’ve learned a few things the hard way. Let me save you some trouble.
The biggest mistake is over-wrapping the dough. I did this the first time, and the mummies ended up looking like thick, doughy blobs with no visible cheese. You want to wrap the strips loosely, with just a little bit of overlap. Think of it like a loose bandage, not a tight tourniquet. The gaps between the dough strips are what make them look like mummies, and they also allow the cheese to peek through and get all golden and bubbly.
Another common issue is the candy eyes melting. I learned this the hard way when I put the eyes on right out of the oven, and they just slid off into a puddle of black goo. Let the breadsticks cool for a solid 2-3 minutes on the baking sheet. The cheese will still be warm, but it won’t be hot enough to melt the candy. If you’re in a hurry, you can even let them cool for 5 minutes. They’ll still be delicious.
For the best texture, don’t overwork the dough. When you’re stretching it into a rectangle, use gentle hands. If you push too hard, the dough will become tough and dense. Just coax it into shape. And if the dough tears a little, don’t panic. Just patch it together with your fingers. It’s very forgiving.
Timing is everything. I like to prep the mummies on the baking sheet, then pop them in the oven right as guests arrive. That way, they come out hot and fresh. You can also prep them a few hours ahead of time and keep them in the fridge, covered with plastic wrap. Just add a minute or two to the baking time if they’re cold from the fridge.
Variations & Adaptations
One of the best things about this recipe is how easy it is to customize. Here are some variations I’ve tried and loved.
Spicy Mummies: Add 1/2 teaspoon of red pepper flakes to the melted butter mixture. It gives the breadsticks a nice little kick that pairs perfectly with the marinara. I made these for a Halloween party with a “spicy” theme, and they were a huge hit.
Herb & Garlic Mummies: Mix 1 teaspoon of dried Italian seasoning into the melted butter. The oregano and basil add a wonderful aroma that makes the kitchen smell incredible. This is my go-to version when I want something a little more sophisticated.
Cheese-Stuffed Mummies: For extra cheesiness, use two string cheese sticks per mummy. Just place them side by side before wrapping. You’ll need to use wider dough strips, so cut the dough into 8 strips instead of 16. These are decadent and perfect for serious cheese lovers.
Gluten-Free Option: Use a gluten-free pizza dough. I’ve tried this with a few different brands, and they all work, though the texture is a bit more crumbly. Just be gentle when wrapping. The bake time might be slightly shorter, so keep an eye on them.
Vegan Version: Use vegan mozzarella sticks and a dairy-free butter. I tested this with a popular vegan cheese, and it melted okay, but it wasn’t as stretchy. The flavor was still great, especially with extra garlic powder. Also, use a plant-based butter for brushing.
I once made a batch with pepperoni slices tucked under the dough strips. It gave them a little meaty surprise that my husband absolutely loved. The possibilities are endless, so feel free to get creative.
Serving & Storage Suggestions
These mummy breadsticks are best served warm, straight from the oven. The cheese is at its gooiest, and the dough is perfectly soft. I like to arrange them on a platter in a circle, with a small bowl of warm marinara sauce in the center for dipping. The contrast of the red sauce against the golden mummies is very Halloween-y.
For a complete spread, pair them with other spooky snacks like spiderweb dip or witch hat cookies. They also go great with a bowl of soup or a simple salad for a light dinner. For drinks, a glass of cold apple cider or a pumpkin spice latte is perfect.
If you have leftovers (which is rare in my house), store them in an airtight container in the refrigerator for up to 3 days. The texture will change a bit, but they’re still tasty. To reheat, place them on a baking sheet in a 350°F (175°C) oven for 5-7 minutes, or until warmed through. You can also microwave them for 20-30 seconds, but they won’t be as crispy. I don’t recommend freezing them, as the dough can become soggy when thawed.
The flavors actually hold up surprisingly well the next day. The garlic and herb notes become more pronounced, and the cheese firms up into a nice, chewy texture. They’re great for packing in lunchboxes as a fun surprise.
Nutritional Information & Benefits
Here’s the approximate nutritional breakdown for one mummy breadstick (based on 8 servings, with 2 mummies per serving). These values are estimates and will vary based on the specific brands you use.
| Nutrient | Amount per Serving (2 mummies) |
|---|---|
| Calories | 280 |
| Total Fat | 14g |
| Saturated Fat | 7g |
| Cholesterol | 30mg |
| Sodium | 680mg |
| Total Carbohydrates | 28g |
| Dietary Fiber | 1g |
| Sugars | 3g |
| Protein | 12g |
The mozzarella cheese provides a good source of calcium and protein, which helps keep you full. The garlic powder has some antioxidant properties, and the parsley adds a touch of vitamin K. While this is definitely a treat, it’s a more balanced option than many sugary Halloween snacks. You can make it a bit lighter by using a low-fat string cheese and brushing with less butter. It’s a fun indulgence that fits into a balanced diet.
If you’re watching your sodium intake, you can use a low-sodium pizza dough and skip the added salt. The cheese already has plenty of saltiness.
Conclusion
These Spooky Cheesy Mummy Breadsticks are the perfect blend of fun and delicious. They’re easy enough for a weeknight snack but impressive enough for a Halloween party. I love how they bring a smile to everyone’s face, from the youngest kids to the adults who pretend they’re too cool for holiday treats. The combination of soft, buttery dough and gooey cheese is just unbeatable.
I encourage you to make these your own. Try different seasonings, experiment with the wrapping style, or add your favorite fillings. That’s the beauty of this recipe—it’s a blank canvas for your creativity. Whether you’re a seasoned baker or a complete beginner, you can pull these off with confidence.
I’d love to hear how yours turn out! Leave a comment below and let me know if your family loved them as much as mine does. Share a photo on social media and tag me—I love seeing your creations. And if you have any questions, just ask. Happy Halloween, and happy snacking!
Frequently Asked Questions
Can I use homemade pizza dough instead of canned?
Absolutely! Homemade dough works great. Just make sure it’s rolled out to about 1/4-inch thickness before cutting into strips. You might need to adjust the baking time slightly, as homemade dough can be a bit thicker.
Can I make these ahead of time for a party?
Yes! You can assemble the mummies up to 4 hours ahead of time and keep them in the fridge, covered with plastic wrap. Bake them just before serving for the best texture. If baking from cold, add 1-2 minutes to the baking time.
What can I use instead of candy eyes?
You can use small slices of black olives, dots of black food coloring on a piece of white cheese, or even small dollops of black frosting. I’ve also used sesame seeds for a more subtle look. Get creative!
Can I freeze the baked mummy breadsticks?
I don’t recommend freezing them, as the dough can become soggy when thawed. They’re best enjoyed fresh. However, you can freeze the unbaked mummies on a baking sheet, then transfer them to a freezer bag. Bake from frozen, adding 3-5 minutes to the baking time.
How do I keep the candy eyes from falling off?
Let the breadsticks cool for 2-3 minutes after baking before adding the eyes. If they’re still falling off, you can use a tiny dab of frosting or cream cheese as “glue” to stick them on. Press gently and they should stay put.
Pin This Recipe!
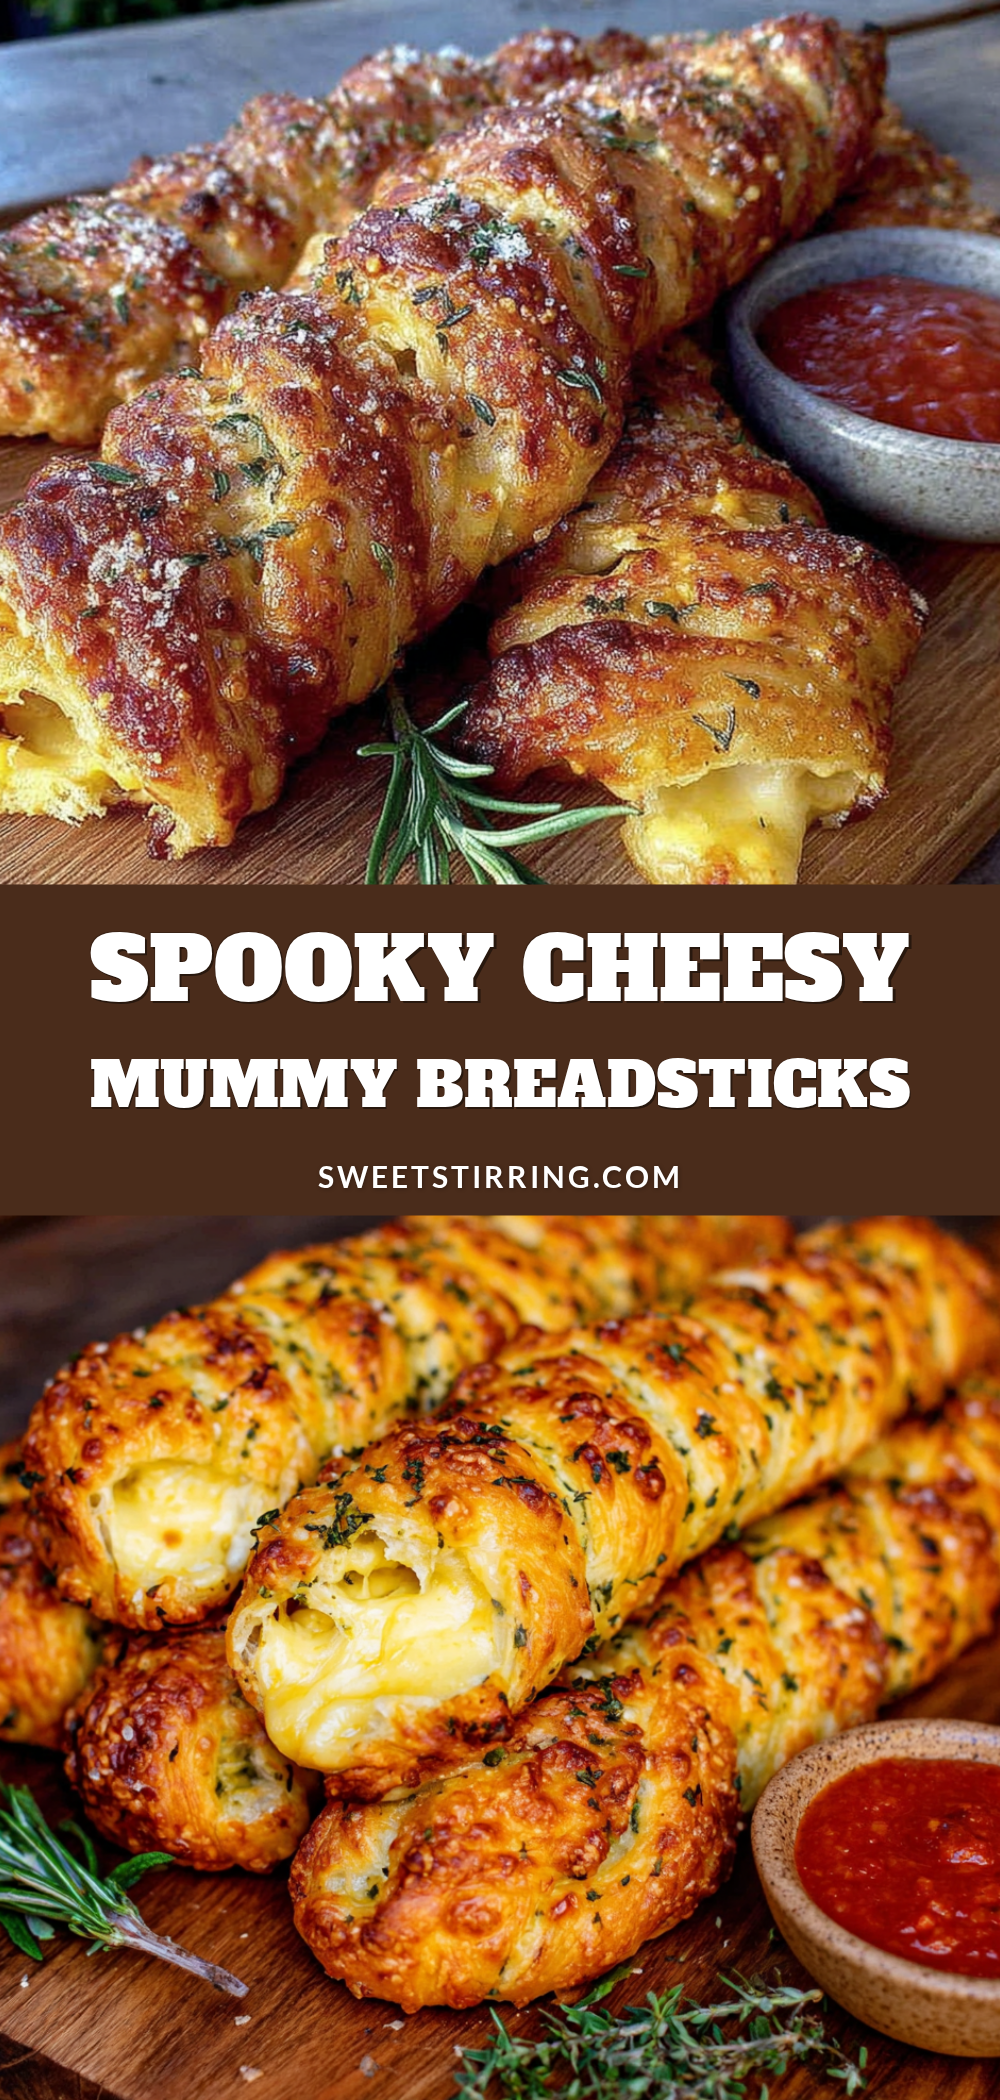
Spooky Cheesy Mummy Breadsticks: Easy Halloween Recipe

These spooky cheesy mummy breadsticks are the perfect blend of fun and delicious. They’re easy enough for a weeknight snack but impressive enough for a Halloween party, featuring soft, buttery dough wrapped around gooey cheese with cute candy eyes.
- Prep Time: 15 minutes
- Cook Time: 12 minutes
- Total Time: 27 minutes
- Yield: 8 servings (2 mummies per serving) 1x
- Category: Appetizer
- Cuisine: American
Ingredients
- 1 can (16.3 oz) refrigerated pizza dough (such as Pillsbury)
- 8 sticks string cheese (mozzarella, full-fat recommended)
- 2 tablespoons unsalted butter, melted
- 1/2 teaspoon garlic powder
- 1/4 teaspoon salt
- 1/4 teaspoon dried parsley (optional)
- 16 candy eyes
- Marinara sauce, for dipping
Instructions
- Preheat your oven to 400°F (200°C). Line a baking sheet with parchment paper.
- Unroll the pizza dough onto a clean, lightly floured surface. Stretch it into a rough rectangle, about 12×8 inches.
- Using a sharp knife or pizza cutter, slice the dough lengthwise into 16 even strips, each about 1/2-inch wide.
- Take one string cheese stick and place it at one end of a dough strip. Gently wrap the dough strip around the cheese, overlapping slightly as you go, like wrapping a bandage. Leave a small gap at the top for the eyes. Repeat with remaining cheese and dough strips.
- Arrange the wrapped mummies on the prepared baking sheet, leaving about 2 inches of space between each one.
- In a small bowl, mix the melted butter, garlic powder, salt, and dried parsley (if using). Stir until combined.
- Using a pastry brush, generously brush the butter mixture over each mummy, getting into all the crevices.
- Bake for 10-12 minutes, or until the dough is golden brown and the cheese is melted and bubbly.
- Remove from the oven and let the mummies cool on the pan for 2-3 minutes. Then, gently press two candy eyes into the exposed cheese at the top of each mummy.
- Serve immediately with warm marinara sauce for dipping.
Notes
Let the breadsticks cool for 2-3 minutes before adding candy eyes to prevent them from melting. If the dough feels sticky, lightly dust your knife with flour. For a dairy-free option, use vegan mozzarella sticks and dairy-free butter. You can prep the mummies up to 4 hours ahead and keep them in the fridge, covered with plastic wrap. Add 1-2 minutes to baking time if baking from cold.
Nutrition
- Serving Size: 2 mummies
- Calories: 280
- Sugar: 3
- Sodium: 680
- Fat: 14
- Saturated Fat: 7
- Carbohydrates: 28
- Fiber: 1
- Protein: 12
Keywords: Halloween, mummy breadsticks, cheesy breadsticks, Halloween appetizer, easy Halloween recipe, spooky snacks, pizza dough recipe, string cheese appetizer



