Love this? Save it for later!
Share the inspiration with your friends
Last Thursday afternoon, my coworker Sarah watched me fumble with a batch of stiff royal icing, her eyes twinkling but she didn’t say a word at first. Then, without much fanfare, she pulled out a small notebook from her bag and slid over a recipe for sugar cookies she swore by. “These are foolproof,” she said, “and kids actually love frosting them.” That recipe came with a quirky twist — pencil-shaped royal icing decorations perfect for back-to-school celebrations. It wasn’t handed over like a formal lesson but more like a friendly nudge to try something new before the school bell rang. Honestly, I was skeptical at first. Soft-baked sugar cookies with pencil royal icing? It sounded almost too cute to be easy.
But as I mixed the dough, I remembered how my own childhood school mornings felt—chaotic but full of excitement—and how a small sweet treat could turn an ordinary day into a special one. The cookies baked up soft, with just the right chew, and the pencil icing? Well, let me tell you, it brought a smile to everyone at the kitchen table. Maybe you’ve been there too, trying to find a simple, fun way to mark the start of a new school year. This recipe stuck with me because it’s approachable, playful, and honestly, it’s the kind of cookie that makes you want to bake again and again—not just for the kids but for that warm feeling you get from sharing something homemade. So here it is: my take on soft-baked back-to-school sugar cookies with pencil royal icing, a recipe that feels like a small celebration in every bite.
Why You’ll Love This Recipe
This recipe isn’t just another cookie tutorial tossed into the endless internet sea. After multiple tries and a few kitchen messes (who knew royal icing could get so stubborn?), I found a balance that’s both forgiving and fun. Here’s why you’ll want to bookmark it:
- Quick & Easy: Comes together in under 45 minutes, perfect for hectic mornings or last-minute after-school snacks.
- Simple Ingredients: No complicated pantry runs — most are kitchen staples like butter, sugar, and eggs.
- Perfect for Back-to-School: The pencil royal icing adds a playful touch that kids and teachers will adore for classrooms or parties.
- Crowd-Pleaser: Soft, chewy texture that’s gentle on little teeth but satisfying for adults too.
- Unbelievably Delicious: Subtle vanilla and buttery richness with just enough sweetness to keep you coming back.
What sets this recipe apart is the soft-baked texture that holds up well under the royal icing, which can sometimes crack or feel too hard. The pencil design is straightforward enough for kids to try decorating themselves, turning baking into a shared activity rather than a solo chore. Honestly, it makes the morning rush feel a little lighter, a little sweeter.
What Ingredients You Will Need
This recipe uses simple, wholesome ingredients to deliver soft, flavorful sugar cookies with smooth royal icing pencils that don’t overwhelm. Most are pantry staples, and substitutions are easy if you need them.
- For the Sugar Cookies:
- 1 cup (226 g) unsalted butter, softened (I recommend Kerrygold for creaminess)
- 1 cup (200 g) granulated sugar
- 1 large egg, room temperature
- 1 tsp pure vanilla extract (real vanilla makes a difference!)
- 2 ½ cups (312 g) all-purpose flour
- ½ tsp baking powder
- ¼ tsp salt
- For the Pencil Royal Icing:
- 3 cups (360 g) powdered sugar, sifted
- 2 large egg whites or 4 tbsp meringue powder + 6 tbsp water (for safety, I prefer meringue powder)
- ¼ tsp cream of tartar
- Food coloring: yellow, pink/red, black gel colors (AmeriColor is my go-to for vibrant shades)
- Edible markers or fine piping tips (optional for details)
If you want a gluten-free option, swapping the all-purpose flour with a cup-for-cup gluten-free blend works well. For dairy-free, you can replace butter with a vegan spread or coconut oil, but expect a slight texture change. In summer, I sometimes add a teaspoon of lemon zest to the dough for a fresh note, but it’s totally optional.
Equipment Needed
- Mixing bowls – a large one for the dough and a smaller one for the icing
- Electric hand mixer or stand mixer (makes creaming butter and beating icing much easier)
- Measuring cups and spoons for accuracy
- Baking sheets lined with parchment paper or silicone mats (prevents sticking and promotes even baking)
- Rolling pin for flattening the dough evenly
- Cookie cutters shaped like pencils or rectangles (if you don’t have pencil cutters, a simple rectangle works fine)
- Piping bags with small round tips or zip-top bags with a tiny corner snipped
- Toothpicks for fine detail work in icing
If you don’t have a rolling pin, a clean wine bottle works in a pinch (trust me, I’ve been there). For budget-friendly options, silicone mats are reusable and save on parchment paper waste. Keeping your tools clean and dry, especially for royal icing, really pays off in smooth, crack-free finishes.
Preparation Method
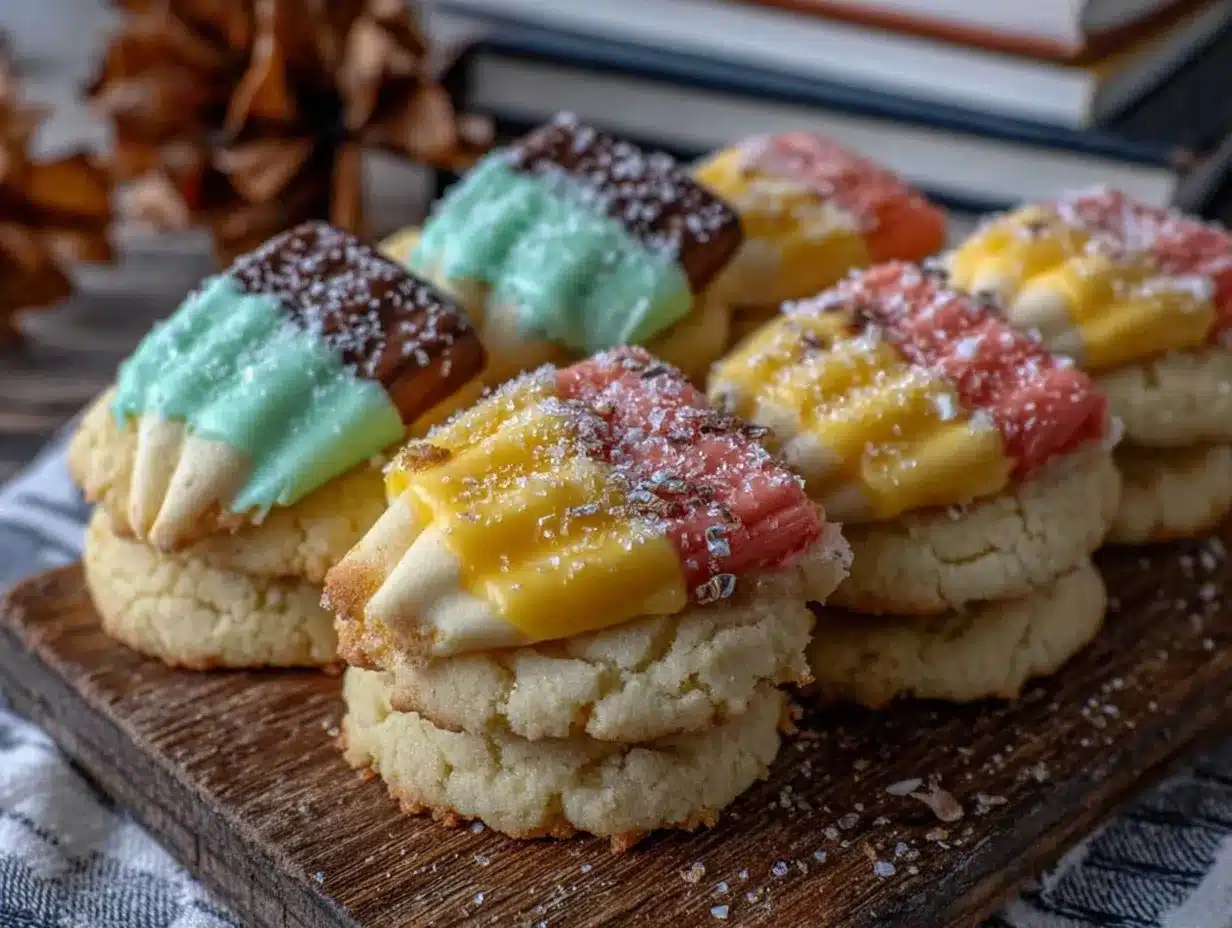
- Prepare the Dough (15 minutes): In a large bowl, cream together the softened butter and granulated sugar using a hand or stand mixer until light and fluffy—about 3 to 4 minutes. This step is key for soft cookies. Beat in the egg and vanilla extract until well combined.
- Mix Dry Ingredients: In a separate bowl, whisk together the all-purpose flour, baking powder, and salt. Gradually add the dry ingredients to the wet mixture, mixing on low speed just until combined. Overmixing can make cookies tough, so stop as soon as flour disappears.
- Chill the Dough (30 minutes): Wrap the dough in plastic wrap and refrigerate for at least 30 minutes. Chilling prevents spreading and helps maintain that soft-baked texture. If you’re in a rush, 15 minutes in the freezer works too.
- Roll and Cut (10 minutes): Preheat your oven to 350°F (175°C). On a lightly floured surface, roll the dough out to about ¼ inch (6 mm) thickness. Use pencil-shaped or rectangular cookie cutters to cut out shapes, then transfer to a parchment-lined baking sheet, leaving 1 inch (2.5 cm) between cookies.
- Bake (10-12 minutes): Bake the cookies until edges are just starting to turn golden but centers remain soft—about 10 to 12 minutes. Watch closely; overbaking dries them out. Let cool completely on a wire rack before decorating.
- Prepare Royal Icing: In a clean bowl, beat egg whites or mix meringue powder with water, then gradually add powdered sugar and cream of tartar. Beat until the icing forms stiff peaks and holds its shape (about 7–10 minutes). Divide icing into three small bowls.
- Color Your Icing: Add yellow gel coloring to one bowl for the pencil body, pink or red for the eraser, and a touch of black for the pencil tip details. Mix well but don’t add too much liquid or the icing will run.
- Decorate (20-30 minutes): Use piping bags or zip-top bags to outline and flood the pencil shapes on each cookie—yellow body first, then add pink eraser at one end, and finally use black for the tip. Let each color dry slightly before adding the next to avoid blending. For finer details, toothpicks come in handy for nudging icing or drawing lines.
- Drying Time: Allow the decorated cookies to dry at room temperature for at least 4 hours, preferably overnight, to harden the royal icing perfectly.
Tip: If your icing seems too thick, add a few drops of water, but be cautious. Too thin and it’ll spread off the cookie edges. Also, I learned that cooling cookies thoroughly before icing prevents melting and sliding, so don’t rush that part!
Cooking Tips & Techniques
Royal icing can be intimidating, but a few tricks make it manageable. First, always sift your powdered sugar to avoid lumps. When mixing, start slow to prevent a sugar cloud explosion (been there, done that). Use meringue powder instead of raw egg whites if you want safer, longer-lasting icing.
For soft-baked cookies, chilling the dough is non-negotiable. It keeps the cookies from flattening out too much. I also recommend rotating your baking sheets halfway through to ensure even baking. Watch the cookies carefully—the moment edges look set but the center still seems soft is your sweet spot.
When decorating, pipe outlines first and let them crust for a few minutes before flooding the inside. This “dam” technique keeps colors from bleeding together. If your icing cracks after drying, it might have been too thick or dried too fast. To fix this, mix a small batch with a little added water and gently smooth over cracks with a damp brush.
Lastly, multitasking by preparing icing while cookies bake saves time, but keep your icing covered with a damp cloth to prevent it from drying out mid-decorating. These steps helped me turn what felt like a finicky recipe into a dependable one that’s also fun for kids to join in on.
Variations & Adaptations
- Gluten-Free Version: Swap all-purpose flour for a gluten-free baking blend. Add a teaspoon of xanthan gum if your blend doesn’t already contain it for better texture.
- Flavor Twists: Add a teaspoon of almond or lemon extract to the dough for a subtle flavor change. You can also fold in finely chopped nuts or mini chocolate chips for texture variations.
- Different Icing Styles: Instead of royal icing, try a simple cream cheese glaze colored similarly for a softer finish. Or use edible markers for the pencil details if you want to skip piping altogether.
- Non-Dairy Adaptation: Use vegan butter and substitute egg with a flax egg (1 tbsp ground flaxseed + 3 tbsp water) for an egg-free cookie base. For the icing, meringue powder is essential here.
- Seasonal Flair: For holiday or autumn themes, swap pencil shapes for apples or leaves and adjust icing colors accordingly.
Personally, I once made these cookies with my niece using a mix of edible markers and piping. She loved drawing little faces on the pencils, making the activity more about creativity than perfection. It’s a great way to involve kids who may find piping too tricky.
Serving & Storage Suggestions
These soft-baked sugar cookies are best served at room temperature, allowing the royal icing to be perfectly set but not too hard. They make charming additions to lunchboxes or back-to-school parties, paired nicely with a cold glass of milk or a warm cup of tea.
Store cookies in an airtight container at room temperature for up to 3 days. To keep the royal icing crisp, place parchment paper between layers. If you need to store them longer, freezing is an option—freeze undecorated cookies and ice after thawing for best texture.
Reheat gently if you prefer warm cookies—about 10 seconds in the microwave does the trick, but beware of melting icing. Over time, the flavors meld and the cookie softens a little more, which some folks really enjoy. I find these cookies hold up well enough to bake on a Sunday and enjoy throughout the week.
Nutritional Information & Benefits
Each soft-baked back-to-school sugar cookie with pencil royal icing contains approximately 150-180 calories, depending on size and icing thickness. They provide a quick energy boost, mainly from carbohydrates and sugars, which can be helpful for active kids.
The key ingredients like butter and eggs contribute some protein and essential fats, while vanilla extract adds flavor without calories. This recipe is naturally gluten-containing but can be adapted for gluten-free diets. It’s not low-sugar but offers a balanced treat when enjoyed in moderation.
From a wellness perspective, making these cookies at home means you control ingredient quality—no preservatives or artificial additives. Plus, baking together encourages mindful eating and family bonding, which is just as nourishing as the treats themselves.
Conclusion
Soft-baked back-to-school sugar cookies with pencil royal icing aren’t just a recipe; they’re a little celebration wrapped in buttery, sweet bites. They combine simplicity with charm, making them accessible for bakers of all skill levels and a perfect way to mark the new school year with a smile. I love how this recipe brings people together—whether it’s kids decorating their own cookies or friends sharing a batch over coffee.
Feel free to customize the shapes, colors, and flavors to fit your family’s tastes or your own creative whims. And if you give this recipe a try, I’d love to hear how your cookies turned out or what fun twists you added. Share your experience in the comments below — your feedback always brightens my day!
Here’s to sweet starts and happy baking!
FAQs
Can I make these sugar cookies ahead of time?
Yes, you can prepare the dough up to 2 days in advance and keep it refrigerated. Decorated cookies can be stored in an airtight container for 3 days at room temperature.
What if I don’t have pencil-shaped cookie cutters?
No worries! Use a rectangle or small oval cutter and decorate with the pencil royal icing design. Freehand cutting with a knife also works fine.
Is it safe to use raw egg whites in royal icing?
Using meringue powder is a safer alternative to raw egg whites and is recommended, especially for kids. Meringue powder also makes icing more stable and easier to work with.
How do I keep royal icing from cracking?
Keep your icing at the right consistency (not too thick), avoid drying in direct sunlight or drafts, and allow it to dry slowly at room temperature for best results.
Can kids help decorate these cookies?
Absolutely! The soft-baked texture is kid-friendly, and the pencil royal icing design is simple enough for little hands to try. Just supervise with piping bags or offer edible markers for fun.
For more fun baking ideas, you might enjoy my crispy garlic chicken recipe or the easy homemade chocolate chip cookies that are a family favorite too.
Pin This Recipe!
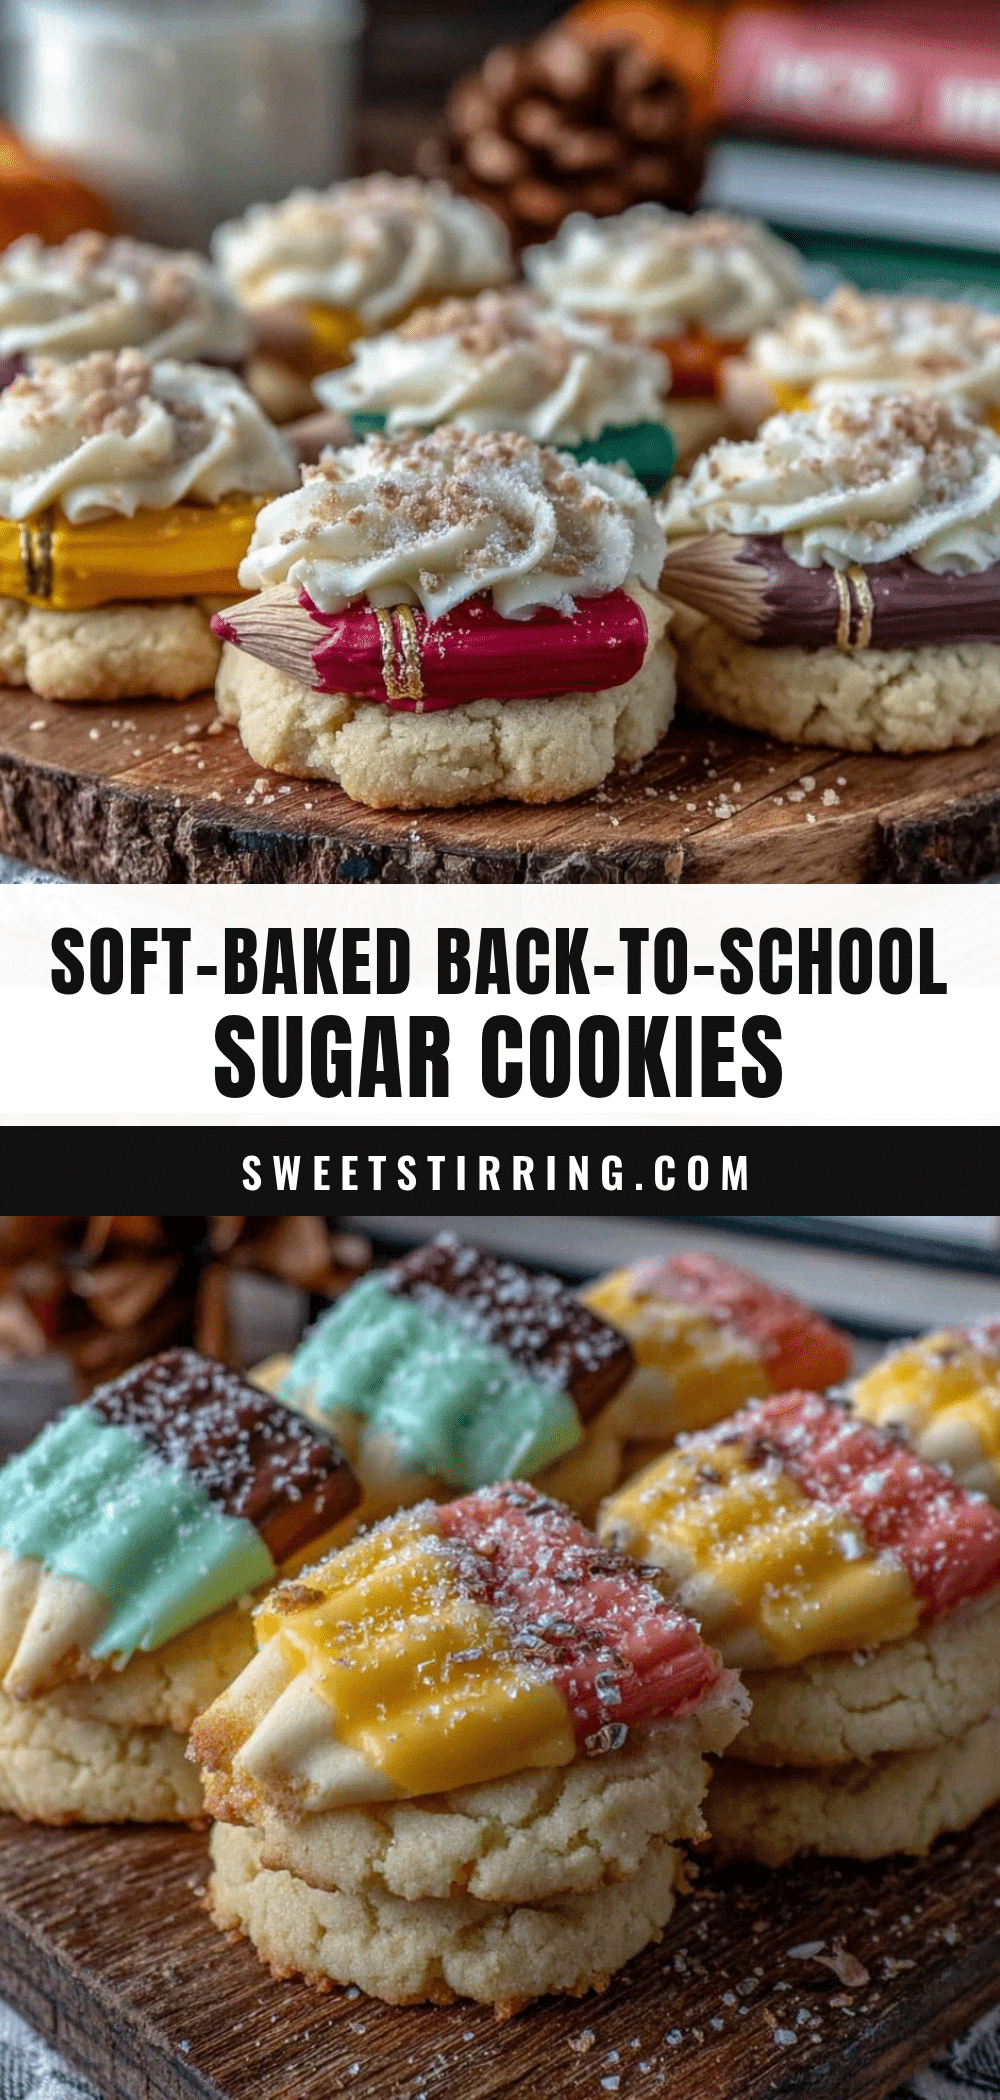
Soft-Baked Back-to-School Sugar Cookies with Pencil Royal Icing

Soft-baked sugar cookies with a chewy texture, decorated with playful pencil-shaped royal icing perfect for back-to-school celebrations. Easy and fun for kids to decorate.
- Prep Time: 15 minutes
- Cook Time: 10-12 minutes
- Total Time: 55-57 minutes
- Yield: 24 cookies 1x
- Category: Dessert
- Cuisine: American
Ingredients
- 1 cup (226 g) unsalted butter, softened
- 1 cup (200 g) granulated sugar
- 1 large egg, room temperature
- 1 tsp pure vanilla extract
- 2 ½ cups (312 g) all-purpose flour
- ½ tsp baking powder
- ¼ tsp salt
- 3 cups (360 g) powdered sugar, sifted
- 2 large egg whites or 4 tbsp meringue powder + 6 tbsp water
- ¼ tsp cream of tartar
- Food coloring: yellow, pink/red, black gel colors
- Edible markers or fine piping tips (optional)
Instructions
- Prepare the Dough (15 minutes): In a large bowl, cream together the softened butter and granulated sugar using a hand or stand mixer until light and fluffy—about 3 to 4 minutes. Beat in the egg and vanilla extract until well combined.
- Mix Dry Ingredients: In a separate bowl, whisk together the all-purpose flour, baking powder, and salt. Gradually add the dry ingredients to the wet mixture, mixing on low speed just until combined.
- Chill the Dough (30 minutes): Wrap the dough in plastic wrap and refrigerate for at least 30 minutes. Alternatively, chill in the freezer for 15 minutes if in a rush.
- Roll and Cut (10 minutes): Preheat oven to 350°F (175°C). On a lightly floured surface, roll dough to about ¼ inch (6 mm) thickness. Use pencil-shaped or rectangular cookie cutters to cut shapes and transfer to parchment-lined baking sheets, spacing 1 inch apart.
- Bake (10-12 minutes): Bake until edges start to turn golden but centers remain soft. Let cool completely on a wire rack before decorating.
- Prepare Royal Icing: Beat egg whites or mix meringue powder with water, then gradually add powdered sugar and cream of tartar. Beat until stiff peaks form (7–10 minutes). Divide icing into three bowls.
- Color Your Icing: Add yellow gel coloring for pencil body, pink/red for eraser, and black for pencil tip details. Mix well without adding too much liquid.
- Decorate (20-30 minutes): Use piping bags or zip-top bags to outline and flood pencil shapes—yellow body first, then pink eraser, then black tip. Let each color dry slightly before adding the next. Use toothpicks for fine details.
- Drying Time: Allow decorated cookies to dry at room temperature for at least 4 hours or preferably overnight to harden the royal icing.
Notes
Chill dough to prevent spreading and maintain soft texture. Use meringue powder for safer royal icing. Let cookies cool completely before icing to prevent melting. Pipe outlines first and let crust before flooding to avoid color bleeding. Store decorated cookies in airtight container with parchment between layers for up to 3 days. Freeze undecorated cookies for longer storage.
Nutrition
- Serving Size: 1 cookie
- Calories: 165
- Sugar: 15
- Sodium: 90
- Fat: 7
- Saturated Fat: 4
- Carbohydrates: 25
- Protein: 2
Keywords: sugar cookies, royal icing, back-to-school, soft-baked cookies, pencil cookies, kids baking, easy cookies, homemade cookies