Love this? Save it for later!
Share the inspiration with your friends
My neighbor, Mrs. Gable, watched me struggle to get the edges of my cookies crisp enough for the first time. She didn’t offer advice or critique my technique. Instead, she simply handed me a small jar of her own homemade cinnamon sugar blend and pointed to the oven dial. The recipe arrived through that quiet exchange, not through a formal lesson. I was trying to capture the essence of fall in a cookie, but my batches kept coming out soft and cakey. It was frustrating, honestly. I wanted that specific snap when you bite down, followed by the chewy center that defines a perfect snickerdoodle. Mrs. Gable’s approach was different. She emphasized the role of the cream of tartar and the precise temperature of the dough. I adapted her method to include pumpkin puree, creating a spiced, vibrant twist on the classic. This version respects the traditional texture while embracing the seasonal flavors we all love. It’s not about exoticizing the origin; it’s about sharing a tool that works. I mean, who doesn’t want a cookie that holds its shape? You know that feeling when you pull a tray from the oven and they look just right? That’s the moment this recipe lives for. I keep making it because it bridges the gap between my love for pumpkin everything and my obsession with texture. It’s a reminder that sometimes the best cooking tips come from the people watching us from the porch.
Why You’ll Love This Recipe
Let’s face it, not all pumpkin cookies are created equal. Many turn out dense, like eating a moist brick. This version is different because it relies on the chemical reaction of cream of tartar to create that signature tangy, crisp exterior. I’ve tested dozens of ratios to ensure the pumpkin adds moisture without compromising the crunch. This isn’t just another fall bake; it’s a carefully balanced experiment in texture and spice.
- Quick & Easy: The dough comes together in under 20 minutes. You can have warm cookies on the table before the sun goes down. It’s perfect for busy weeknights or when you need a last-minute dessert for guests.
- Simple Ingredients: You likely have everything in your pantry. Flour, sugar, spices, pumpkin, and cream of tartar. No fancy grocery trips needed. It’s accessible cooking at its finest.
- Perfect for the Holidays: These cookies are ideal for holiday potlucks, office parties, or cozy dinners. The orange hue looks festive on any plate, and the aroma fills the house with warmth.
- Crowd-Pleaser: Kids love the sweet cinnamon sugar coating, while adults appreciate the subtle spice depth. They are always a hit, whether served with coffee or milk.
- Unbelievably Delicious: The texture is next-level. Crispy edges that give way to a soft, chewy center. The pumpkin adds a natural sweetness that balances the tangy cookie base.
What makes this recipe stand out is the technique. By chilling the dough and rolling it generously in the cinnamon-sugar mix, you ensure that crackly top. It’s the kind of cookie that makes you close your eyes after the first bite. It’s comfort food reimagined—seasonal, faster, but with the same soul-soothing satisfaction. It’s perfect for impressing guests without stress, turning a simple Tuesday into a memorable evening.
What Ingredients You Will Need
This recipe uses simple, wholesome ingredients to deliver bold flavor and satisfying texture without the fuss. The key is quality control on your spices and the consistency of your pumpkin puree. Using canned pure pumpkin (not pie filling) is crucial for the right moisture balance. Here is what you need to gather.
- For the Cookie Base:
- All-purpose flour (2 1/2 cups / 315g) – The foundation. Don’t substitute with cake flour, or you’ll lose structure.
- Baking soda (1 teaspoon / 5g) – Helps the cookies spread and brown.
- Cream of tartar (1 teaspoon / 5g) – This is the secret weapon. It provides the tang and helps create the crisp texture.
- Salt (1/2 teaspoon / 3g) – Balances the sweetness and enhances the spices.
- Unsalted butter, softened (1 cup / 226g) – Room temperature butter creams better. I recommend using a high-fat butter like Plugrá for richer flavor.
- Granulated sugar (1 cup / 200g) – For the dough. White sugar helps with crispness.
- Light brown sugar, packed (1 cup / 200g) – Adds moisture and a caramel note. Dark brown sugar works too if you want a deeper flavor.
- Pumpkin puree (1/2 cup / 120g) – Must be 100% pure pumpkin. Ensure it is drained of excess water if it seems watery.
- Vanilla extract (1 teaspoon / 5ml) – Pure vanilla is best. Artificial can taste chemical.
- For the Cinnamon Sugar Coating:
- Granulated sugar (1/2 cup / 100g) – For rolling.
- Ground cinnamon (2 tablespoons / 12g) – Use fresh cinnamon for the best aroma. Old cinnamon loses its punch.
- Ground nutmeg (1/2 teaspoon / 1g) – A tiny bit adds warmth. Don’t overdo it.
If you need substitutions, you can use almond flour for a gluten-free option, though the texture will be more crumbly. Swap dairy-free butter if needed, but note it may affect spread. For the pumpkin, you can use butternut squash puree, but it is less sweet. Always taste your spices before baking; they make or break this recipe.
Which Pumpkin Should I Use?
Stick with canned pure pumpkin puree. It has a consistent moisture content that is calibrated for baking. Fresh pumpkin can be too watery, leading to flat, greasy cookies. If you must use fresh, roast the pumpkin and press the puree through a sieve to remove excess liquid.
Can I Use Maple Syrup Instead of Sugar?
While tempting, maple syrup adds liquid. This recipe relies on dry sugar for the crisp exterior. If you swap, you will need to adjust the flour, which complicates the balance. Stick to granulated and brown sugar for the best results.
Equipment Needed
You don’t need a fancy kitchen to make these cookies. A few basic tools will get the job done efficiently. A stand mixer or hand mixer is helpful for creaming the butter and sugars. It saves time and ensures the mixture is light and fluffy, which incorporates air for a better texture. If you don’t have one, a sturdy wooden spoon and some elbow grease work fine.
You’ll need large baking sheets. Line them with parchment paper or silicone baking mats. I prefer silicone mats because they provide even heating and prevent sticking. You can reuse them, which is better for the environment. Avoid using dark non-stick pans if possible, as they can cause the bottoms to burn. Light-colored aluminum sheets are ideal.
A cookie scoop is essential for uniform size. Uniformity ensures even baking. If one cookie is bigger than the rest, it will burn while the smaller one is undercooked. A 1.5-tablespoon scoop is perfect. You’ll also need a small bowl for the cinnamon sugar mixture and a wire rack for cooling. Cooling racks allow air to circulate, keeping the cookies crisp. If you leave them on the hot pan, steam will make them soggy. Keep your tools clean and ready. It makes the process feel more like a ritual and less like a chore. Budget-friendly options include basic glass mixing bowls and a simple metal whisk. You don’t need to spend a fortune to bake well.
Preparation Method
Let’s get into the nitty-gritty. This process is straightforward, but attention to detail matters. Follow these steps carefully for the best results.
- Prepare the Dry Ingredients: In a medium bowl, whisk together the flour, baking soda, cream of tartar, and salt. Whisking ensures that the leavening agents are evenly distributed. This prevents pockets of bitterness or uneven rising. Set this aside. (Time: 2 minutes)
- Cream the Butter and Sugars: In a large bowl, beat the softened butter, granulated sugar, and brown sugar together. Use a mixer on medium speed for about 3-4 minutes. The mixture should look pale and fluffy. This step incorporates air, which is crucial for the cookie’s structure. If the butter is too cold, it won’t cream properly. If it’s too warm, the cookies will spread too much. Aim for room temperature. (Time: 4 minutes)
- Add Pumpkin and Vanilla: Add the pumpkin puree and vanilla extract to the butter mixture. Beat on low speed just until combined. Do not overmix. You want a smooth, orange-hued dough. Scrape down the sides of the bowl to ensure everything is incorporated. (Time: 2 minutes)
- Combine Wet and Dry: Gradually add the dry ingredients to the wet mixture. Mix on low speed until just combined. Overmixing develops gluten, which can make the cookies tough. Stop as soon as you see no streaks of flour. The dough should be soft but manageable. (Time: 3 minutes)
- Chill the Dough: Cover the bowl with plastic wrap and refrigerate for at least 30 minutes. Chilling solidifies the fat, which helps the cookies hold their shape during baking. It also allows the flavors to meld. If you skip this, the cookies may spread into flat discs. (Time: 30 minutes)
- Preheat and Prep: Preheat your oven to 350°F (175°C). Line your baking sheets with parchment paper. In a small bowl, mix the cinnamon and sugar for the coating. (Time: 5 minutes)
- Roll and Coat: Scoop the dough into balls, about 1.5 tablespoons each. Roll each ball in the cinnamon-sugar mixture until fully coated. Place them on the baking sheets, spacing them about 2 inches apart. They will spread. (Time: 10 minutes)
- Bake: Bake for 10-12 minutes. The edges should be set and lightly golden, but the centers should still look slightly soft. They will firm up as they cool. Do not overbake. (Time: 12 minutes)
- Cool: Let the cookies cool on the baking sheet for 5 minutes. Then transfer them to a wire rack to cool completely. This step is critical for achieving the final crisp texture. (Time: 15 minutes)
If the dough sticks to your hands, wet them slightly. It helps prevent sticking. If the cookies spread too much, your oven might be too hot. Try lowering the temperature by 25°F next time.
How Do I Know When They Are Done?
Look for set edges. The centers will still be soft, but they shouldn’t look raw. They will continue to cook on the hot pan. If they are golden brown all over, they are likely overbaked.
Can I Freeze the Dough?
Yes! Scoop the dough balls and freeze them on a tray. Once solid, transfer to a bag. Bake from frozen, adding 1-2 minutes to the bake time. This is great for meal prepping.
Cooking Tips & Techniques
I’ve made my fair share of baking errors, and some of them were spectacular failures. One time, I used melted butter instead of softened, and I ended up with flat, greasy pancakes that looked like cookies. Lesson learned: butter temperature matters. Always aim for soft but not melted. Your fingers should leave an indent without sinking all the way through.
Another common mistake is using old spices. Cinnamon and nutmeg lose their potency over time. If your spices are more than six months old, replace them. Fresh spices make a huge difference in flavor intensity. I keep mine in a cool, dark place to preserve their oils.
Timing is everything. Watch your cookies closely during the last few minutes. Ovens vary, so what works in one kitchen might not work in another. If your cookies are browning too fast on the bottom, try using a double layer of parchment paper. This insulates the bottom and prevents burning.
Multitasking can help, but don’t rush. Let the dough chill. Rushing this step leads to spread. Also, don’t overcrowd the baking sheet. Cookies need space to spread. If they touch, they will merge into one giant cookie. Give them room to breathe.
For consistent results, weigh your ingredients. Volume measurements can vary. A cup of flour can be packed or loose, leading to different amounts. A kitchen scale ensures accuracy. It’s a small investment that pays off in better cookies.
Finally, let the cookies cool completely before storing. Warm cookies in a container create condensation, which makes them soggy. Patience is a virtue in baking. Wait for that perfect crisp snap.
Why Is My Dough Too Sticky?
Pumpkin adds moisture. If your dough is too sticky to handle, chill it for another 15 minutes. If it’s still too soft, add a tablespoon of flour at a time. Don’t add too much, or the cookies will be dry.
Can I Bake One Batch at a Time?
Yes, but rotate the pan halfway through for even browning. If you bake multiple sheets, swap their positions in the oven.
Variations & Adaptations
This recipe is versatile. You can tweak it to suit your tastes or dietary needs. Here are a few ideas I’ve tried.
White Chocolate Chip: Fold in 1/2 cup of white chocolate chips after mixing the dough. The sweetness pairs beautifully with the pumpkin spice. It’s a crowd favorite, especially with kids.
Pecan Praline: Add 1/2 cup of chopped pecans to the dough. Toast them first for extra flavor. The crunch complements the soft cookie interior. It’s like a dessert salad in cookie form.
Gluten-Free: Use a 1:1 gluten-free flour blend. Add a teaspoon of xanthan gum if the blend doesn’t include it. The texture will be slightly more crumbly but still delicious.
Vegan: Use dairy-free butter and egg replacer. The pumpkin acts as a binder, so you might not need an egg. However, the texture will be different. Test a small batch first.
Spice Variation: Add a pinch of cardamom or allspice to the dry ingredients. It adds a complex, warm flavor. I tried this once and loved the depth it added.
Maple Glaze: Drizzle a simple glaze made from powdered sugar and maple syrup over the cooled cookies. It adds a shiny finish and extra sweetness. It’s great for holidays.
These variations keep the recipe fresh. Try one each season to see what you like best. Cooking is about experimentation. Don’t be afraid to adjust.
How Do I Store Leftovers?
Store in an airtight container at room temperature for up to 5 days. Add a slice of bread to the container to keep them soft, or leave them out to keep them crisp.
Can I Make These Vegan?
Yes, using dairy-free butter and an egg replacer. The pumpkin helps bind the dough, so it works well. The texture may be slightly denser.
Serving & Storage Suggestions
These cookies are best served at room temperature. They are too soft to eat hot, but too crisp to eat cold. Serve them with a cold glass of milk or a hot cup of coffee. The contrast is perfect. For parties, arrange them on a tiered stand. The orange color pops against white plates.
To store, place them in an airtight container. Layer them with parchment paper to prevent sticking. They will stay fresh for up to a week. If they lose their crispness, place them in a 300°F oven for 5 minutes to re-crisp.
For freezing, bake the cookies and let them cool completely. Place them in a freezer-safe bag. They will last for up to 3 months. Thaw at room temperature before serving. The texture holds up well after freezing.
Flavors develop over time. The spices meld together after a day or two. Some people prefer them on the second day. Try it and see. It’s a matter of preference.
When serving, garnish with a light dusting of cinnamon. It looks professional and adds aroma. Pair with caramel sauce for a decadent touch. Or keep it simple with just the cookie.
How Long Do They Last?
Up to 5 days at room temperature. Up to 3 months in the freezer. Always check for staleness before serving.
What Drinks Pair Well?
Milk, coffee, or chai tea. The spices in the cookie complement these drinks perfectly. It’s a classic combination.
Nutritional Information & Benefits
These cookies are a treat, but they do offer some nutritional benefits. Pumpkin is rich in vitamin A, which supports eye health and immune function. It’s also a good source of fiber. The spices like cinnamon have anti-inflammatory properties.
Each cookie contains approximately 120 calories. This varies based on size and exact ingredients. The fat content comes from the butter. The sugar provides quick energy. It’s a balanced indulgence.
They are not gluten-free unless you use a gluten-free flour blend. They contain dairy. If you have allergies, use substitutions. Always check labels.
From a wellness perspective, I enjoy these as a mindful treat. They are not a health food, but they provide comfort. Balance is key. Enjoy them in moderation.
The pumpkin adds natural sweetness, reducing the need for extra sugar. It’s a small win for your health. Plus, the fiber helps with digestion.
Remember, nutrition is personal. Listen to your body. These cookies are a joy, not a chore. Enjoy them guilt-free.
Are They Healthy?
They are a moderate treat. Pumpkin adds nutrients, but the sugar and butter keep them indulgent. Enjoy as part of a balanced diet.
Can I Reduce the Sugar?
You can reduce the sugar by 10-20%, but it may affect texture. The sugar helps with crispness. Adjust carefully.
Conclusion
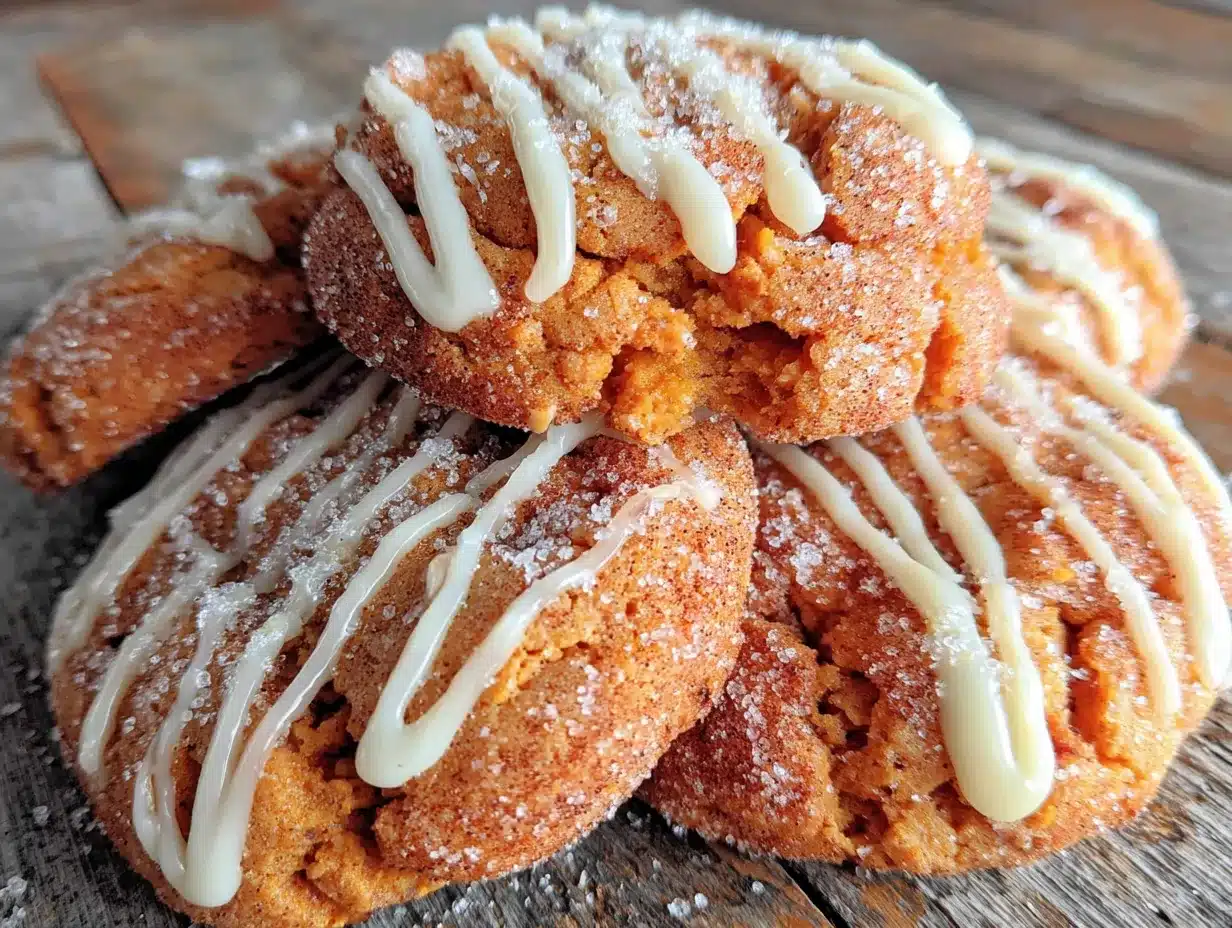
This Crispy Iced Pumpkin Snickerdoodle Cookie is a winner. It combines the best of both worlds: the tangy crunch of a snickerdoodle and the seasonal warmth of pumpkin. It’s easy to make, uses simple ingredients, and tastes incredible. I love it because it brings people together. Whether you share it with neighbors or enjoy it alone with a book, it’s a moment of joy.
I encourage you to try it. Customize it with your favorite add-ins. Make it your own. Share your results with me. I love hearing about your baking adventures. Leave a comment below with your tips or questions.
Happy baking! May your kitchen be filled with the scent of cinnamon and pumpkin. Enjoy every bite.
FAQs
Why are my cookies flat?
Your butter might have been too warm, or you didn’t chill the dough. Ensure the butter is softened but not melted, and chill the dough for at least 30 minutes.
Can I use fresh pumpkin?
Yes, but you must roast and drain it well. Excess water will make the cookies soggy. Canned puree is more reliable for beginners.
How do I store them to keep them crisp?
Store in an airtight container at room temperature. Do not refrigerate, as moisture will make them soft. If they soften, re-crisp in the oven.
Can I double the recipe?
Yes, but mix in batches to ensure even creaming. Chill the dough in portions to fit in your fridge.
What if I don’t have cream of tartar?
You can omit it, but the cookies will be less tangy and crisp. You can add 1/2 teaspoon of lemon juice, but the texture will change.
Pin This Recipe!
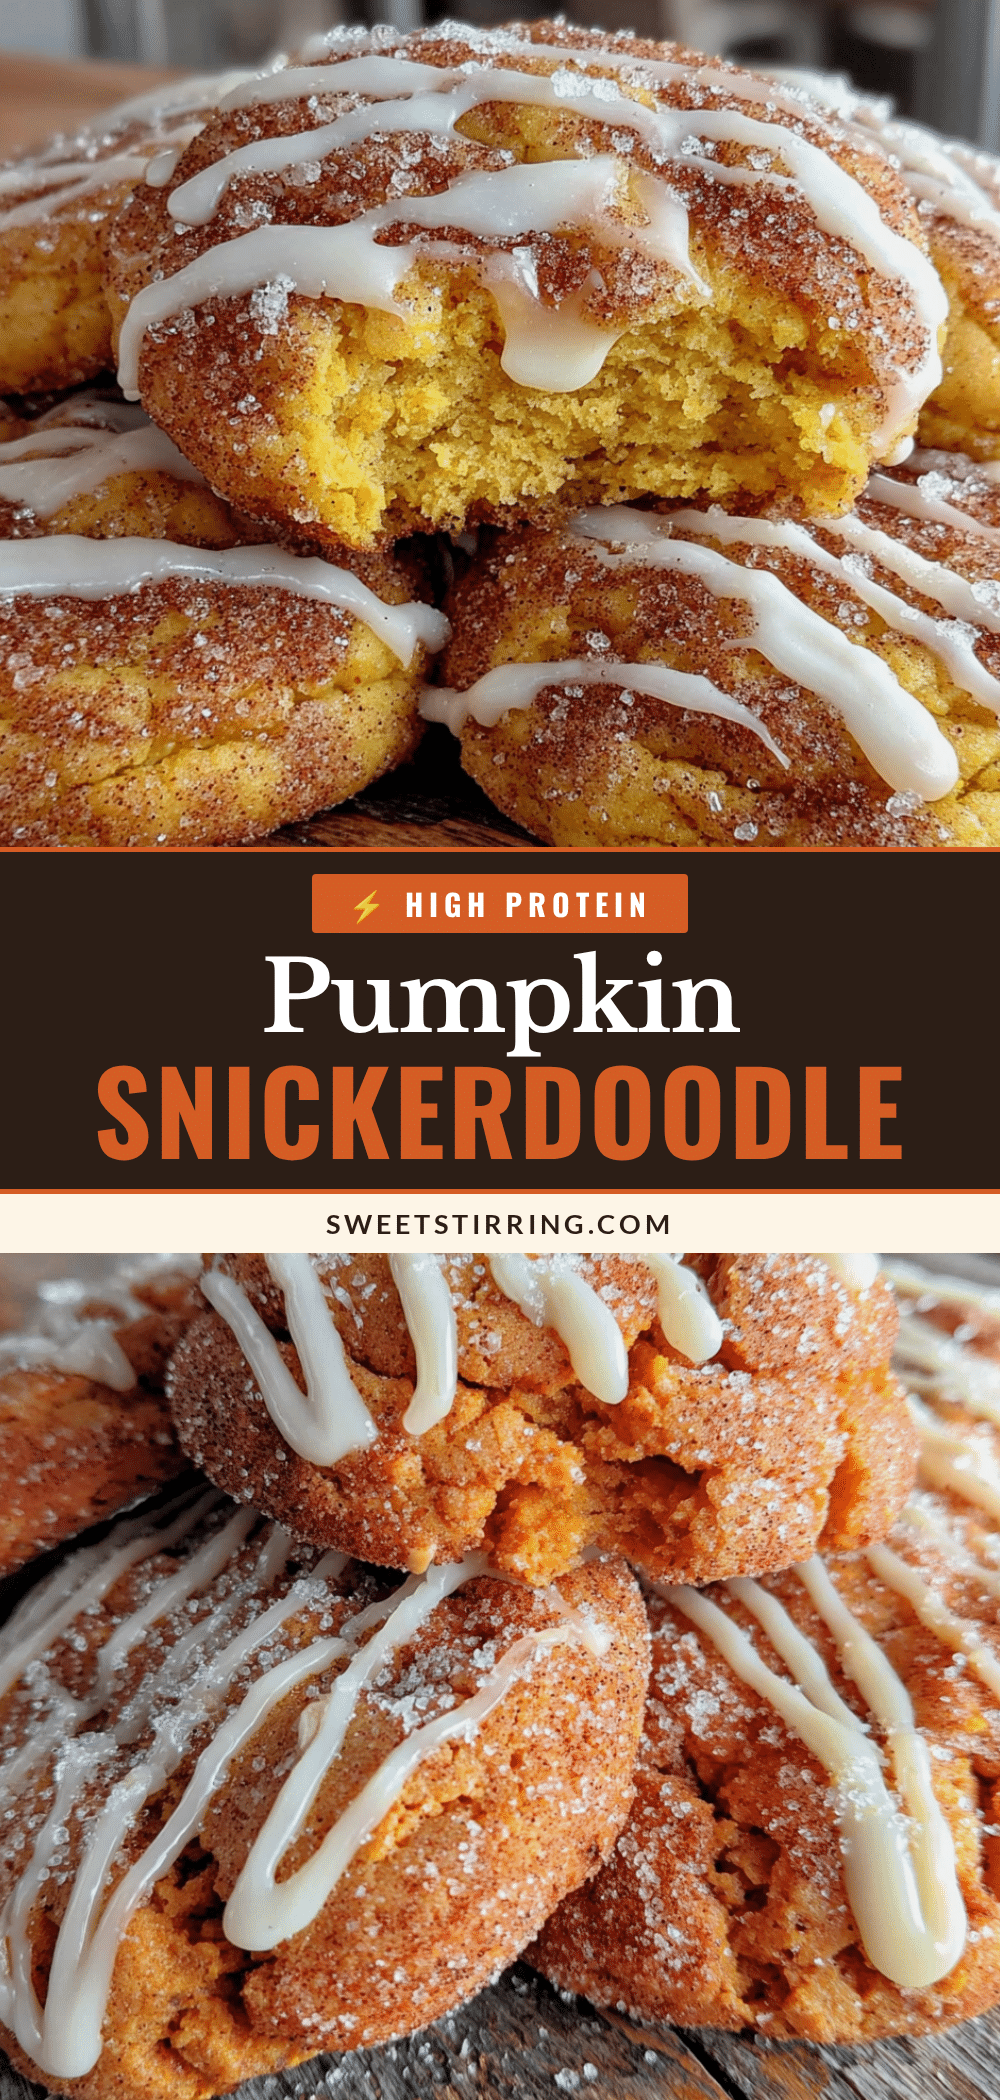
Crispy Iced Pumpkin Snickerdoodle Cookies
These cookies combine the tangy, crisp exterior of a classic snickerdoodle with the warm, seasonal flavors of pumpkin. Chilled dough and a cinnamon-sugar coating ensure a perfect snap with a chewy center.
- Prep Time: 20 minutes
- Cook Time: 12 minutes
- Total Time: 30 minutes
- Yield: Approximately 24 cookies 1x
- Category: Dessert
- Cuisine: American
Ingredients
- 2 1/2 cups all-purpose flour
- 1 teaspoon baking soda
- 1 teaspoon cream of tartar
- 1/2 teaspoon salt
- 1 cup unsalted butter, softened
- 1 cup granulated sugar
- 1 cup light brown sugar, packed
- 1/2 cup pumpkin puree
- 1 teaspoon vanilla extract
- 1/2 cup granulated sugar (for coating)
- 2 tablespoons ground cinnamon
- 1/2 teaspoon ground nutmeg
Instructions
- In a medium bowl, whisk together the flour, baking soda, cream of tartar, and salt. Set aside.
- In a large bowl, beat the softened butter, granulated sugar, and brown sugar on medium speed for 3-4 minutes until pale and fluffy.
- Add the pumpkin puree and vanilla extract to the butter mixture. Beat on low speed just until combined.
- Gradually add the dry ingredients to the wet mixture, mixing on low speed until just combined. Do not overmix.
- Cover the bowl with plastic wrap and refrigerate the dough for at least 30 minutes.
- Preheat oven to 350°F (175°C). Line baking sheets with parchment paper or silicone mats.
- In a small bowl, mix the coating sugar, cinnamon, and nutmeg.
- Scoop dough into 1.5-tablespoon balls and roll them in the cinnamon-sugar mixture until fully coated.
- Place cookies on baking sheets, spacing them about 2 inches apart.
- Bake for 10-12 minutes until edges are set and lightly golden, but centers still look slightly soft.
- Let cookies cool on the baking sheet for 5 minutes, then transfer to a wire rack to cool completely.
Notes
Use canned pure pumpkin puree, not pie filling. Ensure butter is softened but not melted. Chilling the dough is crucial for texture. If cookies spread too much, ensure oven temperature is accurate. Store in an airtight container at room temperature.
Nutrition
- Serving Size: 1 cookie
- Calories: 120
- Sugar: 12
- Sodium: 150
- Fat: 5
- Saturated Fat: 3
- Carbohydrates: 18
- Fiber: 1
- Protein: 1
Keywords: pumpkin cookies, snickerdoodle, holiday baking, fall recipes, crisp cookies, cinnamon sugar, pumpkin puree, easy dessert