Love this? Save it for later!
Share the inspiration with your friends
I wasn’t expecting cooking advice from a plumber, but there I was, standing in the hardware aisle at three in the afternoon, listening to Gary explain exactly how to make the crispiest chicken tenders I’d ever eaten. My kitchen sink had been dripping for two days, and honestly, I was more focused on getting a new washer than discussing poultry. But Gary, who had the kind of calm confidence that comes from fixing things for thirty years, just kept talking while he rang up my purchase. “You gotta use the air fryer,” he said, handing me my change. “And don’t you dare skip the buttermilk soak.”
I nodded politely, paid for my washer, and absolutely forgot about Gary’s chicken wisdom until three weeks later. It was the night before the big game, and I was staring at a pack of chicken breasts in my fridge with absolutely no plan. I had friends coming over, chips and dip on the counter, and that familiar panic of needing something impressive but not having time to fuss. That’s when I remembered Gary. The plumber. The man who fixed my sink and apparently also held the secret to game day greatness.
So I tried his method. I soaked the chicken, seasoned it generously, and let my air fryer do the heavy lifting. The result? Golden, crunchy tenders that made everyone at the party forget about the football for a solid ten minutes. Someone actually asked if I’d ordered them from a restaurant. I just smiled and said, “Nope, just a tip from my plumber.” Honestly, that recipe changed how I approach game day platters forever. It’s the kind of food that disappears before halftime, and I’m pretty sure Gary would be proud.
Why You’ll Love This Recipe
These crispy air fryer chicken tenders aren’t just another finger food for your game day spread. They’re the result of multiple rounds of testing, a few kitchen mishaps, and that one perfect batch that made me text every friend I have. Let me tell you why this recipe stands out from the crowd.
- Quick & Easy: From start to finish, you’re looking at about 25 minutes. That’s faster than ordering delivery, and way more satisfying. Perfect for when guests are on their way and you need something substantial on the table.
- Simple Ingredients: No weird specialty items here. You probably have most of these in your pantry right now. The buttermilk is the only thing you might need to grab, and honestly, you can make a quick substitute with regular milk and lemon juice.
- Perfect for Game Day: These tenders are built for sharing. They’re sturdy enough for dipping, easy to eat with one hand while holding a drink, and they stay crispy way longer than oven-baked versions.
- Crowd-Pleaser: I’ve served these to picky kids, health-conscious friends, and serious meat lovers. Every single person goes back for seconds. There’s something about that crunchy coating that just hits different.
- Unbelievably Delicious: The texture is what gets me every time. The outside is shatteringly crispy, almost like a fried chicken crust, but the inside stays juicy and tender. That buttermilk soak does something magical to the meat.
What makes this recipe different from all the other air fryer chicken tender recipes out there? It’s the technique. Most recipes skip the buttermilk brine or use a boring breadcrumb coating. I’ve combined a quick soak with a seasoned flour-and-panko mixture that creates layers of crunch. Plus, I figured out the exact cooking time that gives you golden perfection without drying out the chicken. It’s not just another version—it’s the version I’d serve to anyone who thinks air fryer chicken is bland.
This recipe is the kind that makes you close your eyes after the first bite. It’s comfort food reimagined—healthier than deep-frying, faster than traditional oven baking, but with the same soul-soothing satisfaction. Perfect for impressing guests without stress, or turning a simple game day gathering into something memorable.
What Ingredients You Will Need
This recipe uses simple, wholesome ingredients to deliver bold flavor and satisfying texture without the fuss. Most of these are pantry staples, which makes this recipe incredibly accessible for last-minute game day prep.
For the Chicken
- 1.5 pounds chicken breast tenders (or boneless skinless chicken breasts, cut into strips about 1 inch wide)
- 1 cup buttermilk (adds tenderness and tang; use whole or low-fat)
- 1 teaspoon salt (for the brine)
- ½ teaspoon black pepper
For the Coating
- 1 cup all-purpose flour
- 1 cup panko breadcrumbs (these are non-negotiable for maximum crunch; I prefer Kikkoman brand for the flakiest texture)
- 1 teaspoon garlic powder
- 1 teaspoon onion powder
- 1 teaspoon paprika (smoked paprika adds a lovely depth if you have it)
- ½ teaspoon cayenne pepper (optional, for heat; adjust based on your crowd)
- 1 teaspoon dried oregano
- ½ teaspoon dried thyme
- ½ teaspoon salt
- ¼ teaspoon black pepper
For Cooking
- Olive oil spray (or any high-heat cooking spray; avocado oil works great too)
Ingredient Tips & Substitutions: If you don’t have buttermilk, mix 1 cup of regular milk with 1 tablespoon of lemon juice or white vinegar. Let it sit for 5 minutes, and you’ve got a perfect substitute. For a gluten-free option, swap the all-purpose flour with a 1:1 gluten-free flour blend and use gluten-free panko. I’ve tried this with almond flour, and while it works, the texture isn’t quite as crispy. I recommend sticking with panko for that authentic crunch.
When choosing chicken, look for tenders that are roughly the same size so they cook evenly. If you’re using whole chicken breasts, slice them into uniform strips. I’ve learned the hard way that uneven pieces mean some get overcooked while others are underdone. Not a good look on game day.
Equipment Needed
You don’t need a professional kitchen to make these tenders, but having the right tools makes the process smoother. Here’s what you’ll need:
- Air Fryer: Any model works, but basket-style air fryers give the best results for even cooking. I use a Cosori 5.8-quart, and it handles a full batch perfectly. If you have an oven-style air fryer, just make sure to flip the tenders halfway through.
- Large Mixing Bowls: You’ll need one for the buttermilk brine and one for the coating mixture. Glass or stainless steel works best.
- Tongs: Essential for transferring the chicken from the wet to dry ingredients without making a mess. Silicone-tipped tongs won’t scratch your air fryer basket.
- Shallow Dish or Pie Plate: For the coating mixture. A wide, shallow dish makes dredging much easier than a deep bowl.
- Cooling Rack: Optional but helpful. Placing the coated tenders on a rack while you finish the rest allows the coating to set, which improves crispiness.
- Meat Thermometer: If you want to be precise, an instant-read thermometer ensures your chicken reaches 165°F internally. I’ve been cooking chicken for years, and I still use mine every time.
Budget-Friendly Options: Don’t have an air fryer? You can bake these tenders in a conventional oven at 400°F for 15-18 minutes, flipping halfway. They won’t be quite as crispy, but they’re still delicious. No cooling rack? Just use a plate lined with paper towels. Your kitchen doesn’t need to be fancy to make great food.
Preparation Method
Making these crispy air fryer chicken tenders is straightforward, but following the steps in order makes a big difference. Trust me, I’ve tried skipping steps, and it never ends well.
- Brine the Chicken: In a large bowl, combine the buttermilk, 1 teaspoon salt, and ½ teaspoon black pepper. Add the chicken tenders, making sure they’re fully submerged. Cover and refrigerate for at least 30 minutes, or up to 4 hours. This step is crucial—the buttermilk tenderizes the meat and helps the coating stick. I once rushed this step and ended up with patchy, sad-looking tenders. Don’t be like me.
- Prepare the Coating: In a shallow dish, whisk together the flour, panko breadcrumbs, garlic powder, onion powder, paprika, cayenne (if using), oregano, thyme, ½ teaspoon salt, and ¼ teaspoon black pepper. Mix until everything is evenly distributed. The smell at this point is incredible—like a promise of what’s to come.
- Set Up Your Dredging Station: Place your bowl of brined chicken, the coating dish, and a clean plate or cooling rack nearby. This assembly line approach saves time and keeps your kitchen from looking like a flour bomb went off.
- Coat the Chicken: Working with one tender at a time, let the excess buttermilk drip off slightly, then place it in the coating mixture. Press firmly so the coating adheres, then flip and press again. Shake off any excess and place the coated tender on your rack or plate. Repeat with all the tenders. Your fingers will get messy—that’s normal. I keep a small bowl of water nearby to rinse off the buildup.
- Let the Coating Set: Once all tenders are coated, let them rest for 5-10 minutes. This allows the coating to adhere better and results in a crispier finish. Use this time to preheat your air fryer to 400°F (200°C) for 3 minutes.
- Spray the Basket: Lightly spray the air fryer basket with olive oil spray. This prevents sticking and helps the tenders brown evenly. Don’t skip this—I learned the hard way when my first batch stuck like glue.
- Arrange the Tenders: Place the coated tenders in the air fryer basket in a single layer. Don’t overcrowd! They need space for hot air to circulate. Depending on your air fryer size, you may need to cook in batches. I usually do 6-8 tenders per batch in my 5.8-quart model.
- Spray and Cook: Lightly spray the tops of the tenders with olive oil spray. This helps them develop that golden, crispy crust. Cook at 400°F (200°C) for 8 minutes. Flip each tender using tongs, spray the other side lightly, and cook for another 4-6 minutes, until the internal temperature reaches 165°F (74°C) and the coating is deep golden brown.
- Rest Before Serving: Transfer the cooked tenders to a clean plate or wire rack. Let them rest for 2-3 minutes before serving. This allows the juices to redistribute and keeps the coating from getting soggy on the plate.
Sensory Cues: Your kitchen should smell like a dreamy combination of garlic, paprika, and toasted breadcrumbs by the time the first batch finishes. The tenders should look deeply golden with visible texture from the panko. When you tap one with a fork, you should hear a satisfying crunch. If the coating looks pale, give them another minute or two.
Cooking Tips & Techniques
Over the years, I’ve made plenty of mistakes with air fryer chicken tenders. Here are the lessons I learned so you don’t have to repeat them.
Don’t Skip the Buttermilk Soak: I know it takes extra time, but this step makes a real difference. The acidity in buttermilk breaks down the chicken proteins, resulting in tender, juicy meat. Without it, your tenders will be drier and the coating won’t stick as well. If you’re truly short on time, even 15 minutes helps, but 30 minutes is the sweet spot.
Shake Off Excess Coating: It’s tempting to pile on as much coating as possible, but too much creates a thick, doughy layer that doesn’t crisp properly. After dredging, give each tender a gentle shake to remove loose flour. You want a thin, even coating that crisps up beautifully.
Don’t Overcrowd the Basket: This is the number one mistake I see people make. If you cram too many tenders in the basket, they’ll steam instead of crisp. You’ll end up with sad, soggy chicken. Cook in batches if needed—it’s worth the extra few minutes.
Flip Halfway Through: Air fryers cook from the top down, so flipping ensures even browning on both sides. I use tongs and work quickly to keep the heat inside the basket. Your tenders will thank you.
Use a Meat Thermometer: Chicken is done at 165°F, but visual cues can be misleading. I’ve pulled out tenders that looked perfectly golden only to find they were undercooked inside. A $10 thermometer saves you from serving raw chicken to your guests. Trust me on this one.
Keep Warm in the Oven: If you’re making a big batch for a party, keep the cooked tenders warm in a 200°F oven on a wire rack set over a baking sheet. This maintains crispiness without overcooking. I’ve held them this way for up to 30 minutes with great results.
Variations & Adaptations
One of the best things about this recipe is how easily it adapts to different tastes and dietary needs. Here are some variations I’ve tried and loved.
Spicy Buffalo Tenders: After cooking, toss the tenders in your favorite buffalo sauce mixed with a tablespoon of melted butter. Serve with blue cheese or ranch dressing for dipping. This version disappeared fastest at my last game day party.
Parmesan Herb Tenders: Add ⅓ cup of grated Parmesan cheese and 2 tablespoons of fresh chopped parsley to the coating mixture. The Parmesan adds a salty, nutty flavor that pairs beautifully with the herbs. I use this version when I want something a little more sophisticated.
Gluten-Free Tenders: Use a 1:1 gluten-free flour blend instead of all-purpose flour, and swap the panko for gluten-free panko or crushed pork rinds for a low-carb option. The pork rind version is surprisingly delicious and extra crispy.
Honey Mustard Glazed Tenders: Mix 2 tablespoons of honey with 2 tablespoons of Dijon mustard. Brush this mixture onto the tenders during the last 2 minutes of cooking. The glaze caramelizes slightly and adds a sweet-tangy kick that’s irresistible.
Air Fryer Chicken Tenders for Meal Prep: Make a double batch and store the cooked tenders in the fridge for up to 4 days. They’re perfect for salads, wraps, or quick lunches. Just reheat in the air fryer at 350°F for 3-4 minutes to restore crispiness.
Kid-Friendly Version: Skip the cayenne pepper and reduce the garlic powder to ½ teaspoon. My nephew, who is notoriously picky, devours these with ketchup. Sometimes I cut the tenders into smaller, nugget-sized pieces for little hands.
Serving & Storage Suggestions
These chicken tenders are incredibly versatile when it comes to serving. Here’s how I like to present them for maximum impact.
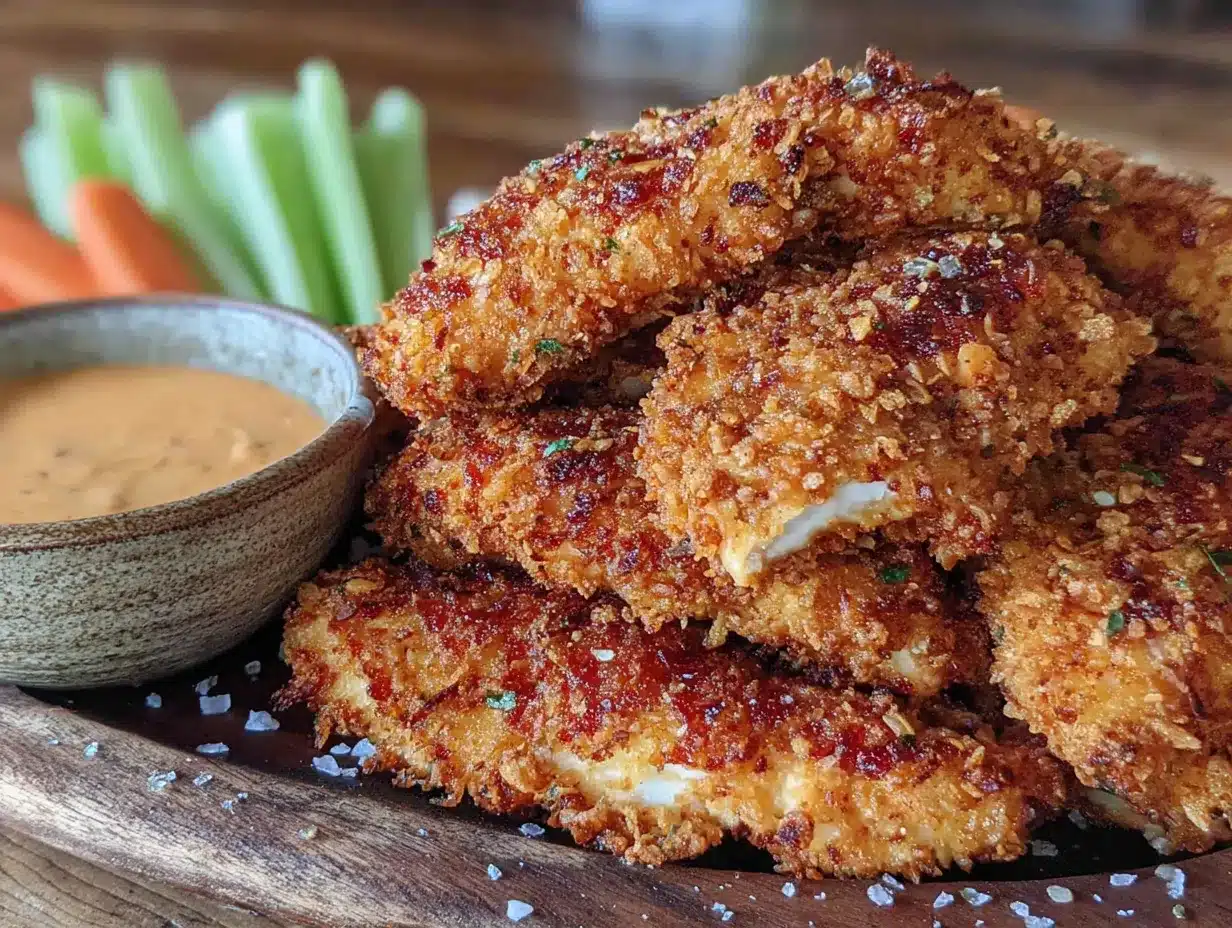
Serving Temperature & Presentation: Serve the tenders immediately after cooking for the crispiest texture. Arrange them on a large platter lined with parchment paper or a clean kitchen towel to absorb any excess oil. Garnish with fresh parsley or chopped chives for a pop of color. For game day, I like to serve them on a wooden board alongside other finger foods.
Dipping Sauces: The right sauce takes these tenders to another level. My go-to lineup includes:
- Classic ranch dressing
- Honey mustard (homemade is best: 2 parts mayo, 1 part Dijon, 1 part honey)
- Spicy sriracha mayo (mix mayo with sriracha to taste)
- Sweet chili sauce for a tangy kick
- Blue cheese dressing for buffalo-style tenders
Complementary Dishes: These tenders pair beautifully with classic game day sides. Try them with crispy french fries, onion rings, coleslaw, or a simple green salad. For a full platter, add celery and carrot sticks, pickle spears, and plenty of napkins.
Storage Instructions: Store leftover tenders in an airtight container in the refrigerator for up to 4 days. To maintain crispiness, place a paper towel in the container to absorb moisture. Don’t stack them too high, or they’ll get squished.
Reheating Methods: The air fryer is your best friend for reheating. Preheat to 350°F and cook for 3-4 minutes, flipping halfway. The microwave will make them soggy, so avoid it if possible. If you’re in a rush, a toaster oven works well too.
Freezing Instructions: These tenders freeze beautifully. Arrange cooked and cooled tenders on a baking sheet in a single layer and freeze until solid (about 2 hours). Transfer to a freezer-safe bag or container for up to 3 months. To reheat, cook from frozen in the air fryer at 375°F for 8-10 minutes, flipping halfway. They’ll taste almost as good as fresh.
Flavor Development: While these tenders are best fresh, I’ve noticed that the flavors meld and deepen after a day in the fridge. The spices become more pronounced, and the chicken stays tender. They’re actually excellent cold on a salad the next day.
Nutritional Information & Benefits
These crispy air fryer chicken tenders are a healthier alternative to deep-fried versions without sacrificing flavor or texture. Here’s a rough nutritional breakdown per serving (about 4-5 tenders):
| Nutrient | Amount per Serving |
|---|---|
| Calories | 380 |
| Protein | 35g |
| Fat | 12g |
| Saturated Fat | 3g |
| Carbohydrates | 32g |
| Fiber | 2g |
| Sugar | 4g |
| Sodium | 680mg |
Health Benefits: Chicken breast is an excellent source of lean protein, which supports muscle health and keeps you feeling full. The buttermilk soak adds calcium and probiotics. By using an air fryer instead of deep-frying, you reduce the fat content significantly while still achieving that satisfying crunch. The spices in the coating—garlic powder, paprika, oregano—contain antioxidants and anti-inflammatory properties.
Dietary Considerations: This recipe can be made gluten-free with simple substitutions (see variations section). It’s naturally low in sugar and can be part of a balanced meal plan. For a lower-sodium version, reduce the salt in both the brine and coating. If you’re watching your carb intake, the pork rind coating variation is an excellent low-carb option.
Potential Allergens: This recipe contains dairy (buttermilk) and gluten (flour and panko). For dairy-free, use the buttermilk substitute with milk and lemon juice, or try unsweetened almond milk with a splash of vinegar. For egg-free, this recipe already works without eggs.
Conclusion
These crispy air fryer chicken tenders have become my go-to for game day platters, and I honestly can’t imagine hosting without them anymore. They’re quick enough for a weeknight dinner, impressive enough for a party, and delicious enough to make everyone ask for the recipe. The combination of that buttermilk brine and seasoned panko coating creates something truly special—crunchy on the outside, tender on the inside, and packed with flavor in every bite.
What I love most about this recipe is how adaptable it is. You can spice it up, keep it mild, add cheese, or go gluten-free. It’s a recipe that bends to your needs without losing its soul. And honestly, that’s the kind of cooking I believe in—food that works for you, not the other way around.
I’d love to hear how these turn out for you! Did you try a variation? Find a new favorite dipping sauce? Have a game day story of your own? Drop a comment below and share your experience. And if you’re looking for more crowd-pleasing recipes, check out my spicy buffalo chicken dip—it’s another game day favorite that disappears fast.
Here’s to crispy tenders, good friends, and the best kind of game day chaos. Happy cooking!
Frequently Asked Questions
Can I use frozen chicken tenders for this recipe?
I don’t recommend using frozen chicken tenders straight from the bag. They release too much water as they cook, which makes the coating soggy. If you only have frozen tenders, thaw them completely in the refrigerator, pat them dry with paper towels, and then proceed with the buttermilk brine. The texture won’t be quite as good as fresh, but it’ll still be tasty.
Why are my air fryer chicken tenders not crispy?
There are a few common culprits. First, make sure you’re not overcrowding the basket—the tenders need space for hot air to circulate. Second, check that your air fryer is fully preheated before adding the chicken. Third, don’t skip the oil spray; it helps the coating brown and crisp. Finally, let the coated tenders rest for 5-10 minutes before cooking so the coating sets properly.
How do I keep the coating from falling off?
The key is the buttermilk brine and proper dredging technique. Let the excess buttermilk drip off before coating, and press the coating firmly onto the chicken. Letting the coated tenders rest for 5-10 minutes before cooking also helps the coating adhere. If you’re still having trouble, try dipping the coated tenders back in the buttermilk and then in the coating again for a double coating.
Can I make these ahead of time for a party?
Absolutely! You can prepare the chicken tenders up to the coating step and refrigerate them on a baking sheet for up to 24 hours before cooking. Just cover them with plastic wrap. When you’re ready to serve, cook them straight from the fridge—you may need to add 1-2 minutes to the cooking time. Alternatively, cook them fully and reheat in the air fryer at 350°F for 3-4 minutes just before serving.
What’s the best way to reheat leftover chicken tenders?
The air fryer is hands down the best method. Preheat to 350°F and cook the tenders for 3-4 minutes, flipping halfway. They’ll come out almost as crispy as fresh. A toaster oven works well too, but avoid the microwave—it makes the coating soft and rubbery. If you’re reheating a large batch, spread them in a single layer on a baking sheet and warm them in a 350°F oven for 8-10 minutes.
Pin This Recipe!
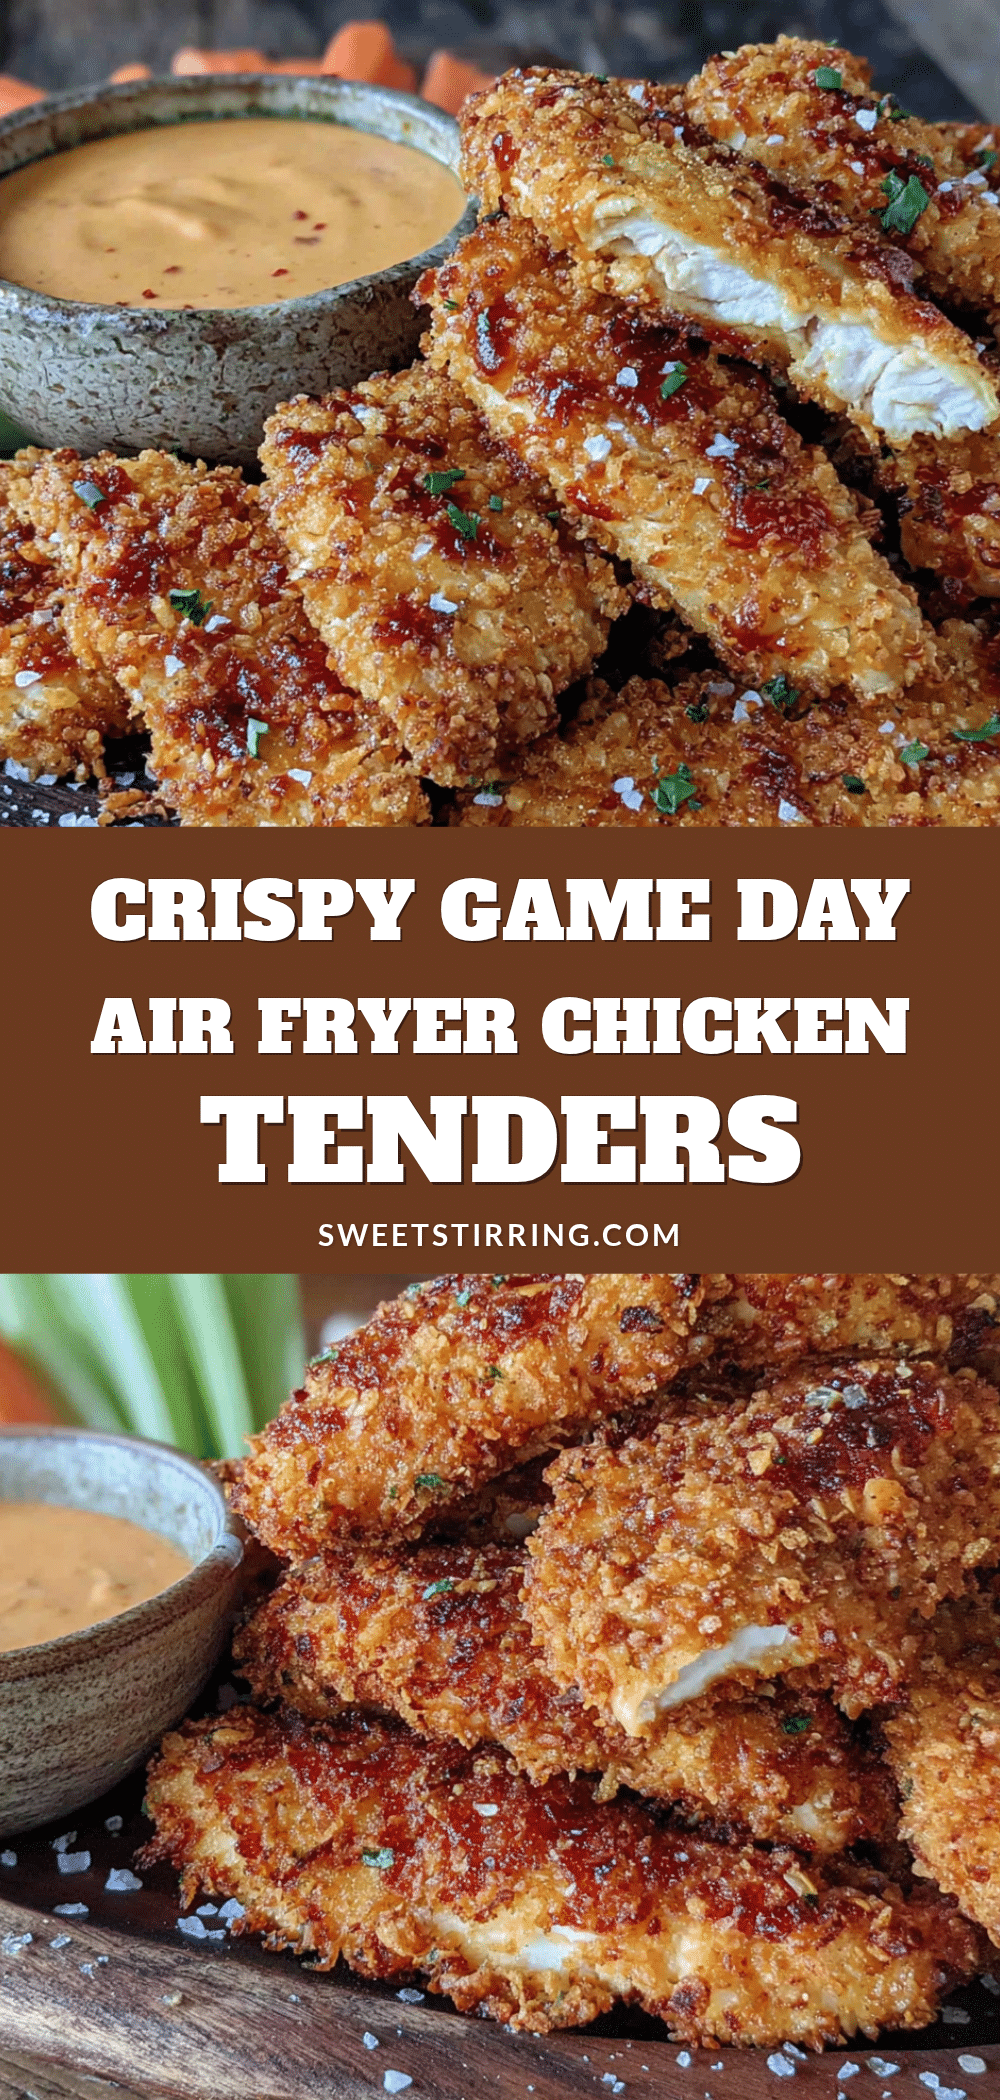
Crispy Air Fryer Chicken Tenders: Easy Game Day Platter Recipe
These crispy air fryer chicken tenders are quick, easy, and perfect for game day. A buttermilk brine and seasoned panko coating create a shatteringly crunchy exterior with juicy, tender meat inside.
- Prep Time: 15 minutes
- Cook Time: 12 minutes
- Total Time: 27 minutes
- Yield: 4 servings 1x
- Category: Main Course
- Cuisine: American
Ingredients
- 1.5 pounds chicken breast tenders (or boneless skinless chicken breasts, cut into strips about 1 inch wide)
- 1 cup buttermilk
- 1 teaspoon salt
- ½ teaspoon black pepper
- 1 cup all-purpose flour
- 1 cup panko breadcrumbs
- 1 teaspoon garlic powder
- 1 teaspoon onion powder
- 1 teaspoon paprika (smoked paprika adds depth)
- ½ teaspoon cayenne pepper (optional, for heat)
- 1 teaspoon dried oregano
- ½ teaspoon dried thyme
- ½ teaspoon salt
- ¼ teaspoon black pepper
- Olive oil spray (or any high-heat cooking spray)
Instructions
- Brine the Chicken: In a large bowl, combine the buttermilk, 1 teaspoon salt, and ½ teaspoon black pepper. Add the chicken tenders, making sure they’re fully submerged. Cover and refrigerate for at least 30 minutes, or up to 4 hours.
- Prepare the Coating: In a shallow dish, whisk together the flour, panko breadcrumbs, garlic powder, onion powder, paprika, cayenne (if using), oregano, thyme, ½ teaspoon salt, and ¼ teaspoon black pepper. Mix until evenly distributed.
- Set Up Your Dredging Station: Place your bowl of brined chicken, the coating dish, and a clean plate or cooling rack nearby.
- Coat the Chicken: Working with one tender at a time, let the excess buttermilk drip off slightly, then place it in the coating mixture. Press firmly so the coating adheres, then flip and press again. Shake off any excess and place the coated tender on your rack or plate. Repeat with all the tenders.
- Let the Coating Set: Once all tenders are coated, let them rest for 5-10 minutes. Preheat your air fryer to 400°F (200°C) for 3 minutes.
- Spray the Basket: Lightly spray the air fryer basket with olive oil spray.
- Arrange the Tenders: Place the coated tenders in the air fryer basket in a single layer. Do not overcrowd. Cook in batches if needed.
- Spray and Cook: Lightly spray the tops of the tenders with olive oil spray. Cook at 400°F (200°C) for 8 minutes. Flip each tender using tongs, spray the other side lightly, and cook for another 4-6 minutes, until the internal temperature reaches 165°F (74°C) and the coating is deep golden brown.
- Rest Before Serving: Transfer the cooked tenders to a clean plate or wire rack. Let them rest for 2-3 minutes before serving.
Notes
Don’t skip the buttermilk soak—it tenderizes the meat and helps the coating stick. Shake off excess coating to avoid a doughy layer. Do not overcrowd the air fryer basket. Flip halfway through for even browning. Use a meat thermometer to ensure chicken reaches 165°F. Keep warm in a 200°F oven on a wire rack if making a large batch.
Nutrition
- Serving Size: 4-5 tenders
- Calories: 380
- Sugar: 4
- Sodium: 680
- Fat: 12
- Saturated Fat: 3
- Carbohydrates: 32
- Fiber: 2
- Protein: 35
Keywords: air fryer chicken tenders, game day recipe, crispy chicken tenders, buttermilk chicken, easy chicken recipe