Love this? Save it for later!
Share the inspiration with your friends
I was halfway through bagging a stranger’s groceries when she started talking about brownies. Not just any brownies—Halloween brownies with an orange buttercream swirl that she described with the kind of intensity most people reserve for their first love or their last vacation. It was a Tuesday afternoon in late September, and I was volunteering at the community food pantry, a place where you expect to hear about canned goods and fresh produce, not dessert recipes that sound like they belong on a bakery menu.
Her name was Margaret, and she was probably eighty, with silver hair tucked under a knitted cap and a way of talking that made you stop and listen. “You take the fudgiest brownie recipe you know,” she said, handing me a box of pasta, “and you swirl in an orange buttercream that tastes like a creamsicle had a baby with a chocolate bar.” I laughed, nearly dropping the pasta. She was serious. She told me she’d been making these brownies for forty years, ever since her grandson requested something “spooky but not scary” for a Halloween party. The orange swirl reminded her of jack-o’-lanterns, she said. The brownie base was the dark, mysterious night.
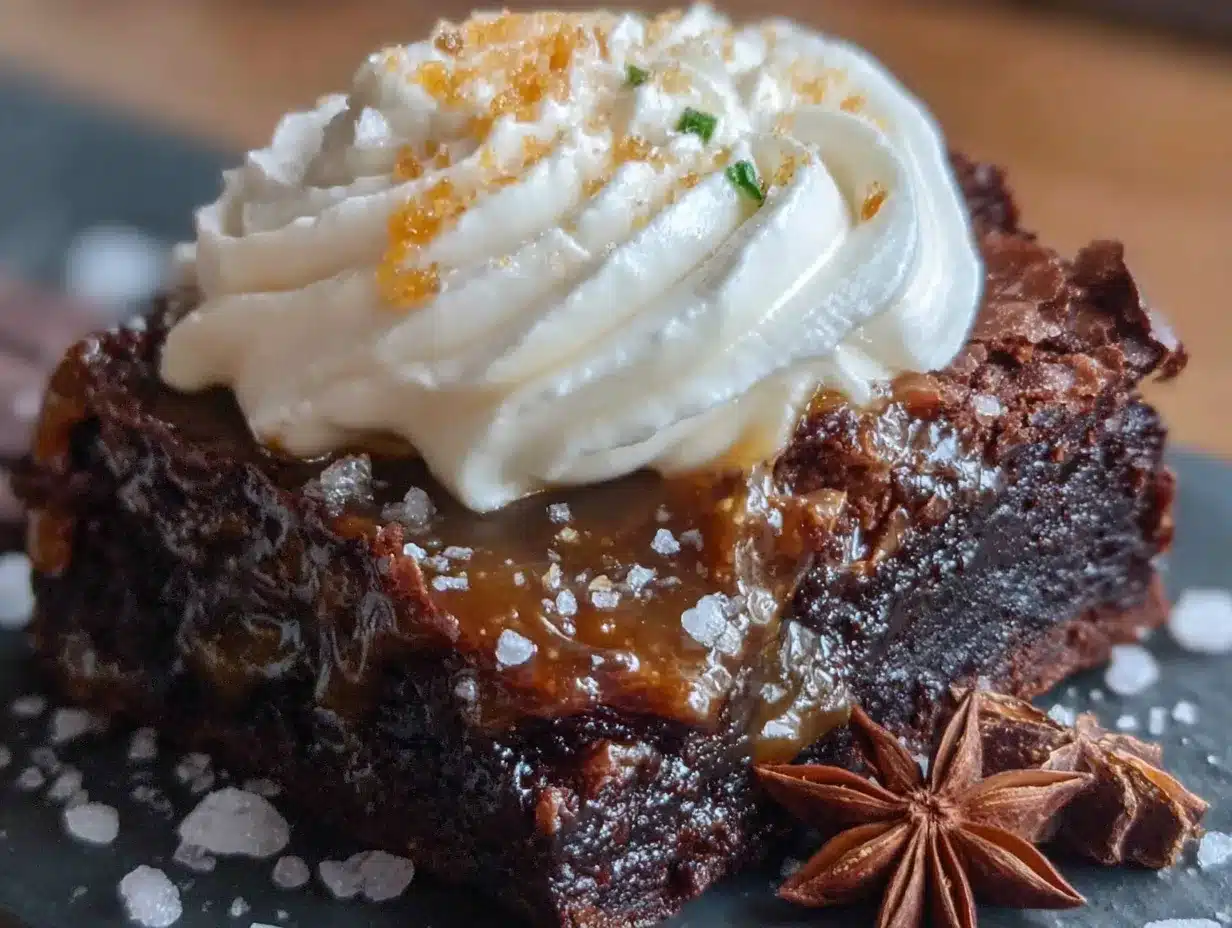
I scribbled her instructions on a receipt I found in my pocket. Honestly, I didn’t expect them to work. Creamsicle-flavored buttercream on a fudgy brownie? It sounded like a Pinterest fail waiting to happen. But I made them that weekend, and let me tell you—Margaret knew what she was talking about. The brownies came out dense and rich, with that crackly top that every baker dreams of. And the orange buttercream? It was light, citrusy, and swirled through the dark chocolate like ribbons of autumn sunlight.
These brownies have become my go-to for Halloween parties, fall bake sales, and even just random October evenings when I need a little comfort. Maybe you’ve been there—staring at a box of brownie mix, wishing for something more festive, but not wanting to spend hours in the kitchen. This recipe is that something more. It’s impressive without being fussy, and it tastes like the best part of fall.
Why You’ll Love This Recipe
Let me tell you why these brownies have earned a permanent spot in my fall baking rotation. I’ve tested this recipe at least a dozen times, tweaking the buttercream ratio and adjusting the baking time until it was just right. The result is a dessert that delivers on every level.
- Quick & Easy: From start to finish, these brownies come together in about 45 minutes. The brownie batter takes ten minutes to mix, and the buttercream is ready in five. Perfect for last-minute Halloween cravings.
- Simple Ingredients: You probably have most of the ingredients in your pantry right now. Butter, sugar, eggs, flour, cocoa powder—the usual suspects. The only special addition is an orange, which is about as easy as it gets.
- Perfect for Halloween: The orange swirl looks like a jack-o’-lantern’s smile, making these brownies the star of any Halloween party, potluck, or spooky movie night.
- Crowd-Pleaser: I’ve served these to kids, adults, and even a few self-proclaimed brownie snobs. Every single person went back for seconds. The combination of fudgy chocolate and bright citrus is universally loved.
- Unbelievably Delicious: The texture is what sets these apart. The brownies are dense and moist, almost like a truffle, while the buttercream adds a creamy, cloud-like contrast. It’s a texture party in your mouth.
What makes this recipe different from every other Halloween brownie out there is the technique. Instead of just baking plain brownies and adding frosting on top, I swirl the buttercream directly into the batter before baking. This creates pockets of creamy orange goodness throughout the brownie, so every bite has that perfect balance of chocolate and citrus. It’s not just a topping—it’s an integration. Trust me, once you try this method, you’ll never go back to regular frosted brownies.
These brownies are the kind that make you close your eyes after the first bite. They’re comfort food reimagined—faster than a complicated layer cake, but with the same soul-soothing satisfaction. Perfect for impressing Halloween guests without spending all day in the kitchen, or for turning a simple Tuesday night into something a little bit magical.
What Ingredients You Will Need
This recipe uses simple, wholesome ingredients to deliver that intense fudgy texture and bright citrus kick. Here’s what you’ll need, broken down by component.
For the Fudgy Brownie Base
- 1 cup (226g) unsalted butter, melted and slightly cooled (I use Kerrygold for its rich flavor, but any good quality butter works)
- 2 cups (400g) granulated sugar (adds sweetness and helps create that crackly top)
- 4 large eggs, room temperature (cold eggs can seize the melted butter, so let them sit out for 30 minutes)
- 1 tablespoon vanilla extract (pure, not imitation—it makes a difference)
- 1 cup (120g) all-purpose flour (spooned and leveled, not scooped directly from the bag)
- ¾ cup (75g) unsweetened cocoa powder (I prefer Ghirardelli or Hershey’s Special Dark for a deeper chocolate flavor)
- ½ teaspoon salt (balances the sweetness and enhances the chocolate)
- 1 cup (175g) semi-sweet chocolate chips (optional, but highly recommended for extra fudginess)
For the Orange Buttercream Swirl
- ½ cup (113g) unsalted butter, softened to room temperature
- 2 cups (240g) powdered sugar, sifted (sifting prevents lumps in the buttercream)
- 2 tablespoons fresh orange juice (from about half a large orange—never use bottled juice)
- 1 tablespoon orange zest (from the same orange, finely grated)
- ¼ teaspoon vanilla extract
- Pinch of salt
- Orange gel food coloring (optional, for a more vibrant Halloween look; I use Wilton’s orange gel)
Ingredient Selection Tips
For the cocoa powder, I recommend using a Dutch-processed variety if you can find it. It has a smoother, less acidic flavor that pairs beautifully with the orange buttercream. If you only have natural cocoa powder, that’s fine too—just add an extra tablespoon of sugar to balance the acidity.
When choosing your orange, look for one that feels heavy for its size and has bright, unblemished skin. A heavy orange means more juice. And please, please zest it before you juice it. There’s nothing worse than trying to zest a squishy, juiced orange.
For the chocolate chips, semi-sweet is my go-to because it adds sweetness without making the brownies cloying. If you prefer a darker, more intense brownie, use dark chocolate chips (60-70% cacao). Milk chocolate chips will make the brownies sweeter, which can compete with the buttercream.
Equipment Needed
You don’t need a fancy kitchen to make these brownies, but having the right tools makes the process smoother. Here’s what I use.
- 9×13-inch baking pan (metal pans work best for even baking; glass pans can cause the edges to overcook)
- Parchment paper (for lining the pan—this is non-negotiable if you want clean slices)
- Two large mixing bowls (one for the brownie batter, one for the buttercream)
- Whisk (for mixing the brownie batter by hand—no electric mixer needed)
- Hand mixer or stand mixer (for the buttercream; you can do it by hand, but your arm will get a workout)
- Microplane or fine grater (for zesting the orange)
- Citrus juicer or reamer (a fork works in a pinch, but a juicer gets more juice out)
- Rubber spatula (for folding in chocolate chips and scraping the bowl clean)
- Butter knife or offset spatula (for swirling the buttercream into the batter)
- Cooling rack (metal, with a grid pattern to allow air circulation)
If you don’t have a hand mixer, you can make the buttercream by hand with a wooden spoon and some elbow grease. Just make sure your butter is very soft—almost at room temperature—so it creams easily. I’ve done it both ways, and honestly, the hand-mixed version has a slightly more rustic texture that I kind of love.
For the baking pan, I’ve used both metal and glass. Metal pans give you a more even bake with a slightly crisper edge. Glass pans tend to hold heat longer, which can lead to over-baked edges and a under-baked center. If you only have glass, reduce the oven temperature by 25°F and check for doneness five minutes earlier.
Preparation Method
Alright, let’s get baking. I’ll walk you through every step, including the little tricks I’ve learned from making these brownies more times than I can count.
Step 1: Preheat and Prep
Preheat your oven to 350°F (175°C). Line your 9×13-inch baking pan with parchment paper, leaving a 2-inch overhang on the long sides. This creates handles that make lifting the brownies out after baking a breeze. Lightly grease the parchment with butter or non-stick spray.
Step 2: Make the Brownie Batter
In a large mixing bowl, combine the melted butter and granulated sugar. Whisk them together until they’re well combined—it should look like wet sand. Add the eggs one at a time, whisking well after each addition. The mixture will become thick and glossy. Stir in the vanilla extract.
In a separate bowl, whisk together the flour, cocoa powder, and salt. Add the dry ingredients to the wet ingredients and fold gently with a rubber spatula until just combined. Do not overmix—overmixing develops gluten, which makes brownies cakey instead of fudgy. A few streaks of flour are fine. Fold in the chocolate chips if you’re using them.
The batter will be thick and shiny. If it looks too thick, don’t panic—that’s exactly what you want. Fudgy brownies have a higher fat-to-flour ratio, which gives them that dense, almost gooey texture.
Step 3: Make the Orange Buttercream
While the brownie batter rests, make the buttercream. In a medium bowl, beat the softened butter with a hand mixer on medium speed until it’s smooth and creamy, about 1 minute. Add the sifted powdered sugar, orange juice, orange zest, vanilla extract, and salt. Start mixing on low speed to avoid a sugar cloud, then increase to medium-high and beat for 2-3 minutes until the buttercream is light and fluffy.
If you’re using orange food coloring, add a few drops now and mix until the color is evenly distributed. The buttercream should be a vibrant orange—think of a Halloween pumpkin, not a pastel peach.
Step 4: Assemble and Swirl
Pour the brownie batter into the prepared pan and spread it into an even layer using the rubber spatula. Drop spoonfuls of the orange buttercream onto the batter—about 8 to 10 dollops, spaced evenly across the surface. Don’t worry if they look messy; that’s part of the charm.
Now for the fun part. Take a butter knife or offset spatula and drag it through the batter and buttercream in a figure-eight pattern. You want to create swirls, not fully mix the buttercream into the batter. The goal is to have distinct ribbons of orange running through the dark chocolate. I usually do about five or six passes, then stop. Over-swirling will turn the whole thing orange, and while that might look interesting, you’ll lose the contrast.
Step 5: Bake
Place the pan in the preheated oven and bake for 25-30 minutes. At the 25-minute mark, start checking for doneness. Insert a toothpick into the center of the brownies—it should come out with a few moist crumbs attached, not wet batter. If the toothpick is clean, you’ve overbaked them. Fudgy brownies are meant to be slightly underbaked.
The edges should look set and slightly pulling away from the sides of the pan. The top should have a thin, crackly crust. If the center still jiggles when you gently shake the pan, give it another 2-3 minutes.
Step 6: Cool and Slice
Remove the pan from the oven and place it on a cooling rack. Let the brownies cool completely in the pan—this takes about 2 hours. I know it’s tempting to cut into them while they’re warm, but trust me, they need to set. Warm brownies are too soft to slice cleanly, and the buttercream will smear.
Once cooled, use the parchment paper handles to lift the entire slab of brownies out of the pan. Place it on a cutting board and use a sharp knife to slice into squares. For clean cuts, wipe the knife clean between each slice. I like to cut them into 24 squares (4 rows by 6 rows) for party-sized portions, or 12 larger squares if I’m feeling generous.
Cooking Tips & Techniques
I’ve made my share of brownie mistakes over the years, and I’m happy to share what I’ve learned so you don’t have to repeat them.
The Secret to a Crackly Top
That beautiful, shiny, crackly top that everyone loves comes from one thing: beating the eggs and sugar together long enough. When you whisk the eggs and sugar, you’re dissolving the sugar into the eggs, which creates a meringue-like structure on top of the brownies as they bake. Whisk for at least 2 minutes, until the mixture is thick and pale. If you’re using a stand mixer, let it run on medium speed for 3-4 minutes.
Don’t Overbake
This is the number one mistake I see with homemade brownies. People are so afraid of undercooked batter that they leave them in the oven too long. Remember: fudgy brownies should look slightly underdone when you take them out. They continue to cook from residual heat as they cool. If you wait until a toothpick comes out completely clean, you’ll end up with dry, cakey brownies. Aim for “moist crumbs” and you’ll be golden.
Room Temperature Ingredients Matter
I know it’s annoying to wait for eggs to come to room temperature, but it really does matter. Cold eggs can cause the melted butter to seize, creating a grainy batter that doesn’t bake evenly. If you’re in a hurry, place the eggs in a bowl of warm water for 5 minutes. For the butter in the buttercream, let it sit on the counter for at least an hour before you start. Softened butter creams much better than cold butter.
The Swirl Technique
When creating the swirl, think of it as painting rather than mixing. Use a light hand and make broad, sweeping motions. I like to start from one end of the pan and work my way to the other, creating a continuous figure-eight pattern. If you see the buttercream disappearing into the batter, you’re swirling too much. Stop after five or six passes.
My Biggest Failure
I once tried to double the buttercream recipe because I thought more swirls would be better. I ended up with brownies that were more orange than chocolate, and the excess moisture made the center sink. Lesson learned: stick to the ratios. The buttercream is meant to be a swirl, not a second layer. A little goes a long way.
Variations & Adaptations
One of the best things about this recipe is how easily it adapts to different tastes and dietary needs. Here are some variations I’ve tried and loved.
Gluten-Free Version
Swap the all-purpose flour with a 1:1 gluten-free baking flour blend. I’ve used Bob’s Red Mill and King Arthur’s gluten-free flour with great results. Just make sure the blend contains xanthan gum, which helps with structure. The texture will be slightly more tender, but still deliciously fudgy.
Dairy-Free Version
Use a high-quality vegan butter substitute in both the brownie batter and the buttercream. For the brownie batter, I like Miyoko’s or Country Crock plant butter. For the buttercream, use a vegan butter that’s specifically designed for baking (some vegan butters have a lower fat content and won’t cream properly). Replace the chocolate chips with dairy-free dark chocolate chips.
Spooky Halloween Twist
Add a few drops of orange extract to the buttercream for an even stronger citrus flavor. You can also add a teaspoon of pumpkin pie spice to the brownie batter for a fall-inspired twist. For a truly spooky presentation, press a few candy eyes into the top of the brownies right after baking, while the buttercream is still soft.
Different Citrus Options
If you’re not an orange fan, try this with lemon or lime instead. Lemon buttercream with dark chocolate is a surprisingly good combination—bright and tangy against the rich chocolate. Lime works especially well if you’re making these for a Cinco de Mayo celebration. Just replace the orange juice and zest with an equal amount of lemon or lime.
Extra Fudgy Version
For brownies that are almost truffle-like in texture, reduce the flour to ¾ cup (90g) and add an extra egg yolk. The extra fat from the yolk and the reduced flour will create an incredibly dense, moist brownie. This version is best served chilled, straight from the fridge.
Serving & Storage Suggestions
These brownies are versatile enough to serve at a casual family dinner or a Halloween party. Here’s how I like to serve and store them.
Serving Temperature
I prefer these brownies at room temperature, where the buttercream is soft and creamy and the brownie base is tender. If you’ve stored them in the fridge, let them sit on the counter for 15-20 minutes before serving. For an extra indulgent treat, warm a brownie in the microwave for 10-15 seconds and top with a scoop of vanilla ice cream.
Presentation Ideas
For Halloween parties, arrange the brownies on a black or orange platter. Dust them with a little powdered sugar to look like “ghost dust,” or add a few candy pumpkins on top. For a more elegant presentation, cut them into small squares and serve on a tiered cake stand.
Complementary Dishes
These brownies pair beautifully with a cold glass of milk or a hot cup of coffee. For a Halloween-themed dessert board, serve them alongside caramel apples, popcorn balls, and pumpkin cookies. If you’re feeling fancy, drizzle a little salted caramel sauce over each brownie before serving.
Storage Instructions
Store leftover brownies in an airtight container at room temperature for up to 3 days. If you live in a warm climate or your kitchen runs hot, store them in the refrigerator to prevent the buttercream from softening too much. The brownies also freeze beautifully—wrap individual squares in plastic wrap, then place them in a freezer-safe bag. They’ll keep for up to 3 months.
Reheating Tips
To reheat a frozen brownie, remove the plastic wrap and microwave on high for 20-30 seconds. The brownie will be warm and fudgy, while the buttercream will stay cool and creamy. If you’re reheating from the fridge, 10-15 seconds in the microwave is usually enough.
One thing I love about these brownies is that the flavors actually improve over time. The orange zest infuses into the buttercream, and the chocolate deepens. Day-old brownies are often better than fresh ones. So don’t be afraid to make them a day ahead of your event.
Nutritional Information & Benefits
Let’s be real—these are indulgent brownies, not health food. But knowing what’s in them can help you enjoy them mindfully.
Estimated Nutritional Values (per brownie, based on 24 servings)
| Nutrient | Amount |
|---|---|
| Calories | 285 |
| Total Fat | 16g |
| Saturated Fat | 10g |
| Cholesterol | 65mg |
| Sodium | 95mg |
| Total Carbohydrates | 35g |
| Dietary Fiber | 2g |
| Sugars | 26g |
| Protein | 3g |
Health Benefits of Key Ingredients
Dark chocolate, in moderation, has some surprising health benefits. It’s rich in antioxidants called flavonoids, which can help reduce inflammation and improve heart health. Oranges are packed with vitamin C, which supports your immune system—perfect for the cold and flu season that often coincides with Halloween.
Dietary Considerations
This recipe contains gluten, dairy, and eggs. For gluten-free and dairy-free options, see the variations section above. The brownies are nut-free as written, but if you’re serving them to someone with a nut allergy, make sure your chocolate chips are processed in a nut-free facility.
My Personal Take
I believe in balance. These brownies are a treat, something to enjoy on special occasions. I don’t stress about the sugar or fat content when I’m making them for a Halloween party. Life is too short to skip dessert. But I do practice portion control—one brownie is plenty for me, and I savor every single bite.
Conclusion
These fudgy Halloween brownies with orange buttercream swirl have become a staple in my fall baking rotation, and I have a feeling they’ll become one in yours too. They’re the perfect combination of rich, dark chocolate and bright, citrusy cream, all wrapped up in a dessert that looks festive without requiring a pastry degree.
What I love most about this recipe is how adaptable it is. You can make it gluten-free, dairy-free, or switch up the citrus flavor. You can add candy eyes or pumpkin pie spice or extra chocolate chips. It’s a recipe that invites creativity, which is exactly what baking should be about.
I hope you give these brownies a try. Whether you’re making them for a Halloween party, a fall potluck, or just because it’s Tuesday and you deserve something delicious, I think you’ll love them. And if you come up with your own variation, I’d love to hear about it. Drop a comment below and let me know how they turned out.
Happy baking, and happy Halloween!
Frequently Asked Questions
Can I use a brownie mix instead of making the batter from scratch?
You can, but the texture won’t be as fudgy. Boxed mixes are designed to be cakey, not dense. If you’re in a hurry, use your favorite brownie mix and follow the package instructions, then add the orange buttercream swirl. The flavor will still be delicious, just different.
Why did my buttercream turn out runny?
Runny buttercream is usually caused by too much liquid or butter that’s too soft. Make sure your butter is softened but not melted, and measure your orange juice carefully. If your buttercream is already runny, add a tablespoon of powdered sugar at a time until it thickens up.
Can I make these brownies ahead of time?
Absolutely. These brownies actually taste better the next day, after the flavors have had time to meld. Bake them up to 2 days in advance and store them in an airtight container at room temperature. You can also freeze them for up to 3 months.
How do I get clean slices without the buttercream smearing?
Patience is key. Let the brownies cool completely before slicing. Use a sharp knife and wipe it clean between each cut. For the cleanest slices, chill the brownies in the refrigerator for 30 minutes before cutting.
Can I use orange extract instead of fresh orange juice?
You can, but I don’t recommend it. Fresh orange juice and zest provide a bright, natural citrus flavor that can’t be replicated by extract. Orange extract tends to taste artificial and can be overpowering. If you’re in a pinch, use 1 teaspoon of orange extract and omit the juice, but add a tablespoon of milk to keep the buttercream creamy.
Pin This Recipe!
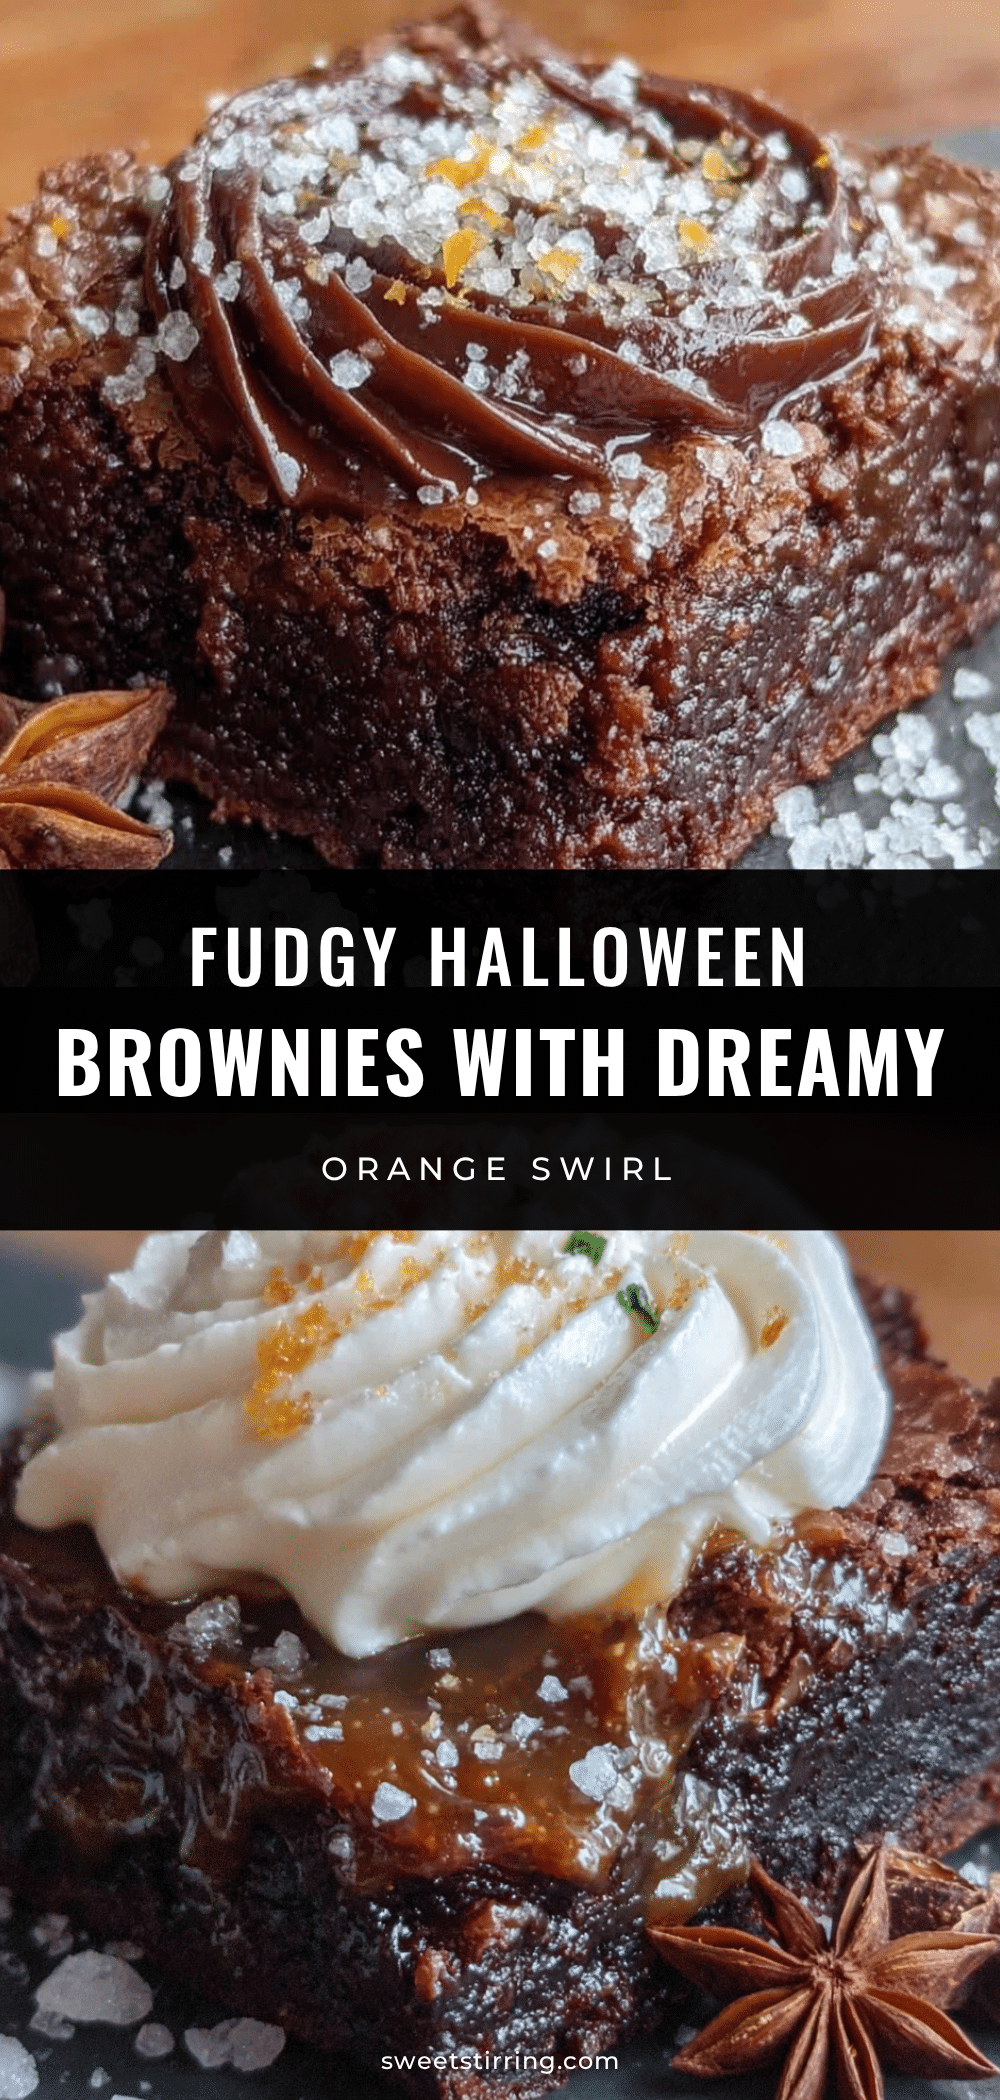
Fudgy Halloween Brownies with Orange Buttercream Swirl
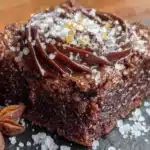
These fudgy brownies are swirled with a bright orange buttercream that tastes like a creamsicle had a baby with a chocolate bar. Perfect for Halloween parties, fall bake sales, or any October evening when you need a little comfort.
- Prep Time: 15 minutes
- Cook Time: 30 minutes
- Total Time: 45 minutes
- Yield: 24 servings 1x
- Category: Dessert
- Cuisine: American
Ingredients
- 1 cup (226g) unsalted butter, melted and slightly cooled
- 2 cups (400g) granulated sugar
- 4 large eggs, room temperature
- 1 tablespoon vanilla extract
- 1 cup (120g) all-purpose flour, spooned and leveled
- 3/4 cup (75g) unsweetened cocoa powder
- 1/2 teaspoon salt
- 1 cup (175g) semi-sweet chocolate chips (optional)
- 1/2 cup (113g) unsalted butter, softened to room temperature
- 2 cups (240g) powdered sugar, sifted
- 2 tablespoons fresh orange juice
- 1 tablespoon orange zest
- 1/4 teaspoon vanilla extract
- Pinch of salt
- Orange gel food coloring (optional)
Instructions
- Preheat oven to 350°F (175°C). Line a 9×13-inch baking pan with parchment paper, leaving a 2-inch overhang on the long sides. Lightly grease the parchment with butter or non-stick spray.
- In a large mixing bowl, combine melted butter and granulated sugar. Whisk until well combined, resembling wet sand. Add eggs one at a time, whisking well after each addition until thick and glossy. Stir in vanilla extract.
- In a separate bowl, whisk together flour, cocoa powder, and salt. Add dry ingredients to wet ingredients and fold gently with a rubber spatula until just combined. Do not overmix. Fold in chocolate chips if using.
- In a medium bowl, beat softened butter with a hand mixer on medium speed until smooth and creamy, about 1 minute. Add sifted powdered sugar, orange juice, orange zest, vanilla extract, and salt. Mix on low speed to combine, then increase to medium-high and beat for 2-3 minutes until light and fluffy. Add orange food coloring if desired and mix until evenly distributed.
- Pour brownie batter into prepared pan and spread into an even layer. Drop 8-10 spoonfuls of orange buttercream onto the batter, spacing evenly. Use a butter knife or offset spatula to drag through the batter and buttercream in a figure-eight pattern, creating swirls. Do not over-swirl.
- Bake for 25-30 minutes. At 25 minutes, insert a toothpick into the center—it should come out with a few moist crumbs attached, not wet batter. Edges should look set and slightly pulling away from the pan. Top should have a thin, crackly crust.
- Remove pan from oven and place on a cooling rack. Let brownies cool completely in the pan, about 2 hours. Once cooled, use parchment paper handles to lift the slab out of the pan. Place on a cutting board and slice into squares using a sharp knife, wiping the knife clean between each slice.
Notes
For a crackly top, beat eggs and sugar together for at least 2 minutes until thick and pale. Do not overbake—fudgy brownies should look slightly underdone when removed from the oven. Use room temperature ingredients for best results. When swirling, use a light hand and make broad, sweeping motions; stop after five or six passes to avoid over-swirling. These brownies taste even better the next day after flavors have melded.
Nutrition
- Serving Size: 1 brownie
- Calories: 285
- Sugar: 26
- Sodium: 95
- Fat: 16
- Saturated Fat: 10
- Carbohydrates: 35
- Fiber: 2
- Protein: 3
Keywords: Halloween brownies, fudgy brownies, orange buttercream, fall dessert, chocolate orange brownies, Halloween dessert, easy brownies