Love this? Save it for later!
Share the inspiration with your friends
The Fourth of July barbecue was in six hours and I’d completely forgotten about dessert. Everyone else would be bringing homemade pies, fancy layer cakes, and those intricate flag-themed fruit tarts that look like they belong on a magazine cover. I had a box of graham crackers, a tub of heavy cream, and a bag of frozen mixed berries I’d bought on a whim. Honestly, I almost just showed up with a store-bought pound cake and called it a day. But then I remembered a trick my friend Lauren used to make for pool parties—layering cookies and cream in a loaf pan. I figured, why not try it with what I had? I started layering in a pan, hoping for the best, and accidentally dripped berry juice all down my white counter. Classic me. The pan went into the freezer, I crossed my fingers, and I walked into that party feeling like a fraud.
You can probably guess what happened next. That humble, thrown-together dessert was the first thing to disappear. People were asking for the recipe before I even got a slice for myself. Someone actually said, “This is the best thing here,” right next to a very expensive-looking cheesecake. I just smiled and nodded, not admitting I’d made it in a panic with frozen fruit and a prayer. This Easy No-Bake Berry Icebox Cake has become my go-to for every summer gathering since. It’s the dessert that makes you look like a hero when you barely broke a sweat. Maybe you’ve been there—staring at your pantry, wondering how to turn nothing into something amazing. Well, this is that recipe.
It’s cool, creamy, and bursting with bright berry flavor. And the best part? No oven required. I mean, who wants to turn on the oven when it’s ninety degrees outside? Not me. This Easy No-Bake Berry Icebox Cake has saved me more times than I can count, and it always gets the same reaction: surprise that something so simple can taste this good. It’s the underdog of summer desserts, and honestly, I love it for that.
Why You’ll Love This Recipe
This isn’t just another dessert recipe—it’s a game-changer for hot summer days. I’ve tested this Easy No-Bake Berry Icebox Cake at three different barbecues, a birthday party, and even a casual weeknight dinner, and it never fails. Here’s why it works so well:
- Quick & Easy: It comes together in about 15 minutes of active prep time. The hardest part is waiting for it to chill. Perfect for when you need a dessert fast.
- Simple Ingredients: You probably have most of these in your kitchen right now. No fancy extracts or hard-to-find items. Just real, wholesome stuff.
- Perfect for Summer: This is the ideal make-ahead dessert for cookouts, picnics, and pool parties. It stays cold and refreshing even in the heat.
- Crowd-Pleaser: Kids love the creamy texture, adults love the sophisticated berry flavor. I’ve seen it win over people who claim they don’t like “no-bake” desserts.
- Unbelievably Delicious: The graham crackers soften into a cake-like texture, the cream gets light and fluffy, and the berries burst with every bite. It’s comfort food without the oven.
What makes this version different from other icebox cakes? It’s the balance. I spent a few tries getting the cream-to-cracker ratio just right so it doesn’t get soggy or too dry. The berries are lightly sweetened with a touch of sugar, which draws out their natural juices and creates a beautiful syrup that soaks into the layers. It’s not just another recipe—it’s my best version after learning from a few mistakes (like the time I used too much cream and ended up with berry soup).
This is the kind of dessert that makes you close your eyes after the first bite. It’s cool, creamy, and bursting with summer flavor. Perfect for impressing guests without any stress, or turning a simple Tuesday into something memorable.
What Ingredients You Will Need
This recipe uses simple, wholesome ingredients to deliver bold flavor and satisfying texture without the fuss. Most of these are pantry staples or easy to find at any grocery store.
- Graham crackers: 1 full box (about 14-16 whole crackers). I prefer the original honey flavor, but cinnamon works too for a warmer note. You’ll need to break them to fit your pan.
- Heavy whipping cream: 2 cups (480 ml). Cold from the fridge is best for whipping. I use Horizon Organic or store brand—both work great.
- Powdered sugar: 1/3 cup (40 g). This sweetens the cream without making it grainy. You can adjust to taste.
- Vanilla extract: 1 teaspoon (5 ml). Pure vanilla makes a difference here. Imitation works, but pure is better.
- Fresh strawberries: 1 cup (150 g), hulled and sliced. Look for bright red, fragrant berries for the best flavor.
- Fresh blueberries: 1 cup (150 g). Wild blueberries are sweeter, but regular work fine.
- Fresh raspberries: 1 cup (125 g). Handle gently—they’re delicate.
- Granulated sugar: 2 tablespoons (25 g). For macerating the berries and drawing out their juices.
- Lemon juice: 1 tablespoon (15 ml), fresh squeezed. This brightens the berry flavor and balances the sweetness.
Ingredient Tips: For the best texture, use full-fat heavy cream—light cream won’t hold its shape as well. If you can’t find fresh berries, frozen work in a pinch. Just thaw them first and drain any excess liquid. I’ve used Driscoll’s berries for years and they’re consistently good. For a dairy-free option, use coconut cream (chilled) instead of heavy cream—it whips up beautifully.
Substitutions: Use gluten-free graham crackers for a gluten-free version. Swap the mixed berries for any combination you like—blackberries, sliced peaches, or cherries all work. If you’re avoiding sugar, use a sugar substitute like monk fruit in the cream and berries.
Equipment Needed
You don’t need fancy tools for this one, which is part of the beauty. Here’s what you’ll need:
- 8×8-inch baking dish or 9×5-inch loaf pan: Either works. I’ve used both. The loaf pan makes taller, more dramatic slices, while the square pan gives you more servings.
- Electric hand mixer or stand mixer: For whipping the cream. A whisk and some elbow grease work too, but it’ll take a few minutes longer.
- Large mixing bowl: Metal or glass—both work. Chill it for 10 minutes beforehand for easier whipping.
- Medium bowl: For macerating the berries.
- Spatula: For spreading the cream evenly. A rubber spatula is ideal.
- Sharp knife and cutting board: For slicing the strawberries.
- Plastic wrap or foil: For covering the pan while it chills.
Budget-Friendly Tip: Don’t have a mixer? A whisk and a strong arm work fine—just takes a bit longer. I’ve done it that way when my mixer broke, and it’s totally doable. Just make sure the cream is very cold.
Preparation Method
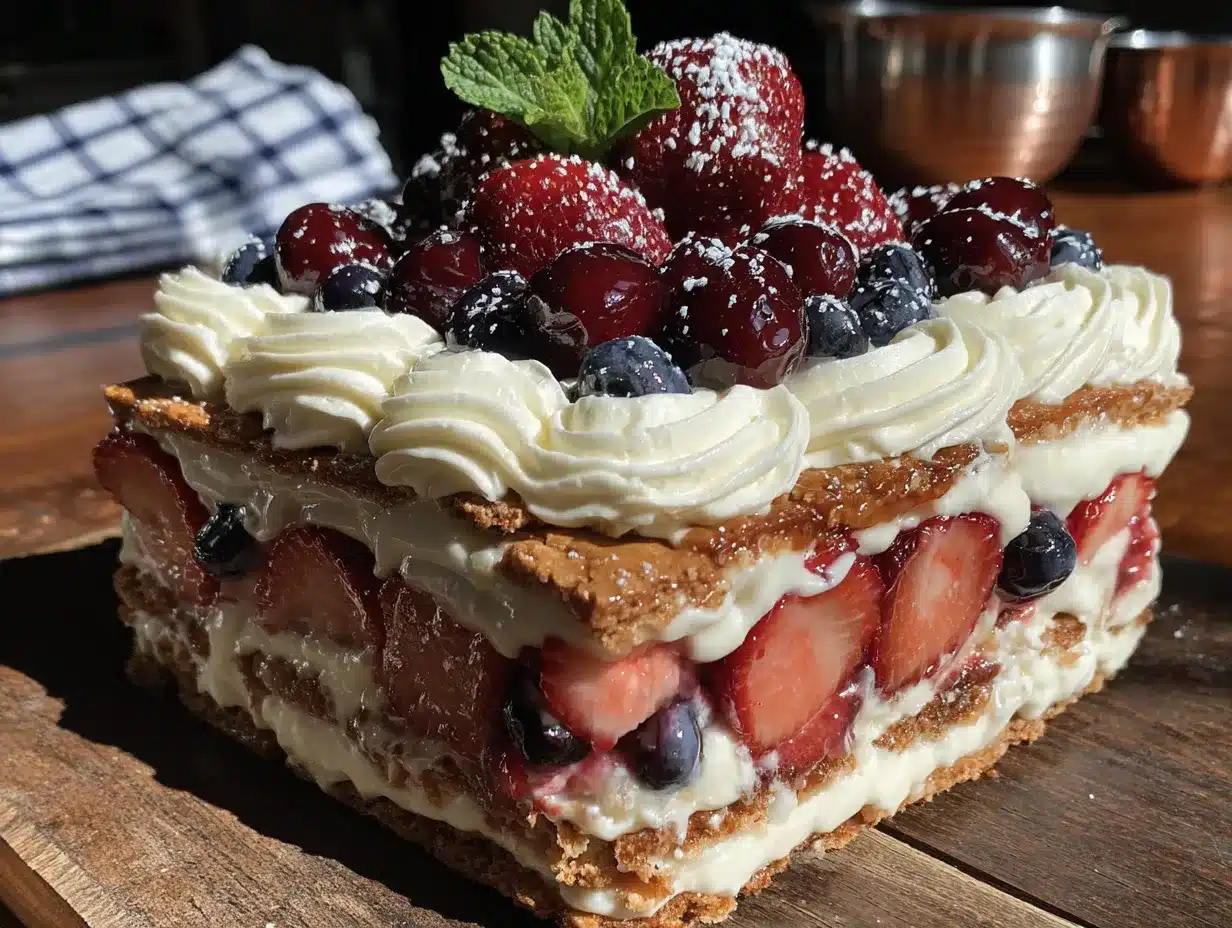
Let’s get to it. This Easy No-Bake Berry Icebox Cake comes together quickly, so have everything ready before you start.
- Macerate the berries (5 minutes): In a medium bowl, combine the sliced strawberries, blueberries, and raspberries. Add 2 tablespoons of granulated sugar and 1 tablespoon of lemon juice. Gently toss to coat. Let it sit for 10-15 minutes while you prepare the cream. The sugar will draw out the berry juices, creating a beautiful syrup.
- Whip the cream (5 minutes): Pour the cold heavy cream into a large mixing bowl. Add the powdered sugar and vanilla extract. Using an electric mixer on medium-high speed, whip until stiff peaks form. You’ll know it’s ready when you lift the beaters and the cream stands up in peaks without flopping over. Be careful not to over-whip, or you’ll end up with butter. (Trust me, I’ve done it—it’s not fun.)
- Layer the bottom (2 minutes): Spread a thin layer of whipped cream on the bottom of your 8×8-inch dish or loaf pan. This helps the crackers stick and prevents them from sliding around.
- First cracker layer (2 minutes): Arrange a single layer of graham crackers over the cream, breaking them as needed to fit. Don’t worry about perfection—overlapping slightly is fine.
- First cream layer (3 minutes): Spread about 1/3 of the remaining whipped cream over the crackers. Use a spatula to spread it evenly to the edges.
- First berry layer (2 minutes): Spoon about 1/3 of the macerated berries (including the juices) over the cream. Spread them evenly.
- Repeat layers (5 minutes): Add another layer of graham crackers, then another 1/3 of cream, then another 1/3 of berries. Repeat once more, ending with a final layer of graham crackers on top. You should have three layers of crackers and three layers of cream and berries.
- Top with remaining cream (2 minutes): Spread the last of the whipped cream over the top layer of crackers. Smooth it out nicely—this is the “face” of your cake.
- Chill (at least 6 hours, preferably overnight): Cover the dish tightly with plastic wrap or foil. Refrigerate for at least 6 hours, but overnight is best. The crackers need time to soften and absorb the berry juices and cream, turning into a cake-like texture.
- Serve (5 minutes): Before serving, top with fresh berries if desired. Slice and serve cold. The cake should be firm enough to slice cleanly.
Sensory Cues: When you spread the cream, it should feel light and airy. The berries should look glossy and syrupy after macerating. When you lift the finished cake after chilling, it should feel firm but give slightly when pressed. The aroma should be sweet and fruity.
My Tip: Don’t skip the macerating step. That syrup is what makes the crackers soften perfectly. The first time I made this, I just layered fresh berries without sugar, and the crackers stayed crunchy—not what you want in an icebox cake!
Cooking Tips & Techniques
I’ve made this Easy No-Bake Berry Icebox Cake more times than I can count, and I’ve learned a few things along the way. Here are my best tips:
- Chill your bowl and beaters: Pop your mixing bowl and beaters in the freezer for 10 minutes before whipping the cream. This helps the cream whip faster and hold its shape better. I learned this after a particularly hot day when my cream refused to stiffen.
- Don’t over-whip the cream: Stop as soon as you see stiff peaks. If you keep going, the cream will separate and turn into butter. It happened to me once—I was distracted by a phone call—and I had to start over. Watch for the peaks to hold firm but still look smooth.
- Use room temperature berries: Cold berries straight from the fridge can make the cream seize up. Let them sit out for 10-15 minutes after macerating.
- Press the crackers gently: When you add each layer of crackers, press them down lightly so they make contact with the cream and berries. This helps them absorb the moisture evenly.
- Be patient with chilling: I know it’s tempting to dig in after a couple of hours, but the texture won’t be right. The crackers need time to soften completely. Overnight is truly best.
- Use a sharp knife for slicing: Run your knife under hot water and wipe it dry before each cut. This gives you clean, beautiful slices.
Common Mistake: Adding too much liquid from the berries can make the cake soggy. Drain off some syrup if it looks excessive—you want just enough to moisten the crackers, not drown them.
Variations & Adaptations
This recipe is endlessly adaptable. Here are some variations I’ve tried and loved:
- Chocolate Berry: Use chocolate graham crackers instead of honey. The chocolate and berry combo is incredible. I made this for Valentine’s Day and it was a hit.
- Lemon Berry: Add 1 tablespoon of lemon zest to the whipped cream. The citrus brightens everything up. Perfect for spring.
- Dairy-Free/Vegan: Use full-fat coconut cream (chilled overnight) instead of heavy cream. Whip it the same way. Use vegan graham crackers. It’s just as creamy and delicious.
- Tropical Twist: Swap the berries for diced mango, pineapple, and kiwi. Use coconut cream instead of regular cream. It’s like a tropical vacation in a pan.
- Single-Serving Version: Layer everything in small mason jars or dessert cups. Perfect for picnics or portion control. Just adjust the chilling time to 3-4 hours since the layers are thinner.
Personal Favorite: The lemon berry version is my go-to for summer parties. The lemon zest cuts through the sweetness and makes every bite feel fresh. I added too much zest once (about 3 tablespoons) and it was still good—just very lemony!
Serving & Storage Suggestions
This Easy No-Bake Berry Icebox Cake is best served cold, straight from the fridge. Here’s how to make it shine:
- Serving Temperature: Serve directly from the refrigerator. It should be cold and firm. If it sits out too long, it will start to soften and lose its structure.
- Presentation: Top with fresh berries, a sprig of mint, or a dusting of powdered sugar right before serving. It looks gorgeous on a cake stand.
- Pairings: Serve with a dollop of extra whipped cream or a scoop of vanilla ice cream. For drinks, iced tea, lemonade, or a crisp white wine like Sauvignon Blanc pairs beautifully.
- Storage: Cover tightly with plastic wrap or foil and refrigerate for up to 3 days. The texture is best on day 2, when the crackers have fully softened.
- Freezing: You can freeze this cake! Wrap it well (plastic wrap then foil) and freeze for up to 1 month. Thaw in the refrigerator overnight before serving. It will be slightly icier, but still delicious.
- Flavor Development: The flavors actually meld and improve after a day in the fridge. The berries release more juice, and the cream absorbs all that fruity goodness.
My Note: I once made this two days ahead for a party, and it was the best version I’ve ever had. The crackers were perfectly soft, the flavors were fully blended, and it sliced like a dream. Don’t be afraid to make it ahead!
Nutritional Information & Benefits
Here’s an estimated nutritional breakdown per serving (based on 9 servings):
| Nutrient | Amount per Serving |
|---|---|
| Calories | 285 |
| Total Fat | 18g |
| Saturated Fat | 11g |
| Carbohydrates | 30g |
| Fiber | 3g |
| Sugar | 18g |
| Protein | 3g |
| Vitamin C | 20% DV |
Health Benefits: Berries are packed with antioxidants, vitamin C, and fiber. They’re great for your immune system and skin health. The heavy cream provides calcium and healthy fats that keep you satisfied. This dessert is a treat, but it uses real, whole ingredients—no artificial flavors or preservatives.
Dietary Notes: This recipe is vegetarian. For gluten-free, use gluten-free graham crackers. For dairy-free, use coconut cream. It’s naturally low in sodium and contains no artificial additives.
My Perspective: I believe in balance. This dessert is indulgent, but it’s made with real food. Enjoy a slice, savor it, and don’t feel guilty. Life’s too short to skip dessert.
FAQs
Can I use frozen berries instead of fresh?
Yes, you can! Thaw them first and drain any excess liquid. Frozen berries are often sweeter because they’re picked at peak ripeness. Just be careful not to add too much liquid to the layers.
How long does this cake need to chill?
At least 6 hours, but overnight is best. The crackers need time to soften and absorb the flavors. If you’re in a hurry, 4 hours will work, but the texture won’t be as cake-like.
Can I make this in a different pan?
Absolutely! A 9×5-inch loaf pan works great for taller slices. A 9×13-inch pan will give you thinner layers and more servings—just adjust the number of layers. You can even use a springform pan for a more dramatic presentation.
Why did my cream not whip properly?
Most likely the cream wasn’t cold enough, or your bowl had traces of fat. Make sure your cream is very cold (straight from the fridge), and your bowl and beaters are clean and dry. Chilling the bowl for 10 minutes helps too.
Can I add other fruits?
Definitely! Sliced peaches, cherries, blackberries, or even diced mango work beautifully. Just adjust the sugar based on the sweetness of the fruit. Tart fruits like raspberries may need a bit more sugar.
Conclusion
This Easy No-Bake Berry Icebox Cake is the kind of recipe that proves you don’t need fancy techniques or a long ingredient list to make something truly special. It’s cool, creamy, bursting with berry flavor, and so simple that anyone can make it. Whether you’re hosting a summer barbecue, bringing dessert to a potluck, or just want a treat on a hot day, this cake delivers every time.
I love this recipe because it reminds me that sometimes the best things come from happy accidents and a little bit of faith. That pan I threw together in a panic became my most-requested dessert. It’s a lesson in trusting yourself and not overcomplicating things. So go ahead—give it a try. Customize it with your favorite berries, make it your own, and watch it disappear.
I’d love to hear how yours turns out! Drop a comment below with your variations, tag me in your photos, or share your own icebox cake stories. Happy no-baking, friends!
Pin This Recipe!
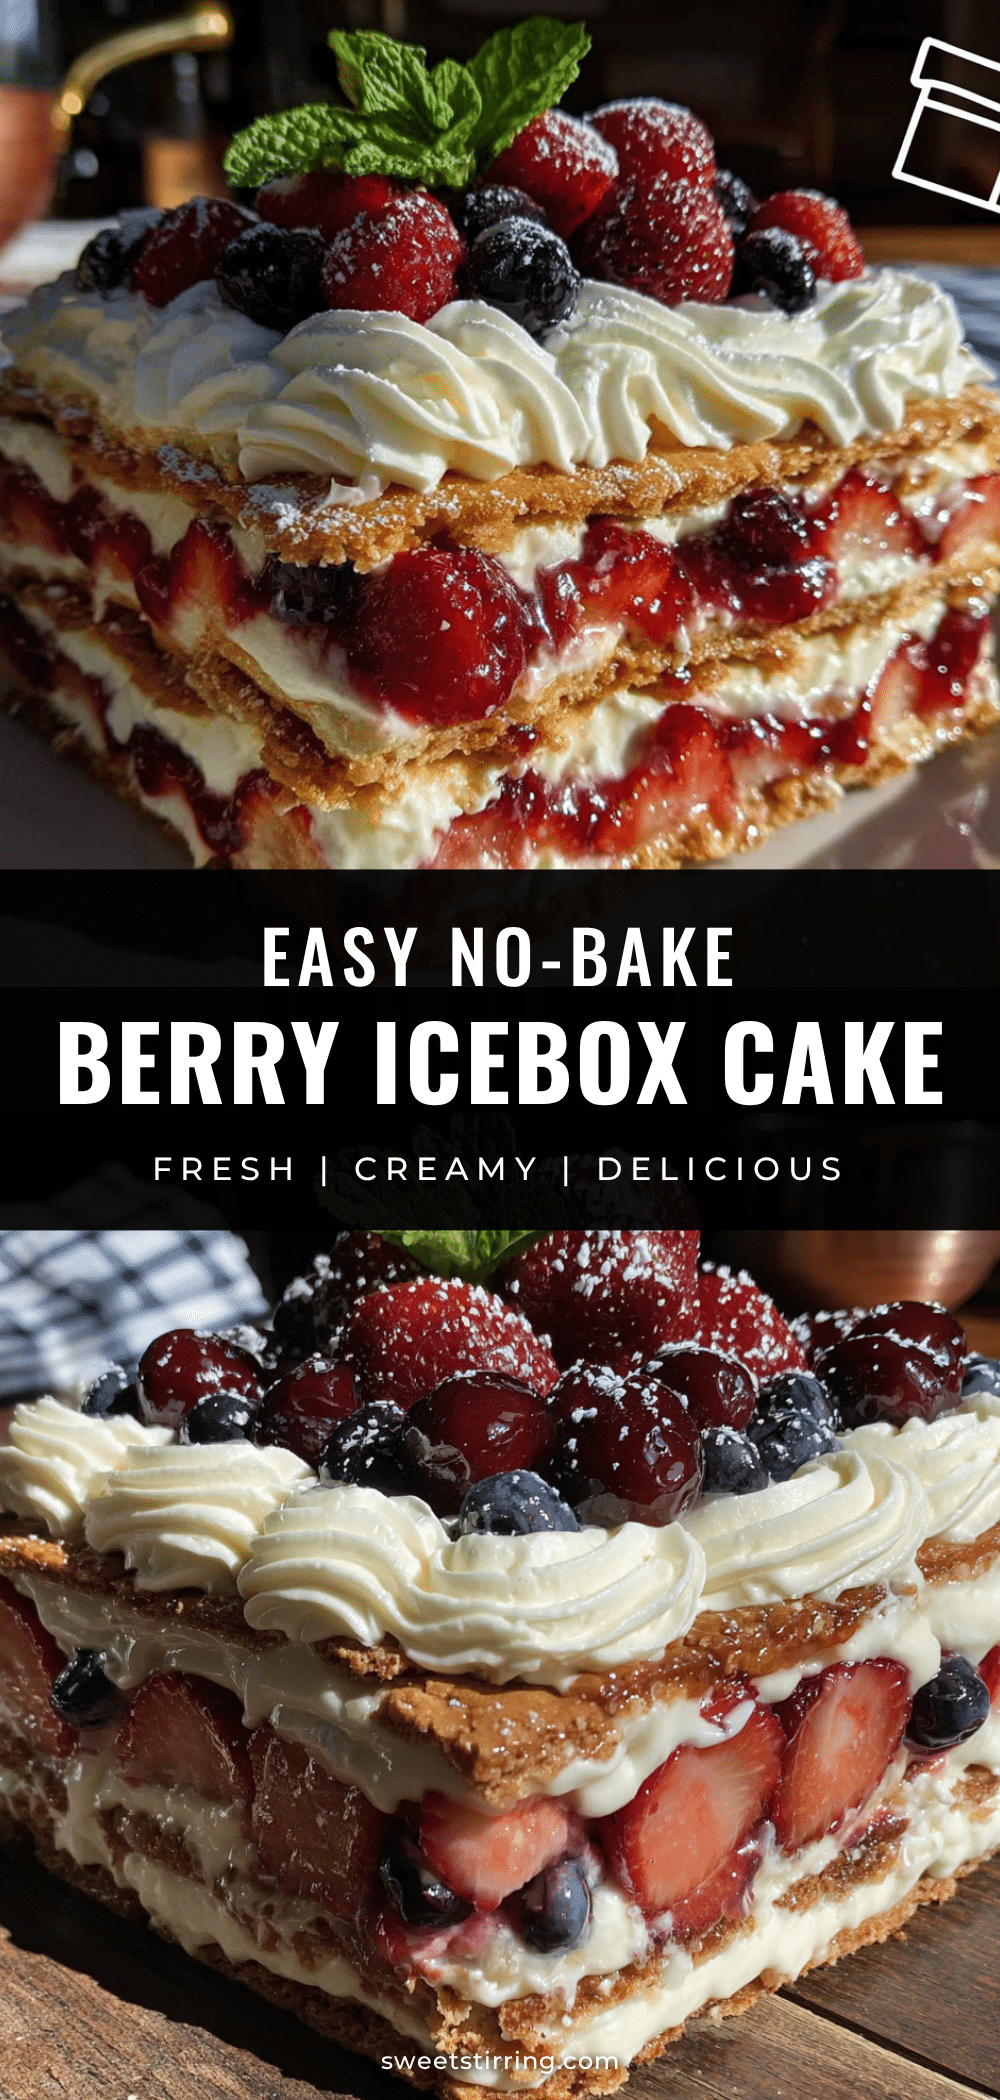
Easy No-Bake Berry Icebox Cake

A cool, creamy, and refreshing no-bake dessert made with layers of graham crackers, whipped cream, and fresh berries. Perfect for summer gatherings and requires no oven.
- Prep Time: 15 minutes
- Cook Time: 0 minutes
- Total Time: 6 hours 15 minutes (includes chilling)
- Yield: 9 servings 1x
- Category: Dessert
- Cuisine: American
Ingredients
- 1 full box (about 14–16 whole crackers) graham crackers
- 2 cups (480 ml) heavy whipping cream
- 1/3 cup (40 g) powdered sugar
- 1 teaspoon (5 ml) vanilla extract
- 1 cup (150 g) fresh strawberries, hulled and sliced
- 1 cup (150 g) fresh blueberries
- 1 cup (125 g) fresh raspberries
- 2 tablespoons (25 g) granulated sugar
- 1 tablespoon (15 ml) fresh lemon juice
Instructions
- Macerate the berries: In a medium bowl, combine sliced strawberries, blueberries, and raspberries. Add 2 tablespoons granulated sugar and 1 tablespoon lemon juice. Gently toss to coat. Let sit for 10-15 minutes.
- Whip the cream: In a large mixing bowl, combine cold heavy cream, powdered sugar, and vanilla extract. Using an electric mixer on medium-high speed, whip until stiff peaks form.
- Layer the bottom: Spread a thin layer of whipped cream on the bottom of an 8×8-inch dish or 9×5-inch loaf pan.
- First cracker layer: Arrange a single layer of graham crackers over the cream, breaking as needed to fit.
- First cream layer: Spread about 1/3 of the remaining whipped cream over the crackers.
- First berry layer: Spoon about 1/3 of the macerated berries (including juices) over the cream.
- Repeat layers: Add another layer of graham crackers, then another 1/3 of cream, then another 1/3 of berries. Repeat once more, ending with a final layer of graham crackers on top.
- Top with remaining cream: Spread the last of the whipped cream over the top layer of crackers and smooth evenly.
- Chill: Cover tightly with plastic wrap or foil. Refrigerate for at least 6 hours, preferably overnight.
- Serve: Before serving, top with fresh berries if desired. Slice and serve cold.
Notes
For best texture, chill overnight. Don’t skip macerating the berries—the syrup helps soften the crackers. Use full-fat heavy cream for best results. For a dairy-free version, use chilled coconut cream.
Nutrition
- Serving Size: 1 slice (1/9 of cake
- Calories: 285
- Sugar: 18
- Fat: 18
- Saturated Fat: 11
- Carbohydrates: 30
- Fiber: 3
- Protein: 3
Keywords: no-bake dessert, icebox cake, berry dessert, summer dessert, easy dessert, graham cracker cake