Love this? Save it for later!
Share the inspiration with your friends
I used to think pumpkin cookies were a lost cause. For years, I swore they were nothing but a textural tragedy—dense, gummy disks that tasted more like a spice cabinet fell into a bowl of wet flour than anything worth baking. My aunt would bring them to every fall gathering, and I would politely take one, take a bite, and then spend the next ten minutes trying to discreetly feed it to the dog under the table. Honestly, I had written off the entire category. Then, last October, I found myself standing in my kitchen at 10 PM on a Tuesday, staring at half a can of pumpkin puree in my fridge and a brand-new bag of brown sugar I’d bought on a whim. I was determined to prove myself wrong. I pulled out my favorite snickerdoodle recipe—the one my neighbor Karen swears by—and I started tinkering. I browned the butter. I added the pumpkin. I crossed my fingers. And when those cookies came out of the oven, warm and crackled and smelling like a bakery in a dream, I caught myself eating a third one before the first batch had even fully cooled. Maybe you’ve been there—stubbornly convinced something just doesn’t work, until one version changes your mind completely. This is that version.
Why You’ll Love This Recipe
These aren’t your average pumpkin cookies. They are soft, chewy, and packed with that nutty, toasty flavor that only brown butter can bring. The pumpkin keeps them incredibly moist without making them cakey, and the cinnamon-sugar coating gives you that perfect crackly top we all love in a classic snickerdoodle.
- Quick & Easy : Ready in under 30 minutes from start to finish. Perfect for a last-minute bake sale or a Tuesday night treat.
- Simple Ingredients : You probably have most of these in your pantry right now. No weird extracts or hard-to-find flours.
- Perfect for Fall : Great for Thanksgiving dessert tables, Halloween parties, or cozying up with a cup of hot cider.
- Crowd-Pleaser : I brought a batch to my book club and they vanished before we even finished discussing the first chapter. People who “don’t like pumpkin” have asked me for the recipe.
- Unbelievably Delicious : The combination of brown butter and pumpkin is honestly next-level. The flavor is deep, warm, and just a little bit fancy without being fussy.
What makes this recipe different from the rest? It’s the technique. Browning the butter first adds a layer of complexity you just can’t get from melted butter alone. And the ratio of pumpkin to flour is carefully balanced so you get all the moisture and flavor without the dreaded gummy texture. I tested this six times in one week to get it just right. This isn’t just another pumpkin cookie—it’s the one you’ll make every single year.
What Ingredients You Will Need
This recipe uses simple, wholesome ingredients to deliver that bold, cozy flavor without any fuss. Most of these are pantry staples, but a few key players make all the difference.
- Unsalted butter : 1 cup (2 sticks). You’ll be browning this, so don’t substitute margarine. I prefer using a high-fat European-style butter like Kerrygold for the richest flavor.
- Pumpkin puree : 1/2 cup. Make sure it’s 100% pure pumpkin, not pumpkin pie filling. Libby’s is my go-to brand for consistent texture.
- Granulated sugar : 1 cup for the dough. Plus 1/4 cup for rolling the cookies.
- Brown sugar : 1/2 cup, packed. Light or dark works, but dark gives a deeper molasses flavor that pairs beautifully with the brown butter.
- Large egg : 1, at room temperature. This helps the dough come together smoothly.
- Vanilla extract : 1 teaspoon. Pure, not imitation. It really does make a difference here.
- All-purpose flour : 2 cups. Spoon and level it—don’t scoop directly from the bag or you’ll end up with dry cookies.
- Cream of tartar : 2 teaspoons. This is what gives snickerdoodles their signature tangy flavor and soft texture. Don’t skip it.
- Baking soda : 1 teaspoon.
- Salt : 1/2 teaspoon. I use fine sea salt.
- Pumpkin pie spice : 1 teaspoon. Or make your own: 1/2 tsp cinnamon, 1/4 tsp ginger, 1/4 tsp nutmeg, and a pinch of cloves.
- Cinnamon : 1 tablespoon for the coating mixture.
If you want to substitute the all-purpose flour with a gluten-free 1:1 blend, that works. Just note the texture will be slightly more tender. For a dairy-free version, you can use a high-quality vegan butter, but the browning step will be less dramatic.
Equipment Needed
You don’t need a lot of fancy tools for this recipe, which is part of why I love it so much. Here is what you will need:
- Medium saucepan : For browning the butter. A light-colored pan is best so you can see the butter change color.
- Large mixing bowl : For the dough.
- Whisk : For mixing the dry ingredients.
- Wooden spoon or rubber spatula : For folding everything together.
- Baking sheets : Two large ones. Line them with parchment paper or a silicone baking mat.
- Cookie scoop : A 1.5-tablespoon scoop makes uniform cookies. If you don’t have one, just use two spoons.
- Cooling rack : Essential for letting the cookies set properly.
- Small bowl : For the cinnamon-sugar coating.
I used to skip the parchment paper and just grease the pan, but honestly, the cookies spread too much and the bottoms got too dark. Parchment paper is a game-changer for even baking and easy cleanup.
Preparation Method
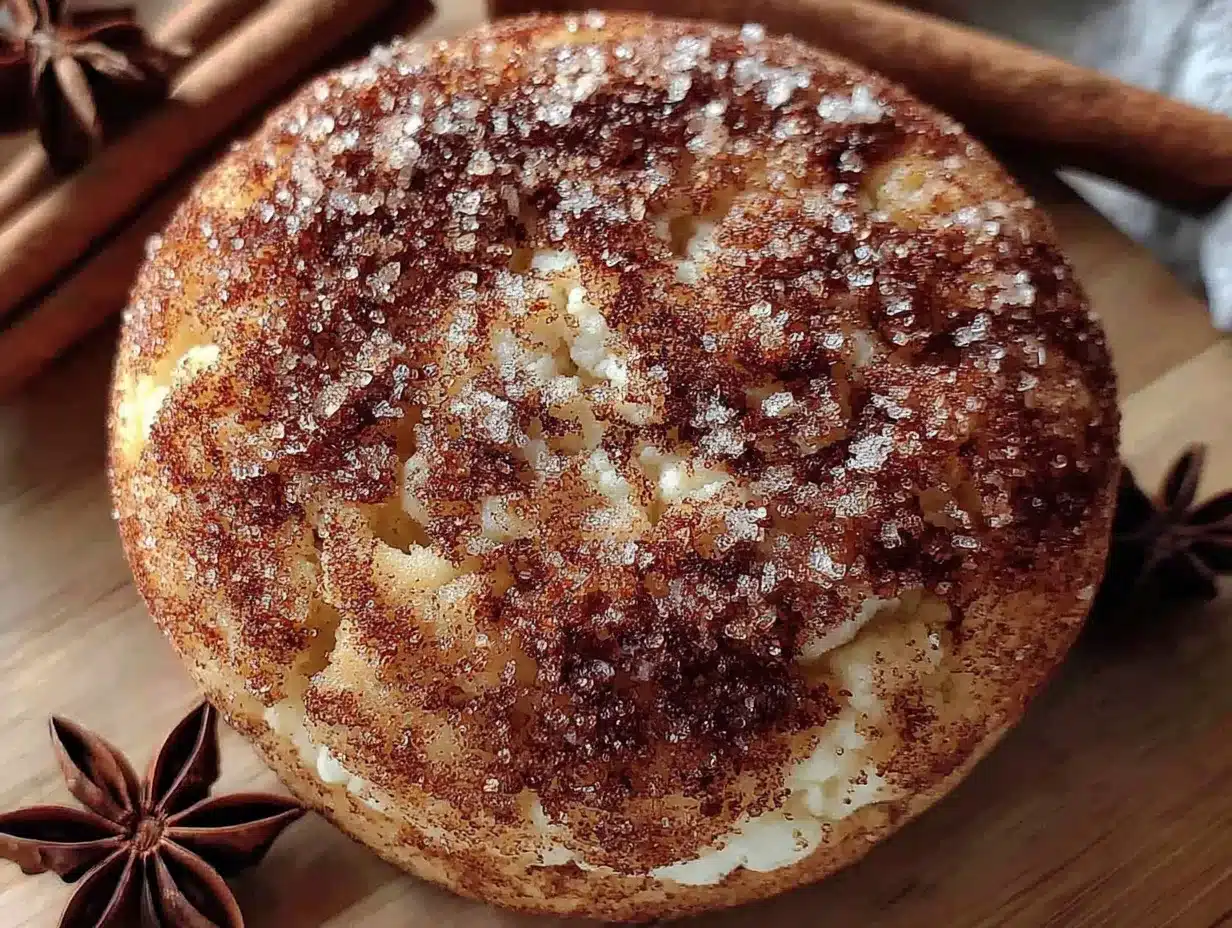
Let’s get baking. This whole process takes about 25 minutes, and I promise it is worth every single step.
-
Brown the butter : Place the 1 cup of unsalted butter in a medium saucepan over medium heat. Let it melt completely, then continue cooking, swirling the pan occasionally. The butter will start to foam and bubble. After about 5-7 minutes, you will see brown specks forming at the bottom of the pan and the butter will smell nutty and amazing. Remove it from the heat immediately and pour it into a heat-safe bowl. Let it cool for 10 minutes. Don’t rush this—if the butter is too hot, it will cook the egg later.
-
Mix the wet ingredients : In a large mixing bowl, combine the cooled brown butter, 1 cup granulated sugar, and 1/2 cup packed brown sugar. Whisk until smooth and well combined. Add the 1/2 cup pumpkin puree, 1 large egg, and 1 teaspoon vanilla extract. Whisk again until everything is fully incorporated. The mixture should look smooth and slightly glossy.
-
Combine the dry ingredients : In a separate bowl, whisk together 2 cups all-purpose flour, 2 teaspoons cream of tartar, 1 teaspoon baking soda, 1/2 teaspoon salt, and 1 teaspoon pumpkin pie spice. Make sure there are no lumps—cream of tartar can be clumpy sometimes.
-
Make the dough : Gradually add the dry ingredients to the wet ingredients, stirring with a wooden spoon or rubber spatula until just combined. Do not overmix. The dough will be soft and slightly sticky, but it should hold together. If it feels too sticky to handle, pop it in the fridge for 15 minutes.
-
Prepare the coating : In a small bowl, mix together 1/4 cup granulated sugar and 1 tablespoon cinnamon. Set aside.
-
Shape the cookies : Preheat your oven to 350°F (175°C). Line your baking sheets with parchment paper. Using a cookie scoop or two spoons, portion out about 1.5 tablespoons of dough. Roll each portion into a ball between your palms. Then roll each ball in the cinnamon-sugar mixture until fully coated. Place them on the prepared baking sheets about 2 inches apart. They will spread a bit.
-
Bake : Bake for 10-12 minutes, or until the edges are set and the tops look slightly crackled. The centers will look a little soft and puffy—that’s perfect. Do not overbake or they will lose their chewy texture.
-
Cool : Let the cookies rest on the baking sheet for 5 minutes. This is crucial—they are very fragile right out of the oven. After 5 minutes, transfer them to a wire cooling rack to cool completely. The centers will continue to set as they cool.
A personal tip: I always bake one test cookie first to check the spread and texture. It saves a whole batch if something is off.
Cooking Tips & Techniques
I have made these cookies more times than I can count, and I have definitely learned a few things the hard way. Here are my best tips to get it right every time.
- Don’t skip the brown butter : I know it adds a step, but it is the soul of this cookie. The nutty, toasty flavor is what makes these cookies so addictive. Just watch it carefully—it can go from perfectly browned to burnt in seconds.
- Use room temperature egg : If your egg is cold, it will seize the brown butter and make the dough lumpy. Just set it on the counter for 15 minutes before you start, or place it in a bowl of warm water for 5 minutes.
- Measure your flour correctly : The number one mistake people make is scooping flour directly from the bag. This packs it down and you end up with dry cookies. Spoon the flour into your measuring cup and level it off with a knife.
- Chill if needed : The dough is naturally soft because of the pumpkin. If it feels too sticky to roll, just refrigerate it for 15-20 minutes. It makes shaping much easier.
- Don’t overbake : Pull them out when the edges are set but the centers still look slightly underdone. They will continue to bake on the hot pan. Overbaked snickerdoodles are crunchy, not chewy.
I once forgot to add the cream of tartar and ended up with flat, sad cookies that tasted more like sugar biscuits. It was a sad day. Don’t skip it.
Variations & Adaptations
This recipe is wonderfully flexible. Here are a few ways to make it your own.
- Gluten-Free Version : Substitute the all-purpose flour with a 1:1 gluten-free baking blend. I like Bob’s Red Mill for this. The texture will be slightly more tender, but they still hold together beautifully.
- Dairy-Free Version : Use a high-quality vegan butter. Just keep in mind that vegan butter doesn’t brown the same way as dairy butter—it will still get nutty but won’t develop the same deep amber color.
- Extra Spiced : Add 1/2 teaspoon of ground ginger and 1/4 teaspoon of ground cloves to the dry ingredients. This gives them a real gingerbread-meets-pumpkin vibe that is perfect for the holidays.
- Chocolate Drizzle : Once the cookies are completely cool, drizzle them with melted dark chocolate. It sounds weird with pumpkin, but trust me—the bitterness of the chocolate is amazing against the sweet, spiced cookie.
- Pumpkin Seed Topping : Before baking, press a few pumpkin seeds (pepitas) into the top of each cookie. It adds a nice crunch and looks pretty on a dessert table.
I personally love the extra spiced version. I made it for a Friendsgiving last year and someone asked if they could take the leftovers home. That’s always a good sign.
Serving & Storage Suggestions
These cookies are best served slightly warm, when the centers are still soft and the cinnamon-sugar coating is perfectly crackly. I like to serve them with a cold glass of milk or a warm mug of chai tea. They also pair beautifully with a scoop of vanilla ice cream for a simple dessert.
For storage, keep them in an airtight container at room temperature for up to 5 days. I actually think they taste even better on day two—the flavors have time to meld and the texture softens just a little more. If you stack them, place a piece of parchment paper between layers to prevent sticking.
To freeze, place the baked and cooled cookies in a single layer in a freezer-safe bag or container. They will keep for up to 3 months. To thaw, just leave them on the counter for about 30 minutes. You can also freeze the unbaked dough balls. Roll them, coat them in the cinnamon sugar, and freeze them on a baking sheet. Once solid, transfer them to a freezer bag. Bake from frozen, adding 2-3 minutes to the baking time.
One thing I love about these cookies is that the flavor actually deepens over time. The brown butter notes get more pronounced, and the pumpkin spice settles into something really cozy.
Nutritional Information & Benefits
Here is an approximate nutritional breakdown per cookie (based on 24 cookies):
- Calories : 165
- Fat : 8g
- Carbohydrates : 22g
- Protein : 2g
- Fiber : 1g
- Sugar : 14g
Pumpkin is packed with vitamin A and fiber, which makes you feel slightly better about eating three cookies in one sitting. The brown butter adds a touch of richness, but honestly, these are a relatively balanced treat compared to many bakery-style cookies.
If you are watching your sugar intake, you can reduce the sugar in the dough by a quarter cup, but the texture will be slightly less tender. These cookies are not gluten-free or dairy-free as written, but see the variations section for easy swaps.
Conclusion
These Brown Butter Pumpkin Snickerdoodle Cookies are the fall cookie you didn’t know you needed. They are soft, chewy, and packed with that deep, nutty flavor that only brown butter can bring. The pumpkin keeps them moist without making them heavy, and that crackly cinnamon-sugar top is pure nostalgia. I have made these for family dinners, bake sales, and quiet nights in, and they never disappoint. I honestly think they are the best pumpkin cookie I have ever made. Give them a try—I have a feeling you will agree. And if you make them your own with a fun variation, I would love to hear about it in the comments. Happy baking!
Frequently Asked Questions
Can I use pumpkin pie filling instead of pumpkin puree?
No, please don’t. Pumpkin pie filling has added sugar and spices that will throw off the balance of this recipe. Stick with 100% pure pumpkin puree for the best results.
Why did my cookies turn out flat?
Flat cookies usually mean the butter was too warm when you mixed the dough, or you skipped the cream of tartar. Make sure your brown butter has cooled for at least 10 minutes, and always use fresh cream of tartar.
Can I make the dough ahead of time?
Absolutely. You can refrigerate the dough for up to 48 hours before baking. Just let it sit at room temperature for 10 minutes so it softens enough to scoop. The flavor actually gets better after chilling.
How do I know when the butter is properly browned?
Look for two signs: the butter will smell nutty and toasty, and you will see tiny brown specks floating in the liquid. It should be a light amber color. If it turns dark brown or smells burnt, you have gone too far.
Can I double this recipe?
Yes, it doubles perfectly. Just make sure you use a large enough pan for browning the butter, and bake in batches so you don’t overcrowd the oven. The baking time stays the same.
Pin This Recipe!
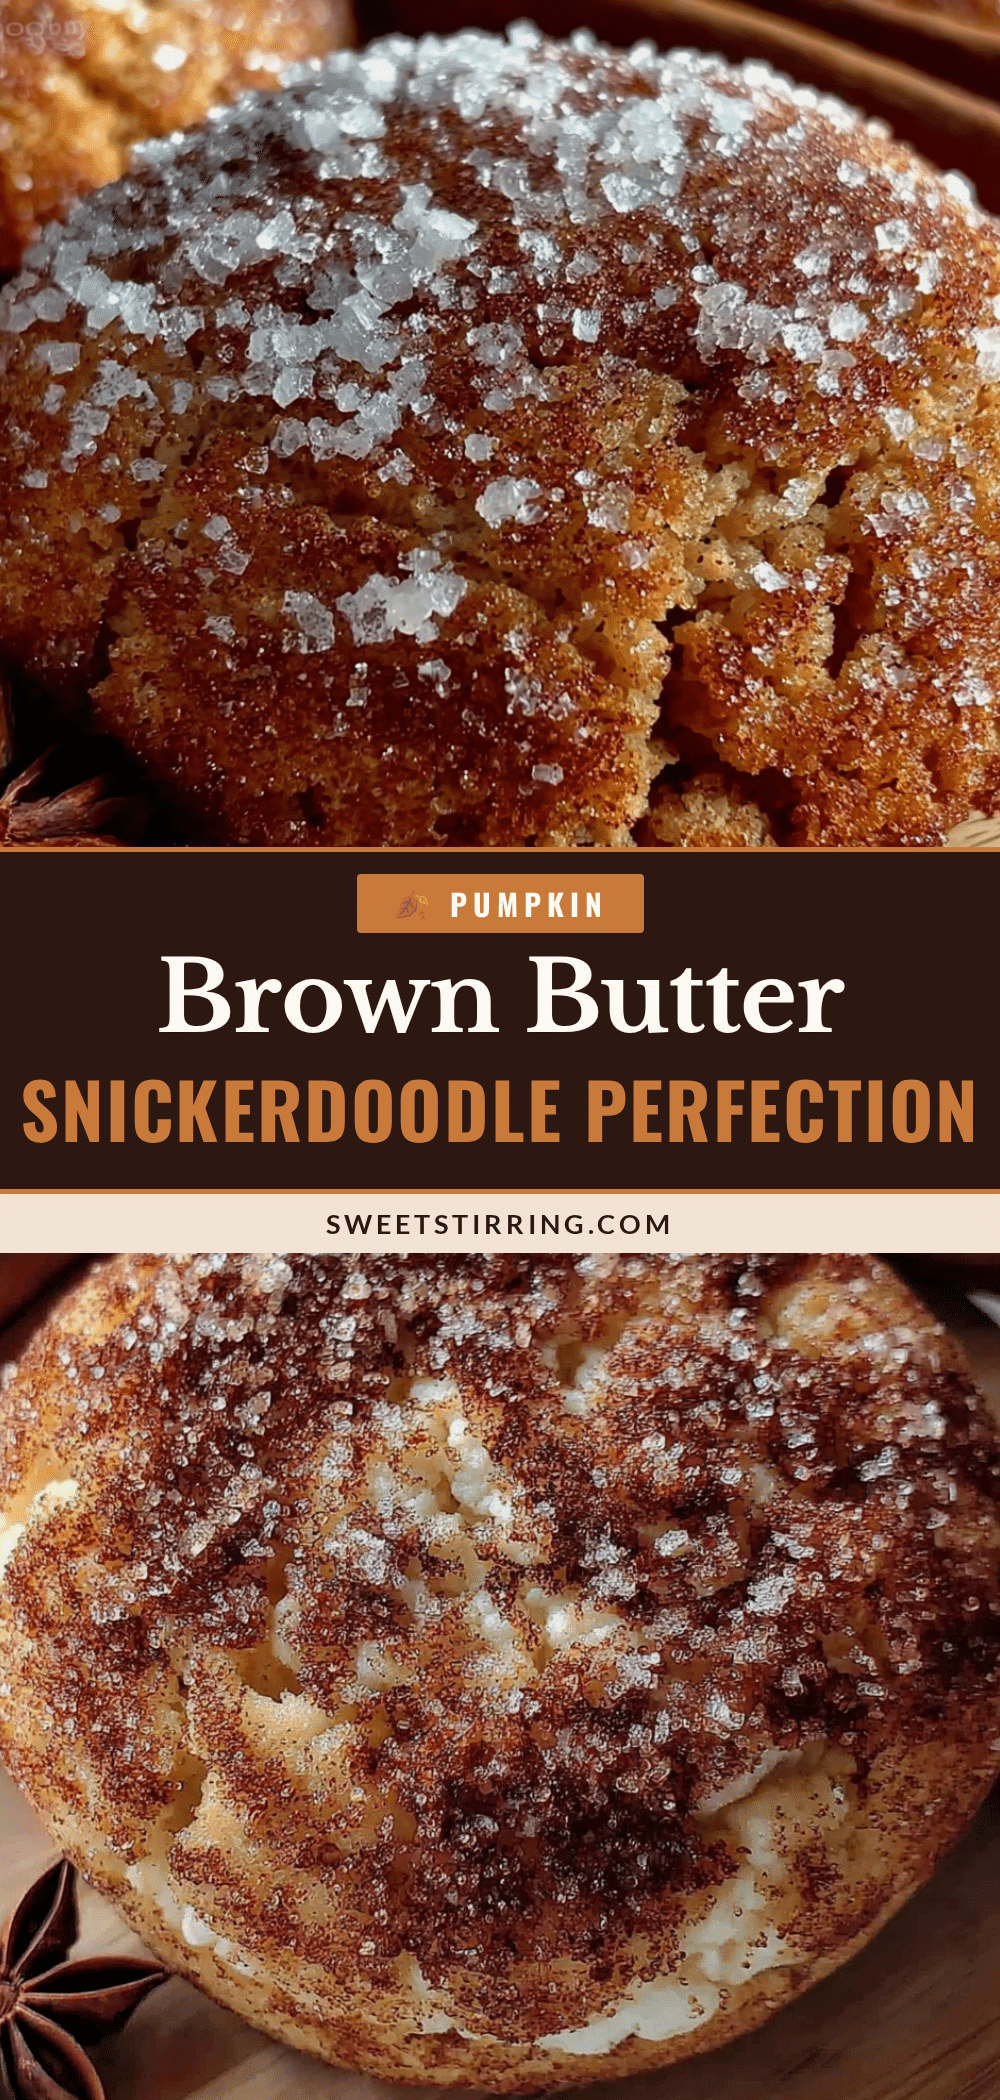
Best Brown Butter Pumpkin Snickerdoodle Cookies
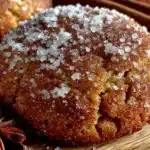
These soft, chewy snickerdoodles combine nutty brown butter with pumpkin puree for a moist, crackly-topped cookie that’s perfect for fall. Ready in under 30 minutes, they’re a crowd-pleaser that will change your mind about pumpkin cookies.
- Prep Time: 15 minutes
- Cook Time: 12 minutes
- Total Time: 27 minutes
- Yield: 24 servings 1x
- Category: Dessert
- Cuisine: American
Ingredients
- 1 cup (2 sticks) unsalted butter
- 1/2 cup pumpkin puree (100% pure, not pie filling)
- 1 cup granulated sugar (for dough)
- 1/4 cup granulated sugar (for coating)
- 1/2 cup packed brown sugar (light or dark)
- 1 large egg, at room temperature
- 1 teaspoon vanilla extract (pure)
- 2 cups all-purpose flour (spooned and leveled)
- 2 teaspoons cream of tartar
- 1 teaspoon baking soda
- 1/2 teaspoon fine sea salt
- 1 teaspoon pumpkin pie spice
- 1 tablespoon cinnamon (for coating)
Instructions
- Brown the butter: Place 1 cup unsalted butter in a medium saucepan over medium heat. Melt completely, then continue cooking, swirling occasionally, until the butter foams, bubbles, and develops brown specks at the bottom (about 5-7 minutes). Remove from heat immediately and pour into a heat-safe bowl. Let cool for 10 minutes.
- Mix the wet ingredients: In a large mixing bowl, combine the cooled brown butter, 1 cup granulated sugar, and 1/2 cup packed brown sugar. Whisk until smooth. Add 1/2 cup pumpkin puree, 1 large egg, and 1 teaspoon vanilla extract. Whisk until fully incorporated and glossy.
- Combine the dry ingredients: In a separate bowl, whisk together 2 cups all-purpose flour, 2 teaspoons cream of tartar, 1 teaspoon baking soda, 1/2 teaspoon salt, and 1 teaspoon pumpkin pie spice until no lumps remain.
- Make the dough: Gradually add the dry ingredients to the wet ingredients, stirring with a wooden spoon or rubber spatula until just combined. Do not overmix. The dough will be soft and slightly sticky. If too sticky, refrigerate for 15 minutes.
- Prepare the coating: In a small bowl, mix together 1/4 cup granulated sugar and 1 tablespoon cinnamon. Set aside.
- Shape the cookies: Preheat oven to 350°F (175°C). Line baking sheets with parchment paper. Using a cookie scoop or two spoons, portion out about 1.5 tablespoons of dough. Roll each portion into a ball, then roll in the cinnamon-sugar mixture until fully coated. Place on prepared baking sheets about 2 inches apart.
- Bake: Bake for 10-12 minutes, until edges are set and tops look slightly crackled. Centers should still look soft and puffy. Do not overbake.
- Cool: Let cookies rest on the baking sheet for 5 minutes (they are fragile). Then transfer to a wire cooling rack to cool completely. Centers will continue to set as they cool.
Notes
Don’t skip the cream of tartar—it gives snickerdoodles their signature tangy flavor and soft texture. For best results, use room temperature egg and measure flour by spooning and leveling. If dough is too sticky, chill for 15-20 minutes. Bake one test cookie first to check spread and texture. Cookies can be stored in an airtight container at room temperature for up to 5 days, or frozen for up to 3 months.
Nutrition
- Serving Size: 1 cookie
- Calories: 165
- Sugar: 14
- Sodium: 120
- Fat: 8
- Saturated Fat: 5
- Carbohydrates: 22
- Fiber: 1
- Protein: 2
Keywords: pumpkin cookies, snickerdoodle, brown butter, fall cookies, pumpkin dessert, easy cookie recipe