Love this? Save it for later!
Share the inspiration with your friends
My neighbor across the hall, a retired botanist named Margaret, asked why I couldn’t just leave the peels on the pears. I was mid-sentence explaining why that would ruin the texture—something about pectin distribution and stringy bits—when I stopped. I honestly had no good answer. I’d been making fruit preserves for years, always following the same tedious peeling routine, and I’d never once questioned it. Margaret just shrugged and said, “The flavor’s in the skin, dear.” So I tried it. I scrubbed the Bosc pears clean, chopped them roughly, and tossed them in the pot with the vanilla bean and sugar, peels and all. Let me tell you, I stirred that pot feeling like I was breaking every rule in the canning book. But two hours later, when I tasted that first spoonful, I had to sit down. The preserves had this deeper, almost floral undertone, and the texture was somehow more complex—not chunky in a bad way, just… honest. I mean, the peels had broken down completely, leaving behind this beautiful blush color and a richness I’d never achieved before. You know that feeling when you realize you’ve been overcomplicating something for years? That was my moment. The vanilla bean added this warm, creamy sweetness that made the pears taste like they’d been caramelized, even though there wasn’t any butter in sight. Now I make this vanilla bean pear preserves every autumn without fail, and I always think of Margaret whenever I skip the peeler. This recipe is the one that taught me to trust the ingredient, not the habit.
Why You’ll Love This Recipe
This homemade vanilla bean pear preserves recipe isn’t just another fruit spread—it’s the kind of thing that makes you slow down and appreciate the small moments. I’ve tested this more times than I care to admit, tweaking the sugar ratio, playing with cooking times, and even trying different pear varieties, and this version is the one that finally clicked.
- Simple Ingredients: You only need pears, sugar, lemon juice, and a vanilla bean. No pectin packets, no fancy equipment, no trips to specialty stores.
- No Peeling Required: Seriously. The peels break down during cooking and add natural pectin and color. This saves you at least 20 minutes of tedious work.
- Perfect for Gifting: A jar of this golden, vanilla-flecked preserves wrapped with a ribbon makes a thoughtful homemade gift that people actually get excited about.
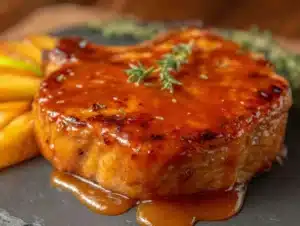
- Versatile Beyond Toast: Spoon it over yogurt, swirl it into oatmeal, glaze a pork roast, or fill thumbprint cookies. It’s a multitasker in your fridge.
- Small-Batch Friendly: This recipe makes about 3 cups, so you don’t need to commit to a massive canning operation. Perfect for trying something new.
What makes this different from other pear preserves is the vanilla bean. It’s not just vanilla extract thrown in at the end—the bean simmers with the fruit, infusing every piece of pear with that warm, aromatic flavor. The texture is also intentionally looser than commercial jam, more like a rustic compote that still has identifiable pieces of pear. It’s comfort in a jar, honestly. The kind of thing that makes a simple piece of toast feel like a special occasion.
What Ingredients You Will Need
This recipe relies on a handful of quality ingredients working together. The pears do the heavy lifting, while the vanilla bean adds that signature warmth. Here’s what you’ll need:
- 2 kg (about 4.5 pounds) ripe but firm pears – Bosc or Bartlett work beautifully. Bosc holds its shape better during cooking, while Bartlett breaks down more for a softer spread. Look for pears that yield slightly to pressure but aren’t mushy. I prefer Bosc for their honeyed flavor and sturdy texture.
- 800 g (4 cups) granulated sugar – This is the preserving standard. Don’t reduce the sugar drastically, or the preserves won’t set properly. If you want a lower-sugar version, use a low-sugar pectin following package directions, but note the texture will be different.
- 120 ml (½ cup) fresh lemon juice – About 2 large lemons. The acid balances the sweetness and helps with preservation. Bottled lemon juice works in a pinch, but fresh tastes brighter.
- 1 whole vanilla bean – Look for plump, moist beans. Madagascar or Tahitian vanilla beans are excellent choices. You can substitute 2 teaspoons of pure vanilla extract, but add it after cooking to preserve the flavor.
- 60 ml (¼ cup) water – Just enough to get the cooking started and prevent sticking before the pears release their juice.
Optional additions: a pinch of sea salt to balance flavors, or a cinnamon stick for a spiced version. I sometimes add a tablespoon of bourbon at the end for a grown-up twist.
Equipment Needed
You don’t need a full canning setup for this recipe, but a few key tools make the process smoother. Here’s what I use:
- Large heavy-bottomed pot or Dutch oven – A 5-quart (5-liter) pot works perfectly. The heavy bottom prevents scorching. I use my enameled cast iron Dutch oven, and it distributes heat evenly.
- Wooden spoon or heatproof spatula – For stirring. Metal can scratch your pot, and plastic might melt. Wood is my go-to.
- Sharp knife and cutting board – You’ll be chopping pears, so a good knife makes the job faster and safer.
- Measuring cups and spoons – Accuracy matters in preserving, even with a rustic recipe like this.
- Mason jars with lids – Four 8-ounce (240 ml) jars or two pint-sized jars. Sterilize them by boiling for 10 minutes or running through the dishwasher on high heat.
- Canning funnel (optional but helpful) – Makes filling jars much less messy. I bought mine for $3 and it’s saved me countless spills.
- Small plate in the freezer – For testing if the preserves are set. Pop it in before you start cooking.
If you don’t have a Dutch oven, any large stainless steel pot works. Just stir more frequently to prevent sticking. And if you’re new to preserving, don’t stress about perfection—this recipe forgives mistakes.
Preparation Method
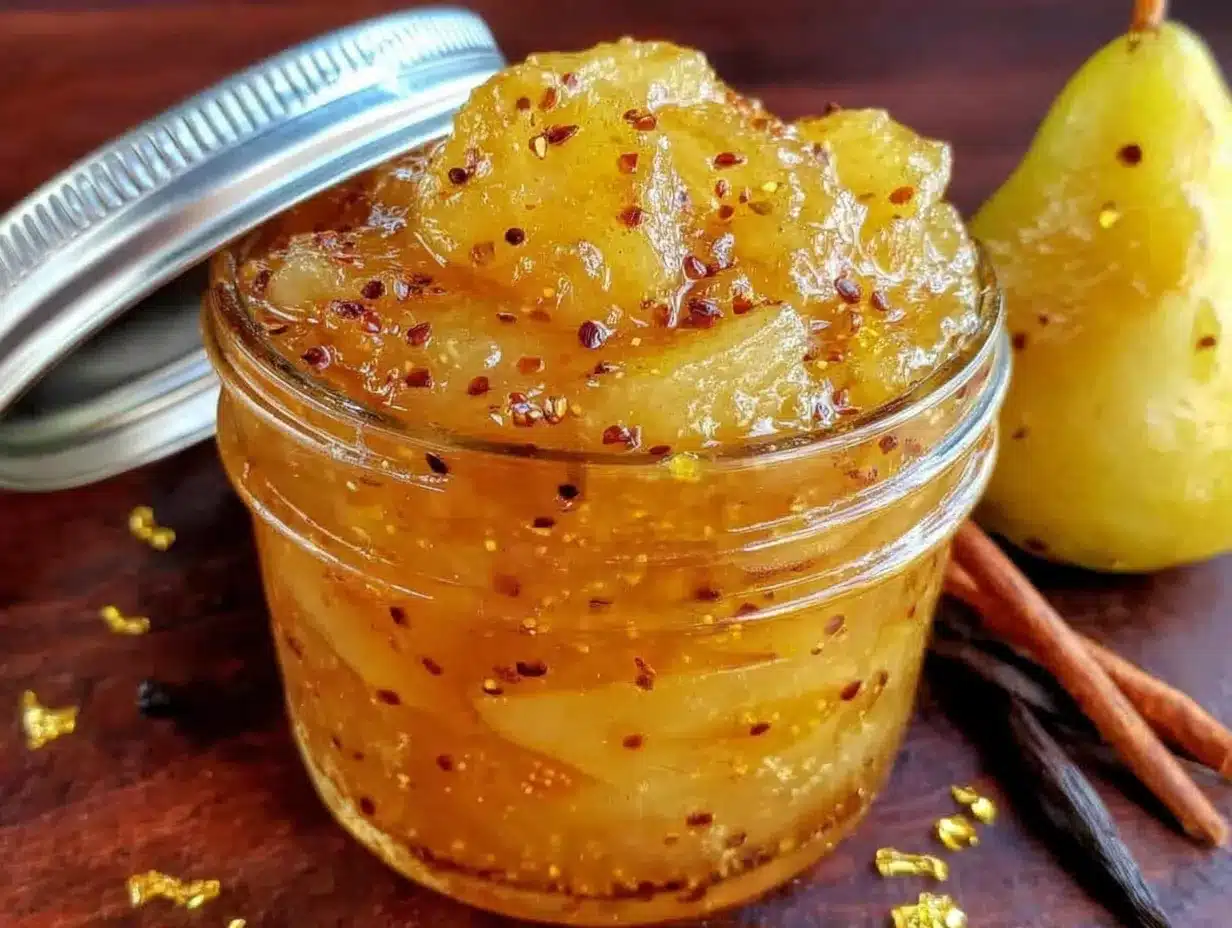
Making this vanilla bean pear preserves is a relaxing process, not a frantic one. Set aside about 2 hours total, with most of that being hands-off simmering time. Here’s how it goes:
- Prepare the pears. Wash the pears thoroughly. Cut them into quarters, remove the cores and stems, then chop into 2 cm (¾ inch) chunks. Don’t peel them. Yes, really. The peels add color, flavor, and natural pectin. You’ll have about 1.5 kg (3.3 pounds) of chopped fruit.
- Split the vanilla bean. Using a paring knife, slice the vanilla bean lengthwise down the center. Scrape out the tiny black seeds with the back of the knife. Reserve both the seeds and the pod—they both go into the pot.
- Combine everything in the pot. Add the chopped pears, sugar, lemon juice, water, vanilla bean seeds, and the empty pod to your pot. Stir to coat the pears in sugar. Let this sit for 15-20 minutes. The sugar will start drawing out the pear juice, creating a syrupy base.
- Bring to a boil. Place the pot over medium-high heat. Stir occasionally until the sugar dissolves completely and the mixture comes to a full rolling boil. This takes about 10 minutes. Don’t walk away—sugar can burn quickly.
- Reduce and simmer. Lower the heat to medium-low so the mixture maintains a gentle simmer. Cook for 45-60 minutes, stirring every 5-7 minutes. The pears will soften, the liquid will thicken, and the color will deepen to a warm amber. You’ll see the bubbles get larger and slower as it thickens.
- Test for doneness. After 45 minutes, start testing. Place a small spoonful of preserves on your frozen plate. Let it sit for 30 seconds, then push it with your finger. If it wrinkles and doesn’t flood back together, it’s done. If it’s still runny, cook another 10 minutes and test again.
- Remove the vanilla pod. Fish out the vanilla bean pod. Rinse it off, let it dry, and bury it in a jar of sugar for vanilla sugar. Waste not, want not.
- Can or store. Ladle the hot preserves into sterilized jars, leaving 1 cm (½ inch) headspace. Wipe the rims clean, screw on the lids, and process in a boiling water bath for 10 minutes if you want shelf-stable jars. Otherwise, let them cool to room temperature, then refrigerate. The preserves will thicken more as they cool.
A note from experience: don’t rush the simmer. I once tried to crank up the heat to speed things up, and the bottom scorched. The whole batch tasted faintly burnt. Low and slow is the way here. Also, the mixture will splutter occasionally—wear an apron or stand back a bit.
Cooking Tips & Techniques
I’ve learned a few things the hard way so you don’t have to. Here are the tips that make this recipe foolproof:
- Use a mix of ripe and slightly underripe pears. Ripe pears give you that sweet, floral flavor, but underripe ones have more natural pectin. A 70/30 ratio of ripe to firm works beautifully for texture.
- Don’t skip the resting step. Letting the pears sit with the sugar before cooking draws out their juice and dissolves the sugar gradually. This prevents graininess and ensures even cooking.
- Skim the foam. About 20 minutes into simmering, you’ll see a foamy layer form on top. Skim it off with a spoon. This foam is just air bubbles and impurities, and removing it gives you a clearer, more attractive final product.
- Stir from the bottom. Sugar sinks, so make sure you’re scraping the bottom of the pot with each stir. I use a flat-edged wooden spoon for this—it reaches the corners better.
- Trust the wrinkle test over a thermometer. While the setting point for jam is 105°C (220°F) at sea level, the wrinkle test on a cold plate is more reliable, especially if you’re at a higher altitude. I’ve had batches that reached temperature but still ran like syrup.
- Don’t double the recipe. Preserves need even heat distribution to thicken properly. Doubling the batch increases cooking time significantly and risks scorching. Make two separate batches if you need more.
One mistake I made early on was using a pot that was too small. The mixture bubbled up and made a sticky mess on my stove. Use a pot that’s at least twice the volume of your starting ingredients—you’ll thank me later.
Variations & Adaptations
This vanilla bean pear preserves recipe is a wonderful base for experimentation. Here are some variations I’ve tried and loved:
- Spiced Pear Preserves: Add 1 cinnamon stick, 3 whole cloves, and a star anise to the pot during simmering. Remove them before jarring. The warm spices complement the vanilla beautifully. I made this version for Christmas gifts last year, and it was the first jar emptied at every brunch.
- Ginger-Pear Preserves: Grate a 5 cm (2 inch) piece of fresh ginger and add it with the pears. The ginger adds a bright, zippy kick that cuts through the sweetness. This pairs amazingly with sharp cheddar cheese on crackers.
- Low-Sugar Version: Reduce the sugar to 400 g (2 cups) and add 1 tablespoon of low-sugar pectin powder mixed with 2 tablespoons of sugar. Follow the pectin package instructions for timing. The texture will be softer and less shelf-stable, but the pear flavor really shines.
- Bourbon-Vanilla Pear Preserves: Stir in 2 tablespoons of bourbon after removing the pot from heat. The alcohol mostly cooks off, leaving a warm, oaky undertone. I accidentally discovered this when I added bourbon to a batch that was slightly too sweet—it balanced it perfectly.
- Apple-Pear Blend: Substitute half the pears with firm apples like Granny Smith or Honeycrisp. Apples add extra pectin for a firmer set and a more complex flavor profile. This is a great option if your pears are very ripe and soft.
For dietary needs, this recipe is naturally gluten-free, dairy-free, and vegan. Just ensure your sugar is certified vegan if that’s a concern (some sugars are processed with bone char).
Serving & Storage Suggestions
This vanilla bean pear preserves shines in so many ways beyond just toast. Here’s how I use it throughout the week:
- On a cheese board: Pair it with aged cheddar, brie, or blue cheese. The sweetness balances salty, funky cheeses beautifully. Add some crusty bread and you’ve got an instant appetizer.
- Over yogurt or oatmeal: Swirl a spoonful into Greek yogurt or warm oatmeal for a quick, luxurious breakfast. The vanilla notes make it feel dessert-like.
- As a glaze: Brush it over pork chops or chicken during the last 5 minutes of roasting. It caramelizes into a beautiful, sticky glaze. I did this last Sunday, and my husband asked what I’d done differently—he couldn’t stop eating.
- In baked goods: Use it as a filling for thumbprint cookies, layer it between cake rounds, or swirl it into muffin batter. It adds moisture and flavor without being overly sweet.
- On pancakes or waffles: Warm it slightly and spoon over your favorite breakfast carbs. It’s a welcome change from maple syrup.
Storage: Refrigerate opened jars and use within 3 weeks. If you processed the jars in a water bath, they’ll keep in a cool, dark pantry for up to 1 year. Once opened, refrigerate and use within 3 weeks. The preserves may darken slightly over time—that’s normal and doesn’t affect flavor.
Freezing: Pour cooled preserves into freezer-safe containers, leaving 2 cm (¾ inch) headspace for expansion. They’ll keep for up to 6 months. Thaw in the refrigerator overnight. The texture might be slightly softer after freezing, but the flavor remains intact.
Flavors actually deepen after a few days in the fridge. The vanilla becomes more pronounced, and the pear flavor rounds out. So don’t be discouraged if it tastes slightly different on day one—give it time.
Nutritional Information & Benefits
While this is a sweet treat, pears themselves bring some nutritional value to the table. Here’s a rough estimate per 2-tablespoon (30 ml) serving:
- Calories: 45
- Carbohydrates: 12 g
- Sugar: 11 g
- Fiber: 0.5 g
- Vitamin C: 2% DV
Pears are a good source of dietary fiber, especially when you leave the peels on (which we do here). They also contain copper, vitamin K, and antioxidants like flavonoids. The lemon juice adds a small amount of vitamin C, which also helps preserve the color.
This recipe is naturally gluten-free, dairy-free, and vegan. The only potential allergen is the pears themselves, which are rarely an issue. If you’re watching your sugar intake, consider the low-sugar variation above or use it sparingly as a flavor accent rather than a spread.
I personally see this as a “use it wisely” ingredient—a little goes a long way, and it adds so much joy to simple foods. That spoonful on your morning yogurt is worth every gram of sugar, in my book.
Conclusion
This homemade vanilla bean pear preserves recipe is the kind of thing that makes you feel accomplished without feeling stressed. It’s forgiving, adaptable, and produces something genuinely special that you’d be proud to gift or hoard for yourself. The vanilla bean elevates the pears in a way that extract just can’t replicate, and the no-peel shortcut is a game-changer for anyone who’s ever stood over a compost bin with an aching wrist.
I hope you give this a try, and I hope you make it your own. Maybe you’ll add a cinnamon stick, maybe you’ll try it with bourbon, or maybe you’ll keep it exactly as written. Whatever you choose, I’d love to hear about it. Drop a comment below and tell me how your batch turned out—what pears you used, what you served it on, or if you discovered a variation I haven’t tried yet. Your experiments might just inspire someone else’s next batch.
Happy preserving, friend. Your kitchen is about to smell incredible.
Frequently Asked Questions
Can I use canned pears instead of fresh?
I wouldn’t recommend it. Canned pears are already cooked and packed in syrup, so they’ll break down too quickly and won’t develop the same depth of flavor. Fresh pears are essential for the texture and natural pectin needed for proper preserves.
Why did my preserves turn out runny?
Several reasons: the pears might have been very ripe (low in pectin), you may not have cooked it long enough, or you might have reduced the sugar too much. Try cooking it another 10-15 minutes and testing again. You can also stir in 1 tablespoon of chia seeds as a quick fix—they’ll absorb excess liquid.
Do I really need a vanilla bean, or can I use extract?
You can use 2 teaspoons of pure vanilla extract added after cooking, but the flavor won’t be as complex. The vanilla bean infuses the preserves with tiny specks of vanilla and a deeper, more aromatic flavor. If you’re making this for a special occasion or gift, spring for the bean.
How long will these preserves last?
If you process the jars in a boiling water bath for 10 minutes, they’ll keep in a cool, dark pantry for up to 1 year. Once opened, refrigerate and use within 3 weeks. If you skip the water bath, refrigerate immediately and use within 3 weeks.
Can I reduce the sugar?
Yes, but it affects both texture and preservation. For every 200 g (1 cup) of sugar you remove, the preserves will be softer and less shelf-stable. If you reduce sugar, plan to refrigerate and use within 2 weeks. For a lower-sugar option, use the low-sugar pectin method described in the variations section.
Pin This Recipe!
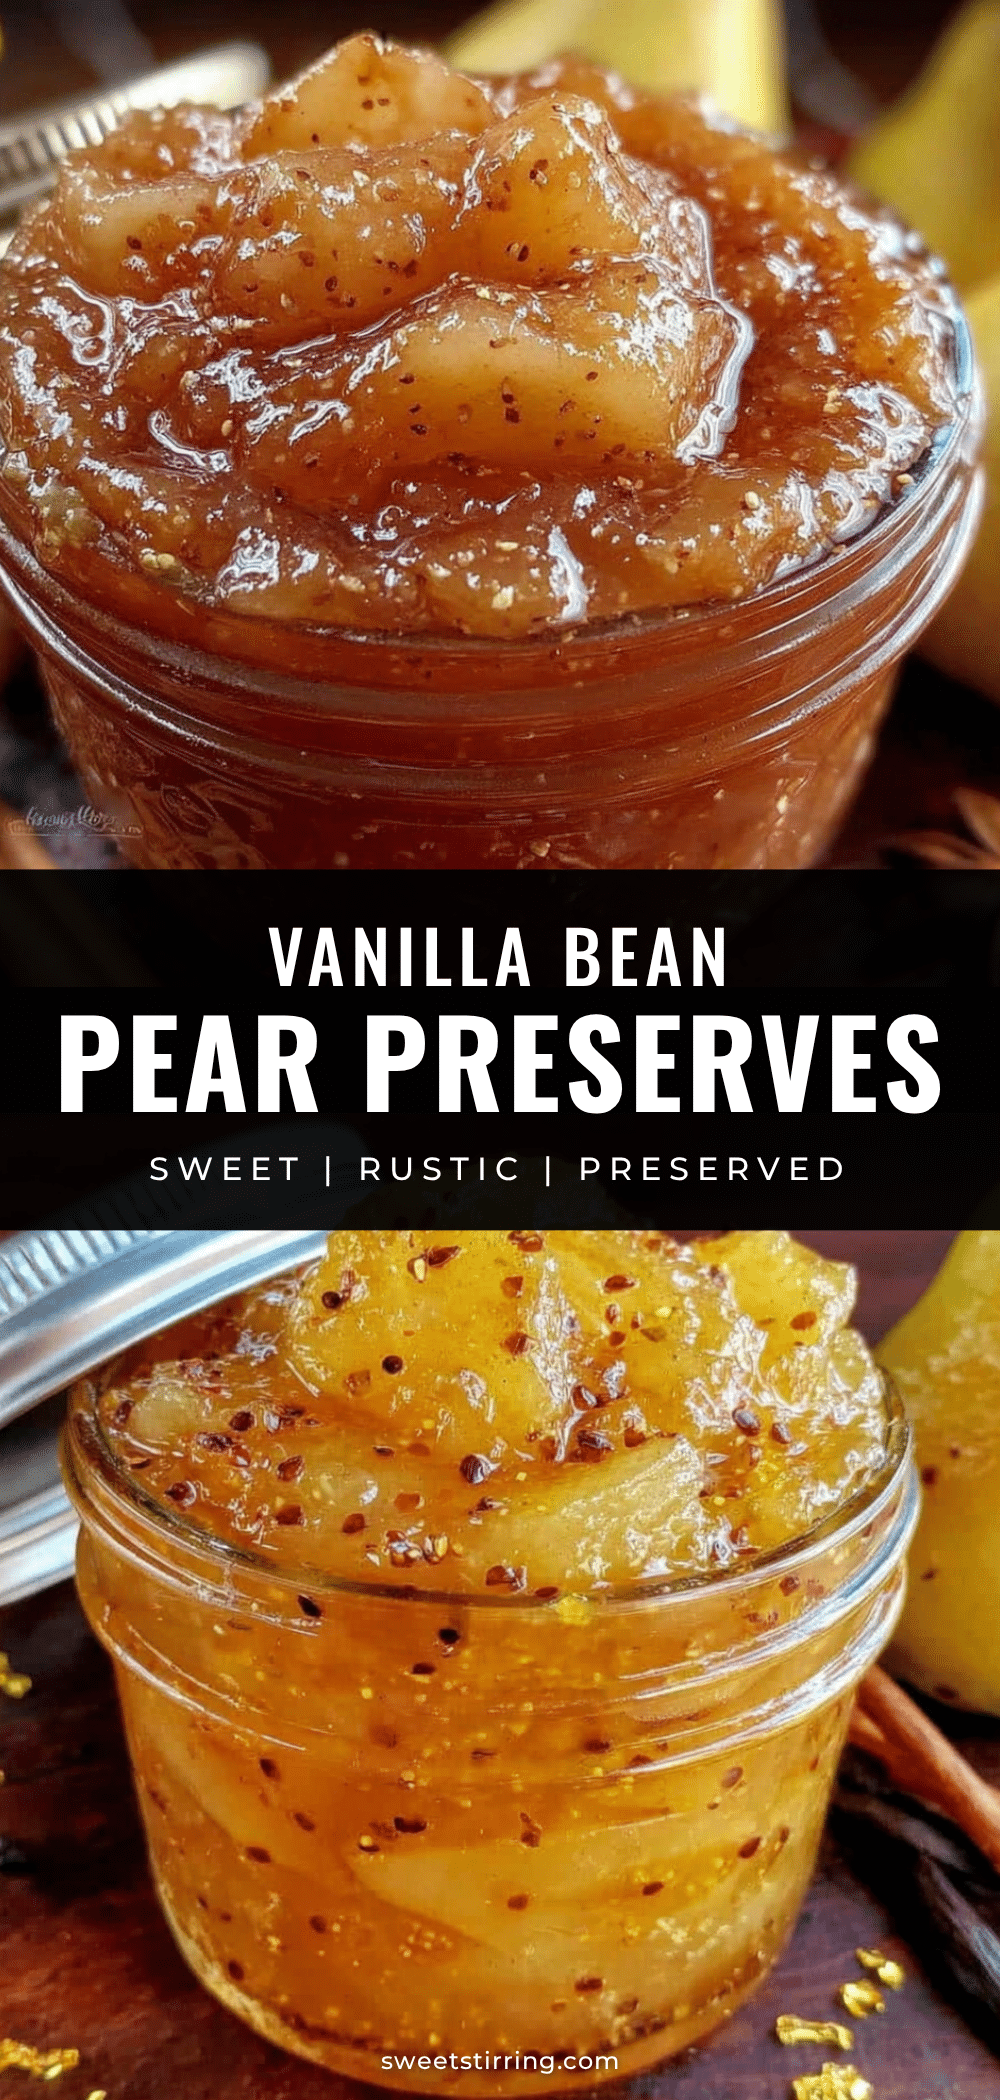
Easy Homemade Vanilla Bean Pear Preserves Recipe
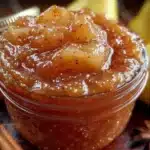
This homemade vanilla bean pear preserves recipe is a forgiving, adaptable, and genuinely special fruit spread. The vanilla bean elevates the pears in a way that extract just can’t replicate, and the no-peel shortcut is a game-changer for anyone who’s ever stood over a compost bin with an aching wrist.
- Prep Time: 20 minutes
- Cook Time: 55 minutes
- Total Time: 2 hours
- Yield: 3 cups (about 4 servings) 1x
- Category: Preserves
- Cuisine: American
Ingredients
- 2 kg (about 4.5 pounds) ripe but firm pears (Bosc or Bartlett)
- 800 g (4 cups) granulated sugar
- 120 ml (½ cup) fresh lemon juice (about 2 large lemons)
- 1 whole vanilla bean (Madagascar or Tahitian)
- 60 ml (¼ cup) water
- Optional: pinch of sea salt, cinnamon stick, 1 tablespoon bourbon
Instructions
- Prepare the pears: Wash thoroughly, cut into quarters, remove cores and stems, then chop into 2 cm (¾ inch) chunks. Do not peel.
- Split the vanilla bean lengthwise and scrape out the seeds. Reserve both seeds and pod.
- Combine chopped pears, sugar, lemon juice, water, vanilla bean seeds, and empty pod in a large heavy-bottomed pot. Stir to coat pears in sugar. Let sit for 15-20 minutes to draw out juice.
- Place pot over medium-high heat. Stir occasionally until sugar dissolves and mixture comes to a full rolling boil (about 10 minutes).
- Reduce heat to medium-low to maintain a gentle simmer. Cook for 45-60 minutes, stirring every 5-7 minutes, until pears soften, liquid thickens, and color deepens to warm amber.
- Test for doneness: Place a small spoonful of preserves on a frozen plate. Let sit for 30 seconds, then push with finger. If it wrinkles and doesn’t flood back, it’s done. If still runny, cook another 10 minutes and test again.
- Remove the vanilla bean pod. Rinse, dry, and save for vanilla sugar.
- Ladle hot preserves into sterilized jars, leaving 1 cm (½ inch) headspace. Wipe rims, screw on lids, and process in a boiling water bath for 10 minutes for shelf-stable jars, or let cool to room temperature and refrigerate.
Notes
Don’t rush the simmer; low and slow prevents scorching. Use a mix of 70% ripe and 30% slightly underripe pears for best texture. Skim foam that forms during simmering for a clearer final product. Trust the wrinkle test over a thermometer for doneness. Do not double the recipe; make separate batches if needed. Flavors deepen after a few days in the fridge.
Nutrition
- Serving Size: 2 tablespoons (30 ml
- Calories: 45
- Sugar: 11
- Carbohydrates: 12
- Fiber: 0.5
Keywords: vanilla bean pear preserves, homemade preserves, no peel preserves, pear jam, vanilla pear spread, small batch preserves, easy preserves recipe