Love this? Save it for later!
Share the inspiration with your friends
There used to be a tiny café tucked away on a quiet street in Portland that made these unforgettable chalkboard brownies. When they closed unexpectedly one chilly fall afternoon, I was genuinely bummed out. I mean, those brownies weren’t just any brownies—they were like little edible canvases, topped with smooth white chocolate messages that felt both whimsical and personal. After about a dozen messy attempts—some with too-thick chocolate letters, others with brownies that were more dry than dreamy—I finally got it right.
The process felt like chasing a sweet memory that kept slipping through my fingers, but honestly, the satisfaction of nailing that perfect fudgy texture and the creamy contrast of white chocolate writing made it all worth it. You know that feeling when you rediscover a lost favorite and it tastes just as good (if not better) than you remembered? That’s why the Perfect Chalkboard Brownies with White Chocolate Messages recipe stayed with me—because it’s more than just dessert; it’s a way to send a little note that you can eat.
Maybe you’ve been there, hunting for that one special treat that feels like a hug in brownie form. If so, this recipe’s for you. Let me tell you, once you try these, you’ll want to write your own messages on brownies for birthdays, celebrations, or even just a random Tuesday. It’s honestly addictive—and fun to personalize with your favorite words or doodles.
Why You’ll Love This Recipe
After countless trials in my kitchen, this recipe has become my go-to for brownies that impress both the eyes and the taste buds. Here’s why it stands out:
- Quick & Easy: Comes together in under 45 minutes, perfect for last-minute gifts or sweet cravings.
- Simple Ingredients: No need for fancy or hard-to-find components; you probably already have everything in your pantry.
- Perfect for Gifting: These make charming homemade gifts for friends, teachers, or coworkers with a personal white chocolate message.
- Crowd-Pleaser: Kids and adults alike rave about the chewy, fudgy brownies paired with smooth, sweet white chocolate lettering.
- Unbelievably Delicious: The rich chocolate base contrasts beautifully with the creamy white chocolate, creating a delightful texture and flavor combo.
This recipe isn’t just another brownie—it’s the one where the white chocolate is carefully melted and piped to create smooth, legible messages that hold their shape without cracking. I’ve tweaked the baking time and chocolate melting technique to make sure every batch comes out perfect. Honestly, if you love chocolate and little edible notes, this one will make you close your eyes and savor every bite.
What Ingredients You Will Need
This recipe uses simple, wholesome ingredients that come together to deliver fudgy brownies with a smooth white chocolate finish. Most are pantry staples, making it easy to whip up anytime.
- For the Brownies:
- Unsalted butter, 1/2 cup (115g), melted (adds richness and chewiness)
- Granulated sugar, 1 cup (200g)
- Large eggs, 2, room temperature
- Vanilla extract, 1 tsp (pure for best flavor)
- All-purpose flour, 3/4 cup (95g)
- Unsweetened cocoa powder, 1/3 cup (35g), sifted (for deep chocolate flavor)
- Salt, 1/4 tsp (balances sweetness)
- For the White Chocolate Messages:
- White chocolate chips or chopped white chocolate, 4 oz (115g) (I prefer Ghirardelli for smooth melting)
- Vegetable shortening or coconut oil, 1 tsp (helps smooth texture and piping)
If you want to swap things up, you can use almond flour for a gluten-free option or dairy-free white chocolate if needed. Just remember that substitutions might alter the texture slightly. In summer, I sometimes add fresh raspberries on top before the chocolate messages harden for a fruity twist.
Equipment Needed
- 8×8-inch (20×20 cm) square baking pan
- Mixing bowls (one medium, one small)
- Whisk and spatula (for mixing)
- Parchment paper (to line the pan for easy removal)
- Small microwave-safe bowl (for melting white chocolate)
- Plastic piping bag or small resealable plastic bag (for piping messages)
- Toothpick or fine-tipped skewer (for correcting message details)
If you don’t have a piping bag, a small zip-top bag with a tiny corner snipped off works just fine. I’ve found that using good-quality parchment paper makes releasing the brownies a breeze. Also, keep your microwave at medium power when melting white chocolate to avoid burning it—trust me, I’ve scorched a batch or two learning that the hard way.
Preparation Method
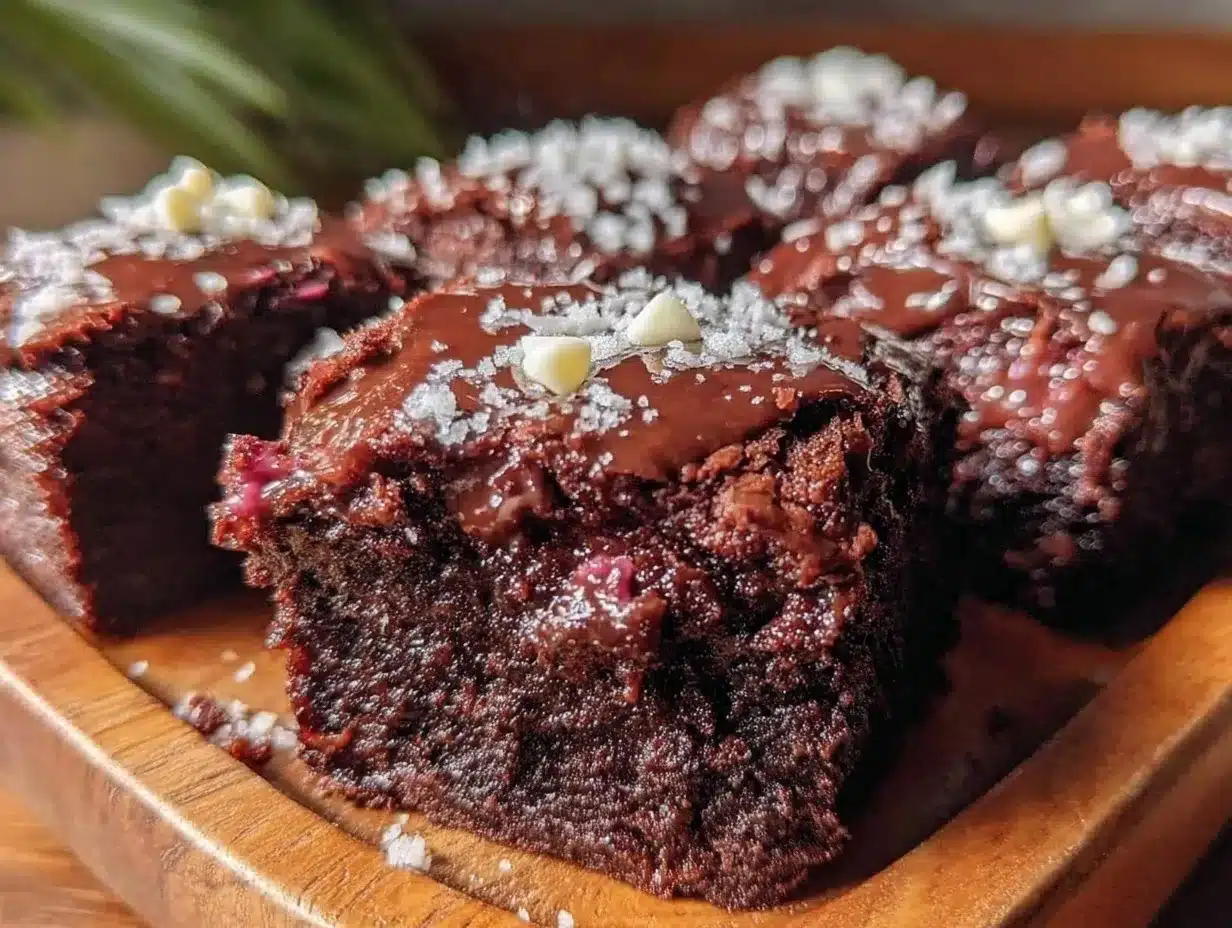
- Preheat your oven to 325°F (160°C). Line your 8×8-inch pan with parchment paper, leaving some overhang for easy brownie lifting later. This step is key to prevent sticking and messy clean-up.
- Mix the wet ingredients: In a medium bowl, whisk together the melted butter and sugar until just combined. Add the eggs one at a time, whisking well after each addition. Stir in the vanilla extract. The batter will look glossy and thick.
- Combine the dry ingredients: In a separate bowl, sift together the flour, cocoa powder, and salt. This sifting step helps prevent lumps and ensures a smooth batter.
- Fold dry into wet: Gently fold the dry ingredients into the wet mixture using a spatula. Mix just until no streaks remain. Be careful not to overmix; this keeps the brownies tender and fudgy.
- Pour and spread batter: Transfer the batter to your prepared pan and smooth the top evenly with an offset spatula or the back of a spoon.
- Bake: Place in the oven and bake for 20 to 25 minutes. The edges should be set, but the center will still feel slightly soft when you gently shake the pan. This ensures fudgy, not cakey, brownies.
- Cool completely: Remove from oven and let brownies cool inside the pan on a wire rack for at least 1 hour. This is crucial so the white chocolate messages don’t melt on contact.
- Melt white chocolate: Place white chocolate and shortening in a microwave-safe bowl. Heat in 20-second bursts, stirring between each, until smooth and creamy. Avoid overheating to prevent graininess.
- Prepare your piping bag: Spoon melted white chocolate into a piping bag or a zip-top bag with a tiny corner snipped off. Practice your writing on parchment paper first to get comfortable.
- Write your messages: Carefully pipe your white chocolate messages or designs onto the cooled brownies. If you make a mistake, gently scrape off with a toothpick and try again. Let the chocolate harden at room temperature or pop the pan briefly in the fridge to speed this up.
- Slice and serve: Use the parchment overhang to lift brownies from the pan. Cut into squares with a sharp knife, wiping it clean between cuts for neat edges.
One time, I got so caught up in piping “Happy Birthday” that I forgot the brownies were still warm—white chocolate melted right into the surface! Lesson learned: patience is key here. But honestly, that little hiccup just made the success taste that much sweeter.
Cooking Tips & Techniques
- Use room temperature eggs: They blend better and help create smooth batter.
- Don’t skip sifting dry ingredients: Cocoa powder especially can clump, and lumps mean uneven texture.
- Watch your baking time closely: Even a few extra minutes can dry brownies out. Start checking at 20 minutes.
- Melt white chocolate slowly: Burnt white chocolate tastes bitter and won’t pipe well.
- Practice your piping on parchment: It helps steady your hand and prevents waste.
- Keep your piping tip clean: Wipe it often to maintain neat letters or designs.
- Cooling is crucial: Write on completely cooled brownies to avoid melting and smudging.
One cooking fail I had? Using dark chocolate instead of white for the messages—it looked pretty but didn’t pop the way white chocolate does. Also, multitasking is tempting, but focus during piping to avoid shaky letters. Trust me, it pays off.
Variations & Adaptations
- Dietary: Swap all-purpose flour for almond or oat flour for gluten-free brownies. Use dairy-free butter and white chocolate to make this vegan-friendly.
- Seasonal: Add a pinch of cinnamon and chili powder for a Mexican hot chocolate twist. Or sprinkle crushed peppermint candies on top for a festive winter version.
- Flavor: Fold in toasted nuts or swirl peanut butter into the batter before baking for added texture and taste.
- Cooking Methods: Try baking in a muffin tin for chalkboard brownie bites—adjust baking time to 15 minutes.
- Personal Variation: I once added a thin layer of raspberry jam between the brownie and the white chocolate message—anyone who tried it loved the tart-sweet surprise.
Serving & Storage Suggestions
Serve these chalkboard brownies at room temperature for the best texture and flavor contrast between fudgy base and crisp white chocolate. Presentation-wise, arrange them on a rustic wooden board or gift box lined with parchment for a charming homemade gift.
Complement with a glass of cold milk, a cup of coffee, or even a light fruit tea to balance the rich chocolate.
Store leftovers in an airtight container at room temperature for up to 3 days. For longer storage, wrap tightly and freeze for up to 2 months. Thaw at room temperature before serving.
Reheating isn’t generally necessary, but if you do, keep it brief—10 seconds in the microwave—to avoid melting the white chocolate messages. Flavors tend to deepen after a day, so if you can wait, make these a day ahead.
Nutritional Information & Benefits
Each serving provides a satisfying treat with approximately 250 calories, 15g fat, 30g carbohydrates, and 3g protein. The cocoa powder offers antioxidants, while moderate dark chocolate intake has been linked to mood improvement.
This recipe can be made gluten-free and dairy-free with simple swaps, making it adaptable for various diets. Just keep in mind the white chocolate messages contain dairy unless you use vegan alternatives.
Honestly, this is a dessert to enjoy mindfully, but the joy of sharing personalized messages makes it feel like a little wellness boost for the soul.
Conclusion
If you’re looking to wow friends or family with a homemade gift that’s both delicious and charming, these Perfect Chalkboard Brownies with White Chocolate Messages are it. They’re easy enough for even a busy home cook and special enough to make any occasion memorable.
Feel free to customize your messages—sweet notes, fun doodles, or inside jokes—and watch how these brownies bring smiles. I love this recipe because it turns baking into a creative, personal experience that everyone can enjoy.
Give it a try, and please share your favorite messages or twists in the comments. I’m always excited to hear how you make these your own!
FAQs
Can I use regular chocolate instead of white chocolate for the messages?
Yes, but white chocolate offers the best contrast against the dark brownie. If using dark chocolate, make sure to melt it gently and pipe carefully to avoid smudging.
How do I prevent the white chocolate from melting when piping?
Make sure the brownies are completely cool before piping. Also, pipe in a cool room and let the chocolate set at room temperature or in the fridge briefly.
Can I prepare the brownies in advance?
Absolutely! You can bake them a day ahead and pipe the messages just before serving or the day before for convenience.
What’s the best way to store leftover brownies?
Store in an airtight container at room temperature for up to 3 days or freeze wrapped tightly for up to 2 months.
Is there a gluten-free version of this recipe?
Yes, substitute the all-purpose flour with almond flour or a gluten-free flour blend. Adjust baking time slightly and check for doneness early.
Pin This Recipe!
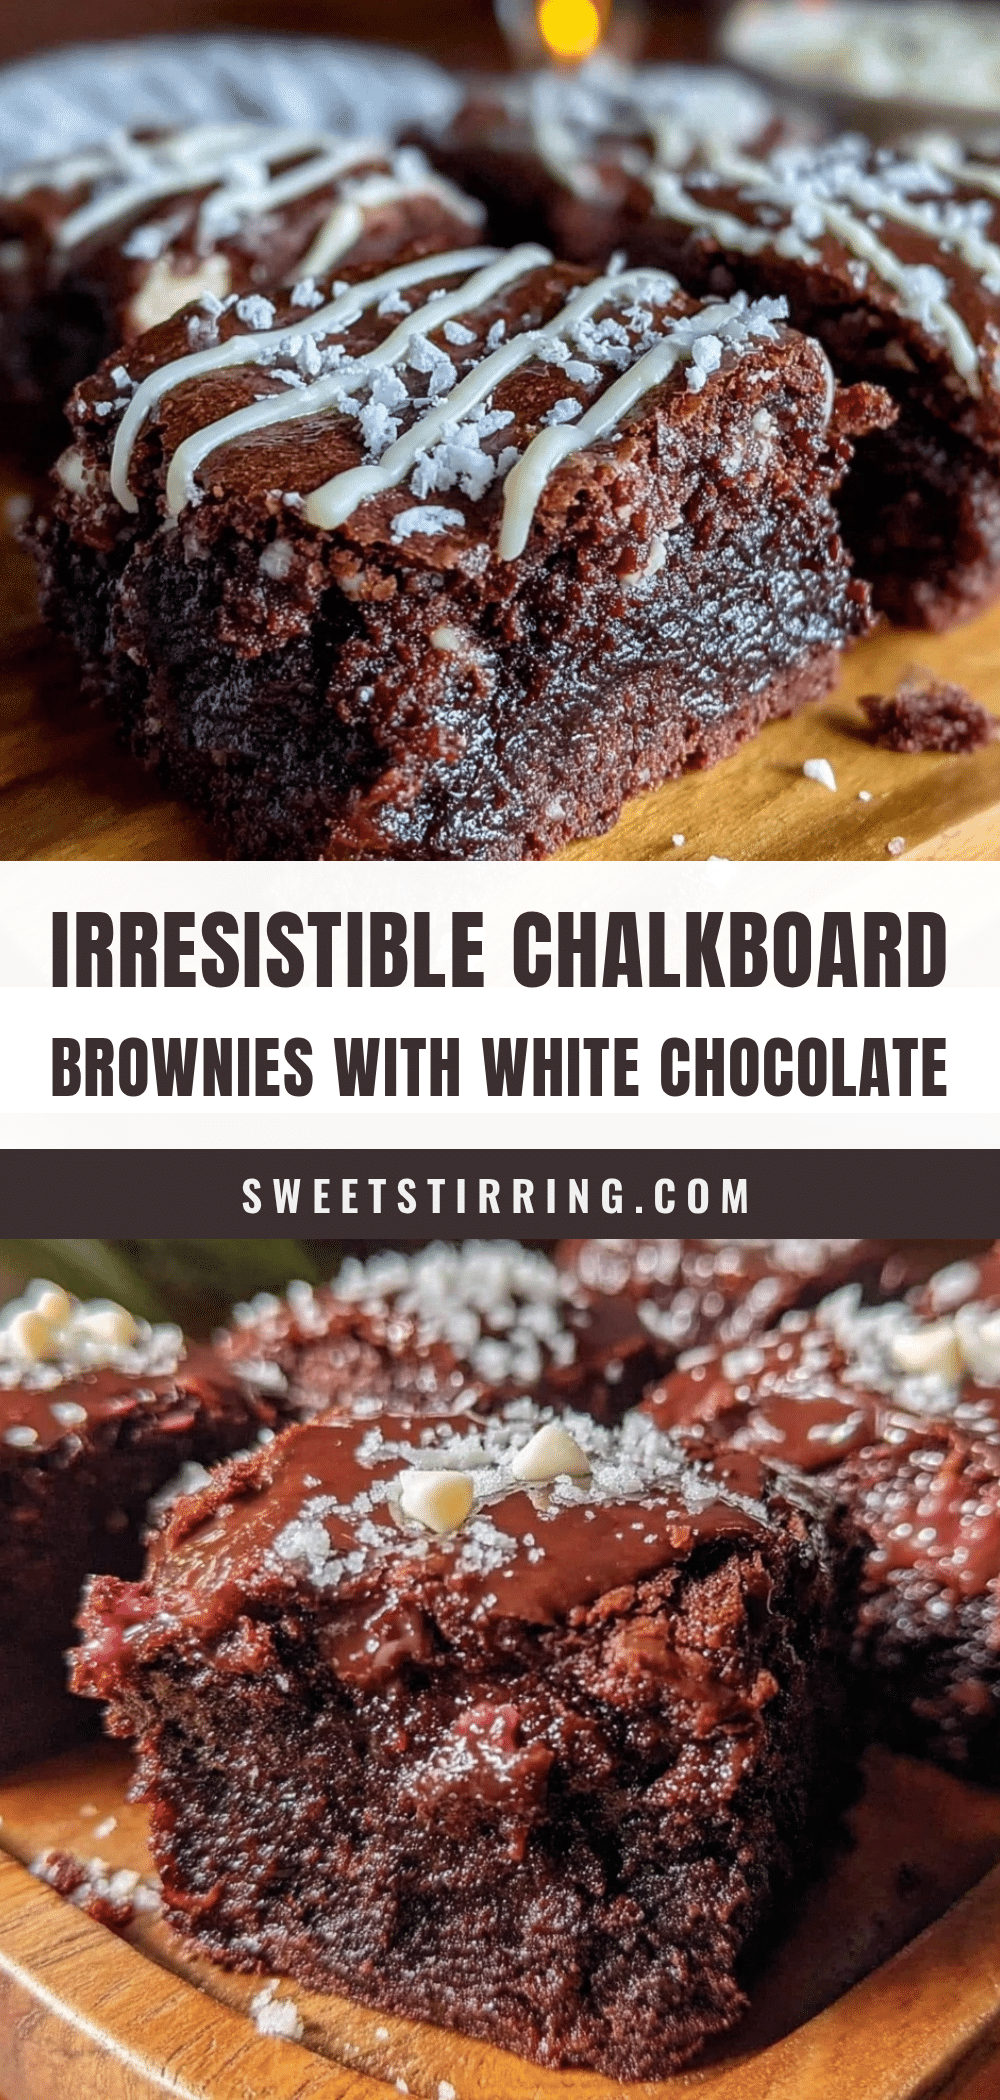
Perfect Chalkboard Brownies Recipe with Easy White Chocolate Messages for Homemade Gifts
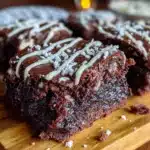
Fudgy brownies topped with smooth white chocolate messages, perfect for personalized homemade gifts. This recipe delivers a chewy, rich chocolate base contrasted with creamy white chocolate lettering.
- Prep Time: 15 minutes
- Cook Time: 25 minutes
- Total Time: 1 hour 40 minutes
- Yield: 16 servings 1x
- Category: Dessert
- Cuisine: American
Ingredients
- 1/2 cup (115g) unsalted butter, melted
- 1 cup (200g) granulated sugar
- 2 large eggs, room temperature
- 1 tsp vanilla extract
- 3/4 cup (95g) all-purpose flour
- 1/3 cup (35g) unsweetened cocoa powder, sifted
- 1/4 tsp salt
- 4 oz (115g) white chocolate chips or chopped white chocolate
- 1 tsp vegetable shortening or coconut oil
Instructions
- Preheat your oven to 325°F (160°C). Line an 8×8-inch (20×20 cm) square baking pan with parchment paper, leaving some overhang for easy brownie lifting.
- In a medium bowl, whisk together the melted butter and sugar until just combined. Add the eggs one at a time, whisking well after each addition. Stir in the vanilla extract until the batter is glossy and thick.
- In a separate bowl, sift together the flour, cocoa powder, and salt to prevent lumps.
- Gently fold the dry ingredients into the wet mixture using a spatula. Mix just until no streaks remain, being careful not to overmix.
- Pour the batter into the prepared pan and smooth the top evenly with an offset spatula or the back of a spoon.
- Bake for 20 to 25 minutes until the edges are set but the center is still slightly soft when gently shaken.
- Remove from oven and let brownies cool completely in the pan on a wire rack for at least 1 hour.
- Melt white chocolate and shortening in a microwave-safe bowl in 20-second bursts, stirring between each, until smooth and creamy.
- Spoon melted white chocolate into a piping bag or a zip-top bag with a tiny corner snipped off. Practice piping on parchment paper first.
- Pipe your white chocolate messages or designs onto the cooled brownies. If mistakes occur, gently scrape off with a toothpick and try again. Let the chocolate harden at room temperature or chill briefly in the fridge.
- Use the parchment overhang to lift brownies from the pan. Cut into squares with a sharp knife, wiping it clean between cuts for neat edges.
Notes
Use room temperature eggs for smooth batter. Sift dry ingredients to avoid lumps. Watch baking time closely to keep brownies fudgy. Melt white chocolate slowly at medium microwave power to avoid burning. Practice piping on parchment paper before writing on brownies. Cool brownies completely before piping to prevent melting. Use parchment paper overhang to lift brownies easily.
Nutrition
- Serving Size: 1 brownie square (ap
- Calories: 250
- Sugar: 22
- Sodium: 90
- Fat: 15
- Saturated Fat: 9
- Carbohydrates: 30
- Fiber: 2
- Protein: 3
Keywords: brownies, white chocolate, homemade gifts, fudgy brownies, chocolate messages, personalized dessert, easy brownies